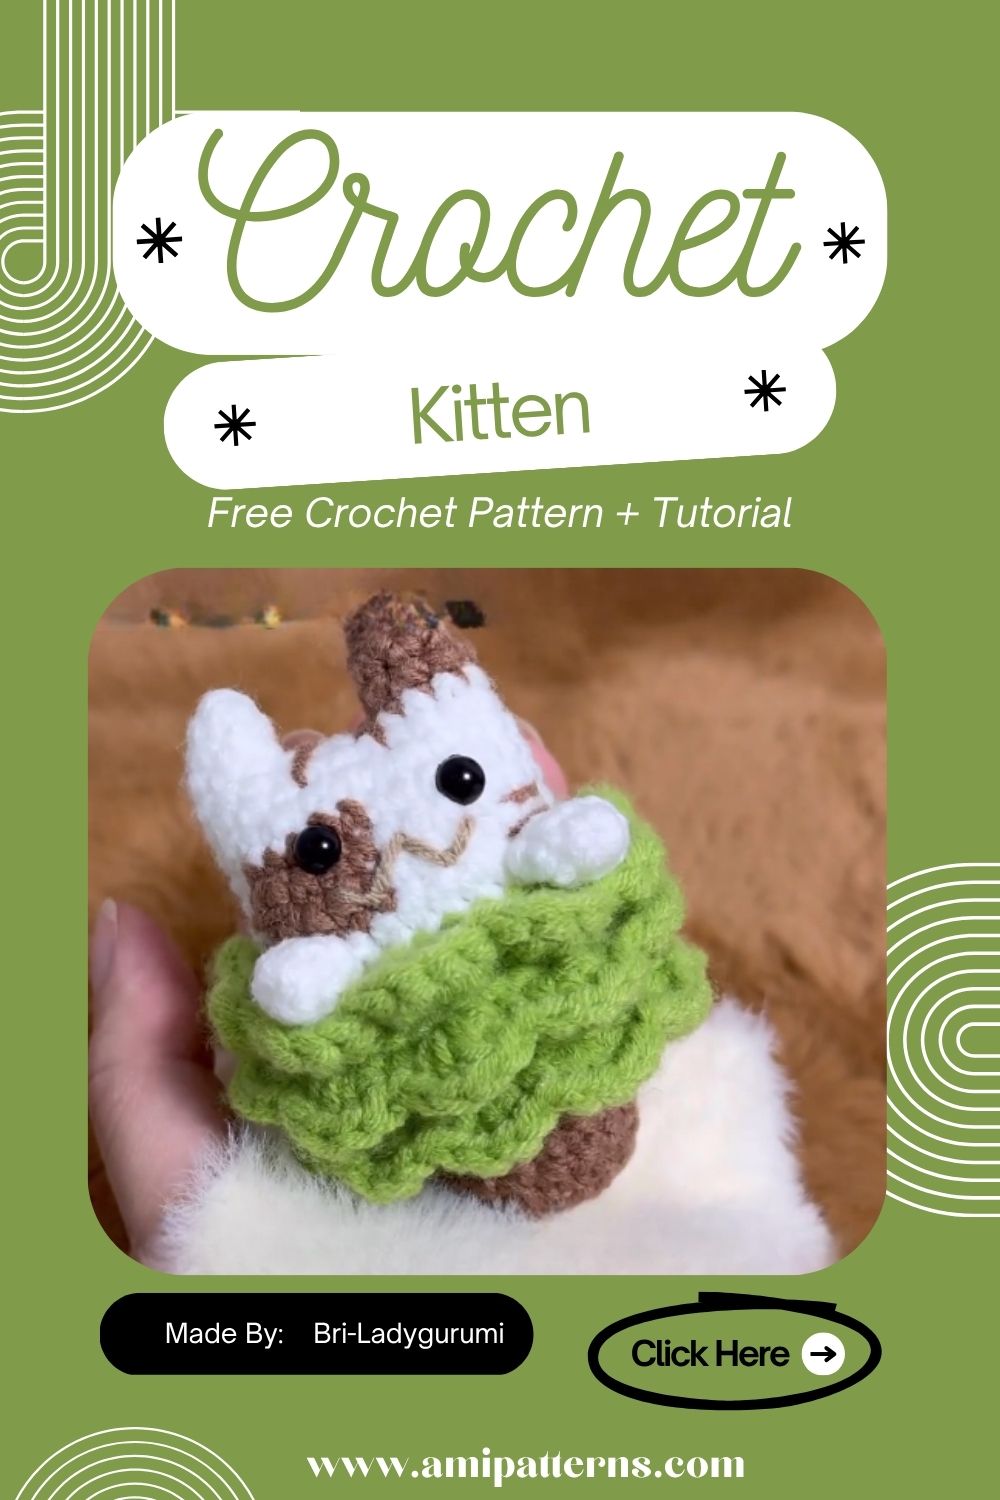
Crochet Christmas Kitten Amigurumi Pattern for Beginners
Christmas and crochet – it’s like they go together. It’s just something about creating a few basic skeins of yarn, and making them into something that will warm and personalize your home during the holidays. This crochet Christmas kitten pattern might be the perfect idea for a cute and fun project to do during the holidays. It’s wrapped in the holiday spirit with a darling little face, and is a handmade gift that will make anyone smile. Both an easy-to-crochet and a detailed enough pattern for more advanced crocheters, this Christmas kitten kit is perfect for beginners.
Why You’ll Love This Pattern
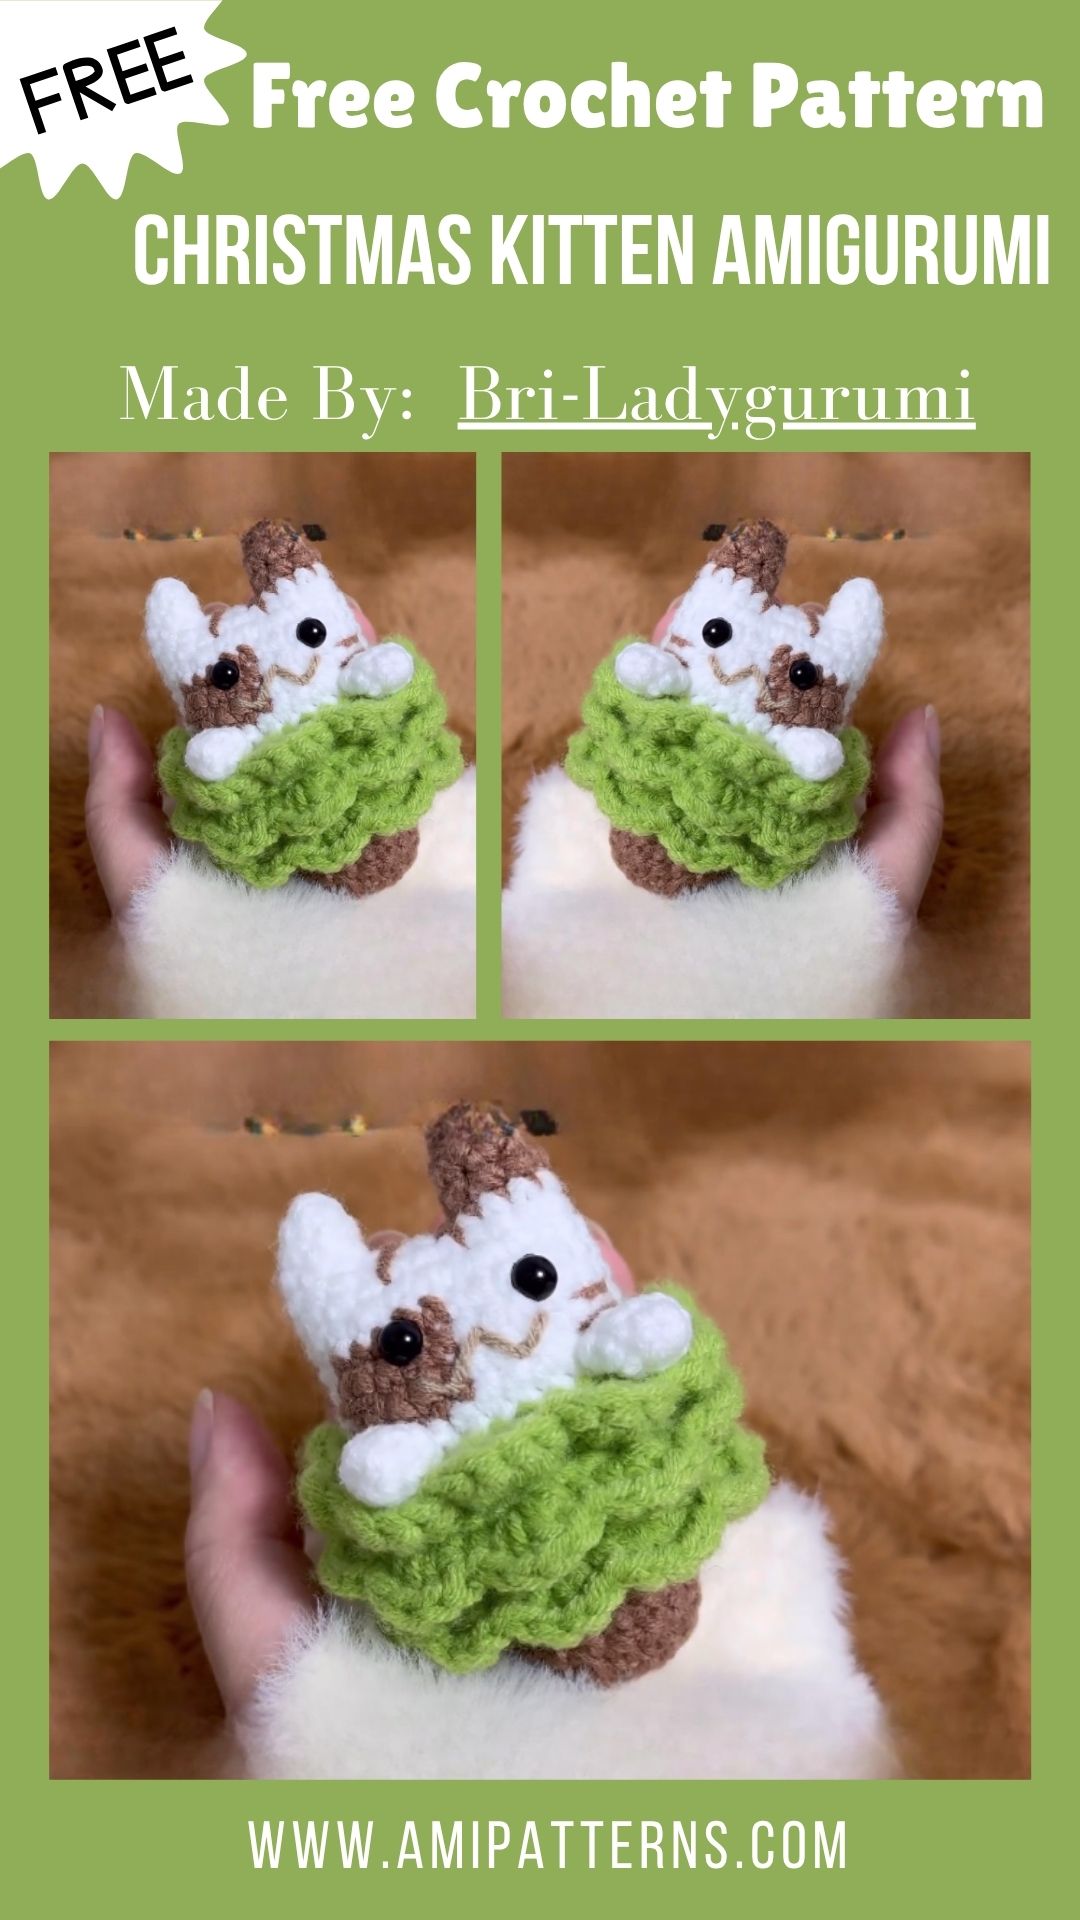
A great thing about this project is that it is easy to adapt! A red hat and green scarf form the classic Christmas kitten, but can be customized to your own holiday colors.
Easy construction, simple pieces that are not overwhelming. The techniques employed for most of the shaping are the basic amigurumi techniques and are suited for the confident beginner. This project is a good one for those who like to make holiday decorations for display year after year.
Materials You’ll Need
Before you begin, make sure you have all the things you need.
- Yarn that’s white, cream, gray or orange that is used for the kitten
- The Christmas hat was made with red yarn.
- Two balls of green yarn for the scarf.
- Very little pink yarn for nose
- Black embroidery thread
- 10–12 mm safety eyes
- Crochet hook appropriate for your yarn.
- Polyester fiberfill
- Stitch marker
- Yarn needle
- Scissors
- Small white pom-pom (optional)
- A small jingle bell or ribbon (optional)
- Cotton or acrylic yarn will help keep the finished kitten soft, cuddly and retain its shape.
Special Features of This Pattern
- A cute, round face with expressive eyes.
- Tiny triangular ears
- A soft stuffed body with a straight back
- Fluffy Pom Pom Christmas hat.
- Small scarf for an extra festive flair
- Beginner-friendly construction
- Minimal sewing
- Easy to be customized with various colors and accessories.
The finished toy is also a good size for a holiday kitten crochet plush and could be a beautiful addition to your holiday decorations.
Difficulty Level
The difficulty level of this project is easy to intermediate. You don’t need any such experience to complete this project.
Step-by-Step Instructions for Creating your favorite pattern
Step 1. Crochet the Head
Start with a magic ring and then single crochet stitches into the center. Continue to increase evenly until a smooth circle is created, and then continue to crochet a few rounds without increasing.
The head will start to form and be rounded like an amigurumi animal. Use a stitch marker to keep track of rounds, form stitches evenly.
Place the safety eyes in with sufficient distance between them for a sweet expression prior to closing the head.
Stuff until the head is firm, but still slightly soft, with fiberfill.
Step 2. Embroider the Face
With pink yarn, sew a small triangle nose opposite the eyes.
Next embroider a short mouth downwards from the nose. With just a few stitches, you’re able to give your kitten an adorable personality.
To create an even softer look, lightly embroider blush over both cheeks or brush blush onto cheeks with fabric-safe blush powder.
Don’t rush through this. Each handmade kitten is individually unique by its face.
Step 3. Crochet the Ears
Make 2 matching triangle-shaped ears with the same yarn as the head.
Leave a long yarn tail for sewing.
Attach one ear to each side of the head, making sure they’re evenly spaced.
A kitten’s ears are raised when slightly angled outwards to give it an alert and playful look.
Step 4. Crochet the Body
The body is made separately and knitted in whole rows.
Begin with another magic ring and gradually increase until you’ve formed a rounded base.
Work even up to make the body. To get to the top, start filling in the body with fiberfill without causing too many lumps.
Slowly close until it is just a tiny hole left open. Leave a long yarn tail to attach to later.
Step 5. Make the Front Legs
Simple crochet two little legs with simple rounds. Stuff them lightly before fastening off. evenly attach each leg (front of the body). With the legs just slightly turned in, it makes for a super cute sitting position.
Step 6. Crochet Back Legs
The rear legs are a little bigger than the front legs. Make two rounded items and stuff lightly. Tie them tightly under your kitten’s body to allow him/her to sit comfortably on a shelf or table top.
Step 7. Make the Tail
Make a narrow tube for the tail using the same yarn as the body. Fill it lightly or empty it out to create a pliant end.Secure it in an orderly fashion to the back of the kitten.
Add an extra personal touch to the completed design by having a slightly curved tail.
Step 8. Assemble the Kitten
It’s now time to tie it all up. The head should be fastened securely to the body.
If not already done then add ears, legs and tail. Make sure everything lines up before you tighten all of the stitches. Lastly, tuck in any loose ends of yarn. Your kitten should be quite cute at this point.
Step 9. Make the Christmas Hat by crocheting
With red yarn, work up the hat from the top. Gradually increase the stitches until the hat comfortably fits over the kitten’s head.
Complete several rows in an even manner, then finish with a white trim around the bottom edge. Seam the fluffy white pom-pom on the end. This festive detail will make the kitten a Christmas companion.
Step 10. Crochet the Scarf
Crochet a simple strip of green yarn that should be a comfortable length to wrap around the kitten’s neck. Tie it up on the front or sew it down so it can be an accessory at any point in time. Tiny fringe can also be added to both ends for added texture.
Step 11. Make the finishing touches
That’s where you need to get creative. Consider adding:
- Tiny jingle bell
- Accessory mini gift box
- Snowflake button
- Embroidered paw pads
- Holly leaf decoration
- Candy cane applique
- Fast the bow, and tie it round the neck.
All this information helps each kitten feel all special and prepared for the holidays.
Video Pattern Here Step By Step:
Uses/ Applications
- Hang it on your Christmas tree as a homemade soft ornament.
- Hang it on a mantel with stockings and candles.
- Sculpt book shelves, coffee tables or windowsills.
- Use it in a holiday centerpiece, with pinecones and fairy lights.
- Decorate your home with it in the nursery for holidays.
- Hang it with a ribbon to decorate.
- Decorate your desk with it in the season for adding some cheer.
You’ll look forward to using it every Christmas, thanks to its bright and jolly look!
Why Beginners Will Enjoy This Pattern
The finished kitten is very detailed, but surprisingly easy to build. If you already know the very basic stitches such as single crochet, increase and decrease you will have no issues following along.
This pattern is also a great introduction to shaping amigurumi. You will learn how to construct a rounded head, achieve body balance and join individual components in an organized way. Even better, each of the parts is not too intense, so you can savor the journey without feeling like you’re in a rush.
This easy festive amigurumi cat is a perfect choice for anyone looking for a simple but creative gift for the holidays.
Customization Ideas
A great thing about handmade crochet is creating every project by yourself. This Christmas kitten can be customized in a variety of ways, making no two finished toys identical. Just a couple of fun ideas to give you some inspiration:
- Make a gray, orange, black or calico kitten, rather than white.
- Change the red hat for a green one for the next festive style!
- Make matching crochet mittens or little boots.
- Place a small Christmas stocking next to the kitten.
- Embroider white embroidery thread on to create little whiskers.
- Add a little snowflakes to the scarf by embroidering.
- Attach a miniature present to one paw.
- Put paws on kitten eyes to make them sleepy, happy or play with winking eyes.
- For a hilarious holiday twist add a small Santa beard.
- Make a bunch of kittens to make a cozy family of kittens in all kinds of colours.
- Even though it’s a little, it would feel extra special in every project.
Helpful Tips for Success
Tighten stitches by using a crochet hook which is smaller than what is suggested on the yarn label.
- Stitch counts are kept regularly for symmetry in the body.
- Completely fill the head, to prevent wobbling after assembly.
- Add stuffing a little at a time, to prevent lumps.
- Stitch on the head, tightly, with multiple passes of yarn for added strength.
- Ears should always be placed prior to permanent attachment.
- For a clean finish, tuck in the yarn tails well inside the body.
It’s easy to see that a bit more time spent in assembly can make your finished kitten look much more professional.
Pro Tip
Stitch the ears, head and tail to stay in place before sewing them onto. Just a tweak can transform your kitten’s face and make them even cuter.
Final Thoughts
It’s just very heartwarming to have some home-decorated with handmade stuff, particularly at Christmas time. This festive amigurumi kitten will be a fun and festive craft to make as well as to have on your mantlepiece.
It will be a part of your holiday traditions—whether you hang it by your Christmas tree, give it as a gift to someone special, or include it in your collection of homemade holiday decorations. This Crochet Christmas Kitten Amigurumipattern is the ultimate in creativity, holiday cheer and homemade cuteness. After one, you could end up creating a whole family of holiday kittens in various colors and styles.