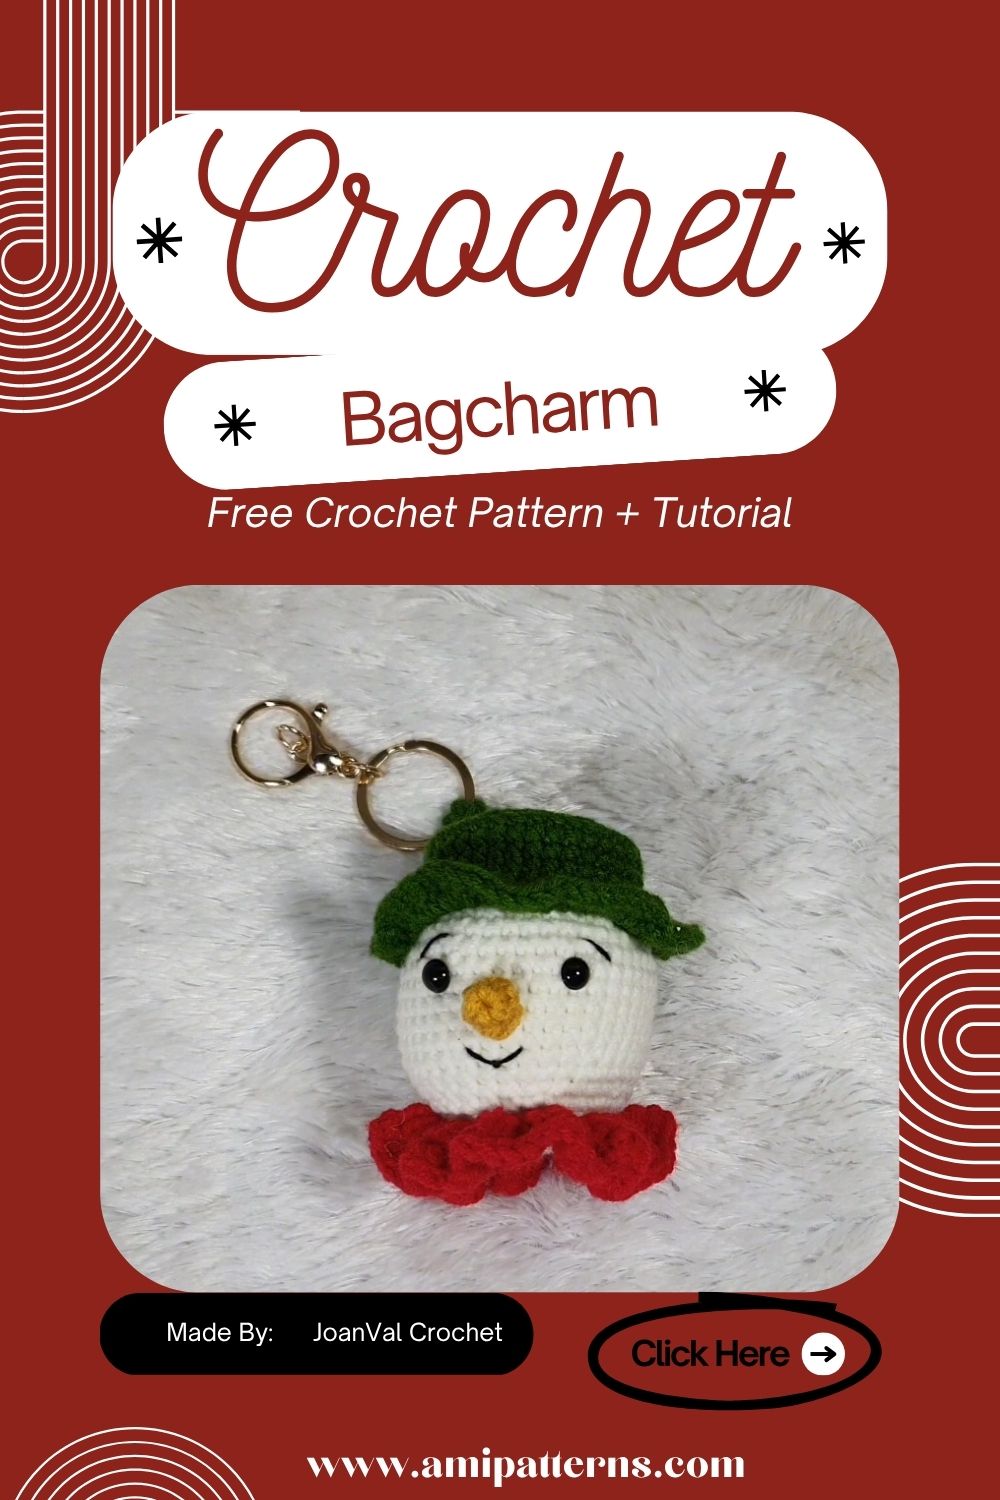
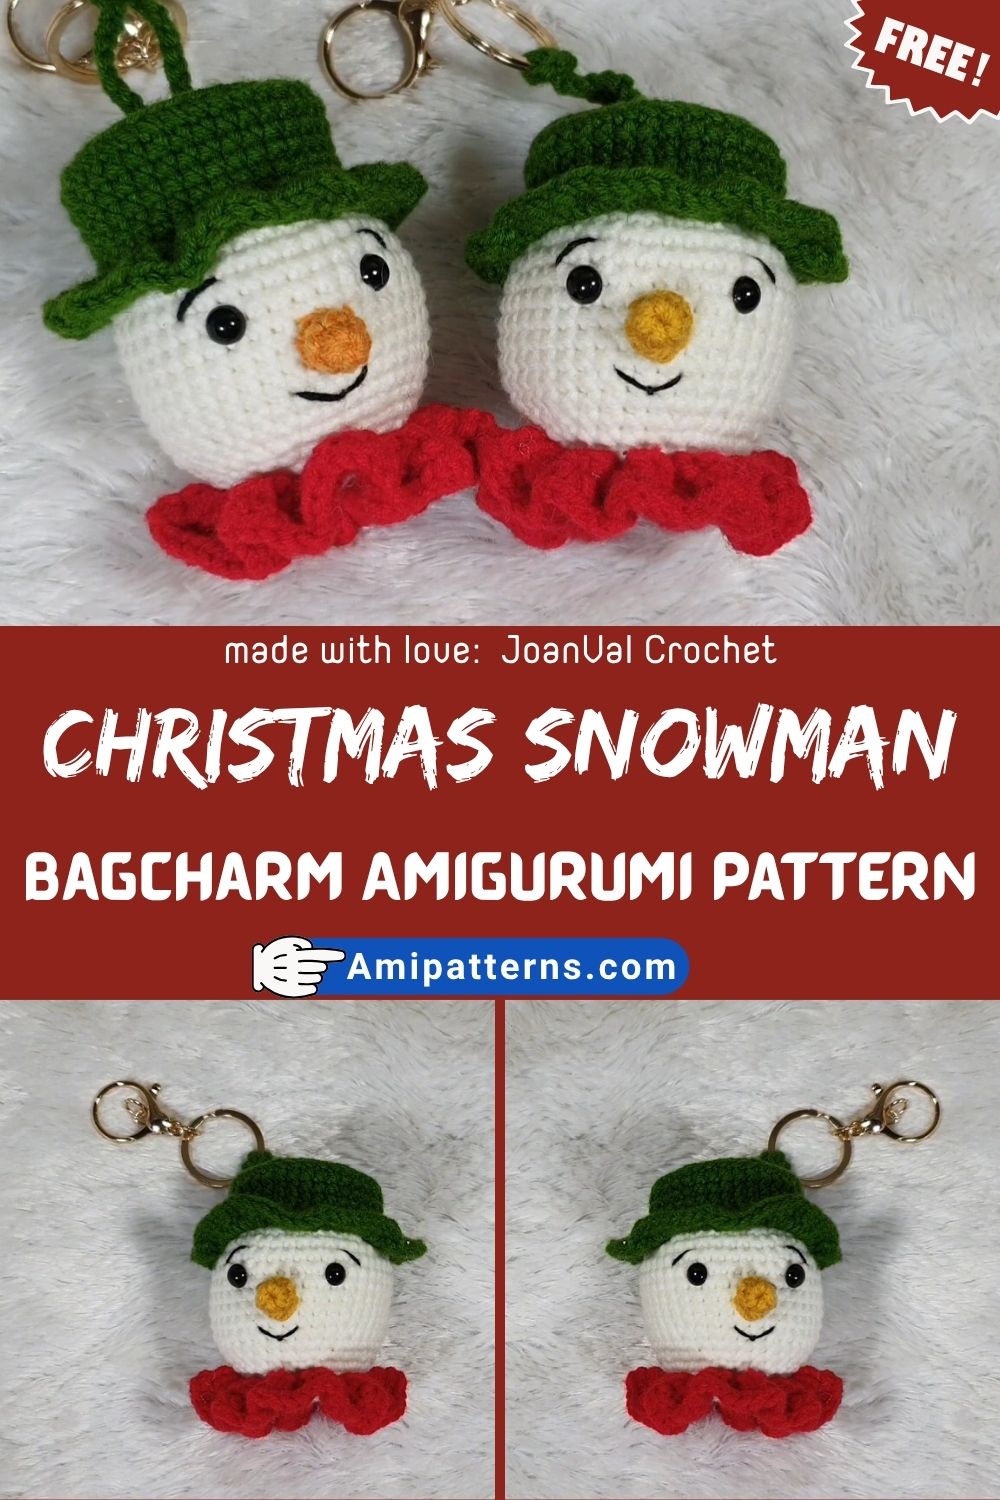
Crochet Christmas Snowman Bagcharm Amigurumi Pattern
Handmade Christmas decorations are truly magical, especially the small ones that you can take with you anywhere. The happy snowman glued to your preferred purse, backpack or tote will bring a festive but not excessive look.
That’s what makes this Crochet Christmas Snowman Bag Charm Amigurumi Pattern for Fashion Appeal a project to delight in. It’s a cross between crochet and holiday decorating, and makes for an extremely useful accessory, if also very adorable.
From using for yourself, giving as a homemade present or creating for a holiday craft market, this little snowman will make for smiles. Easy to crochet, requires a minimal amount of yarn and plenty of room for creativity.
Why You’ll Love This Pattern
Crochet projects for holidays are special in some ways. They are easy to do, have lots of happy ideas and can be a special decoration that is created every year.
This Snowman bag charm is no different. It takes only a few hours to complete so it is suitable for crafters who are really busy. When you have the snowman in your hands you will have a big smile on your face.
You can customize it according to your choice. This Christmas snowman bag charm crochet pattern is perfect for those who want a great looking, yet useful project for the holidays.
Skill Level & Finished Size
The skill level is between easy and moderate while it will take you only one 1 hour to complete this project. You can use simple stitches for making this pattern that include single crochet, increasing, decreasing, stuffing and sewing small pieces together.
Abbreviations
- MR – Magic Ring
- ch – Chain
- sc – Single Crochet
- inc – Increase
- dec – Invisible Decrease
- sl st – Slip Stitch
- st(s) – Stitch(es)
- FO – Fasten Off
Materials You will Need
Make sure, before you start, that you are equipped with everything you need.
- White cotton or chenille yarn.
- Carrot nose orange yarn
- Black embroidery thread
- A red, green or plaid yarn for the scarf
- Some brown yarn for twig arms (optional)
- 2.5mm–4mm crochet hook
- Polyester fiberfill
- Safety eyes
- Yarn needle
- Stitch marker
- Scissors
- Use a lobster clasp or keychain clip to attach to the case.
- Cotton yarn will make crisp stitches and chenille yarn will provide a soft, fluffy look for the snowman. Either of these options is perfect for the style you prefer.
Step By Step Crochet Christmas Snowman Bag Charm Pattern
The best part of the project is next. This snowman has been constructed in pieces and then joined together. Spending the time on each piece will help to give your finished bag charm a neat and balanced look.
Step 1. Crochet the Head
Work starts stitching into the center, using a magic ring. Pull ring snugly shut before proceeding.
Continue to increase stitches until the head is smooth and round. Every few rows, check the shape to ensure evenness. This is a snowman, so the cutest snowman is going to be if it is a circle.
Stuff head gradually with small pieces of fiberfill before closing the opening. Smooth it with your hands to maintain a nice round, even shape, without stretching the stitches.
Step 2. Crochet the Body
The size of the body should be slightly bigger than that of the head to form the traditional snowman shape.
Begin another magic ring, and add stitches gradually until the magic ring is the desired width. Work evenly until the decrease is made towards the bottom. Fill the body gradually, working in. The final product should be soft but hold its form well.
After finishing, check the proportions with the head and finish with assembly.
Step 3. Make the Tiny Arms
To create a classic snowman appearance, crochet or embroider two short arms which are twig-shaped.
Brown yarn can be used to make thin arms or embroider them with a yarn needle after. Try to make both sides equal in length to create a well-balanced, round snowman. Place arms slightly under the neck (as though the snowman is waving).
Step 4. Crochet the Hat
All of those joyful snowmen need snuggly winter hats.
Make a basic round beanie in festive colors red, green, navy or cream. Can be completed with a small pom pom or folded up onto the brim for added texture.
Take a few trial runs to get the most playful expression on your snowman before you attach it to the head.
This mini snowman amigurumi accessory is a fast and easy way to add a little more personality to your mini snowman amigurumi.
Step 5. Add the Face
The best part is the facial expression. evenly place the safety eyes on the face so there is space between them for the nose. Embroider a little orange nose, and embroider a little black smiley mouth.
Add small rosy cheeks, if you like; a little soft pink blush or embroidery. These little touches will make your snowman feel cozy, festive and happy during the holiday season.
When you’re finished with the face, your festive crochet bag accessory will already have a lovely little Christmas companion.
Step 6. Place the Head on the Body.
Both parts of the main component are complete, now you need to put together your snowman. Preform fit the head onto the body before sewing to see proportions. The head should sit properly in the middle, neither forward nor to either side. After the head is added, use hands to gently shape the snowman to maintain its nice, round look.
Step 7. Crochet and Attach the Scarf
One of the simplest methods to dress your snowman for the holidays is to use a warm scarf.
Chain enough stitches so that you can wrap them round the neck, then crochet a narrow strip to the width you want. Relaxed hues such as red, forest green, cream, and plaids are great choices.
Put the scarf around your neck and tie it loosely in the front. For those who prefer to keep it in place permanently, tie it with a couple of hidden stitches on the reverse side. Or add a little fringe to both ends for added texture and movement!
The scarf added a happy face to your snowman!
Step 8. Add Decorative Details
Now it’s time to add your personal touch to create your snowman.
Use black or colored yarn to sew 2-3 mini buttons to the front of the body. If you want a very decorative end, you can also embroider little snowflakes, stars, or little hearts.
Add little earrings or little holly leaves to the hat for an even cuter effect. These are the last minute details that make your project look handcrafted.
To make multiple bag charms, consider experimenting with a variety of hat and scarf colors to create unique personalities.
Step 9. Attach the Bag Charm Hardware
Securely attaching the hardware is crucial to this project because it is intended to be used to decorate bags.
Put a good piece of yarn through the top of the hat a few times to make a reinforcement. Before securing tight, attach a lobster clasp, key ring or swivel clip.
Give the hardware a gentle pull to make sure it’s firmly attached. Whether it’s on handbags, backpacks, purses or luggage, your snowman will stay in place with a strong connection!
Step 10. Finish and Style Your Snowman
Take a few moments to inspect your finished project.
Cut away the loose ends of yarn and pat down with your hands. Ensure the scarf, buttons, and hat are properly fastened. Shape the body and head again if necessary to make them both look round.
Your snowman is now dressed to dazzle for holiday accessories throughout the year. This little piece can be attached to a handbag or used as a festive trinket – it will bring Christmas cheer wherever you go.
Special Features of This Pattern
This holiday-themed project is brimming with adorable features and will be a fun project for any level of crafter.
- Beginner-friendly construction
- This is a fast holiday crochet project!
- Uses only small amounts of yarn
- Easy to style: change scarves and hats to create different looks.
- Easy to carry, light weight for handbags and backpacks.
- Ideal for homemade items.
- Perfect for a craft fair at the holidays!
- Can be adapted for Christmas tree ornaments (with some modifications)
Tutor Tips
Stuff slowly and form each morsel with your hands before adding more stuffing and sealing. This makes the surface much smoother than filling in in one shot. When you’re about to sew the head, scarf or hat on forever, pin the pieces down and look at the snowman all around! The final look of the charm bag will be balanced, clean and professionally finished if a few extra minutes are devoted to assembly.
Common Errors To Avoid
Overstuffing of head or body is the most common error; it causes the stitches to stretch and allows the stuffing to show through the stitches. The other is to attach the head before making sure it is lined up so the snowman is slightly off center. Don’t sew the scarf too tightly as it should fall in naturally around the neck and not over the body.
Remember to think long and hard about adding facial features, especially eye placement and the carrot nose, which can help give the snowman its expression. Last but not least, wind the bag charm loop a few times before clasp it on. It’s important that your handmade accessory is secure with strong stitching in everyday use.
Creative Uses for Your Crochet Snowman Bag Charm
There are lots of festive ways to use your completed snowman other than to decorate a handbag.
- Attach it to a backpack/pack or travel bag.
- Use as a Christmas tree decoration.
- Decorate holiday gift baskets.
- Include it in Christmas stockings.
- Use it to zip jackets in the winter.
- Use it as a gift tag on gift-wrapped presents.
- Offer it at holiday craft fairs.
- Make matching pairs for family & friends.
These small snowmen are also great Christmas souvenirs and make for a great Christmas decoration year after year.
Final Thoughts
Making holiday decorations by hand is a heartwarming idea, particularly when you can take them with you all through the holidays. This crochet Christmas snowman bag charm pattern is a fun and easy project to create, but it’s packed full of all the things we love about Christmas: cozy, creative, and homemade.