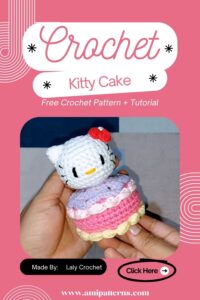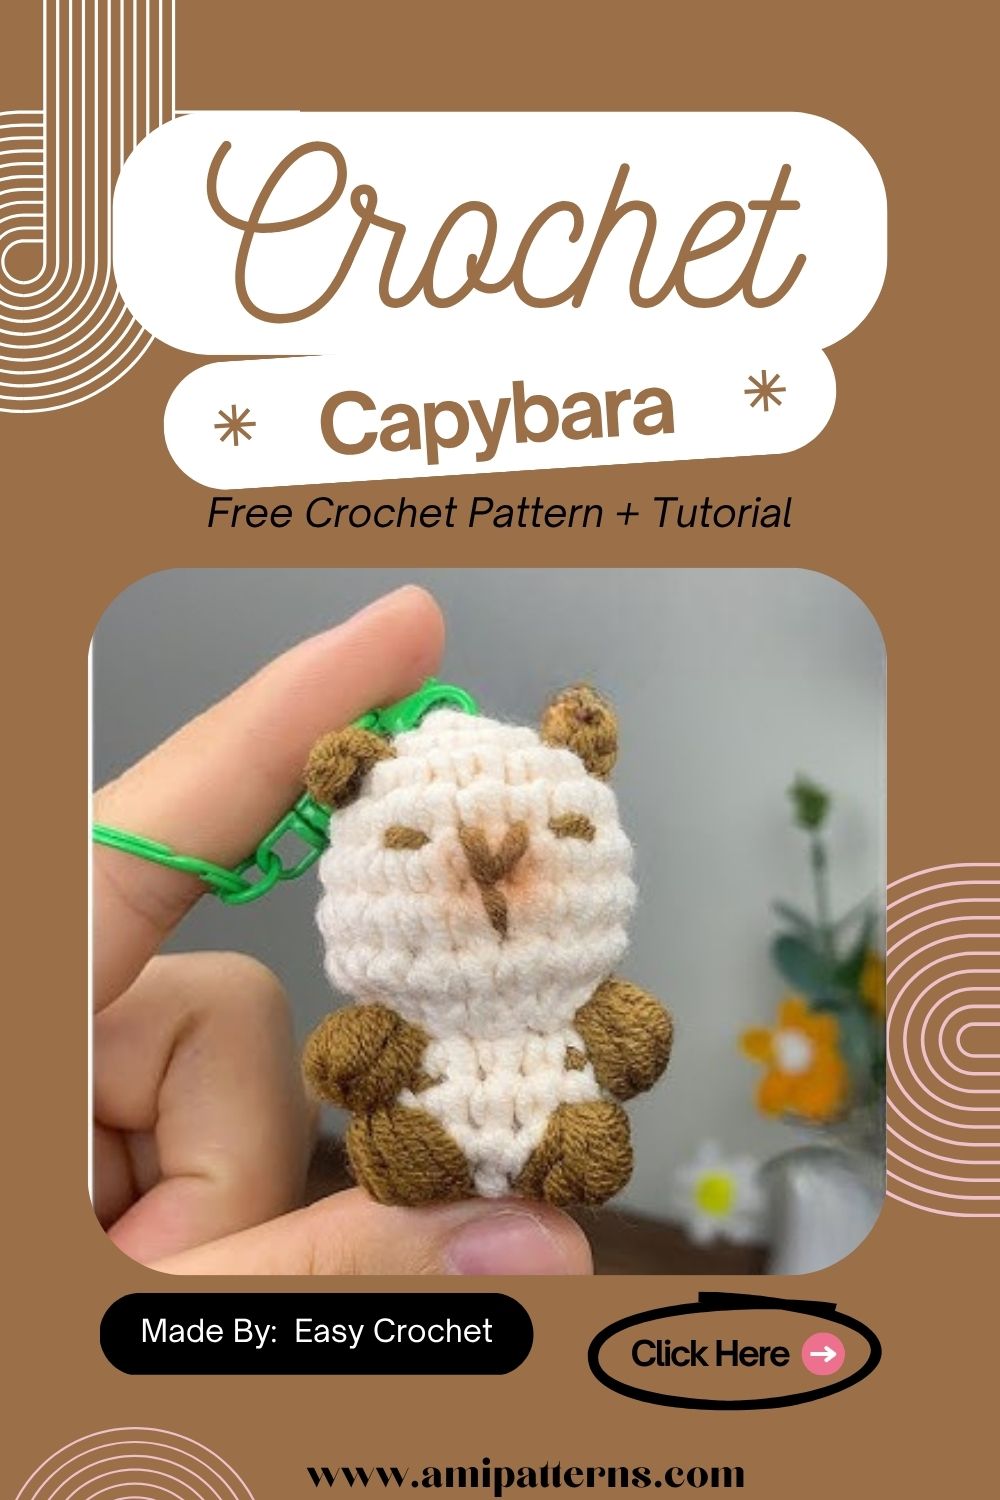
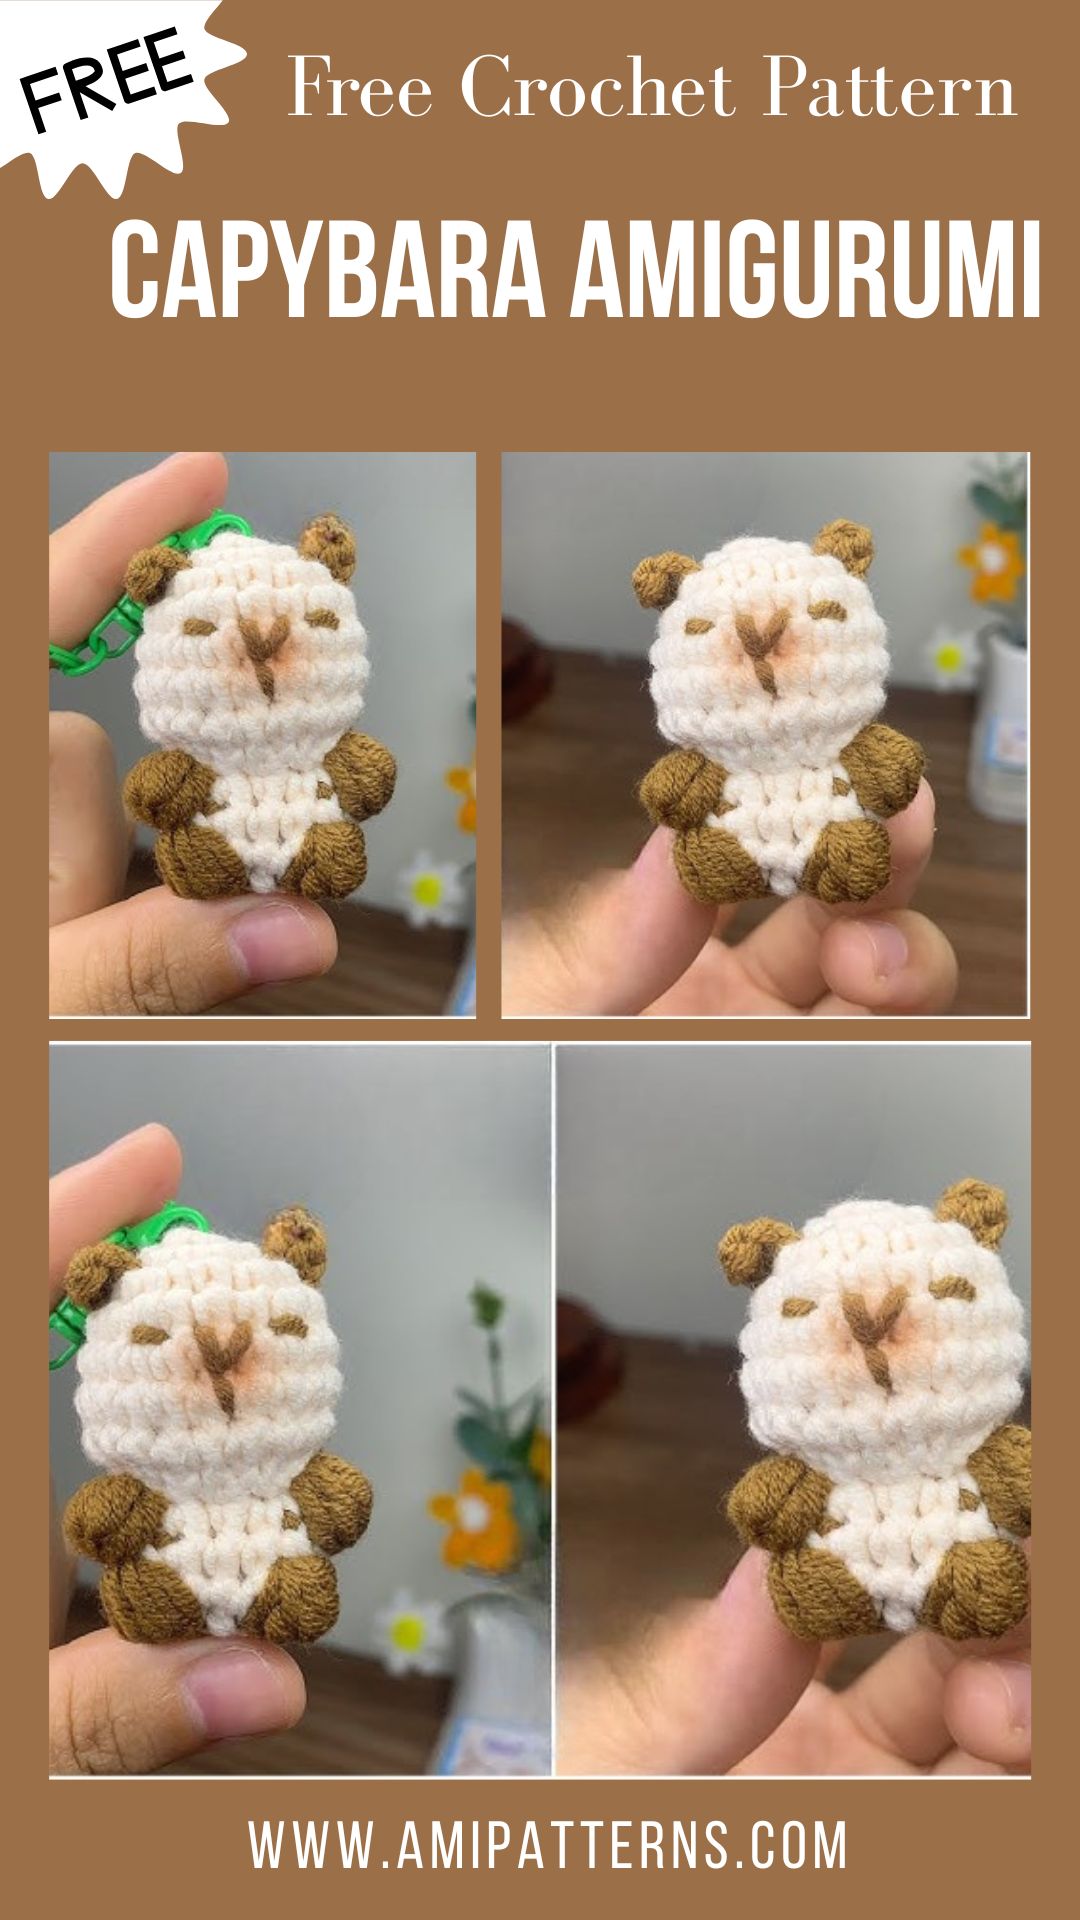
Amazing Crochet Capybara Amigurumi Pattern for a Unique Look
A crochet capybara amigurumi pattern, or CCAP, is a relaxing and enjoyable crochet pattern that emphasizes easy to shape, soft texture and a naturally cute creation. The handmade capybara is known for its tame and amiable temperament, and here it’s a yarn version with a tame and amiable temperament.
They are a favorite among the slow crafter, soft toy and pretty handmade décor enthusiast. When people are looking for something easy to make but also looks cute and creative, they will consider cute crochet animal ideas (CCAI).
You will learn step by step guide to create a full capybara in this guide, in a detailed manner that even beginners can follow easily.
Why This Pattern Is Popular
The CCAP is popular because it is easy, relaxing and visually pleasing, but does not require any advanced crochet skills. The capybara’s body shape is already soft and rounded, making it a perfect translation for crochet. The process is simple, and it doesn’t require any complex textures or challenging shaping skills, making it accessible for beginners.
For experienced crocheters, it’s also a relaxing craft, and they can be creative with colors, expressions and little accessories. The versatility of the yarn makes it very useful for home decoration, gifting or even for creating small business products, which is why it is gaining popularity in the crochet community.
Skill Level: Beginner to Confident Beginner
This project is perfect for anyone that is familiar with basic crochet stitches such as single crochet, increase, decrease and continuous rounds. For those who have previously made small amigurumi toys, it will come across as an easy and fun project.
This mini crochet capybara tutorial (MCC-T) is particularly useful to grasp the concept of how bits and pieces fit together to create a whole character.
Materials You Will Need
- Soft cotton or acrylic yarns in brown, beige or tan colors
- Crochet hook (2.5mm to 3.5mm)
- Fiberfill stuffing
- Yarn needle
- Stitch markers
- Safety eyes or black embroidery thread
- Small scissors
- Optional darker yarn to shade details
There is enough material to provide a full CCAP with a clean and soft finish.
Step-by-Step Process: Creating the Crochet Capybara
1. Head (Shape, Structure, and Expression Foundation)
Make sure to begin with the fundamentals of head first. You should start with the basics, such as head (Shape, Structure, and Expression Foundation).
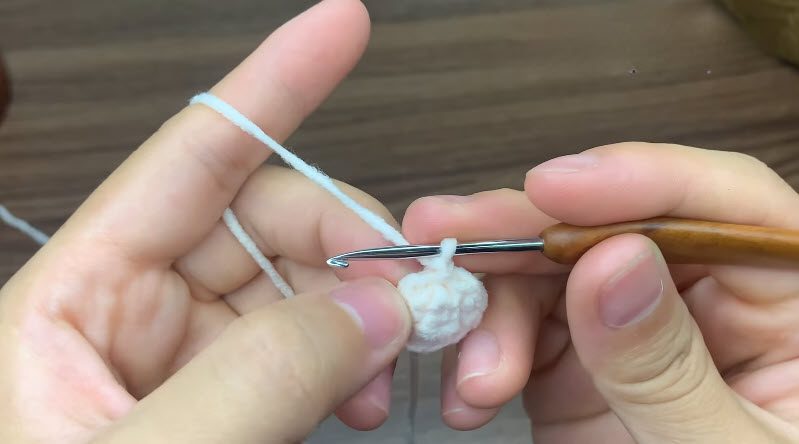
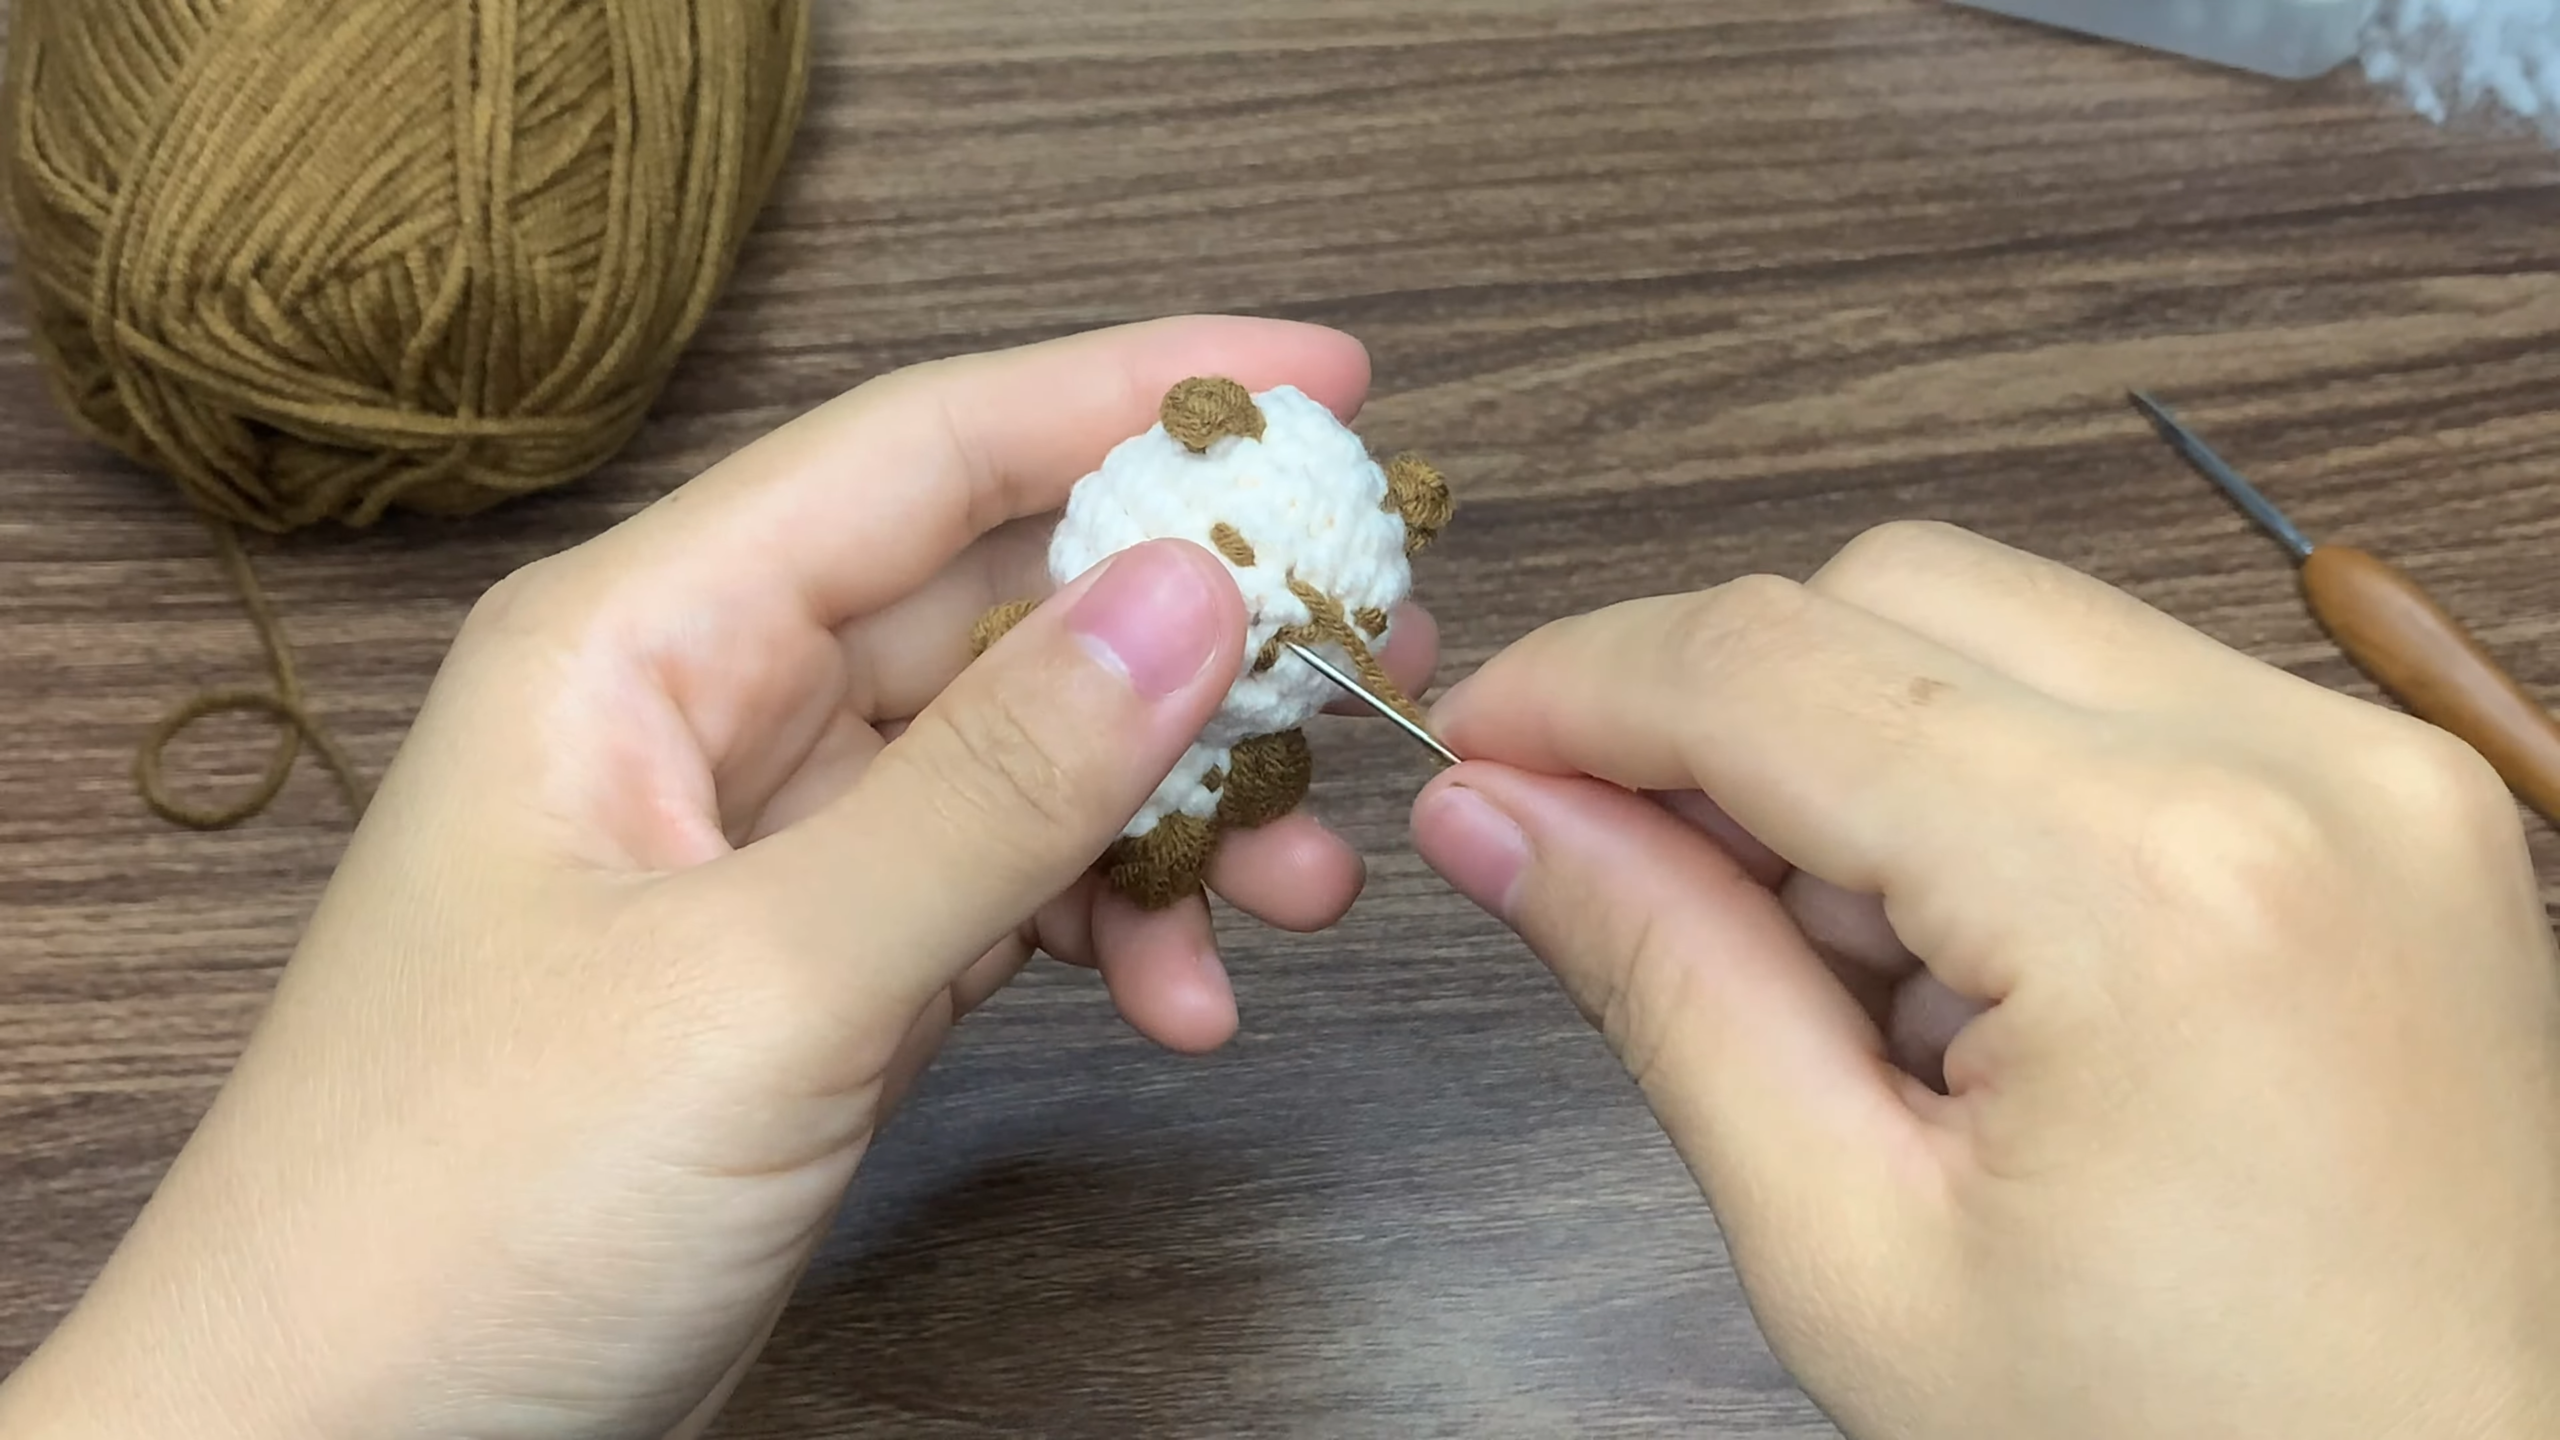
The head should be the most important part, since it will determine the whole look of your capybara. Begin with a magic ring and add 6 single crochets into the ring. Gently tighten the ring, there should be no gaps in the center.
Uniformly advance in each round to create a rounded shape in the following rounds. But don’t try to shoot a round ball. The head of capybara is slightly oval, longer in the front area, so slightly stretch it up front while you are making rounds.
When the head widens, work even rounds without increases. This will help to develop height and form. The aim is to maintain softness and stability of the head.
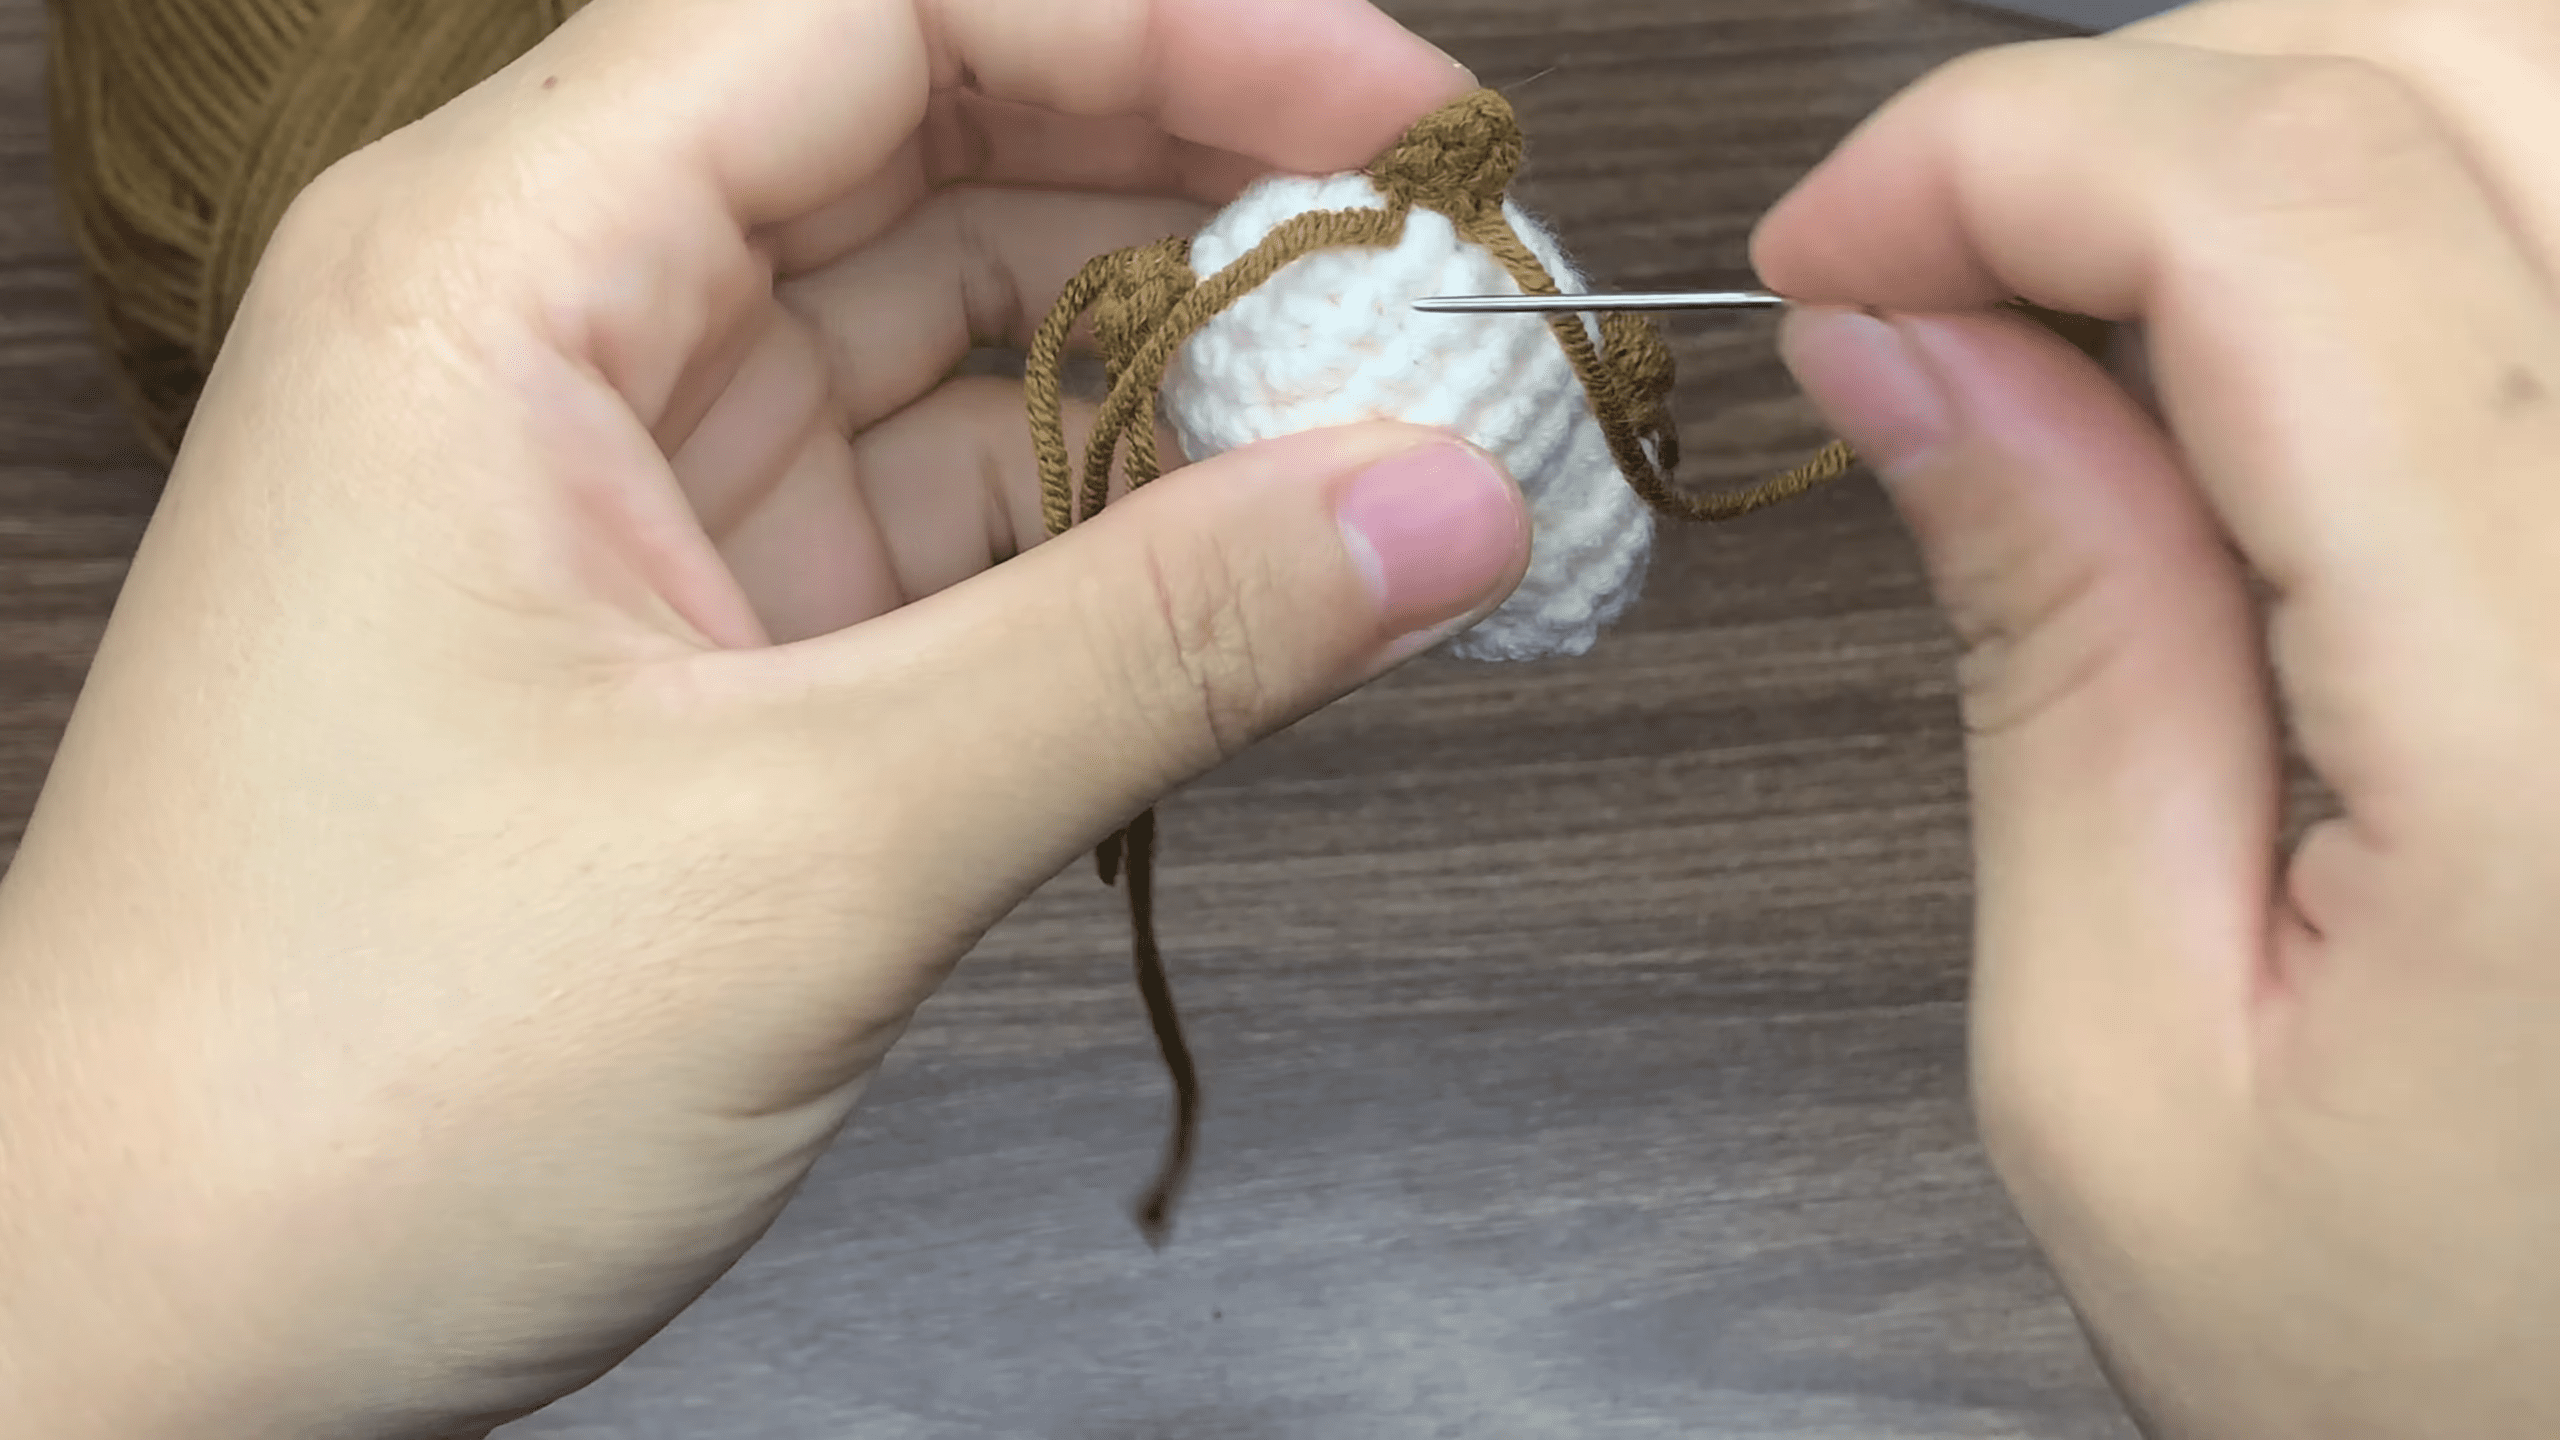
Stuff lightly before closing the top. The head should feel soft to the touch but retain shape. Don’t stuff too much in as it can affect facial positioning in the future.
The head of a crochet capybara amigurumi should be well-shaped, as this adds to the overall balance and professionalism of the pattern.
2. Eyes (Expression and Placement Details)
The capybara’s eyes are very significant to its calm personality. You can either use safety eyes or embroidery depending on your style.
Position eyes at the front, middle of the head. Moderate spacing (not too close, not too far). Wide means the face is stretched, close means the expression is strong.
Embroidery is recommended for a softer, more handmade appearance. Use black yarn to make small eyes, circular or slightly oval-shaped. The expression should be relaxed, sleepy, and peaceful.
The basic one is very crucial since it establishes the emotion of your cute crochet ideas. (ACI).
3. Nose and Mouth (Soft Facial Definition)
The nose is small and set slightly below the eyes. Embroider a small dark brown or black horizontal oval or rounded triangle.
Tight and keep the stitching to a minimum. The capybara does not require a bold nose, subtle detail works best!
On the bottom of the nose, make a small vertical stitch down. A very soft curved line can be added to the mouth optionally. The tone of the expression should be neutral and calm. Don’t clutter up this with too much detail. The design is simple and elegant.
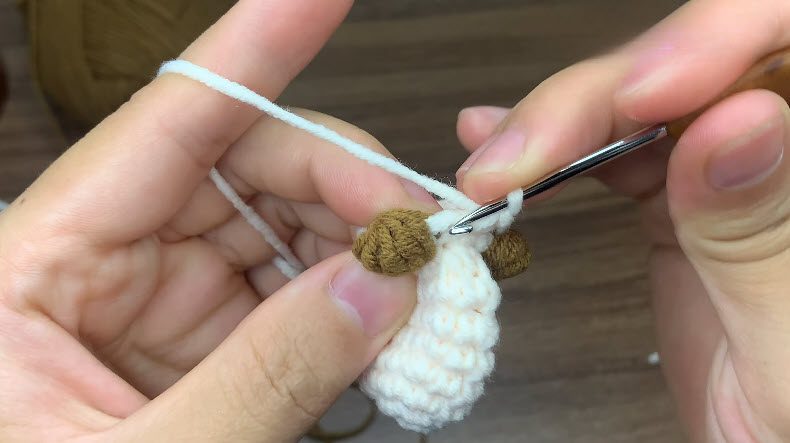
4. Ears (Small but Important for Balance)
Use simple crochet increases to make two little crochet ears. Create a few rounds only with a magic ring; do not make them large.
The ears should be slightly curved and soft, not stiff or pointed. Ears of capybara are delicate and fit in harmoniously with the head.
Secure them on top of the head at an angle to each other. Ensure that both ears are even, as they can cause the overall look to be uneven.
This is one of the shaping steps that are part of your mini crochet capybara tutorial (MCC-T) that brings a balance to the visual effect of the face.
5. Body (Main Structure and Proportion)

The body should be grounded and relaxed, and is the largest portion of the capybara. Use a magic ring and add some stitches until you create an oval. Continue to increase until you get to the widest section of the body. Then, create even rounds to make length.
The capybara body should not be tall, it should be slightly lengthened along the horizon, as many animals have a tall body.
After the shape is formed, fill it with a little stuffing. The stuffing should be even, but not firm. A soft body provides a natural restful look. This is the essence of the CCAP design, so take the time to get this right.
6. Arms (Small and Relaxed Placement)
The arms are short cylindrical pieces. Create two identical shapes with easy rounds (no complex shaping). Please do not pack them full. They must be soft and flexible.
Place them on top of the body where they lie. The arms should not be prominent, but should fit into the general posture of the capybara.
7. Legs (Support and Sitting Balance)

Legs are slightly fatter than arms and easy. Create two small round bumps and stuff a little. Either fasten them at the bottom of the body in an evenly spaced arrangement or attach a single one.
It is important because the capybara should not lean to one side when sitting down. The correct leg position will increase balance and stability in a crochet capybara amigurumi pattern.
8. Tail (Optional Detail)
This step is optional as capybara tails are very small. If you desire to add it, make a small bump or short tube, and attach it to the rear of the body. Don’t use too many other elements – keep it simple and it won’t overpower the overall shape.
Video Pattern Here:
9. Final Assembly and Shaping
Finally, assemble all the pieces. First secure the head to the body. Ensure it is positioned naturally, and centered and oriented forward.
Then glue on ears, arms and legs, one after another. Ensure alignment from every direction prior to final stitching.
After assembly, apply some gentle pressure to any uneven areas to smooth out the stuffing and fill the area. Finish the ends of yarns safely within the body for clean and professional appearance. Your capybara is now ready to go and can be displayed.
Uses of Crochet Capybara Amigurumi
Here are some ideas for crochet Capybara Amigurumi:
- Stylish furnishings for the interior of the house
- Unique handmade gifts for animal lovers.
- Children’s rooms and nursery decoration.
- Small crochet business products
- Collectible animal figures
- Calm workspace décor
Pro Tips for Better Results
Keeping the stitches even assures right stitch size and even curves and shaping. Always use stitch markers, to prevent loss of rounds. Do not over stuff, it can destroy the soft natural finish. Allow adequate time for facial placement, small changes in facial placement make a huge difference in facial expression. Lastly, be sure to secure yarn ends well within the structure, to ensure durability.
Tutor Suggestions for Beginners
For the beginning, practice parts of round and oval, and then use that to work towards the whole assembly. The practice of embroidery on the face is also useful to ensure improved control and cleaner expressions. Carefully following the steps makes for accuracy. By working on the small animal projects again and again, students will gain self-confidence and consistency over time, particularly when using the CCAI-style designs.
Special Features of This Pattern
This pattern has several special features. There are special features of this pattern.
- Easy to understand and suitable for those who are new to sewing.
- The soft, natural rounded structure.
- Minimal facial details for a calm look
- Colors can be completely customized with yarn colors.
- Lightweight and easy to display
- Perfect for giving or selling!
- Simple stitches only
- All pieces are handmade and will have their own special personality.
Final Thoughts
The pattern is simple, soft and creative, making it a relaxing and rewarding crochet project. It guides you through to make a serene and expressive figure with simple techniques, perfect for beginners and advanced crocheters alike.