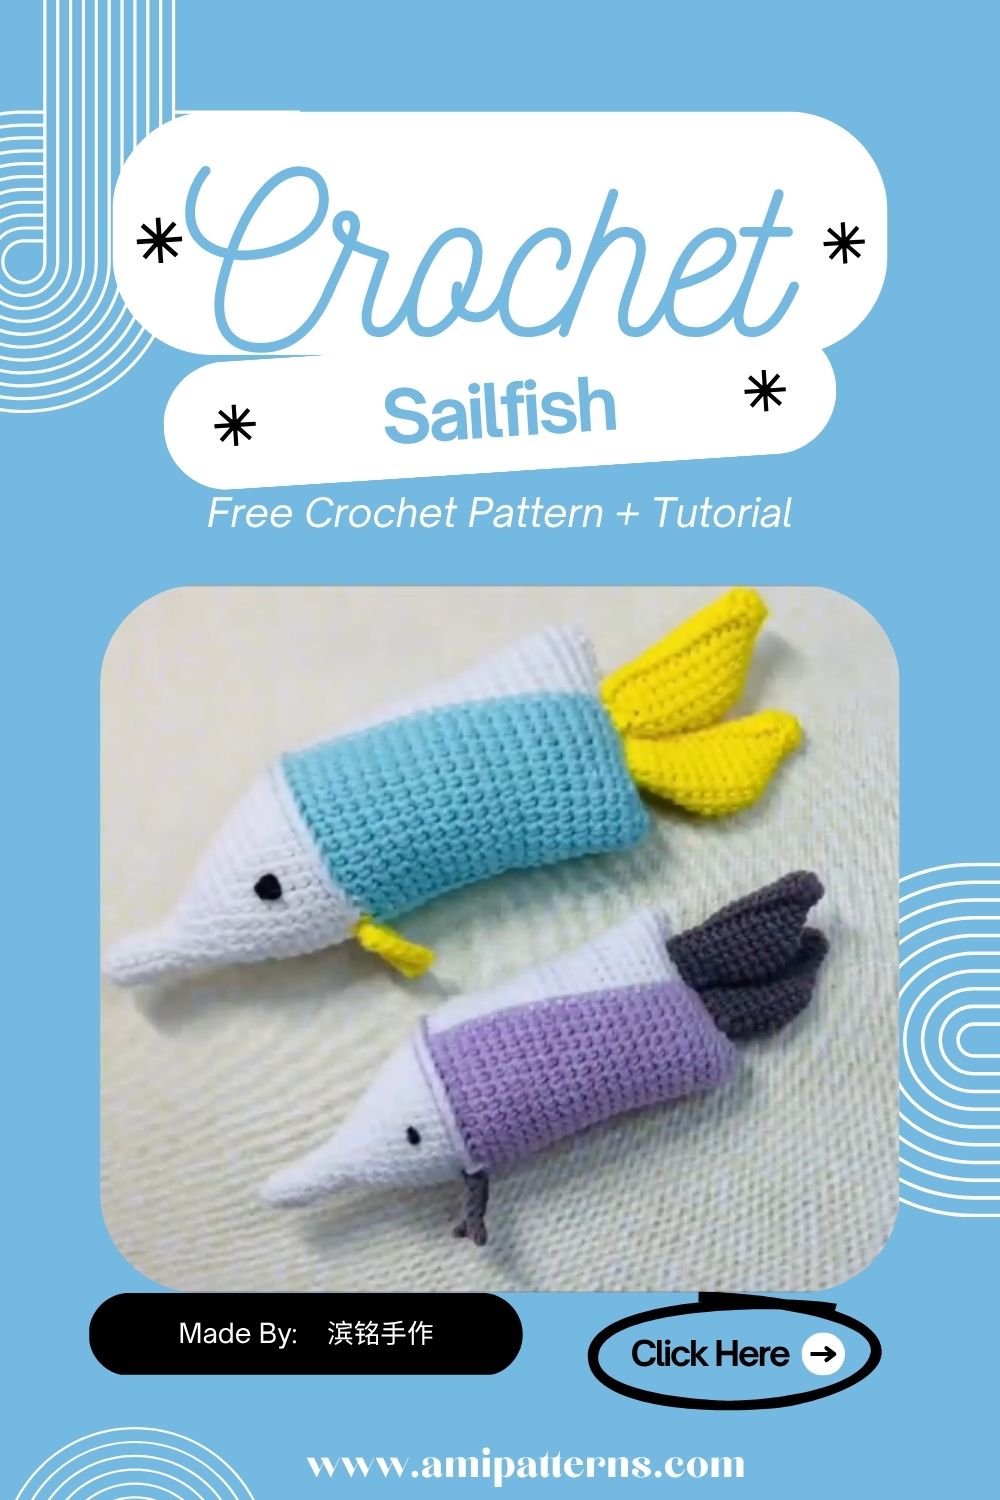
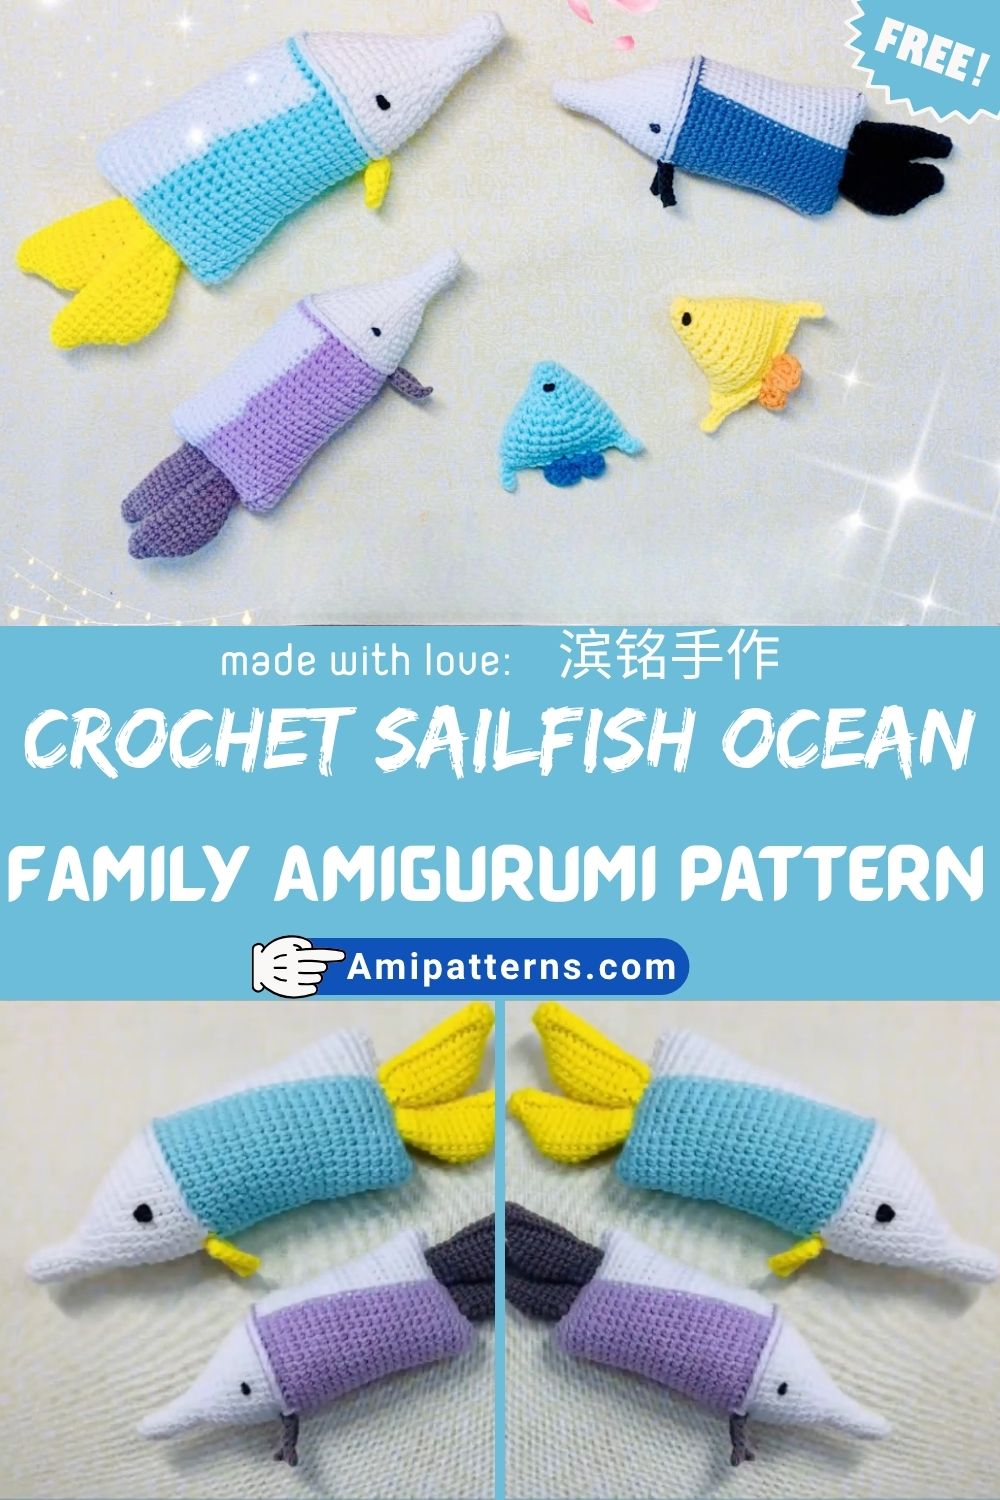
Free Crochet Sailfish Ocean Family Amigurumi Pattern You Will Adore
There is something that is very fascinating about an ocean pieced crochet pieces. The best part is that they are not just a décor, they carry a sense of movement. Something about them is deeper and meaningful. Classy Crochet Sailfish Free Ocean Family Amigurumi Pattern is something that will make your day. It is not just a project but will become a part of your life.
Here, you are not just crocheting a fish, you are making something that feels alive with each stitch. The long fins, the pointed body and the rhythm of stitches. Let’s keep these graceful pieces at home. So let’s just create on today?
Why This Crochet Sailfish Pattern Is So Loved
The trend of crochet ocean animal Amigurumi is growing steadily and it’s a natural one. There’s a growing trend for people to pick up handmade items inspired by nature and items that are done in a “somewhat artistic” way.
One thing that makes this sailfish Amigurumi stand out, is that it’s not one of those “cute” designs like many Amigurumi designs. It has attitude. It can move because of its shape. The long dorsal fin looks as if it is trying to catch a wave that it can’t see.
There is an element of symbolism to it too. The sailfish is a swift and free-swimming fish. That same playfulness and elegance is achieved when translated into yarn. It’s something a little more significant than a pretty toy.
Abbreviations
- MR: Magic Ring
- ch: Chain
- sc: Single crochet
- Inc: Increase
- Dec: Decrease
- sl st: Slip stitch
- st(s): Stitch(es)
- FO: Fasten off
Skill Level & What to Expect
This is a medium level project with a little bit of work if you go step-by-step. Shaping is the only slightly more difficult crochet technique in this easy crochet sailfish Amigurumi pattern. Not only are you creating a round or plain animal but a line and curve and a flowing shape of the body.
Materials You’ll Need
- Green and blue leaves or branches (or any nature-inspired colors)
- Crochet hook (2.5mm-3.5mm is recommended)
- Polyester fibrefill stuffing
- Yarn needle
- Stitch marker
- Scissors
- OPTIONAL: safety eyes for expressive look
Step-by-Step Crochet Sailfish Pattern
Step 1: Starting the Head
Start with a magic ring and crochet 6 SC’s into the ring.
- Round 2: Increase 1 stitch in each stitch (12).
- Round 3: sc in 1 stitch, Inc in next (18)
- Round 4: sc in 2 Inc in next (24)
This is the rounded anterior part of the sailfish head. Maintain even and tight stitches. The face structure is defined in this part, consistency is important.
Step 2: Shaping the Face and Body Transition
 Repeat rounds:
- Around 5-8: sc in each.
- Round 9: sc in 3 stitches, Dec in next (repeat around)
It is the beginning of the slow drop off from head to body.
The sailfish shape will gradually start to reveal itself, it’s a very natural shape and it will develop very well. The handmade crochet ocean décor pattern really comes to life in this part.
Step 3: Building the Long Body
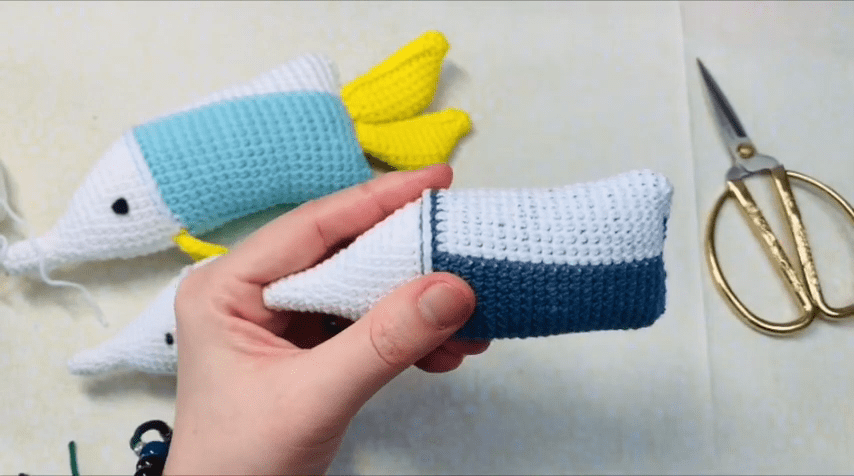
Then work in the same number of rounds without increases or decreases. It results in the sailfish’s elongated body shape.
Every few rounds you can swap between shades of blue/turquoise to simulate ocean waves. It enriches content with depth and flow smoothly without extra effort. Continue until it is the length desired; patience is more important than speed here.
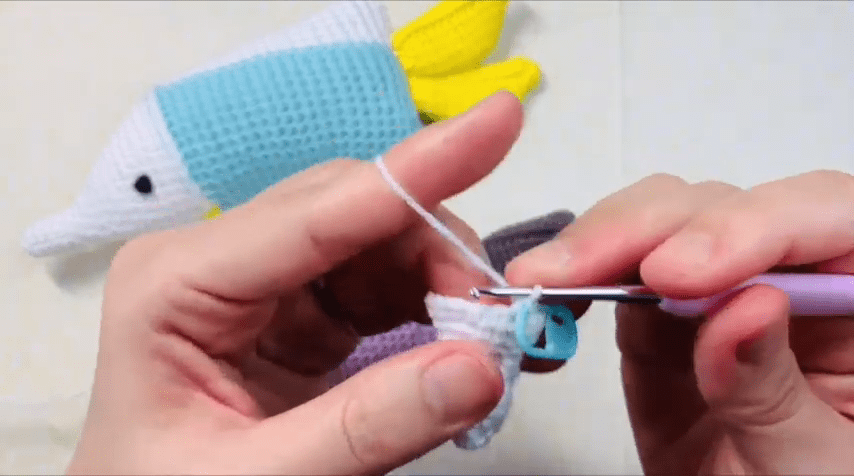
Step 4: Creating the Signature Sail (Dorsal Fin)
This is the most crucial of all the project. It is the sailfish’s dorsal fin that identifies it.
To create it:
- Chain 20-30 chains (according to size).
- Count back along the chain in single crochet.
Now, in the next row, slightly more in the middle stitches so as to form a natural curve. Repeat a few rows until a tall fin resembling a sail has been built. Stitch it along the top of the body, either with slip stitches or stitch it together with a yarn needle. It is here that the crochet sea animal decorative pattern truly shines. Take time here, the fin determines the overall grace of the whole article.
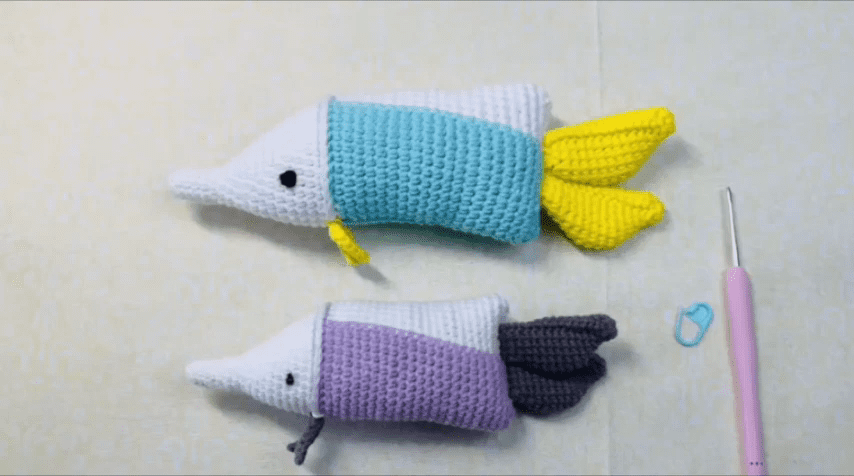
Step 5: Side Fin, Tail
For side fins:
- Chain 10–12 stitches
- Work sc back along chain
- Slightly shape with small decreases around edges.
- Gently place them on either side of the body.
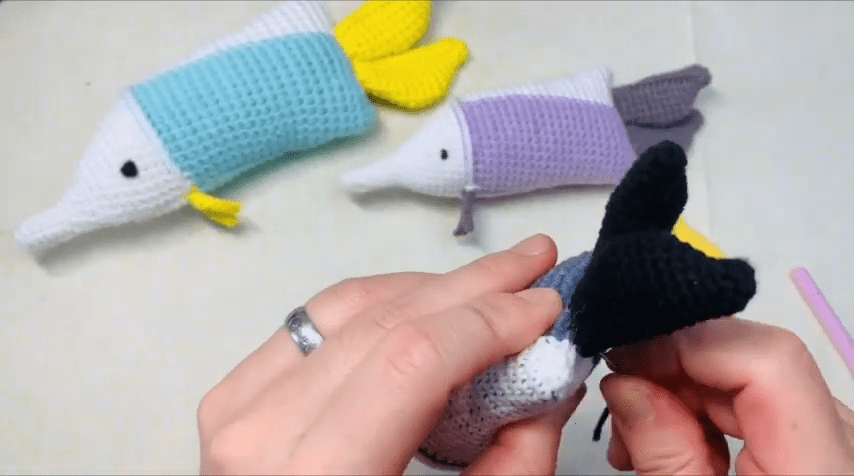
For the tail:
- Double end the body with two small pointed fins made by decreasing.
- This allows the sailfish to move in the normal fashion.
Step 6: Stuffing and Closing
Stuff fibrefill before the body is closed completely. Don’t overstuff. The sailfish should feel soft, but not floppy. When completed, neatly close the opening with decreases and slip stitches. Carefully weave in all ends.
Adding Life Through Details
The fun begins now, when your sailfish really comes to life.
You can:
- Embroider stripes down body
- For the fin edges use lighter yarn.
- Stitch small wave stitching on the sides
- Add light detailing for the eyes to create expression
It’s all about the little details. They take the piece from “nice craft” to a more “intentional” and “artistic” level. It’s all about the movement captured in still form here, and details make it happen here with the DIY crochet ocean Amigurumi.
Special Features of This Pattern
The pattern has some special features:
- Elegant ocean-inspired design
- The fins that move like the real ones are called flowing fins.
- Customizable color gradients
- Ideal for gift-giving and on display.
- Cute and realistic in balance
It’s not only a toy! It seems more like a small handmade sculpture.
Tutor’s Suggestions (From Experience)
Avoid rushing the ‘fin sections’. It is in this area that most of the shaping errors occur. When using stitch markers, use many, particularly when creating long rounds.
Beware of tension, if your body begins to curve unevenly, consider the tension. Sailfish shapes are very sensitive. But, above all, take a step back and view your work after every section. It assists you to adapt afore small issues grow to be big ones.
Uses for Crochet Sailfish Amigurumi
This piece is an ideal addition to a plethora of creative spaces:
- Ocean-themed room décor
- Handmade gift collections
- Learn about marine life with educational toys.
- Artistic crochet displays
- Themes for aquarium or beach house decoration.
Crochet marine animal handmade pattern trend is gaining momentum as people relish to incorporate nature in the interior in a gentle & artistic approach. This is an ideal complement to this concept.
Pattern Tip You Should Not Ignore
Always reinforce the dorsal fin attachment. It is quite large and may become loose over time if not properly secured. Also, distribute the stuffing evenly, otherwise it can affect the sailfish’s graceful line.
Final Thoughts
It’s kind of cool to make yarn into motion. This crochet sailfish is not only a crochet project but like a moment in stillness. Long fins and a flowing, sea-like silhouette and color; it’s artistic rather than technical.