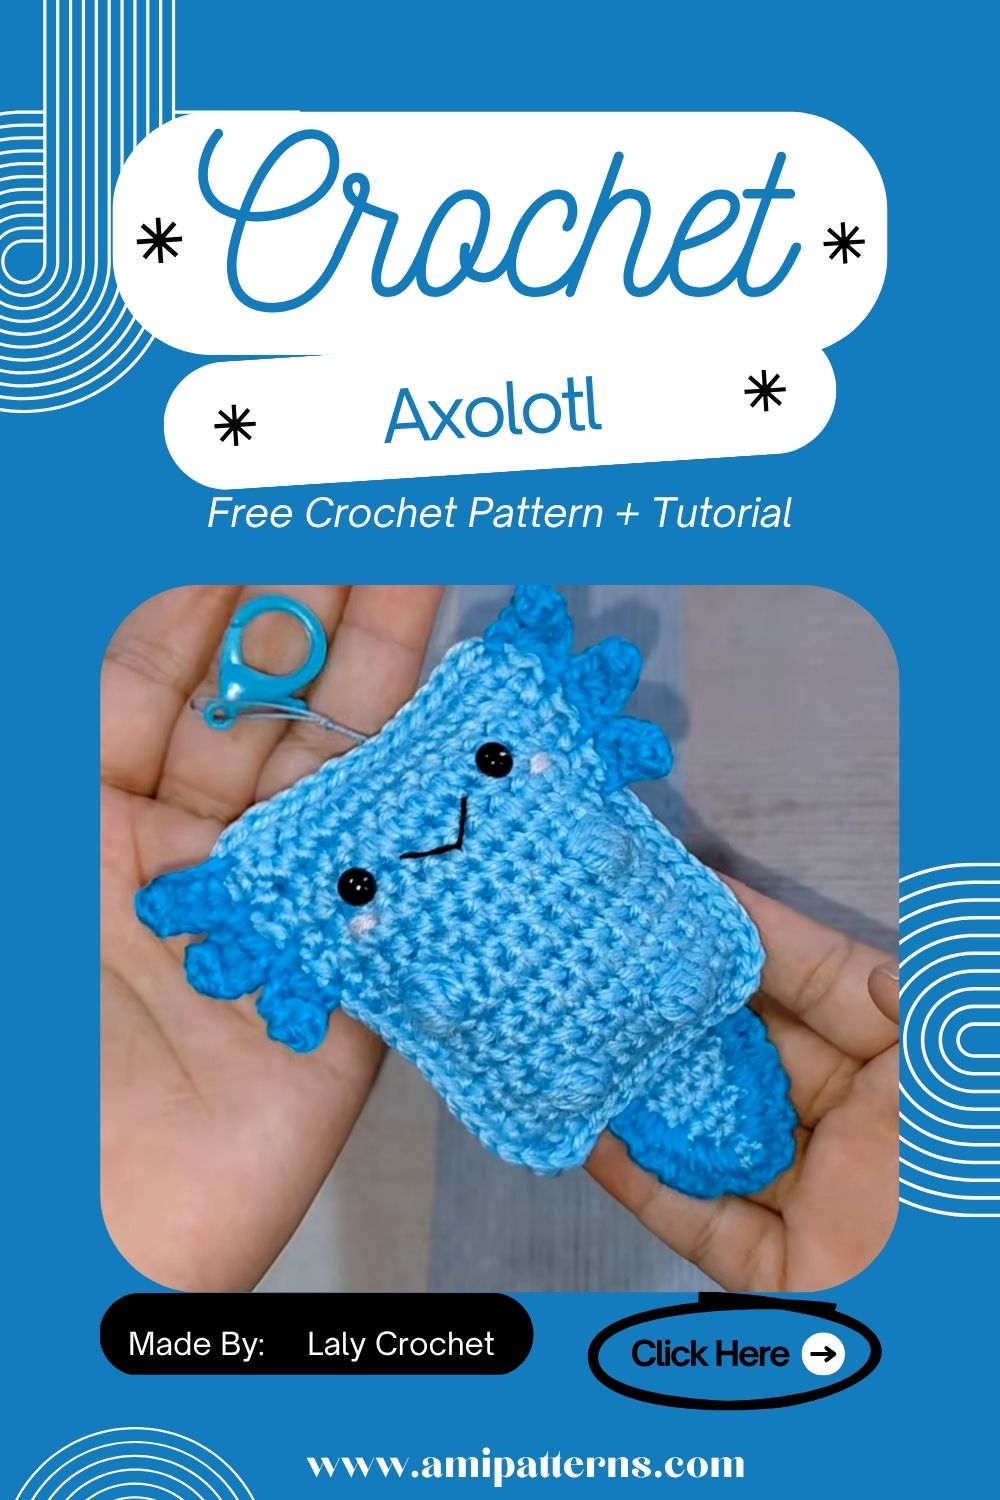
Crochet Kawaii Axolotl Amigurumi Pattern for Unique Creations
There is something very special about an axolotl that doesn’t even try hard to be cute it just is. Those tiny external gills, soft little smile and slow floating kind of energy. It almost feels so unreal like a fantasy. Now just imagine, turning the same feeling into yarn
That’s exactly where the kawaii axolotl crochet pattern becomes so very special. It is not just another Amigurumi project. It is soft, playful, comfortable and brings in a lot of joy. You will only realize how special it is when you hold it in your hands. Your friends too won’t be able to take their eyes away from it. That is the kind of magic it holds.

Materials You Will Need for The Project
This isn’t something complicated, so it’s a fairly relaxing project to begin with. Just some simple tools, soft yarns and patience.
- Soft pink, lighter pink/white yarn for the belly accents and small bits of blue or lavender for the dreamy effect.
- Crochet thread according to yarn thickness
- Safety eyes and black embroidery thread,
- Polyfill stuffing
- Stitch markers
- Tapestry needle
- Scissors
Gorgeous Crochet Kawaii Axolotl Amigurumi Pattern for Unique Creations
Starting with the Axolotl Body
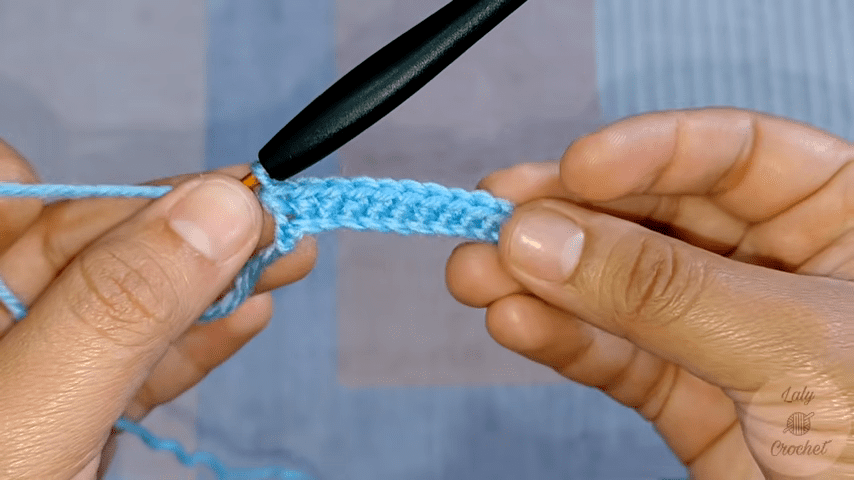
All axolotls start out in yarn the same, a soft oval that gradually develops into a recognizable form.
Typically, you will begin with a magic ring (MR) and create continuous rounds. The initial stitches are snug, not much to them at first, but they are important to the cleanliness of the body later on.
Shape slowly begins to widen with an increase of rounds. This stage is just very satisfying. There is no pressure, no rush. Gradually repetitive but gradually developing to form.
The concept of an easy axolotl Amigurumi tutorial for beginners truly comes into its own here. The stitches are very simple and the change is almost startling. First, it’s a flat circle, then, after a few rounds, it has the feel of life.
Shaping the Head and Expression
Things can get personal from the head. The shape gradually becomes rounder and more pillow-like as you keep adding to it. Then slowly, you take it back and it doesn’t get too chunky. The objective is not perfection, it is personality.
Carefully place eyes prior to closing the head completely. And take the time to be here. Don’t be in a hurry, by the way. A small change makes a huge difference. Just a couple of stitches to the left and an instant transformation. The axolotl no longer looks shy, but curious.
Stuff it lightly, not too tight, not too loose. It’s soft yet maintains its form.
Now, there starts to be something of interest: it’s not just a “project” anymore. It seems like a little person waiting for its information.
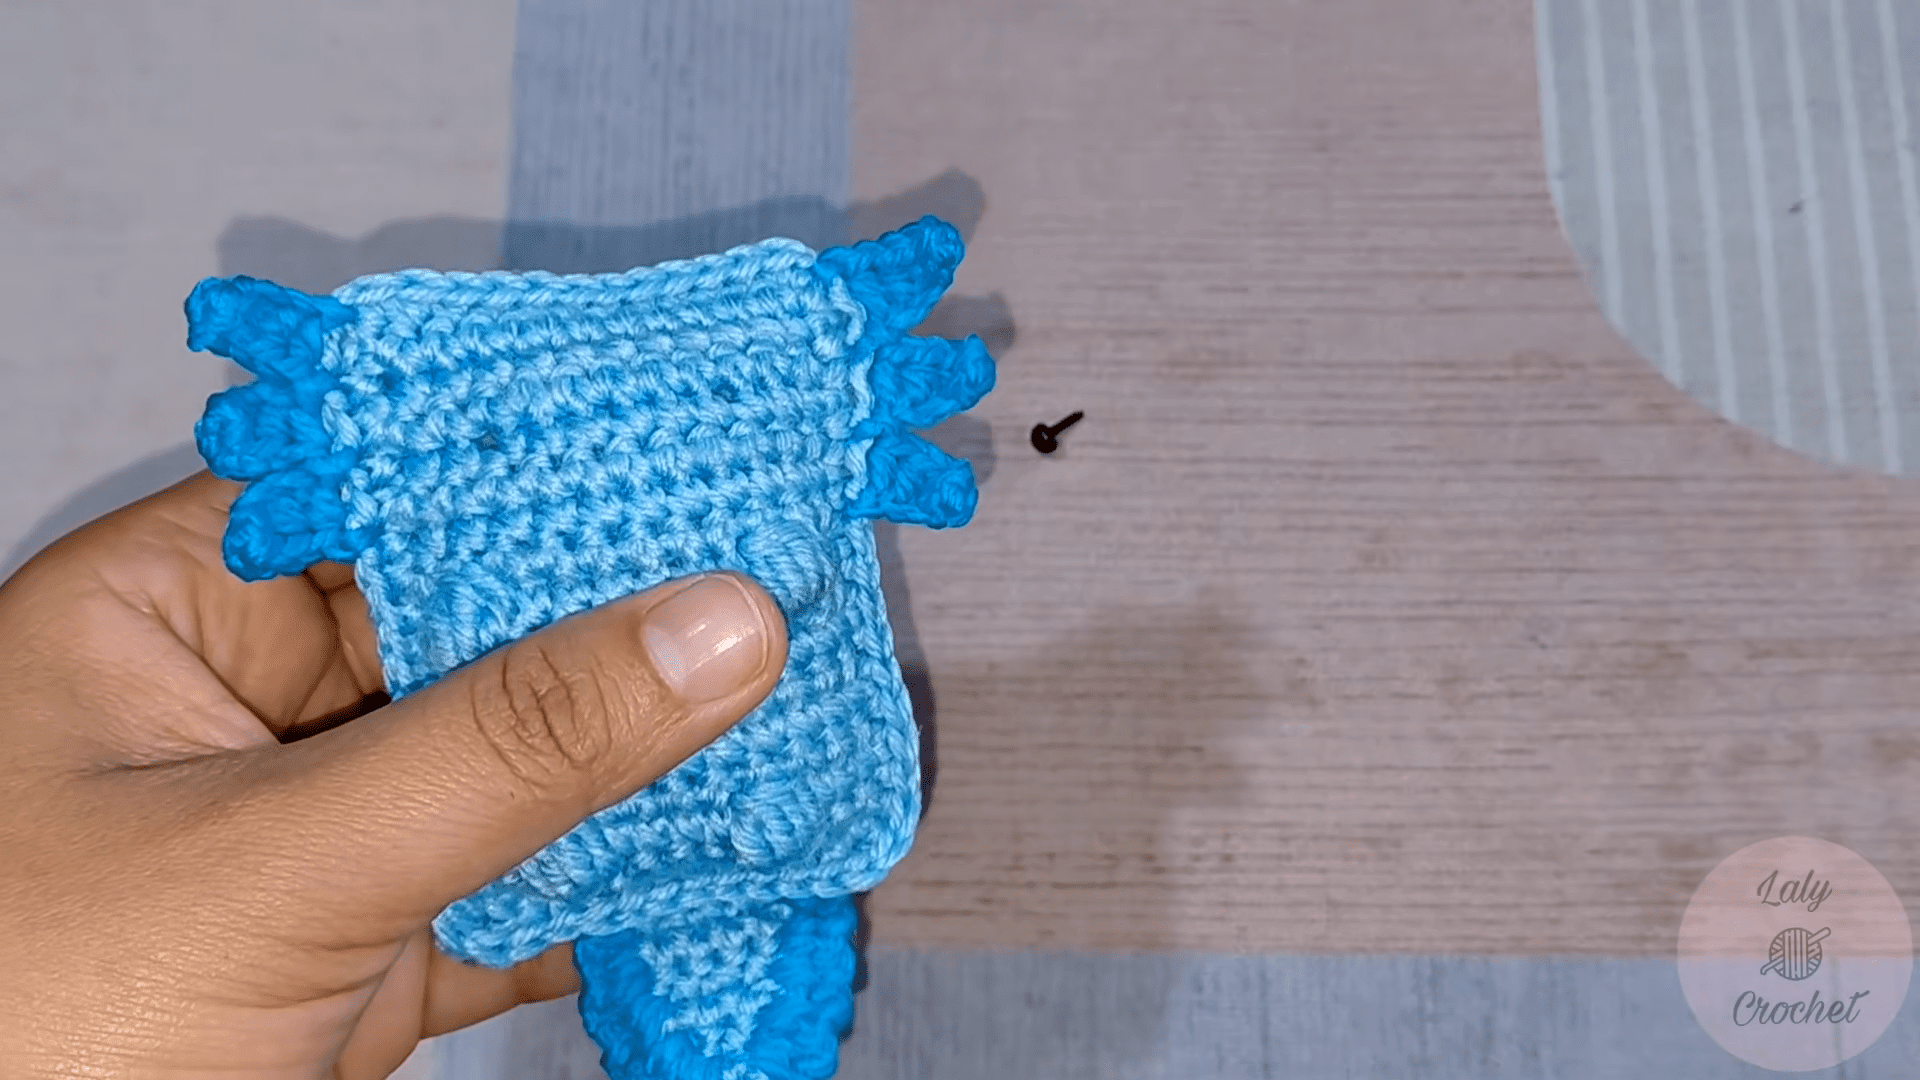
Those Iconic Axolotl Gills
It’s the part everyone’s looking forward to, let’s face it.
The gills are the reason Axolotls are so adorably unique. If they’re missing, it’s just a floppy creature. It becomes clear with him.
The shapes will be small branches, typically three along each side of the head, crocheted. They’re just short stitches or loops laid over each other, in such a way that you get feathery underwater look.
Here’s where the crochet kawaii axolotl step by step guide comes in handy, as every little part turns into something surprisingly expressive.
Attach them lightly and evenly apart but not symmetrically. A slight bumps and humps gives it a more natural feel, as if it’s floating in water rather than standing still.
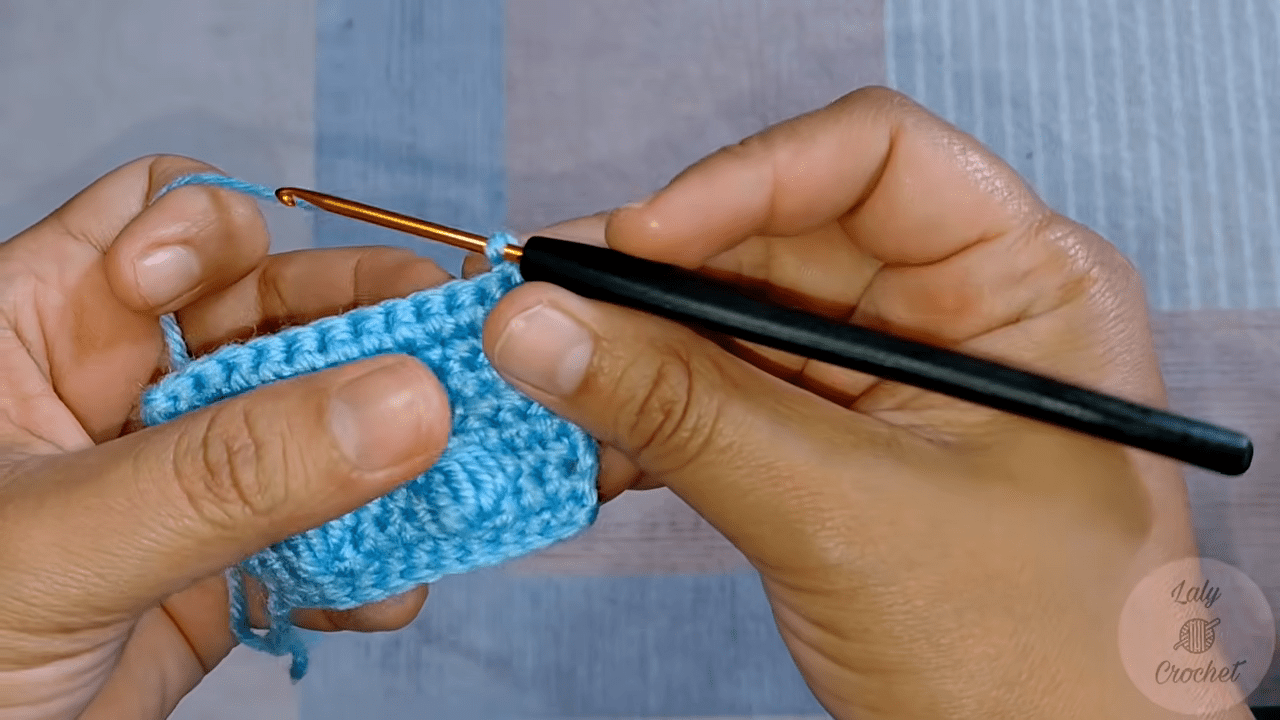
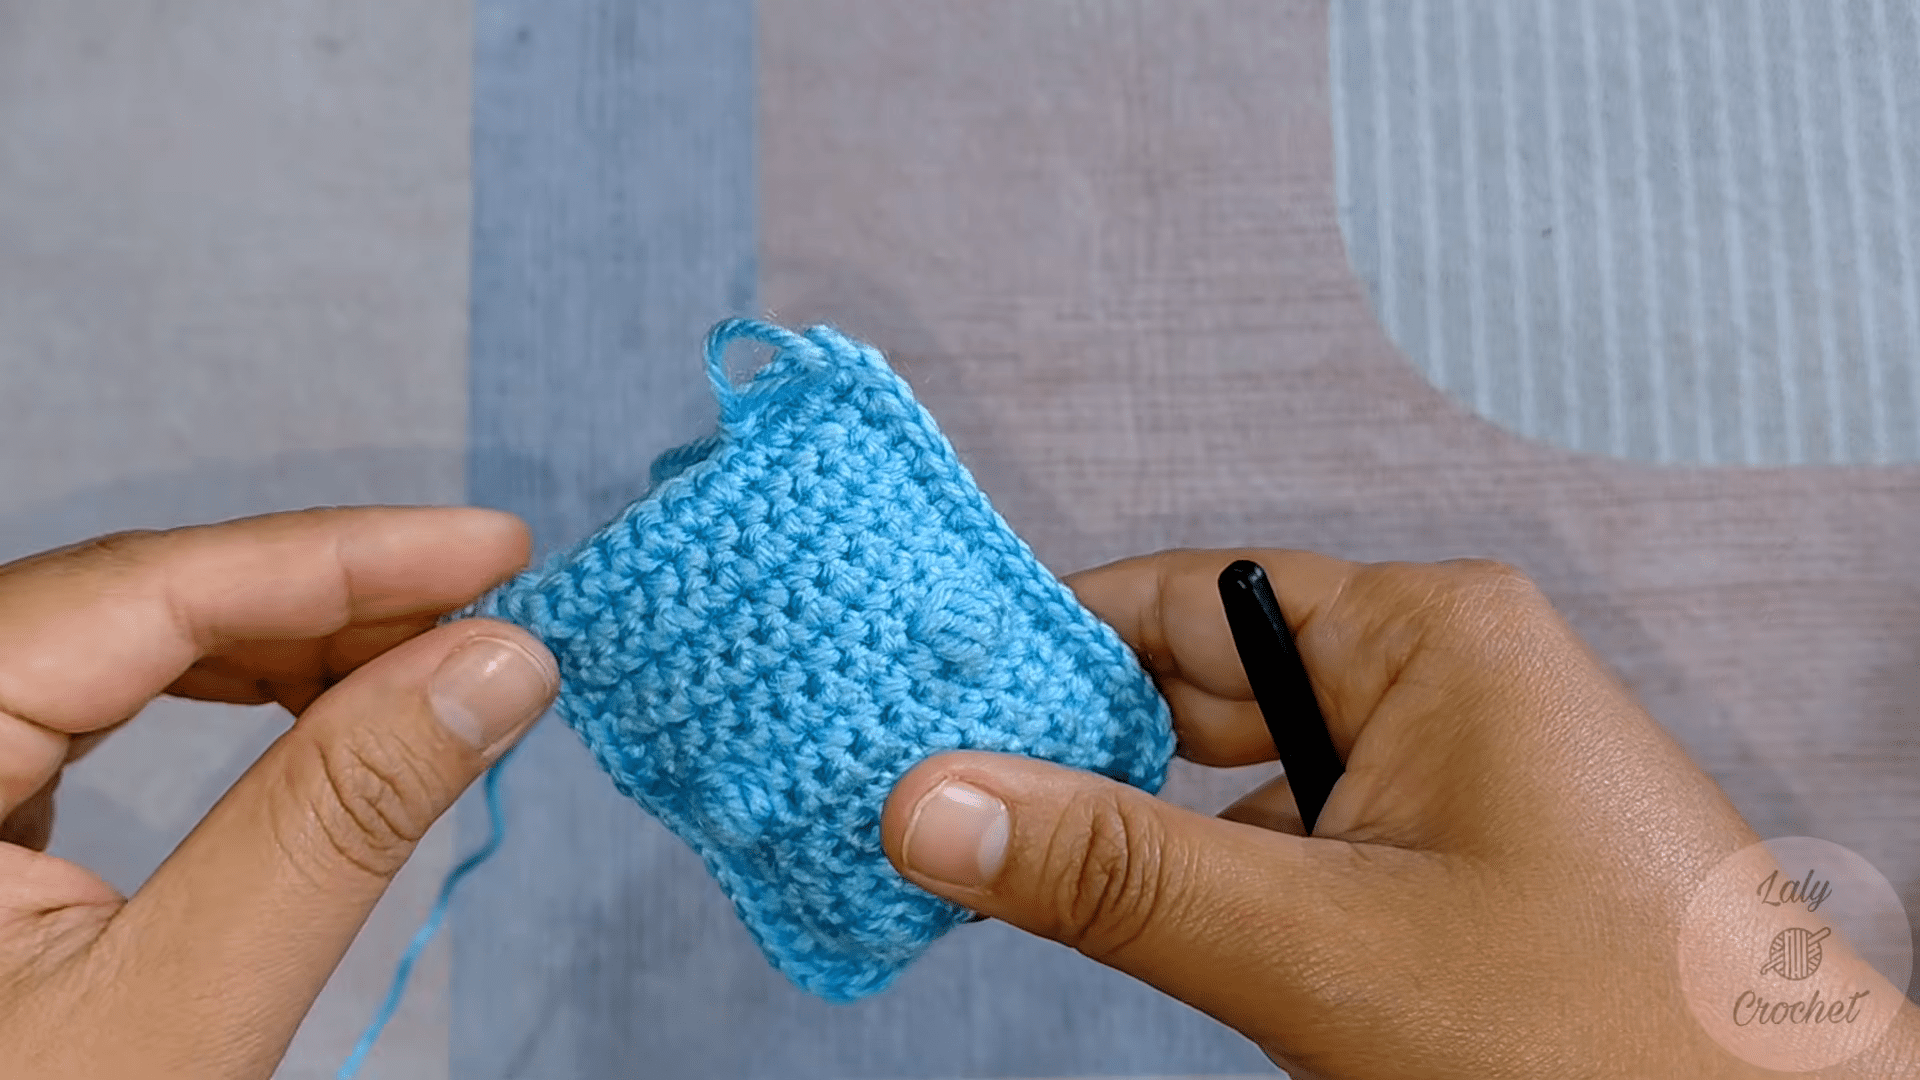
The Body That Feels Like a Pillow
It is typically soft, round and oval or slightly elongated in shape. Here, you do not want sharp edges. Smoothness and flow, that’s what Axolotls are all about!
As you begin to crochet, it becomes less and less “crochet rounds” and more like creating a squishy, living thing. You will feel your hands’ rhythm change as well, more relaxed, more automatic. Stuff it gradually as you go. Not all at once. One of those little details that make a big difference.
Tiny Limbs with Big Personality
The arms and legs are tiny and often overlooked but they’re more significant than you think.
They are tubes or slightly tapering shapes which are attached to the body without being rough. Don’t overstuff them. They should remain soft and pliable.
And placement is important here. Too many stitches up or down can change the whole “feel” of the Axolotl. It’s like the limbs are slightly “outward pointing” and look the way they would if they were just floating in water lazily.
Crocheting the Tail
It is generally broad at the base and tapers to a point, though it may curve a little at the end. It’s that gentle curve that makes the axolotl floaty and underwater.
You do not have to stuff is so full that it becomes stiff; rather it should have enough stuffing to create shape.
After the attachment just step back. This is the time when it suddenly begins to gel. The outline begins to start taking shape and all that that came before begins to make sense.
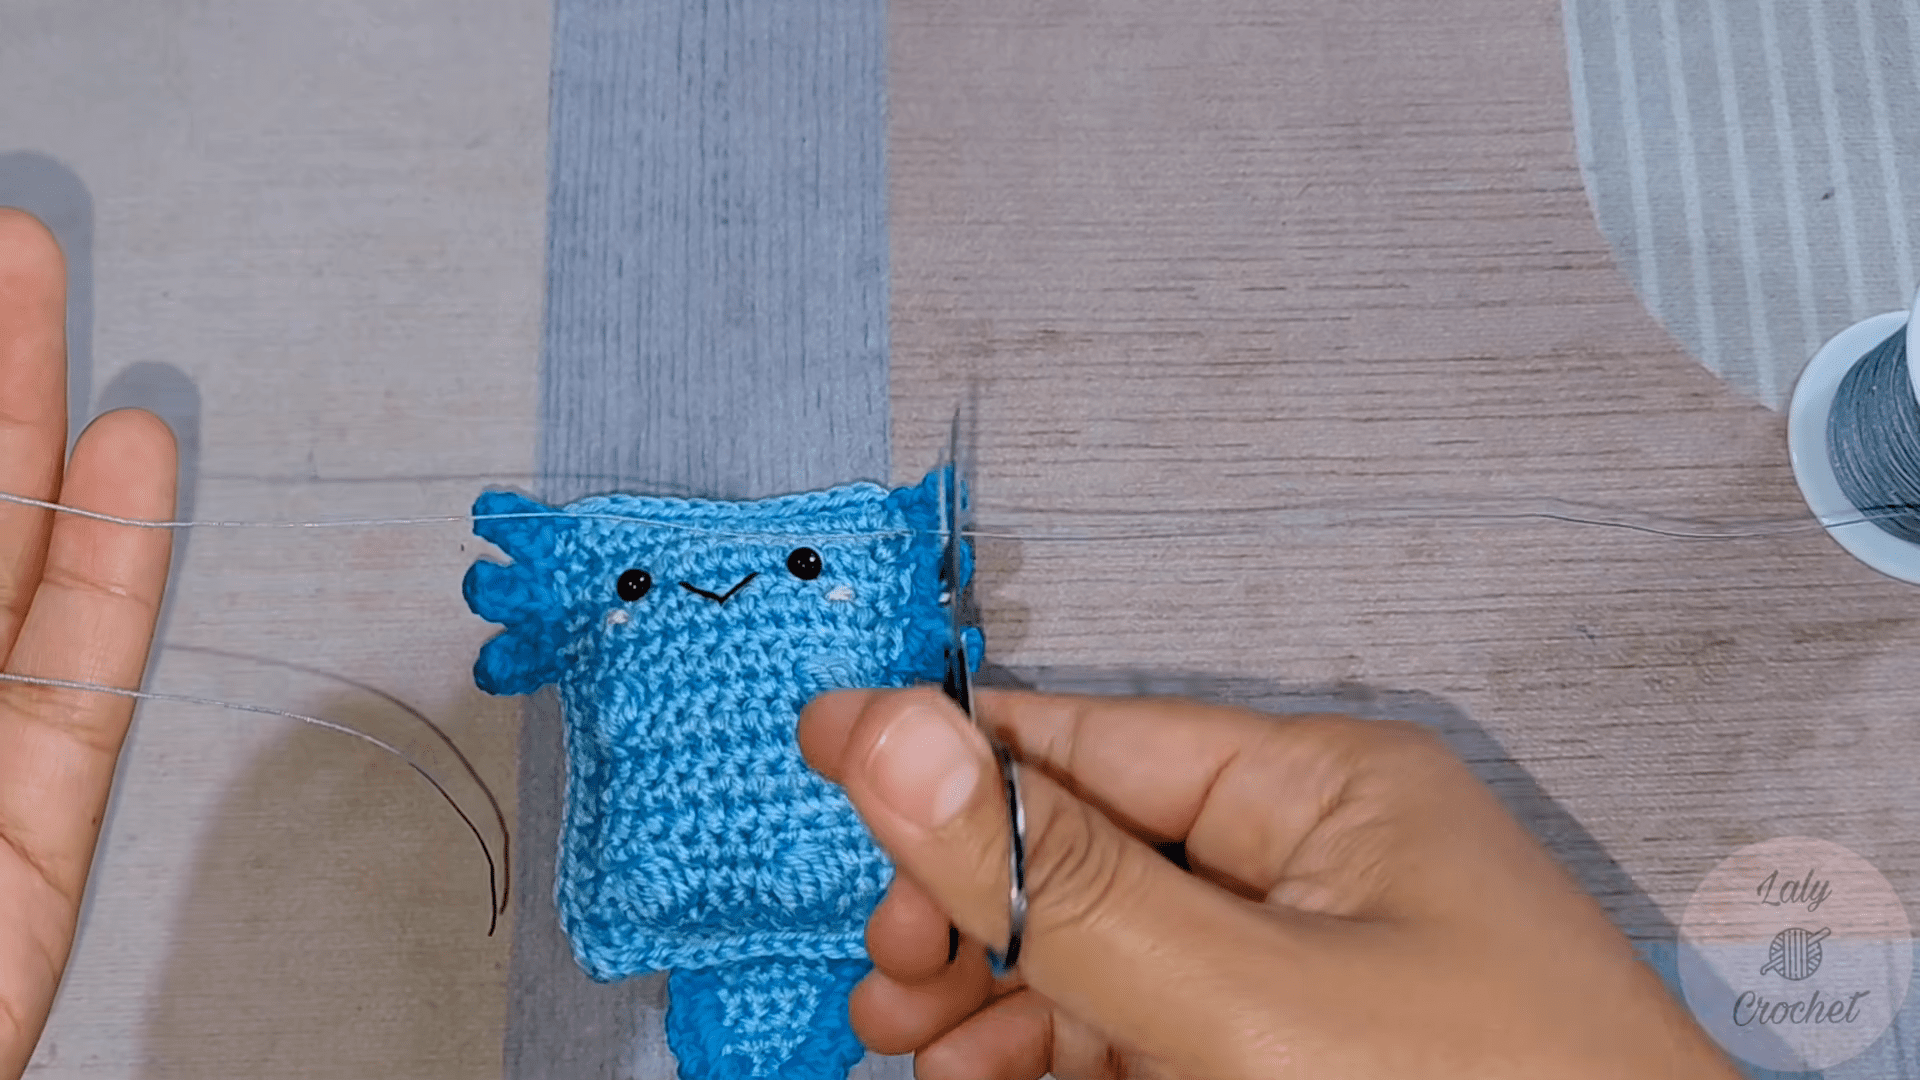
Adding Soft Facial Details
Now, the silent part, the face.
A little stitched smile, perhaps a little nose mark if you wish. Nothing dramatic. Axolotls have few needs to be expressive. For a more understated look, stick to a basic design. The reason for this creature’s charm is its calmness.
Here’s where a cute axolotl crochet plush gift idea sings out for attention. Suddenly it is not just a toy, it is one that you’d want to have on your desk, or around your loved one that needs a bit of softness.
Assembly That Brings It All Together
Gently attach the head to the body, ensuring that it is balanced. Attach limbs and then gills and then tail. Little by little it begins to become complete.
Here, they’re all about some minor tweaks. If you wish to have a curious expression, tilt the head slightly. If you’re looking for a “playful” appearance, move the gills. It doesn’t have to be precise and that’s the fun part.
Special Features
- Beginner-friendly stitch structure
- Vast range of customizable colors and expressions
- Lightweight and plush friendly shape
- Ideal for giving as a gift or decoration.
Tutors Suggestion
Try not to focus too much on symmetry. Axolotls are kind of quirky and crochet versions are even better if they’re not flawless. If it feels ‘off’ make the adjustment before stitching. If you’re willing to go with the flow of small changes, it’s all going to be better. Finally, and perhaps most significantly, take breaks to observe your creation.
Uses
- Desk or shelf decor that subtly brightens up a space
- Soft handmade gift for someone you care
- A calming crochet project
- A collectable kawaii Amigurumi item
Difficulty Level
This project sits comfortable between beginner and intermediate. These stiches are very easy. It is the shaping and assembly of all the elements that takes time and is balanced and expressive. It is not so technical but require patience.
Step by Step Flow
Starts from the head, then the body, then the limbs and tail. Once that, the gills make it all come to life. Last but not least, assembly brings it all together. Nothing feels rushed. Of course, each step follows the next one, kind of like the axolotl is slowly showing itself as you proceed.
Final Thoughts
It’s kind of rewarding to complete something like this. Soft axolotl made of yarn cannot be used for “small” utility purpose, perhaps that’s what makes it significant.
It’s merely there to be gentle. Just to be there and comforted. And once you do get it in your hands, you know that’s all you need.
Pro Tip
Finally, if you desire your axolotl to truly be a show-stopper, avoid the gills, for it’s just another step. After stitching, gently work with your fingers to fluff them and shape each branch to spread out and not lie flat.