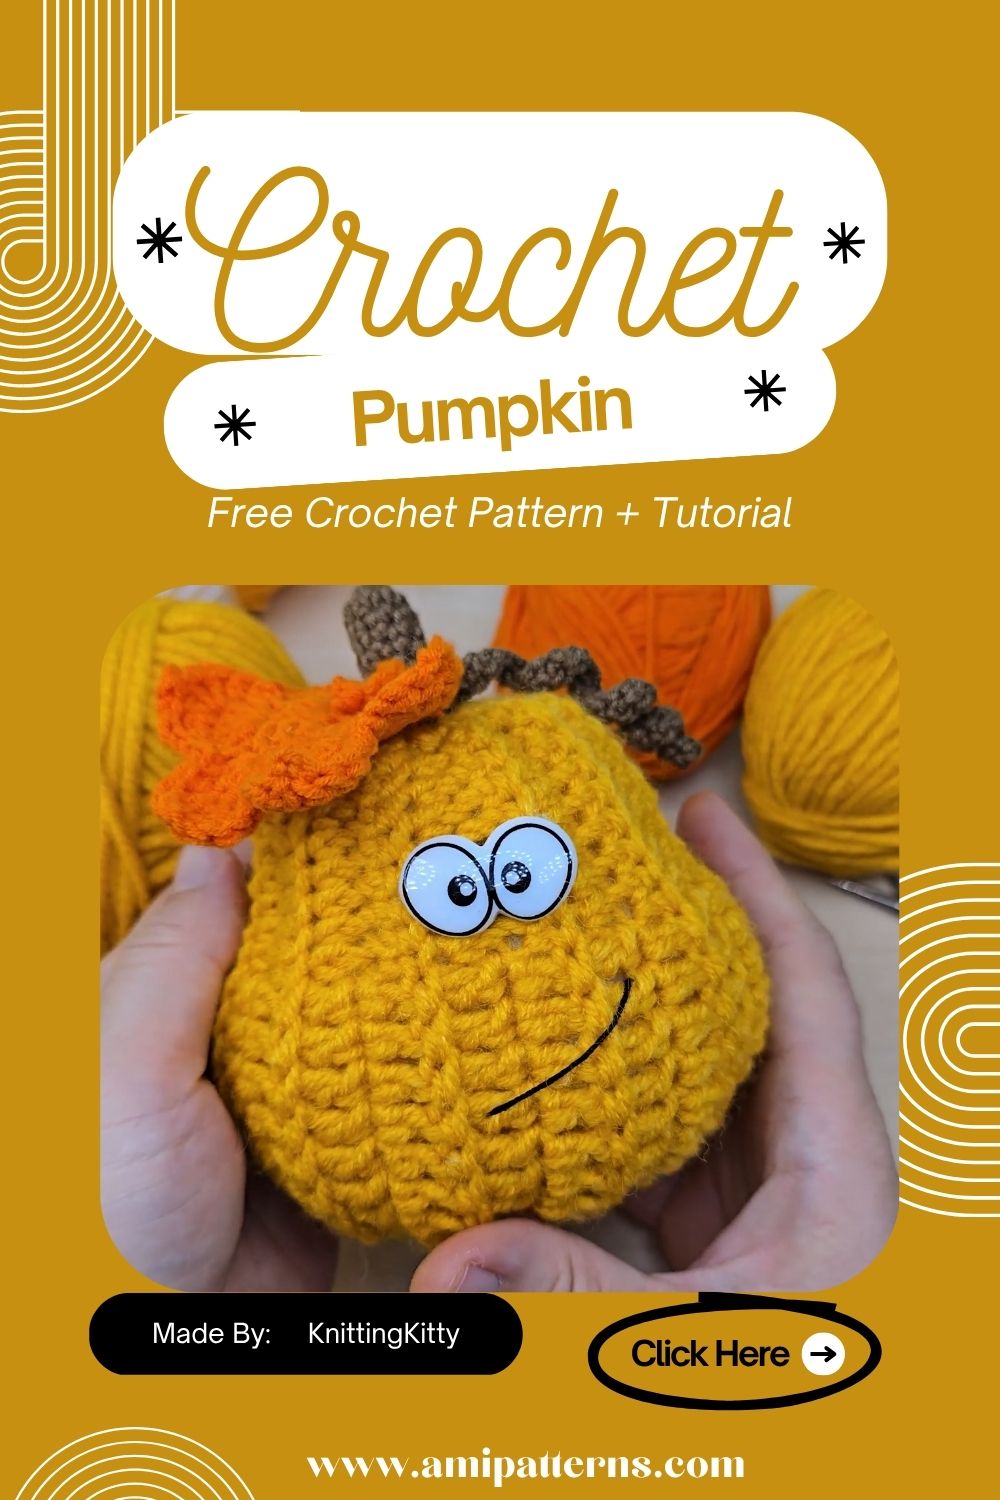
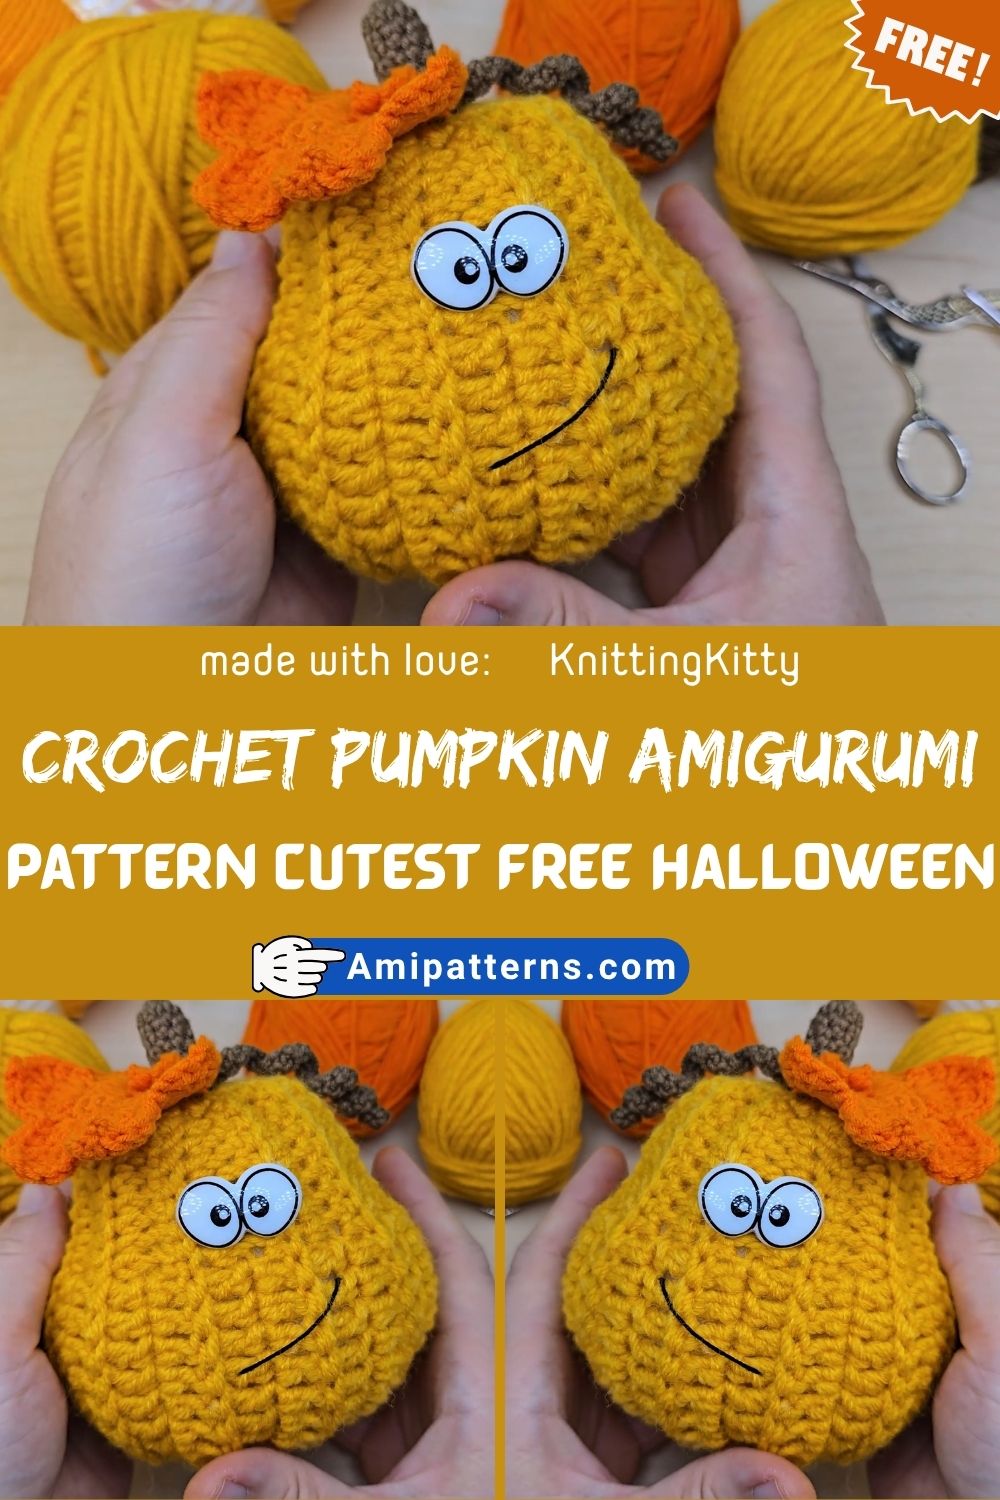
Crochet Pumpkin Amigurumi Pattern Halloween and Fall Home Decor
There is something about a pumpkin that feels like autumn. It depicts a story that you want to know more about. Maybe it is the colors or an instant feeling that is cozy and seasonal too. Whatever it is, crochet pumpkin Amigurumi pattern captures everyone’s attention like no other. You can use a yarn to make it look even better.
If you are decorating your home for Halloween or just starting a relaxing crochet project, it is the perfect idea to make your day. It is a beginner friendly project and has so many uses too. So why not start making a new pattern today?
Crochet Pumpkin Amigurumi Pattern for Cozy Fall Decor
The beauty of this pumpkin is in its simplicity. No fancy forms or cuts, just soft curves and autumnal flair. Another option is to experiment with dimensions: Create a small one for table topping or make a large one for the centrepiece, both will look equally stunning in their own ways.
Materials You Will Need
Before beginning, make sure you have all the materials you need on hand so you can work without interruption.
- orange yarn (pumpkin color)
- green yarn (stem and vine)
- A stem variation that uses brown yarn.
- 0mm–4.0mm crochet hook
- polyester fiberfill
- yarn needle
- stitch marker
- scissors
- Cardboard or wire (optional for structure)
There is no need to use any fancy yarn here, even left over yarn is great for this project.
Abbreviations
- MR: magic ring
- ch: chain
- sc: single crochet
- hdc: Half Double Crochet
- dc: double crochet
- Inc: increase
- Dec: decrease
- sl st: slip stitch
- st(s): stitch(es)
- FO: fasten off
Step 1: Create the Pumpkin Base
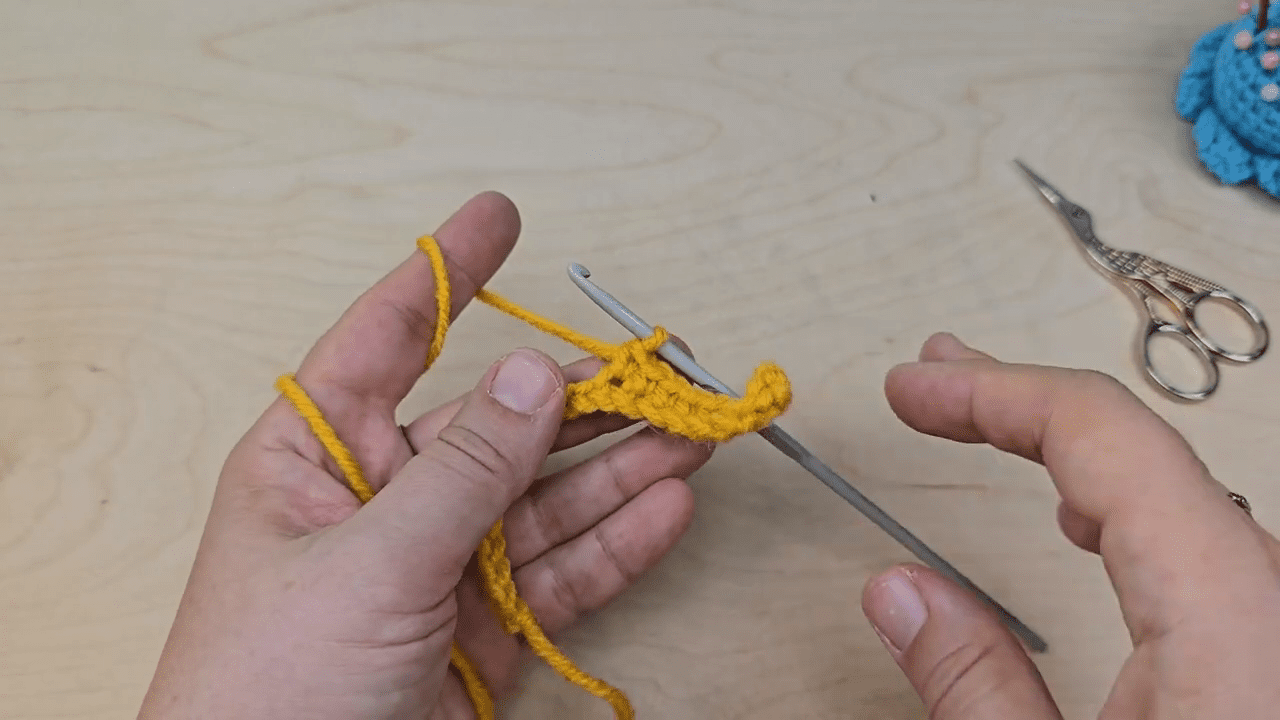
You will create the bottom and top of your pumpkin by making a magic ring and increasing evenly in each round.
When the base has reached the desired width stop adding to the base and start working even rounds of single crochet, which will contribute to the soft cylindrical body of the pumpkin, keeping your tension loose to maintain a smooth, round shape.
As you work on it, the piece will naturally take on the shape of a cup (this is what is desired for a soft and plump pumpkin body).
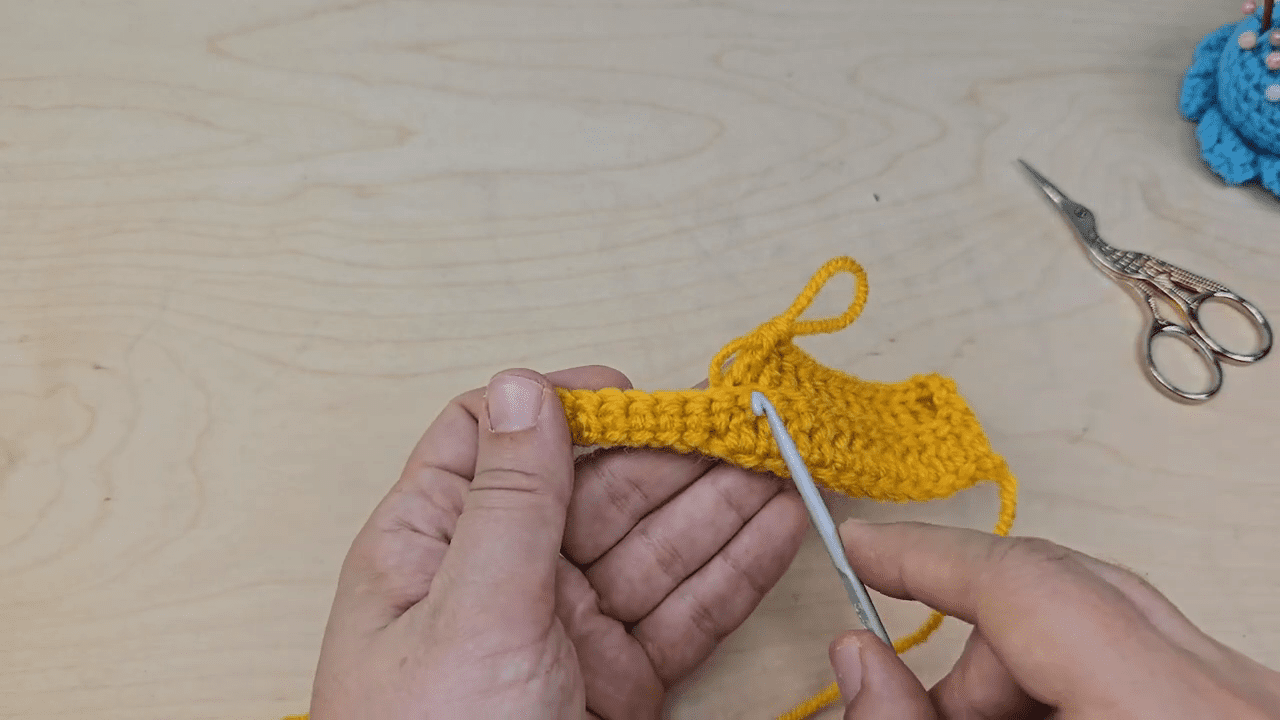
Step 2: Shaping The Pumpkin Body
Now, you start making the pumpkin look real, continuing to work even rounds without increases, to create the characteristic roundness of the pumpkin.
When you have reached your target height, start to reduce slowly to close the top off without taking the shape from the fiberfill. fill the pumpkin with fiberfill tightly before closing completely.
That’s where the easy crochet pumpkin decor idea truly comes into its own; uncomplicated shaping, and no complicated stitching, clean and smooth results.
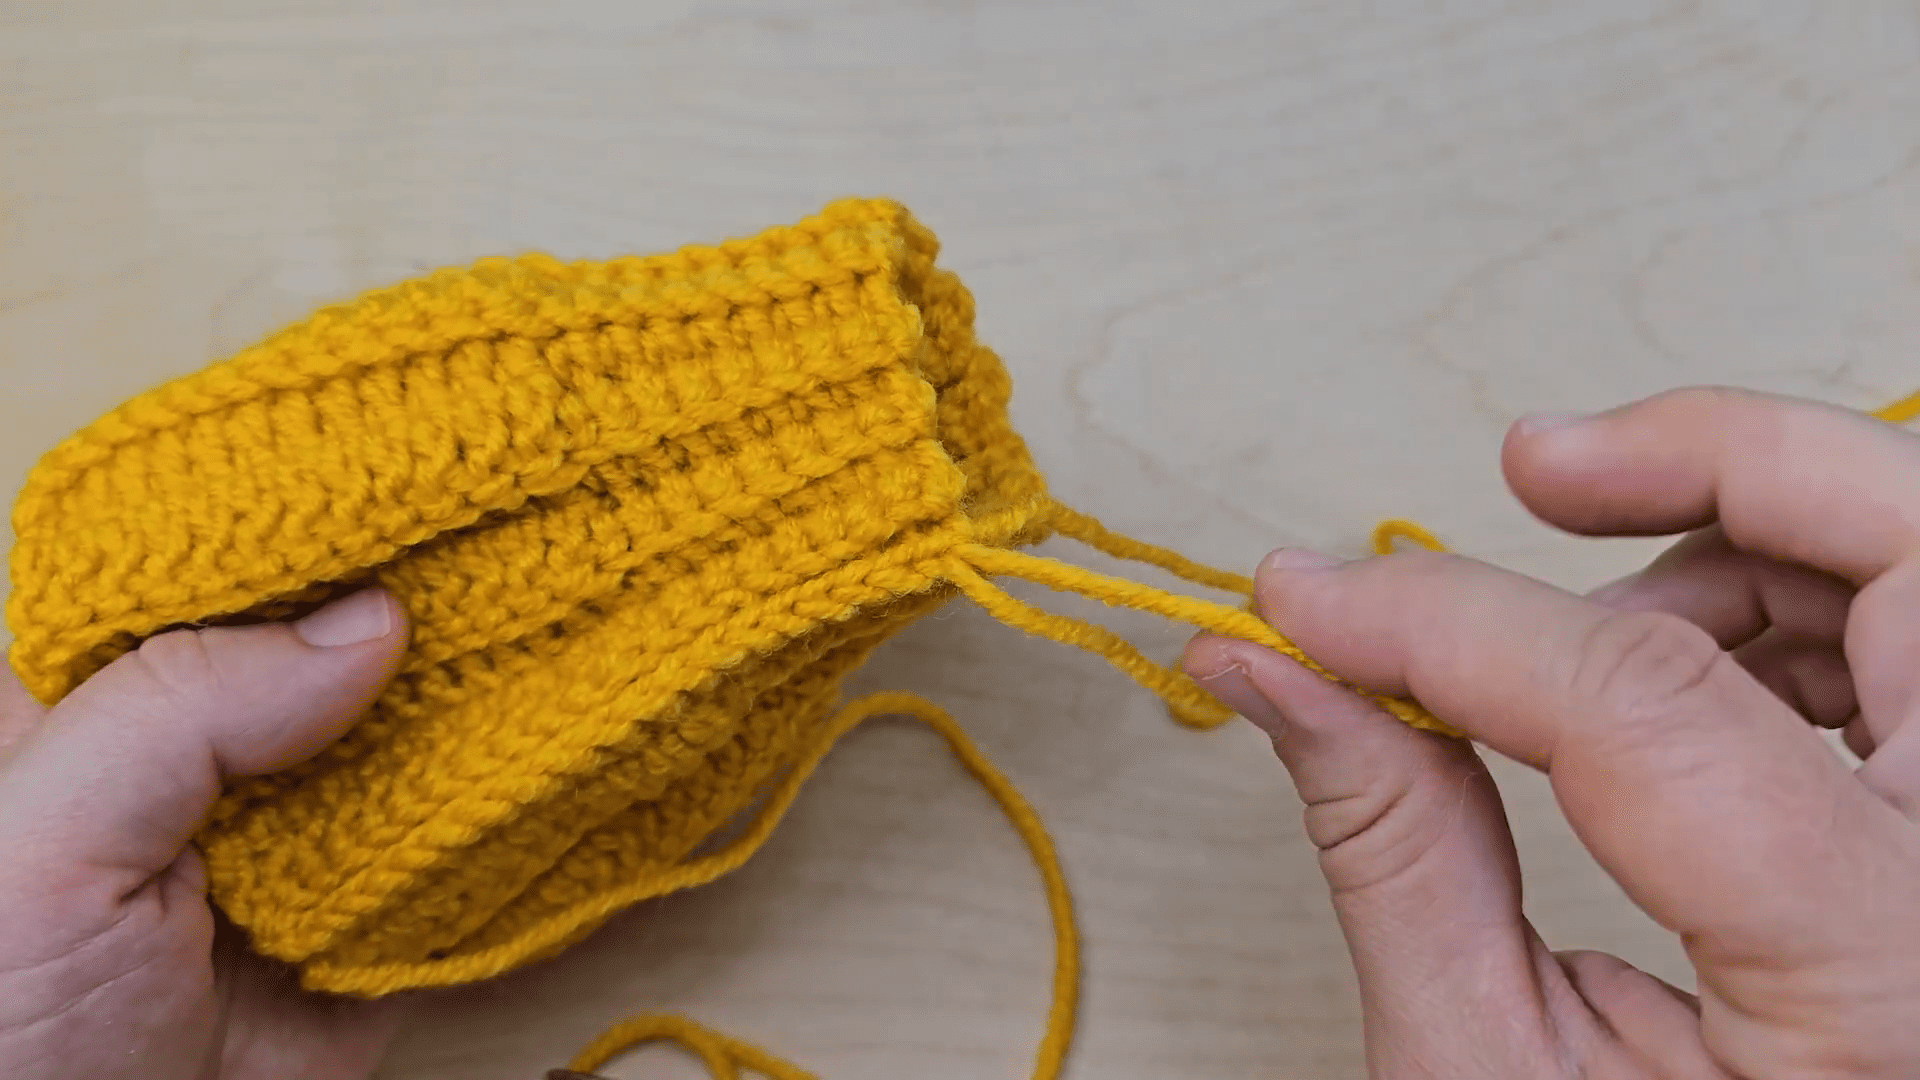
Step 3: Making Pumpkin Ridges
This is the important part that will make the pumpkin look real.
Cut a long yarn thread, and wrap around the pumpkin from top to bottom, dividing it into equal parts and gently pulling to form natural ridges.
This simple trick will make your pumpkin look more realistic and fall-in-original shape this time nicely spaced out.
Step 4: Making The Stem
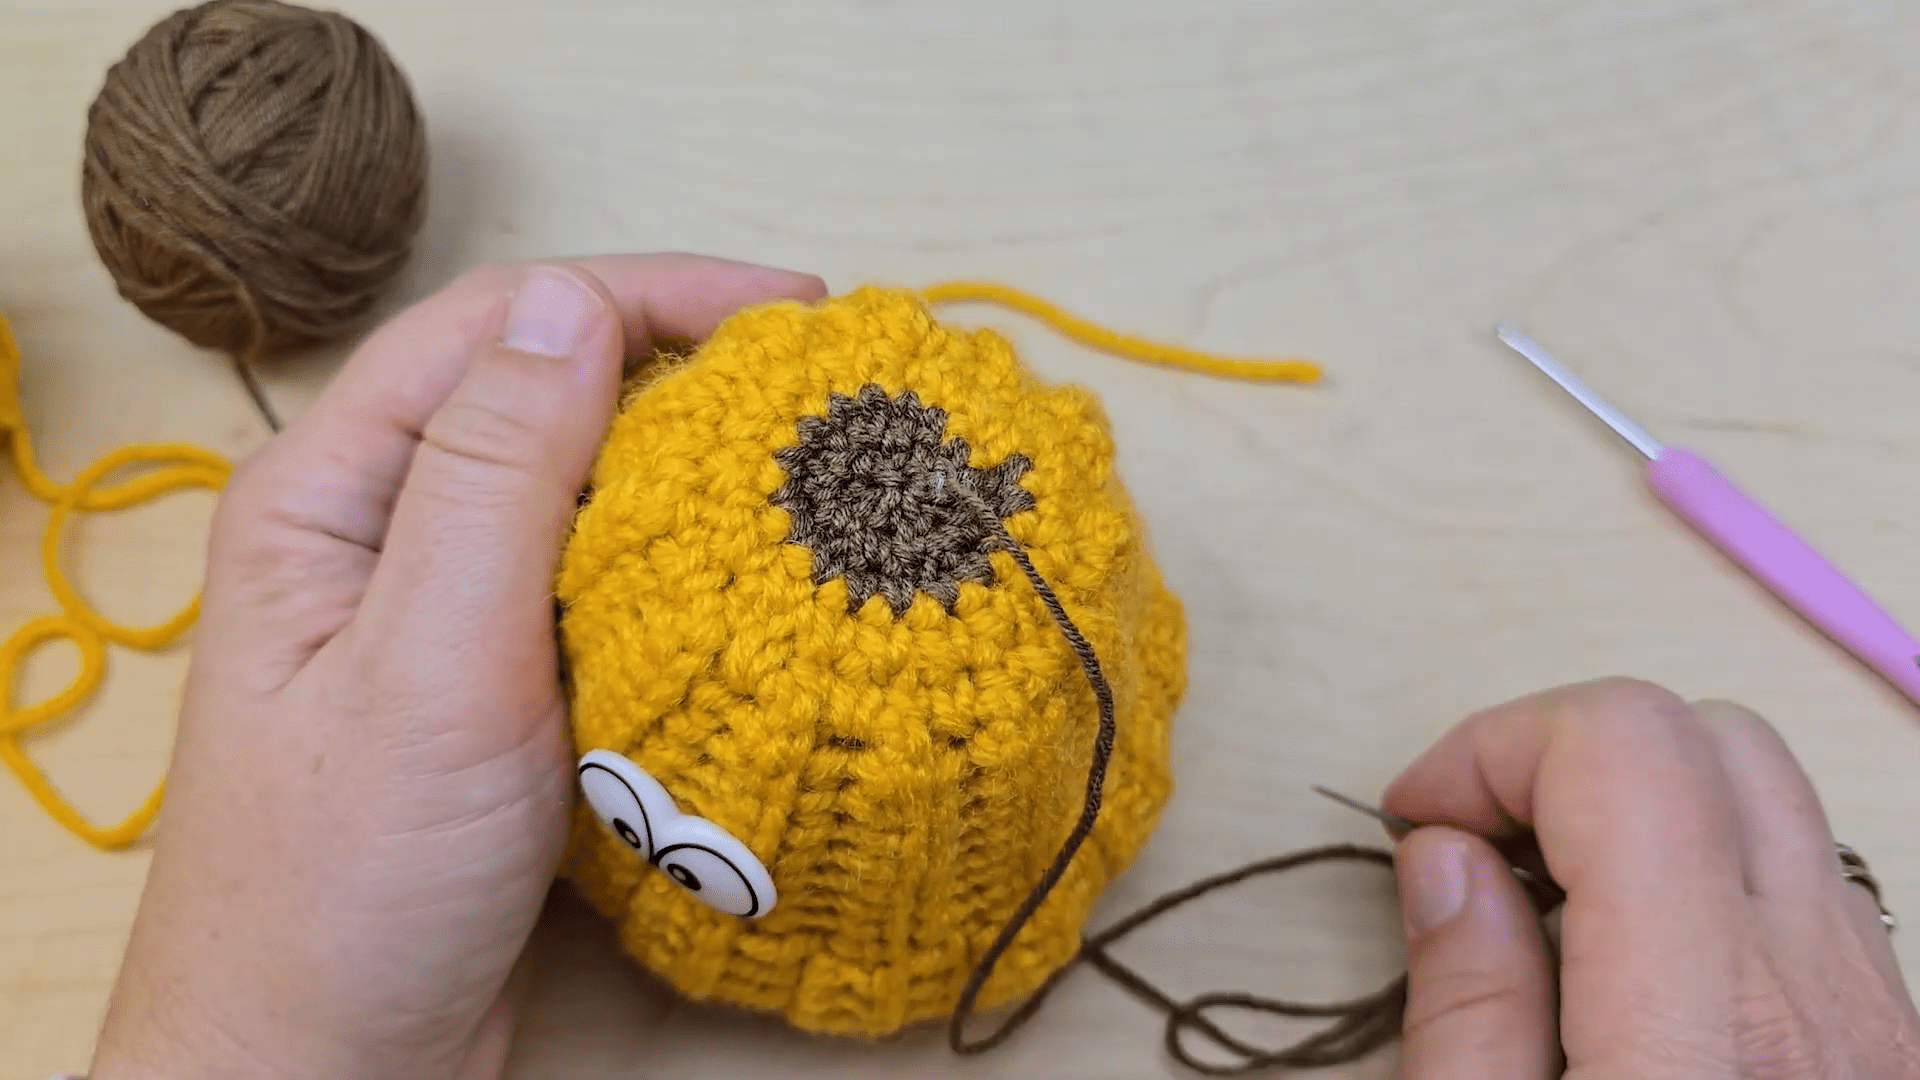
using green or brown yarn, start with a small magic ring and work 6 single crochets. continue working a few rounds until you get a short cylindrical stem.
Fill it slightly to make it upright, and sew to the top of the pumpkin, or twist the yarn a little bit when sewing for a more natural/woody appearance.
To add a little extra flair, tie 10-15 stitches, and then work slip stitches back along the chain. it will create a playful, realistic finish.
Step 5: Finishing Touches
This is where your pumpkin’s personality will come from. you can:
- add a cute face
- stitch small leaves around the stem
- Blend yarn colors to create a rustic appearance
- To create a farmhouse or chunky style pumpkin use chunky yarn.
It is here that your handmade crochet pumpkin decor really shines. no two pumpkins should look alike and that’s what makes it so special.
Difficulty Level
The Skill Level of this project is Beginner-friendly. This project is nice because it uses some of the simplest of stitches (single crochet) and the most basic of shaping (changing colors). even if you are new to Amigurumi, you should not have much trouble with this project and it will be quite rewarding.
Tutor Suggestions for Best Results
Just a little bit of advice can help you make a great pumpkin:
- Rotate the needle from right to left for a smooth surface, and from left to right for a knobby surface.
- don’t overstuff or the shape may distort
- Tighten stitches with a smaller hook
- evenly distribute the amount of ridges to achieve a balanced appearance
- Lightly steam block if necessary for shaping.
These minor points have a huge impact on the finished product.
Creative Customization Ideas
One of the most ‘flexible’ aspects of this pattern is that it allows for using the pattern across several different layers. You can make it into:
- mini table decor pumpkins
- pastel pumpkins for contemporary designs
- Chunky yarn farmhouse pumpkins
- Halloween carved-face pumpkins
- fall gifts for people who like to party.
Here’s where the Autumn Crochet Pumpkin Pattern DIY ideas really take off. you can make a whole set with various sizes and colors to decorate throughout the season.
Uses and Home Décor Ideas
The crochet pumpkins can be used in just about any room of your home! They can be used for:
- coffee table decorations
- mantel styling
- Halloween party setups
- autumn-themed gift boxes
- cozy shelf displays
Pattern Correction and Helpful Tip
They add a nice warmth to any room without overwhelming. It does not matter which fixes you happen to be looking for. Regardless of the fixes you are seeking.
One of the most frequent errors is putting ridges incorrectly, which can cause the pumpkin to be lopsided. always measure or count the sections before beginning to pull yarn around the body.
Lightly reshape the pumpkin after ridges are added in, lightly pressing and adjusting until it feels balanced.
Conclusion
This crochet pumpkin Amigurumi pattern is an easy project that looks very cute once complete and will help to bring in some seasonal cheer to your home in not so much time. It is soft, rounded, and bursting with fall ambiance, one of the projects that never goes out of style!