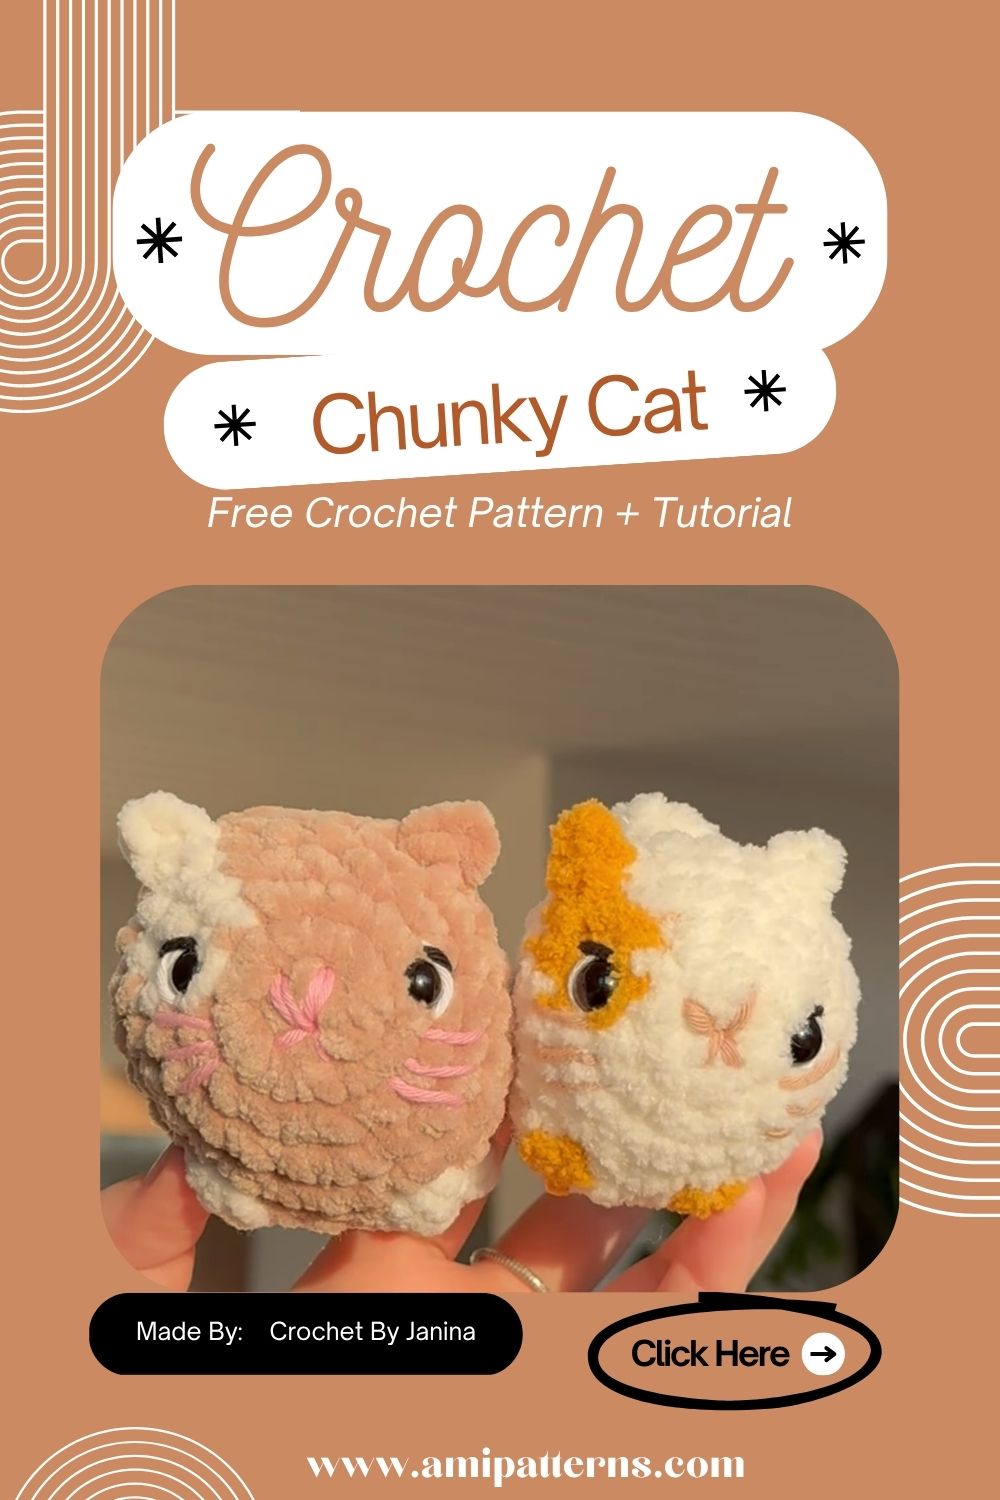
Free Crochet Chunky Mini Cat Amigurumi Pattern for Beginners
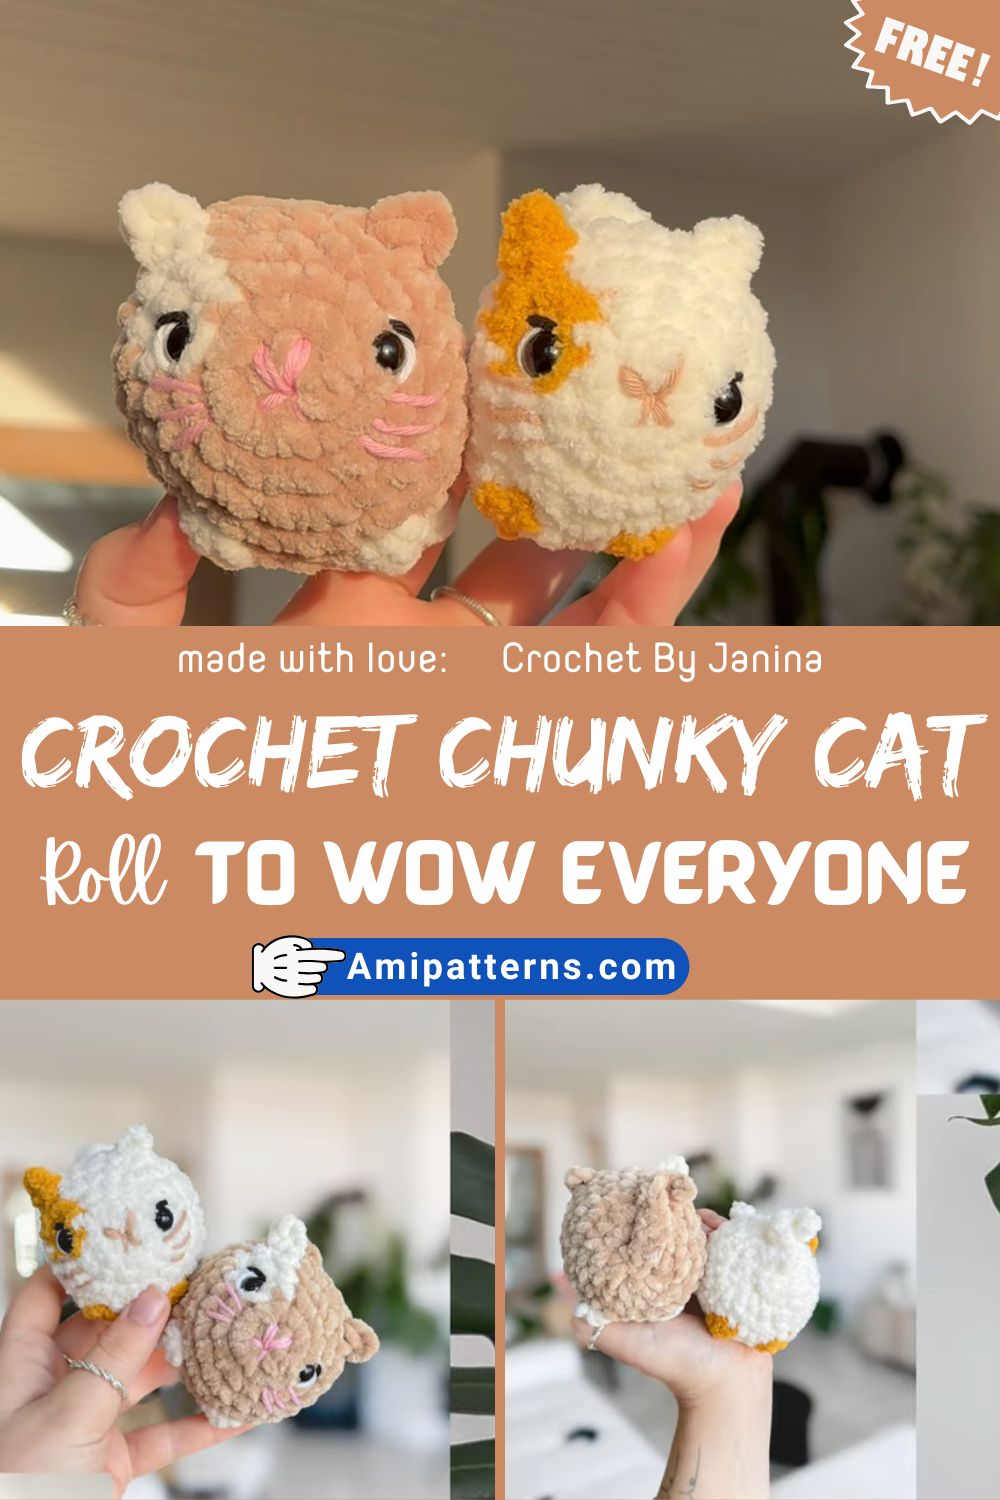
Chunky Crochet Animals are just so adorable! The thumb-like hands, their round bodies and their fluffy feel cause them to almost defy being discarded. This Radiant Crochet Chunky Mini Cat Amigurumi Pattern to Wow Everyone is so fun to make, even the simplest design looks extra charming when made with plush yarn! It is cute, easy to make and has a very personal personality from the first stitch!
You can do this as a thoughtful handmade gift, add it to your collection of amigurumi or simply decorate your favorite corner at home. Chunky style makes it irresistibly squishy and compact makes it an easy afternoon to finish!
Why You’ll Love This Crochet Mini Cat
You’ll get some crochet patterns that become favorites due to their usefulness. Others are highlighted because they really are just fun to create. This chunky little cat is both cute and cuddle-worthy.
Its small size is ideal for rapid-making sessions and the soft plush finish feels irresistibly cozy. The project is easy to make and the parts fit together into one of the most natural projects ever, even for the beginner.
This chunky mini amigurumi cat is also a great way to use up leftover yarn. This little cat is a wonderful way to use up extra plush yarn from old projects, and make something super cute!
Keep it on a shelf, on the desk or give it as a gift to someone special, it is a type of handmade art that will bring a smile to their face.
Skill Level & Finished Size
Only the most basic parts should be used as examples, and the amount of detail should be kept to a minimum.
This pattern features basic amigurumi stitches, such as single crochet, increasing, decreasing and simple assembly. This project follows the same pattern as one or two small crochet toys; if you’ve done one or two small crochet toys, you’ll feel at ease doing this one.
The finished size is about 5-6″ depending upon yarn selection and hook size.
Materials You’ll Need
- Rough, fuzzy yarn – chunky chenille or velvet yarn is the term given to this type of yarn.
- Small amount of pink yarn for the nose
- Black embroidery thread
- 4mm–5.5mm crochet hook
- Polyester fiberfill
- Safety eyes
- Stitch marker
- Yarn needle
- Scissors
The soft chenille yarn is ideal for this project since it provides a luxurious feel and the cat will look rounded shaped.
Step-by-Step Crochet Chunky Mini Cat Pattern
Once you are all set, it’s time to breathe life into your little cat! This pattern is broken down into simple steps so that you don’t get overwhelmed when you see the entire pattern.
Don’t sweat the small stuff – it’s not about getting every stitch a perfect knot. Handmade projects have their own personality and it is those little differences that can make it feel extra special. Just take your time, play and let your imagination run wild as your chunky mini cat comes to life.
Step 1. Crochet the Head
All of these adorable crochet cats start with a good shape.
Begin by making a magic ring and working the initial stitches around the center. Tighten the ring until there is no opening visible. Continue crocheting, slowly increasing stitches to create a rounded ball.
This is a chunky design and the head should be larger than the body. The look is oversized and makes the finished cat look sweet and cuddly.
Fill head with a little fiberfill before closing the opening. Slowly add stuffing, smoothing into the head to maintain an even roundness.
Step 2. Crochet the Body
The weight of the body should be a bit lighter than the head, but not any lighter than usual, it should still be rounded and soft.
Start with another magic ring and add more stitches in a gradual manner until you have the desired width. Continue to crochet evenly to create the body tapering gently to the bottom.
Stuff the body gradually during working. Don’t pack it too tightly, as it will naturally fill in with plush. A slightly soft body makes the finished cat cuddly and realistic.
Step 3. Make the Ears
One of the first things that will make your project look like a cat is the small ears.
Use the same yarn as the head to crochet two small triangles as ears. Rounded tips may be more appropriate for chunky yarn than sharp points, as these tips are as soft as the yarn.
Pin ears to head before sewing and check from all angles. When the spacing is done, sew them with matching yarn so that they look secure.
The little things that a cat will bring to the final product will help your plush crochet mini cat project to have a personality.
Step 4. Crochet the Front and Back Paws
Then make sure to make four little oval paws.
If they are to be stuffed, they require little, if any, because the chunky yarn is already quite thick. Do not make one paw too large or too small, to achieve a balanced cat.
Place the front paws close to the lower part of the body and have the rear paws under. A sitting pose is particularly effective in emphasizing the large head and round body.
Step 5. Add the Face
This is when your little cat really springs to life.
Glue the safety eyes in the middle of the head with room for the nose. Embroider a little pink triangle nose, then embroider a short vertical stitch and a small smile.
Add soft lines (whiskers) with black embroidery thread. For a more expressive look, enhance the eyes with pale white eyeliner and/or powder blush on the cheeks.
When you’re done with the face, your soft cat crochet plushie will already have a sweet face that you don’t want to say no to.
Step 6. Place the Head on the Body
Next, it’s time to assemble all the primary parts. Attach the head to the body before sewing to make sure the proportions are correct from all angles. The head should be positioned at a level comfortable on the smaller body with no overhanging towards the front or back.
Step 7. Crochet and Attach the Tail
No cat can do without a fun tail, it will definitely add to the charm of his appearance.
Use the same chunky yarn to crochet a short tube that is slightly tapered towards the end. The tail can be set straight, curled slightly or made into a soft curve prior to attachment. Place it at the rear of the body, in a balanced and natural spot.
Stitch it tight with multiple stitches as this section could be used often. A slightly curved tail will also add personality to your cat and will seem like it’s just sitting and waiting for you.
Step 8. Add Decorative Details
Now is the time to get creative. You can crochet a small bow around the neck that will make the mini cat look even more adorable. Make small paw prints using embroidery of various colors
Experiment with tabby cats, tuxedo cats, calico cats, or cats of the imagination in pastel shades or bright yarns. Your handmade chunky cat toy looks like a unique design because of all the details.
Step 9. Shape and Trim the Body
Take a minute to sculpt out the shape of your Project before you consider it finished.
Make sure that stuffing is spread around equally in the head and body. Any area that feels “lumpy” will need to be massaged by your hands until smooth. Cut and snip all the loose ends of yarn and ensure that each piece sewn is stable.
Notice the ears, paws and tail. If it’s a bit out of balance, this is the ideal moment to make some minor tweaks. These last minute details will make your crochet cat look neat and professionally done.
Step 10. Display or gift your Mini Cat
As your mini cat is now ready you can display it innovatively. Whether you hang it on a bookshelf, add it in your nursery or make it a part of your craft room, it can fit in anywhere.
Video Pattern Here:
Special Features of This Pattern
This pattern has a single special feature.
- Easy to use construction and easy to shape.
- Super soft chunky feel and super cuddly as a bonus.
- Knows simple crochet stitches.
- Easy to customize different colors and accessories.
- Quick weekend project.
- Perfect for gifts and home décor.
- Perfect for an excess of plush yarn!
- Can be used seasonally or for DIY collections.
Tutor Tips
The key to a beautiful chunky amigurumi is not to hurry, but to take time to do the finishing. With plush yarn, you may need to pay special attention to your stitch count as it can be more difficult to see the stitches with the plushness. Throughout the project, keep a stitch marker to avoid being lost.
Common Mistakes To Avoid
Too much stuffing goes up the head and distends the stitching, making the stuffing show through the fabric. The second is the crochet hook size too large for the plush yarn, which will cause the crochet stitches to be loose and the finish will be uneven.
Creative Uses for Your Crochet Chunky Mini Cat
Make the most of the crochet chunky mini cat by using it in a variety of creative ways!
- Hang it up on a book shelf or desk.
- Create a children’s room or nursery decoration.
- Use it to decorate your home seasonally.
- Use it as a party gift or for a birthday or holiday surprise.
- Add to homemade gift baskets.
- Put it on sale at craft fairs or on the internet.
- Make sets of matching in various colors.
- Create a real cat-inspired kit.
The little crochet cats make great conversation starters as well and are great keepsakes that will be cherished for years.
Final Thoughts
Some crochet patterns are fun to crochet because they are difficult, others are so fun to crochet because they make you smile. This is certainly a chunky mini cat who belongs to group two! It is soft, cuddly, easy to learn and charming from the start.