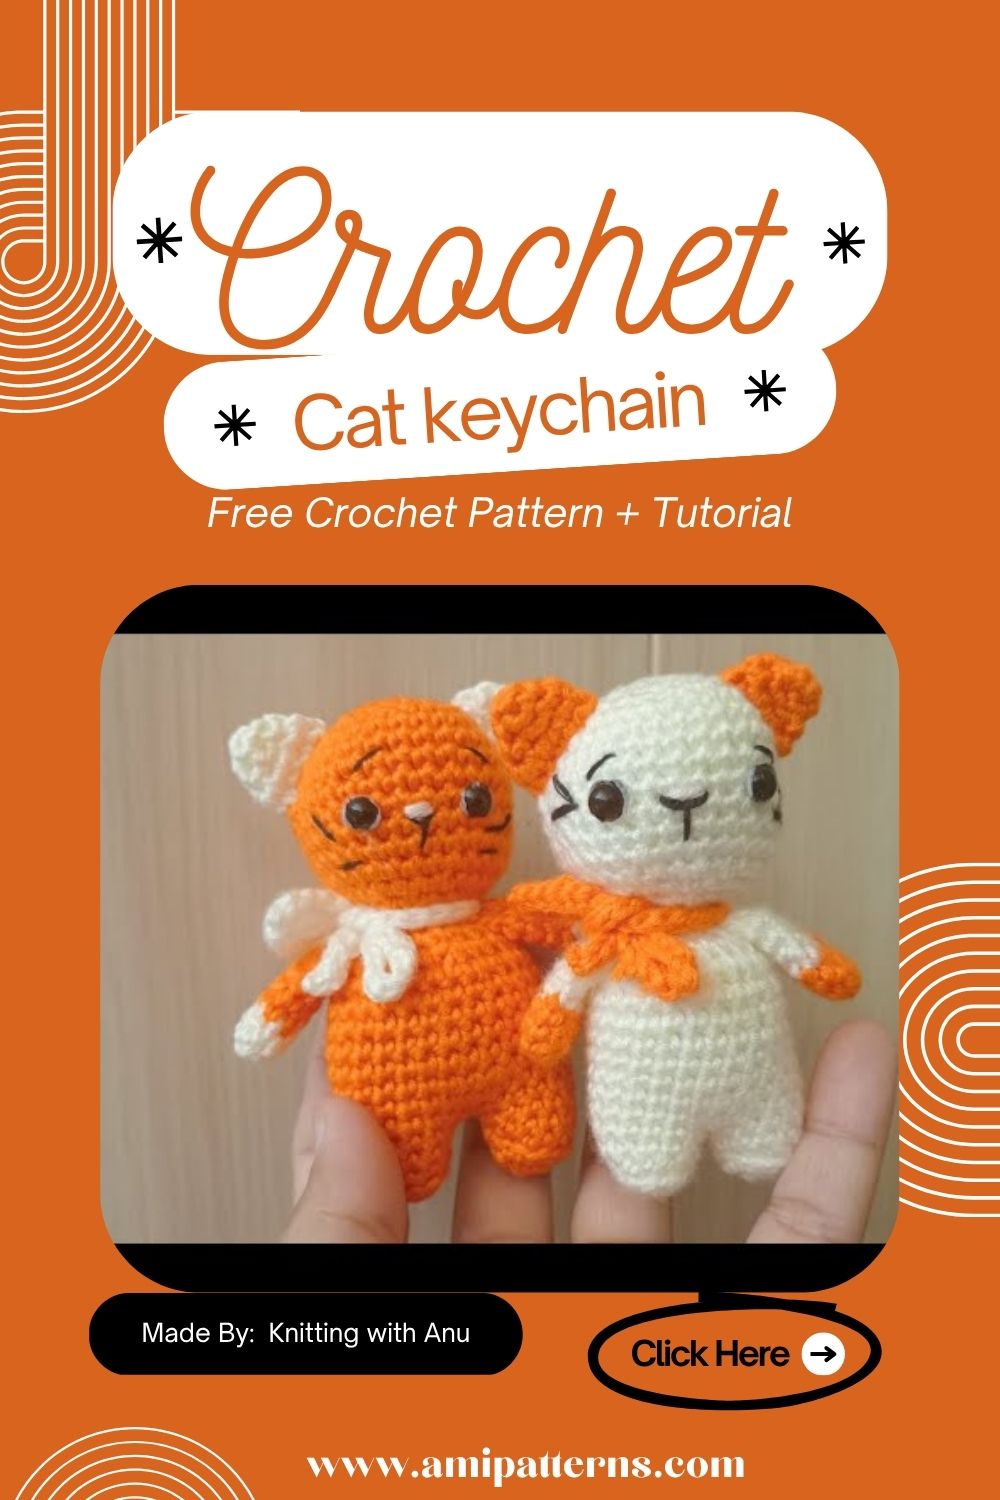
Crochet a Cat Keychain Amigurumi – Easy Step-by-Step Pattern
There’s something quite charming and comforting about a tiny cat hanging from your keychain. It is simple, soft and a little playful. It doesn’t feel forced in anyway but still gets all the attention from everywhere. There is no doubt that it has the quality to stay on your mind for a very long time to come. Perhaps it is the round face or the way it feels like a pocket-sized companion. It follows you everywhere in your daily life.
That’s exactly what a Cat Keychain Amigurumi Pattern project is all about. You can finish it in a short time but it is so meaningful that you will end up caring about it. Honestly, you are not just making a cat, you are shaping a tiny personality and bringing it to life with your hands.
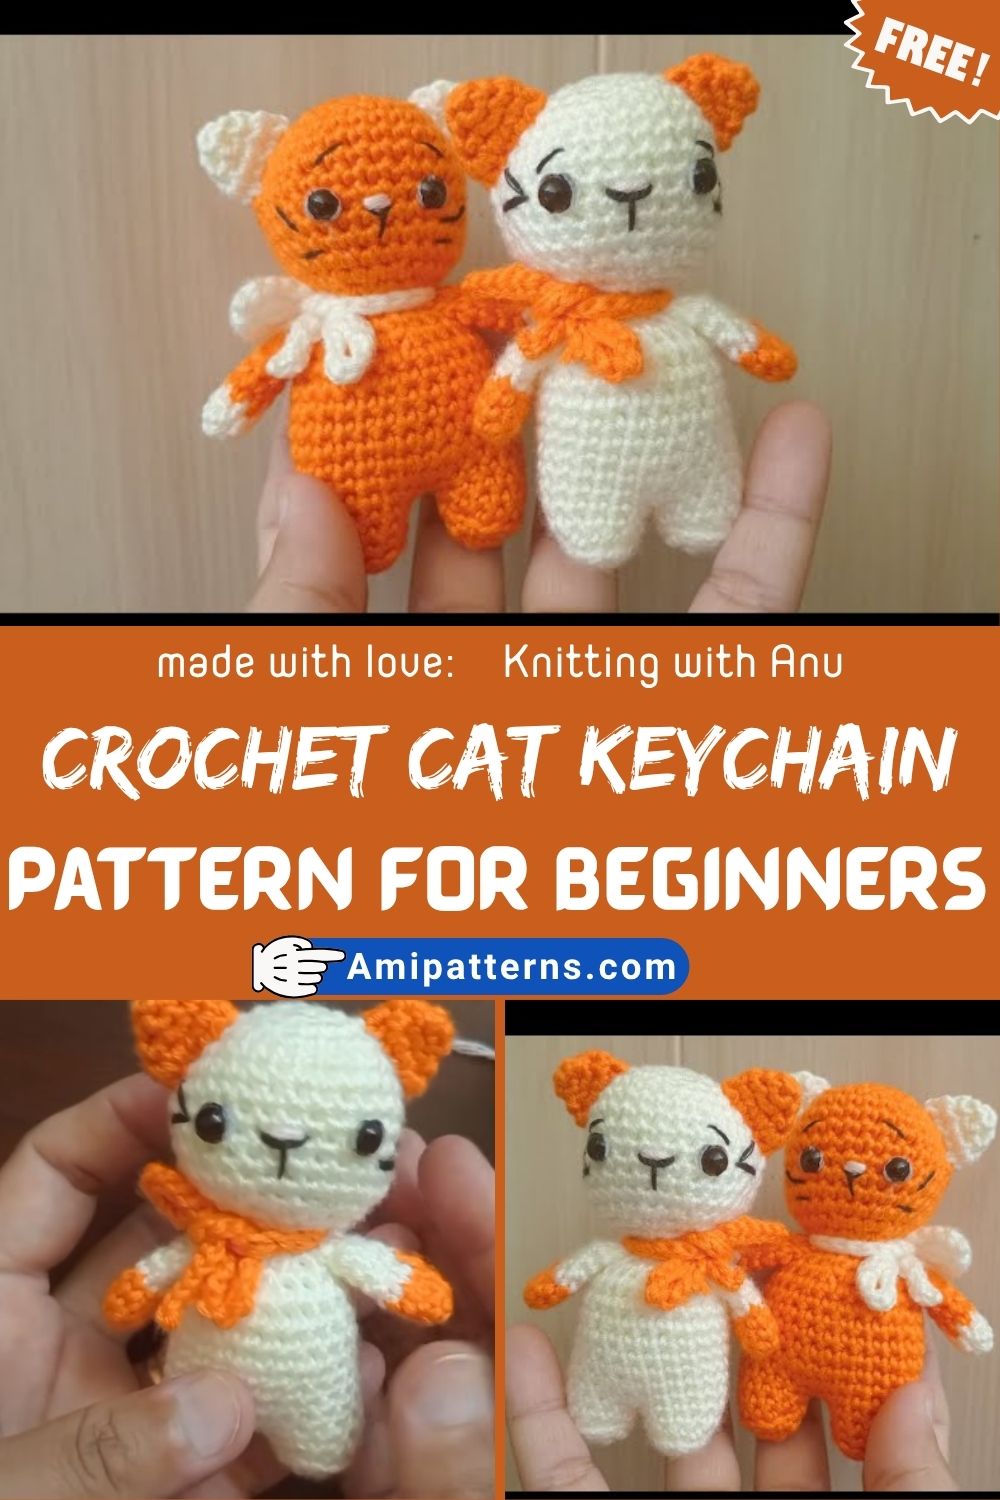
Charming Cat Keychain Amigurumi Pattern
It’s better to take a moment to reflect on the object you are making before you pick up your hook. A keychain cat (or any other type of cat keychain) is not an object to be left on a shelf unchanging, it is to be moved, travelled, and quietly incorporated into a person’s daily routine.
Materials You’ll Need
This isn’t a complicated project so all you need are some basic crochet supplies.
- For the cat, yarn may be the main color, white or cream (face accents), and pink (optional nose or blush) yarn.
- Crochet hook: 2.5mm–3.0mm
- Safety eyes or embroidery thread (for a softer look)
- Polyester fiberfill stuffing
- Tapestry needle
- Stitch marker
- A keychain ring or lobster clasp
- Scissors
One can change the whole persona of the cat simply by changing its color. Grey is soothing, orange is fun, black is sophisticated and pastel is laid back and dreamy.
Abbreviations Used
- MR: Magic Ring
- SC: Single Crochet
- INC: Increase
- DEC: Decrease
- ST: Stitch
- RND: Round
- SL ST: Slip Stitch
Step 1: Start with the Head
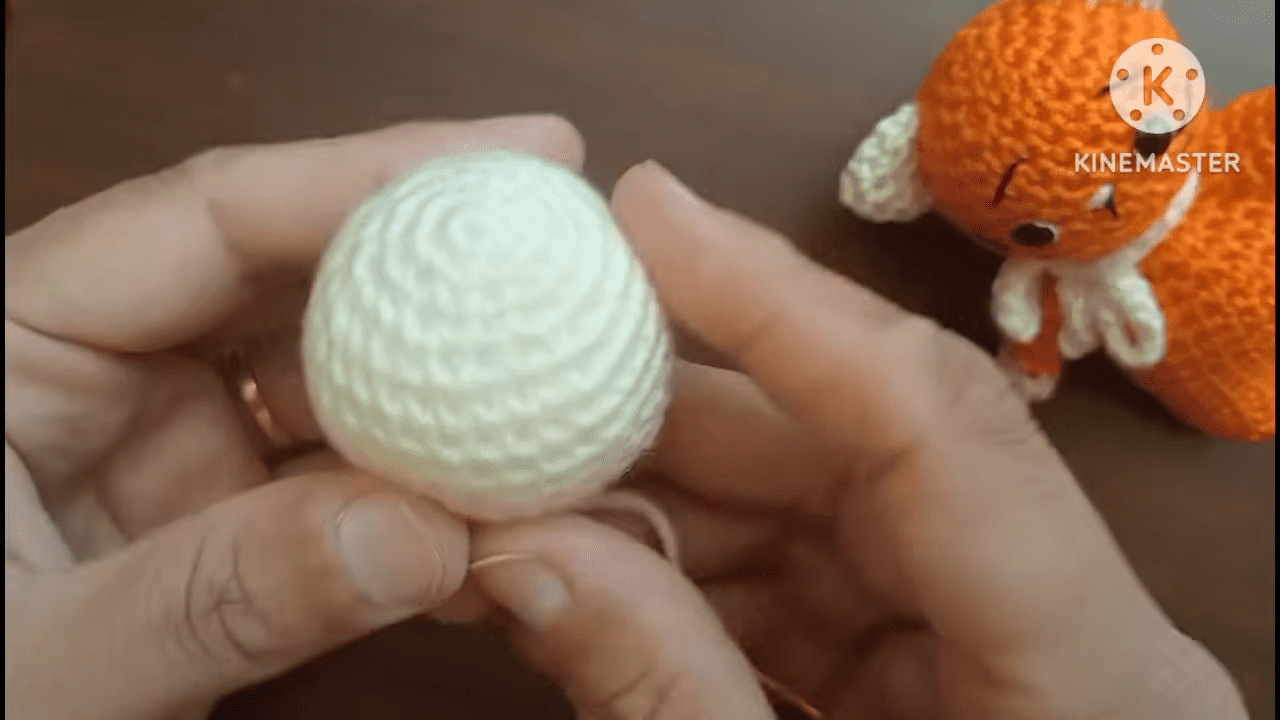
Start with a magic ring (MR) with your main yarn color.
Round continuously with SC, increasing INC as it goes to create a small ball. This will be the head and the stitches should be tight and even to get a clean structure.
It will initially appear as a small ball of yarn…and that’s the idea! Gradually transforms into something familiar.
Carefully position safety eyes before closing the head. The placement of the small details makes a big difference closer together is cute and sleepy, further apart is alert and curious. Fill the head slightly with fiber fill and put aside.
Step 2: Make the Body
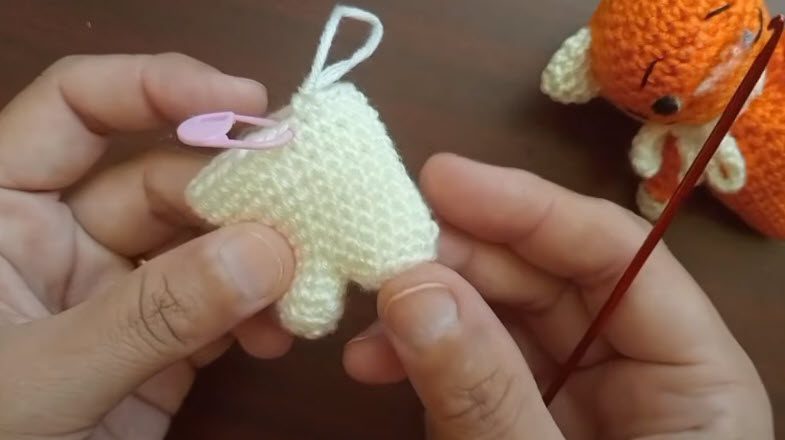
Next, work on the body with the same yarn color. Beginning with a MR, form a slightly oval shape with successive SC rounds, gradually increasing INC. The body should be slightly smaller and softer than the head.
This is where the easy crochet cat key chain idea begins to come together. The design is minimalistic, but the form starts to take on the appearance of a small character. Avoid filling too heavily or too light so that it remains soft yet has good body.
Step 3: Make and Attach the Ears
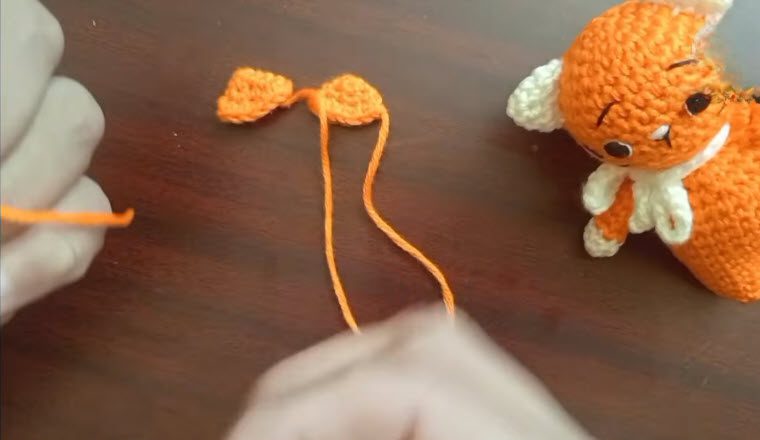
Make two small triangular ears with shaping using SC, INC and DEC.
They can be different, but not too different as it feels more natural and handmade to the cat.
Secure them in place on the top of the head of the head with a slight outward tilt. This little angle brings life right away. Even before it is fully assembled, it looks like you’re making a soft crochet cat bag charm Amigurumi toy.
Step 4: Add Facial Details
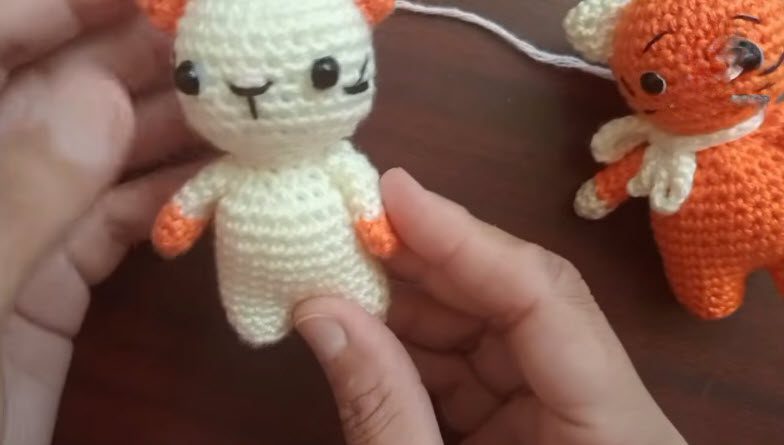
Using embroidery thread or thin yarn, stitch a small nose between the eyes.
Below adds a light curve mouth. Be simple as possible, small Amigurumi pieces work best with simple expressions. For a more mellow and cozy appearance, you can give it a delicate touch of pink yarn, adding a small amount of ‘blush’.
Step 5: Join Head and Body
Thread and sew the head onto the body with care on a tapestry needle. Do not hurry here, alignment is everything. A little head tilt gives the cat the playfulness, and head straight gives the calm and balance. Be sure the join is tight, particularly on this keychain that will be used every day.
Step 6: Add Tail and Final Shape
Make a small tail with SC stitch. Make it short, curved, so it looks natural. A soft bend is better than a hard straight line. Mount it on the back and position it so that it hangs evenly across the cat’s body.
Now take the whole thing in your hands and work it lightly so that the stuffing is smoothed and the shape is developed.
Step 7: Attach Keychain Ring
Lastly, clip the keyring or lobster clasp to the top of the head. Stitch it well as it will be used frequently and should be tough. Attach and inspect all sides again.
Special Features
- Portable and easy to carry around
- Amigurumi is made with soft, rounded shapes.
- Fully customizable expression and colors
- Simple stitches and beginner friendly
- Ideal for presents or for your own collection.
Level of Difficulty
Easy to shape and assemble pattern for Beginner. Ideal for beginner Amigurumi crocheters who have some crochet skills. Easy to get done, has little difficult techniques.
Creative Insight
The great thing about this project is that it is not a hard one to do, it is a personal one. Details such as eye placement; ear angle or tail curve make all the difference in the cat’s appearance. The art of handmade is just that. If two people start off the same way, they still won’t produce the same outcome.
Uses
- Handmade key chain or bag charm.
- Personalized gift for somebody close to you
- Decorative crochet small collectible
- Designed for use on backpacks or purses
Conclusion
This little cat crochet keychain might sound easy, but it can easily turn into more of a personal item than you might think when it’s complete. It’s full of time, effort, and a bit of warm creativity. A Cat Keychain Amigurumi Pattern for Beginners isn’t simply about creating something adorable, it is about making a little one that brings serenity to the lives of those who make it.
Beginner Mistakes to Avoid
- Installing the safety eyes too high, down too low or unevenly, can alter the expression entirely.
- Stitching the side with an uneven rhythm or tension, resulting in a lopsided or uneven shape
- Not aligning parts before stitching when in a rush.
- Making ears or tail too big, might be out of balance with the small key chain design
Pro Tip
After rolling the finished cat in your hands, attach the ring to a keychain. This helps to fill the stuffing evenly and will help to give it a nice, smooth look without changing the stitches.