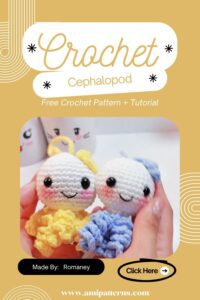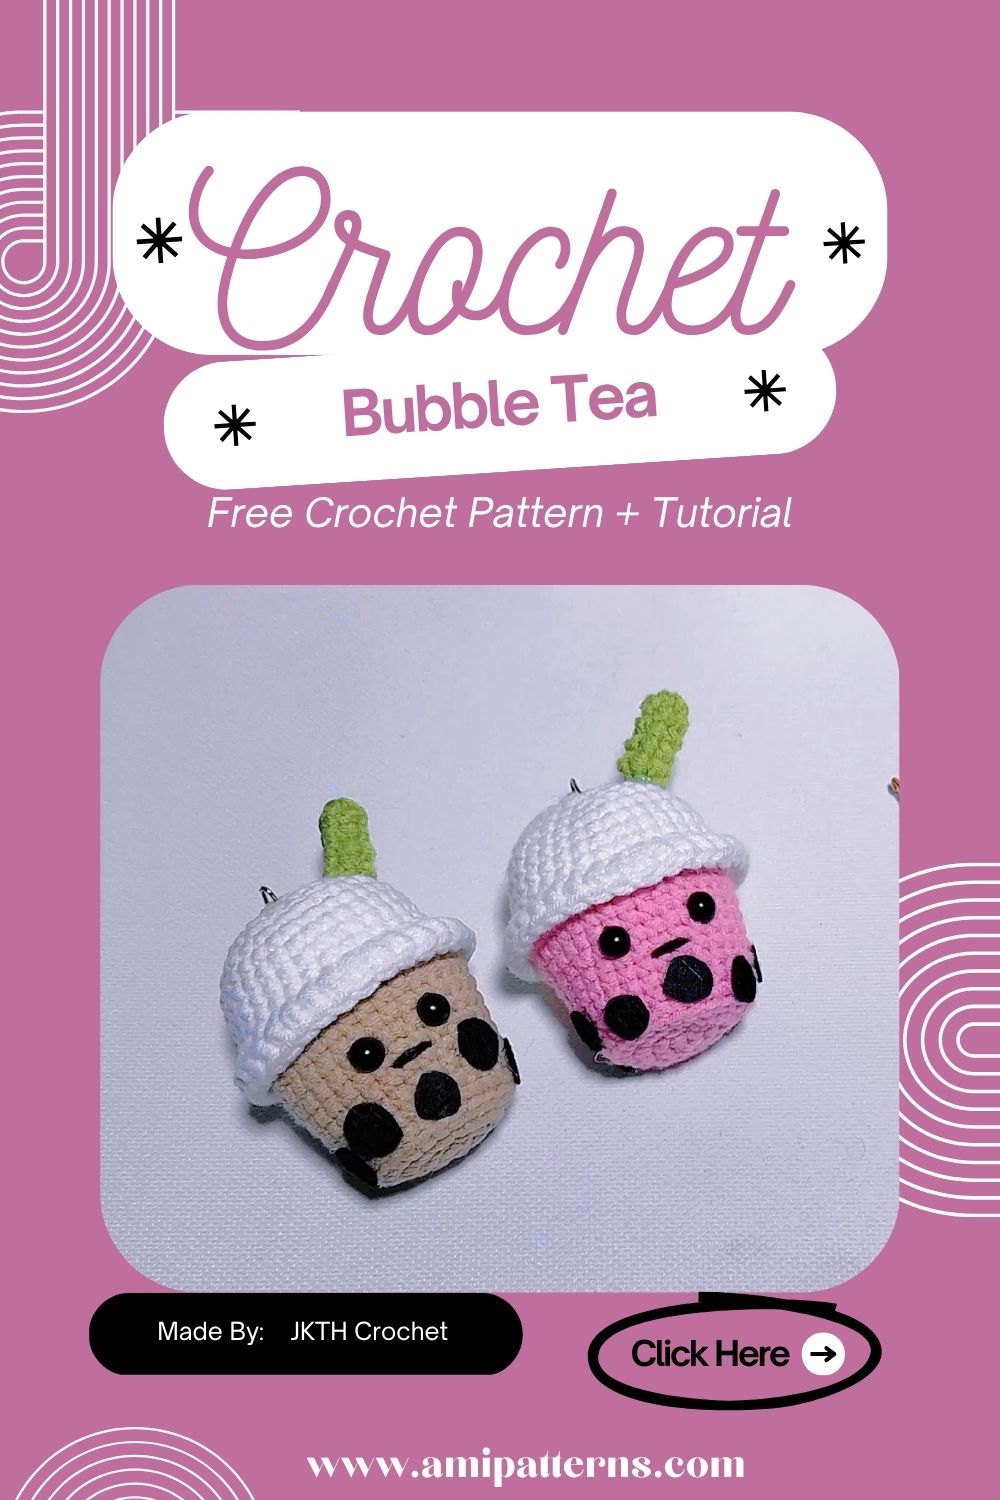
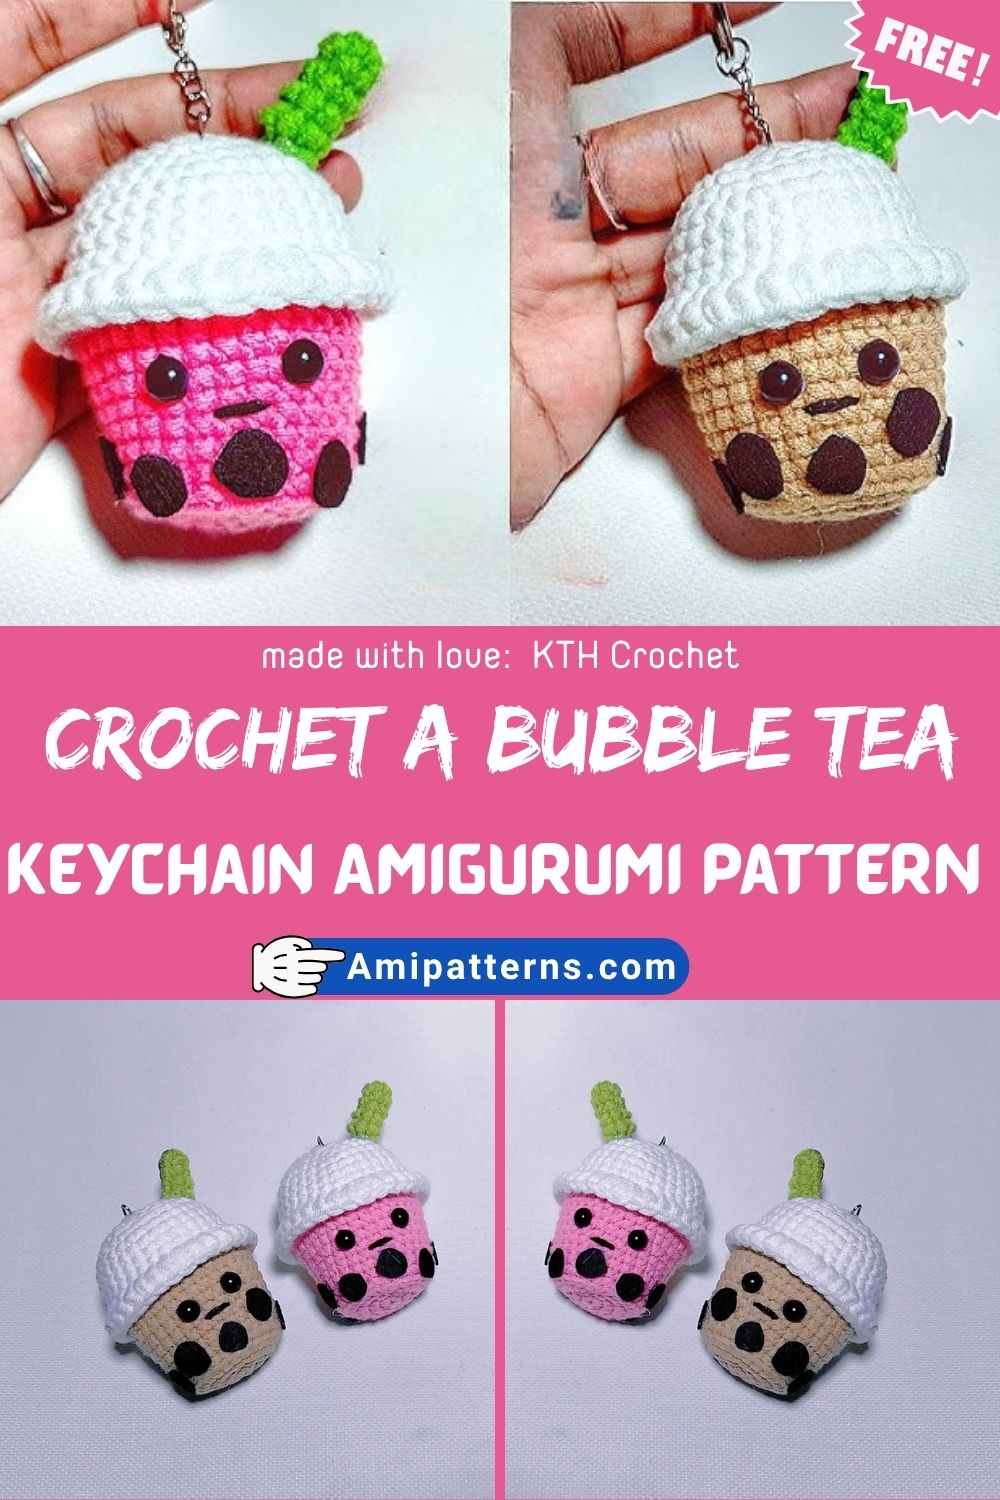
Adorable Crochet Bubble Tea Keychain Amigurumi Pattern
Something is irresistibly charming and cute about miniature crochet creations. Especially when they are inspired by all the everyday treats that we love. Crochet Bubble Tea Keychain Amigurumi pattern looks absolutely adorable.
It combines the popular trends, that is amigurumi and bubble tea, that is very difficult to ignore. You will be surprised to see that it is tiny enough in the palm of your hand. It has a lot of personality as well. This crochet keychain is perfect for decorating bags, backpacks, purses and even zipper pulls.
It has a very cheerful expression along with colorful straw and signature tapioca pearls. People love this about bubble tea while adding the handmade touch to it. And the best part? It is quite easy to make. This adorable little design will instantly get attention.
Skill Level & Overall Experience
The project is basically beginner friendly. All you need is a few simple shaping techniques. Most of the creation of this pattern only uses basic stitches and that too in the continuous round. If you have made some of the best small amigurumi projects before you will like making this as it is very comfortable and enjoyable.
Abbreviations
- MR: Magic Ring
- ch: Chain
- sc: Single crochet
- inc: Increase
- dec: Decrease
- sl st: Slip stitch
- st(s): Stitch(es)
- FO: Fasten off
Materials You’ll Need
- Cream, beige, or pastel yarn for the cup
- Brown or black yarn for tapioca pearls
- Bright yarn for the straw
- Crochet hook (2.0mm–3.5mm recommended)
- Fiberfill stuffing
- Safety eyes
- Black embroidery thread
- Stitch marker
- Yarn needle
- Scissors
- Keychain ring or lobster clasp
There are many pastel colors that can help you create a kawaii-inspired appearance. However, don’t be afraid to experiment with something new that involves some bright shades.
Step-by-Step Crochet Bubble Tea Pattern
Step 1: Create the Cup Base
Begin with a Magic Ring. Stitch 6 single crochets in the ring. In the Round 2 increase in every stitch all the way around. Work 1 single crochet, then 1 increase around. Gradually add to the base so you can get a desired width. The circular section forms the bottom of the bubble tea cup. Make sure that the stitches are neat and consistent.
Step 2: Build the Cup Body
When the base is finished, do not add more. SC around in even rounds. The walls of the cup start to form as the rounds are repeated. This is the first point at which the project starts to look familiar. Keep working until the cup is to desired height. If you want your bubble tea to look classic, you will generally want it to be a slightly taller shape.
Step 3: Add the Tapioca Pearls
Before closing the cup, make the iconic tapioca pearls! There are several choices:
- Embroider with small black dots
- Attach the small balls to the chain by crocheting them individually.
- Small safety beads should be used.
- Stitch round pearl shapes right on front
One of the most recognizable parts of bubble tea is the pearls, and adding a lot of personality here.
Step 4: Stuff and Close
A little variation can be more natural and charming. Add items to the box and seal it. Add fiberfill stuffing slowly. Do not put too much material into a cup, because doing so can make the stitches stretch and distort the shape of the cup. When the cup is firm but soft, it starts to decrease. Make decreases evenly spaced so that the opening comes in together. Secure it off tightly and pick up the yarn end and weave it in.
Step 5: Crochet the Straw
Chain a few stitches with a bright contrasting color. Make a narrow tube using single crochet rounds. The straw doesn’t have to be big. In fact, the thinner the straw, the more realistic it appears. Here are some of the most popular straw colors:
- Pink
- Mint green
- Yellow
- Lavender
- Blue
Select a color that matches with the color of the cup body for a balanced look.
Step 6: Attach the Straw
Place straw just off center on top. Hold with a yarn needle. The slight angle can lend more playfulness to the finished product. After attaching, the project instantly begins to be recognized as bubble tea.
Step 7: Position the Eyes
Position safety eyes close to the middle of the front of the cup. Place them equally spaced. Generally, the bigger the eyes the more kawaii it will look. Try out a couple of spots, then choose the one you like best before making it a permanent installation.
Step 8: Stitch the Smile
Embroider a little curved smiley face below the eyes with black embroidery thread. Simple facial features can make for the cutest photos. Optional additions include:
- Rosy cheeks
- Eyelashes
- Tiny hearts
- Sparkle embroidery
These subtle features infuse personality without detracting from the design.
Special Features of This Pattern
This pattern comes with the following special features: The simplicity and charm in this project is what makes it appealing. Features include:
- Quick completion time
- Beginner-friendly construction
- Highly customizable colors
- Portable project size
- Perfect for gifting and craft fairs
- Adorable kawaii-inspired appearance
It’s enough to take a quick bite, yet great enough to feel special.
Tutor Suggestions (From Experience)
When working in continuous rounds, always use a stitch marker. Noticed that it can be easy to forget where you came from, particularly on smaller projects. Fill it in slowly, don’t put the stuff in all at once.This helps to keep the shape of the cup even and prevents the formation of lumps within the cup.
If you want to make several keychains, do each step assembly line fashion. Complete all cup bodies before all straws before all faces. This can help save time and can be more consistent.
Fun Ways to Customize Your Bubble Tea
Adding to this the personalization is one of the most fun aspects of this project. Try creating different flavors and themes:
- Classic Milk Tea
Do use beige yarn and black pearls.
- Strawberry Tea
Use pink yarn with a bright red straw.
- Matcha Tea
For a new and trendy appeal, select soft green yarn.
- Taro Tea
For a trendy look, use lavender colors.
- Rainbow Edition
Combine several colors for creating a playfully fantasy-themed artwork.
Uses and Application
The finished Bubble Tea Keychain is versatile and can be used in a variety of ways.
This project is a surprisingly versatile project. Popular uses include:
- Keychain accessory
- Backpack charm
- Purse decoration
- Handmade gift
- Party favor
- Craft fair item
- Desk decoration
- Zipper pull
Many crafters will make sets that include several flavors and colors. When displayed together, they can make a lovely appearance.
Pattern Tip You Should Remember
Gently tug on all sewn parts before attaching keychain hardware. Carefully inspect the straw, eyes and ornamentation. Keychains are likely to be moved and handled a lot, so durability is important. For your finished work, a couple more row stitches can make a big difference in how long it will last.
Why Tiny Amigurumi Projects Are So Addictive
It’s always very satisfying to complete a project quickly. Miniature creations are an instant delight, but large blankets and garments are great too!
You start with a tiny bit of yarn and in a matter of hours, you have a fully fleshed out personality-filled character! This feeling of accomplishment is one of the many things that keep crocheters going with amigurumi.
Final Thoughts
Though it’s small, this bubble tea keychain packs a lot of charm. Its happy face, bright colors, and tapioca pearls are just a few of the elements that give it a whimsical appearance.
Easy to use, fully customizable, and fast enough to work into the craziest crafting projects! From making one for yourself, to giving it to a fellow bubble tea lover, to creating an entire line of different flavors, this project is guaranteed to make everyone smile.
Sometimes the smallest crochet projects make the biggest impact and this adorable bubble tea keychain is just that!