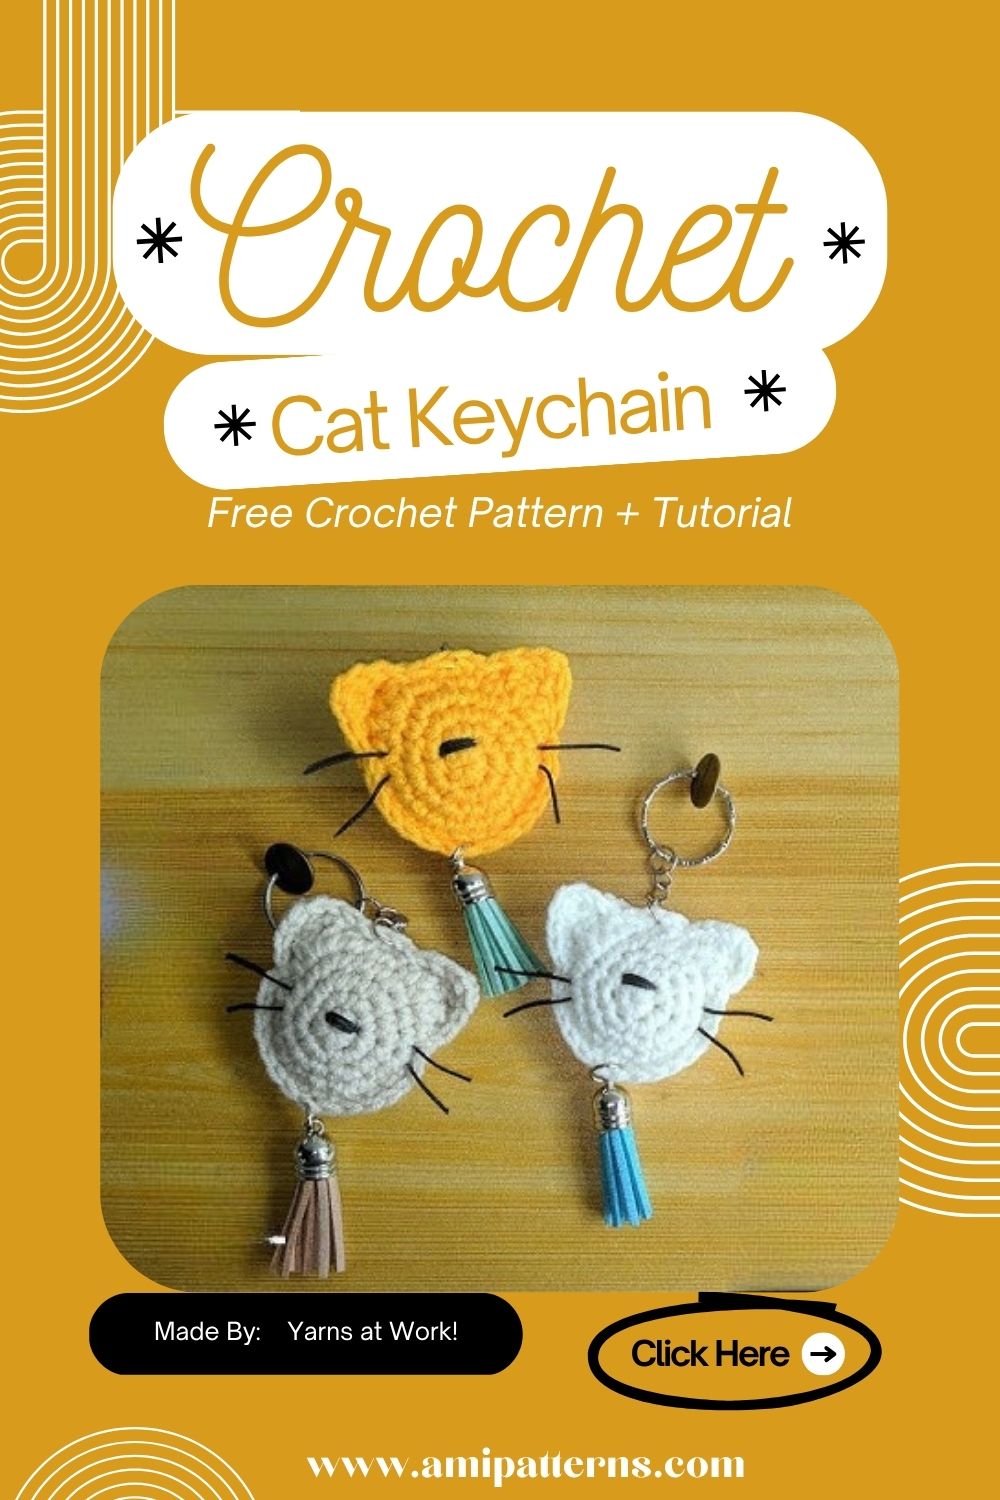
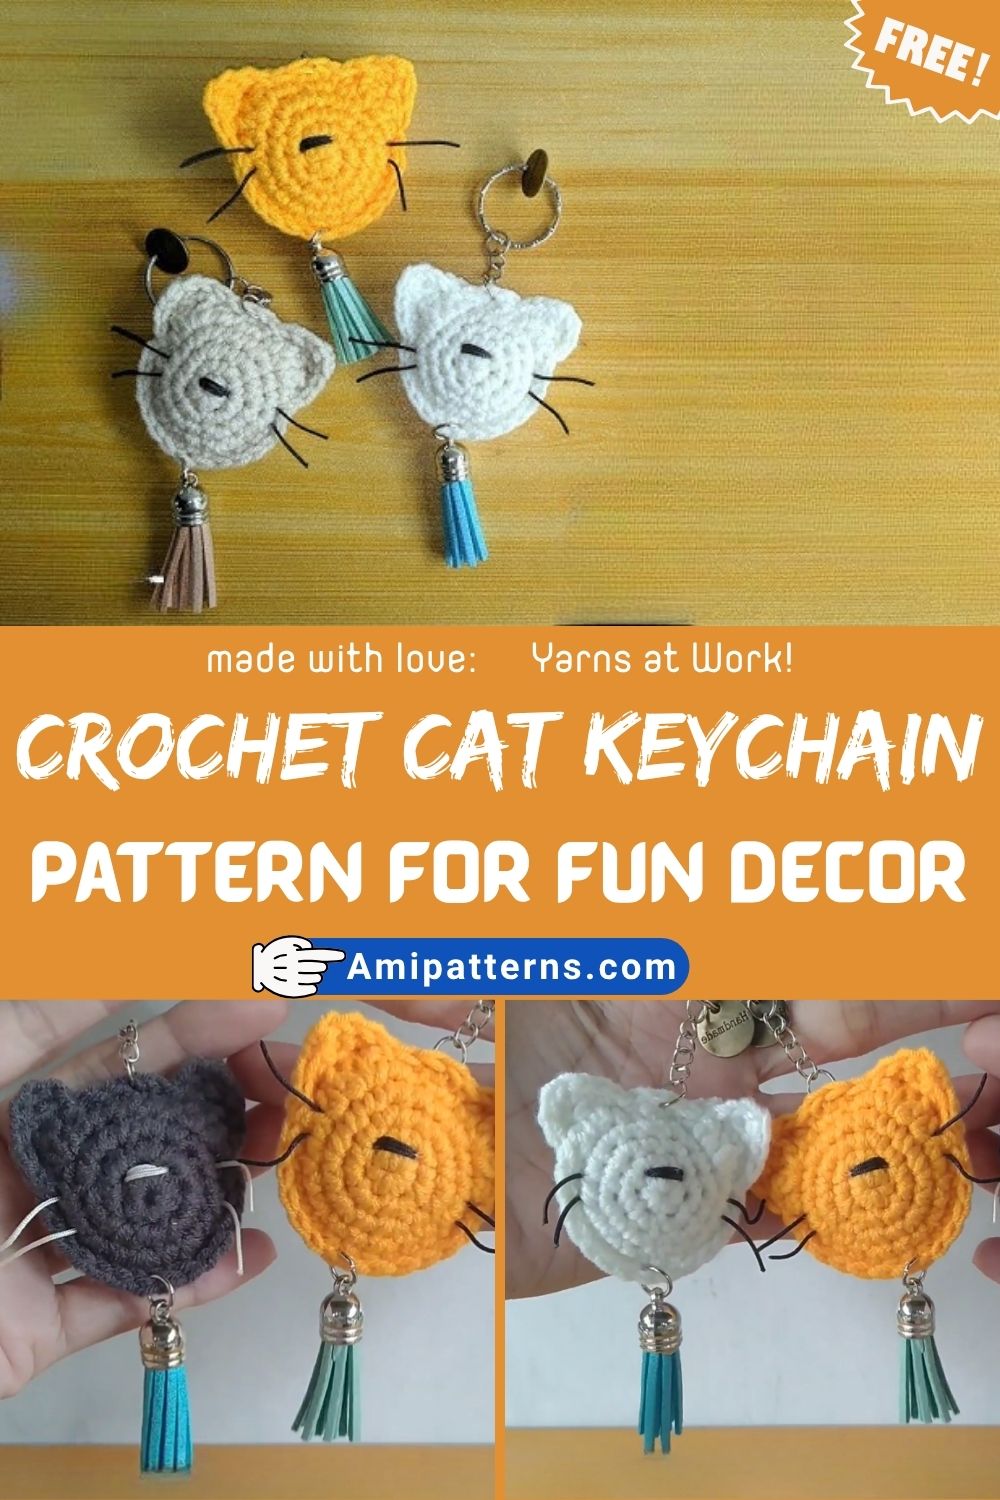
Fabulous Crochet Cat Keychain Amigurumi Pattern for Fun Decor
There’s something special about mini crochet projects! They use minimal amounts of yarn, are easy to make and always seem to be a favorite. One of those projects that feels rewarding from the first stitch, is a small cat keychain. It is assembled and rapidly, adds a homemade flair to your everyday items, and is a great gift idea for cat lovers.
If you’re looking for a fun and creative free crochet project that’s also useful, then this Fabulous Crochet Cat Key Chain Amigurumi Pattern is perfect for you. This little cat will definitely stand out whether it’s attached to your keys, added to your backpack or decorating your home. The best thing is, that each version can be different.
Alternate yarn colors, embroider another expression or add little extras for a truly unique cat. After completing the first, you’ll likely be thinking about the next.
Why You’ll Love This Crochet Cat Keychain
It’s an adorable cat keychain that you’ll want to keep on your keychain or with your cat all winter long! This crochet cat key chain pattern is easy to follow and yet has enough interesting details to keep the more advanced crocheters engaged.
It’s compact so it’s perfect for using the scraps of leftover yarn, and the vast number of possibilities with its customizable options makes it easy to avoid getting bored making new cats.
It’s also an awesome handmade present for birthdays, holidays, teacher appreciation or just as a surprise for another cat lover.
Skill Level & Finished Size
Time required: 1 hour. This pattern will be easy to follow if you’ve done some basic crochet stitches and have created a simple amigurumi project in the past.
The finished height is about 3-4 inches tall (before attaching the keychain ring). It’s compact enough for convenient daily use, and yet has room for small adorable features.
Abbreviations
- MR – Magic Ring
- ch – Chain
- sc – Single Crochet
- inc – Increase
- dec – Invisible Decrease
- sl st – Slip Stitch
- st(s) – Stitch(es)
- FO – Fasten Off
Materials You will Need
- A bunch of cotton yarn in all your cat colors
- Little pink yarn for nose
- Black embroidery thread
- 2.5mm–3.5mm crochet hook
- Polyester fiberfill
- 8mm safety eyes
- Stitch marker
- Yarn needle
- Scissors
- Part key ring or lobster clutch
Cotton yarn is a great option since it will produce neat stitches and keep the keychain in shape throughout its usage.
Step-by-Step Crochet Cat Keychain Pattern
Once you have all your supplies prepared, it will be time to start to bring your little crochet cat to life. This project is built in a few easily created parts, which are all put together at the end, so it’s easy to follow even if you are not quite confident yet with amigurumi.
Spend time on every piece and don’t be concerned about the need to make it all perfect. Making small adjustments during the sewing process will make a big difference and adding your own little touches to make each handmade project unique.
Step 1. Crochet the Head
Start with a magic ring and crochet the forming stitches into the center of the ring. Tighten the ring to make a good start.
While continuing, add more stitches so that the head becomes a nice, round head. Periodically, make another check of the symmetry, as a symmetrical head will help you attach the facial features later.
In the head, lightly stuff with polyester fiberfill before the completion of this section. Gently add stuffing so that the head does not sag but the stitches are not over-stuffed.
Step 2. Crochet the Body
The body must be a little smaller than the head, otherwise it will look like a normal size dog.
Start with another magic ring and slowly increase the stitches until you’ve reached the desired width. Work even stitches for a few rows then decreases towards the bottom.
Feed slowly and gradually. The body must be soft but supportive so the completed keychain is easily held and won’t lose its shape.
Step 3. Make the Ears
This is an important step in making cats easily recognizable with their pointed ears.
Make two identical triangle shaped ears, on the same yarn as the head. A slightly rounded edge can give a softer look than a very sharp edge.
Before sewing, pin both ears to head and check from various angles. When satisfied with the placement, secure them in place with matching yarn.
Step 4. Create the Tail
The tail is the finishing touch to the iconic feline figure.
Crochet a narrow, long tube that is long enough to naturally wrap behind the body. It can be left natural, gently curled or slightly twisted around one side for a particular look.
This mini cat crochet charm has a slightly curved tail for a more playful look and to make it appear more realistic. Securely attach the tail so that it resists from coming loose even with normal usage.
Step 5. Add the Face
It is on the face that your little cat starts to reveal his personality. Make safety eyes on either side of the head, spacing them out so that there is room for the nose. Stitch a small pink triangle nose, then a short line up and a smile.
Use black embroidery thread to make fine whiskers on the face. You can also give a slight hint of white around the eyes for an even cuteness around the eyes.
When the cat’s face is finished, your cute crochet cat accessory will spring to life and look like the adorable cat you envisioned.
Step 6. Attach the Head to the Body
Now that you have all of the main pieces completed, it’s time to put your crochet cat together. When beginning to sew anything permanently, lay the head over the body and view from multiple angles. The head needs to be straight, but a little larger than the body for a cute, cuddly appearance.
Secure the head to the body with small, even stitches, using a yarn needle and yarn of the same colour. Slowly move around the neck, ensuring it is lined up every couple of stitches! If the head begins to lean to one side, just move it back and forth to align with the right course of action.
Step 7. Crochet and Attach the Tiny Paws
Though these paws are little, they’re very cute for the keychain.
Use the same body yarn for the 4 little oval-shaped paws of a crocheted dog. They are not stuffed to any great extent as they are mostly decorative.
Tie front paws slightly below the head so that the cat is sitting comfortably. Place the back legs so that they are even under the body.
These are fine details that will make your small amigurumi cat keychain look balanced and complete, and even cuter. This project is intended to be used on a daily basis, so it’s important to secure the keychain ring effectively.
Step 8. Attach the Keychain Hardware
Put a sturdy piece of yarn through the top of the head several times to form a reinforced loop. As soon as you feel the loop start to feel firm, attach your split key ring or lobster clasp.
Pull on the hardware lightly before proceeding. Strengthening this part will make your crochet cat last long and remain securely attached to your keys/purse or backpack.
Step 9. Add Decorative Details
Now is the time to personalize your crochet cat! Embroidery a tiny bell collar or stitch a small bow onto its collar, or tie a very small crocheted scarf around its neck.
If you like to play with color, you can make striped cats, calico cats, tuxedo cats, or even try to make your own cat from other cats!
If you need an extra touch of sparkle, you can embroider little hearts, stars or flowers on the body. These add-on features make an ordinary key chain a special handmade keepsake!
Step 10. Finish and Shape Your Keychain
Take a few minutes to review all the details before declaring your project to be finished.
Cut all loose yarn ends and ensure that all the sewn pieces are secure to the touch.
If the stuffing has moved, rub the body with your hands until it is smooth and round.
Have one final look at the face. The whiskers, ears or even the smile can make a big difference to your cat’s expression.
Special Features of This Pattern
When you’re satisfied with the finished product, mount it on your keys, purse, backpack, or hang it on a decorative hook in your home for a handmade embellishment.
This pattern has the following special features:
- There are lots of little details that make this crochet cat keychain enjoyable to make.
- Beginner-friendly design
- An easy project, which can be done in a couple of hours.
- Uses little amount of yarn
- Ideal for any extra yarn from larger projects
- Easy to customize and make your own with various colors and accessories
- Easy to carry around for daily use.
- Perfect for handmade gifts and party favors
- Great for making at craft fairs and online stores.
Tutor Tips (From Experience)
Be sure to sew the pieces together gradually. The most polished crochet jobs will fail to impress if their ears or paws are not even.
Use stitch markers to help keep track of your rounds, especially when working on smaller pieces. It saves time and helps avoid unnecessary errors.
Common Mistakes to Avoid
The most prevalent error is putting too much product in the head. Excessive filling will cause the stitches to stretch and possibly reveal the filling through the stitches. The head should be firm, but not tight.
The other error is having ears too high or too close. Stitch them in place first and match the two sides for stitching before it is permanently sewn.
How to Use Your Crochet Cat Keychain
This little cat can be made use of in a lot of innovative methods, even though it is a key-chain.
- Attach it to your door, or keys, or car.
- Create a handbag or backpack design.
- Use for zipper pulls on jackets or travel bags.
- Hang it as a cute decoration on storage baskets.
- Add it to handmade gift boxes.
- Make matching keychains with family and friends.
- Do sell it at local craft fairs or online.
- Create a rainbow of kitties with various breeds and colors. Make a rainbow of kitties, with different breeds and colors.
This project finishes in no time, so it’s perfect for giving as a well thought out gift at the last minute.
Final Thoughts
It’s not that tiny crochet projects are that hard, it’s that they’re relaxing, rewarding, and they always have personality. This is no different than the rest of the crochet keychains. Uses simple stitches and some cute little trims to make something useful and entertaining to hang.
Each cat will be different if you make one to cheer yourself up, or if you make more to make gifts for others. Switch the colors, add fun extras, or create a fun ‘pet replica’. Each version of the crochet creation conveys a distinct narrative and that is the beauty of handmade crochet!