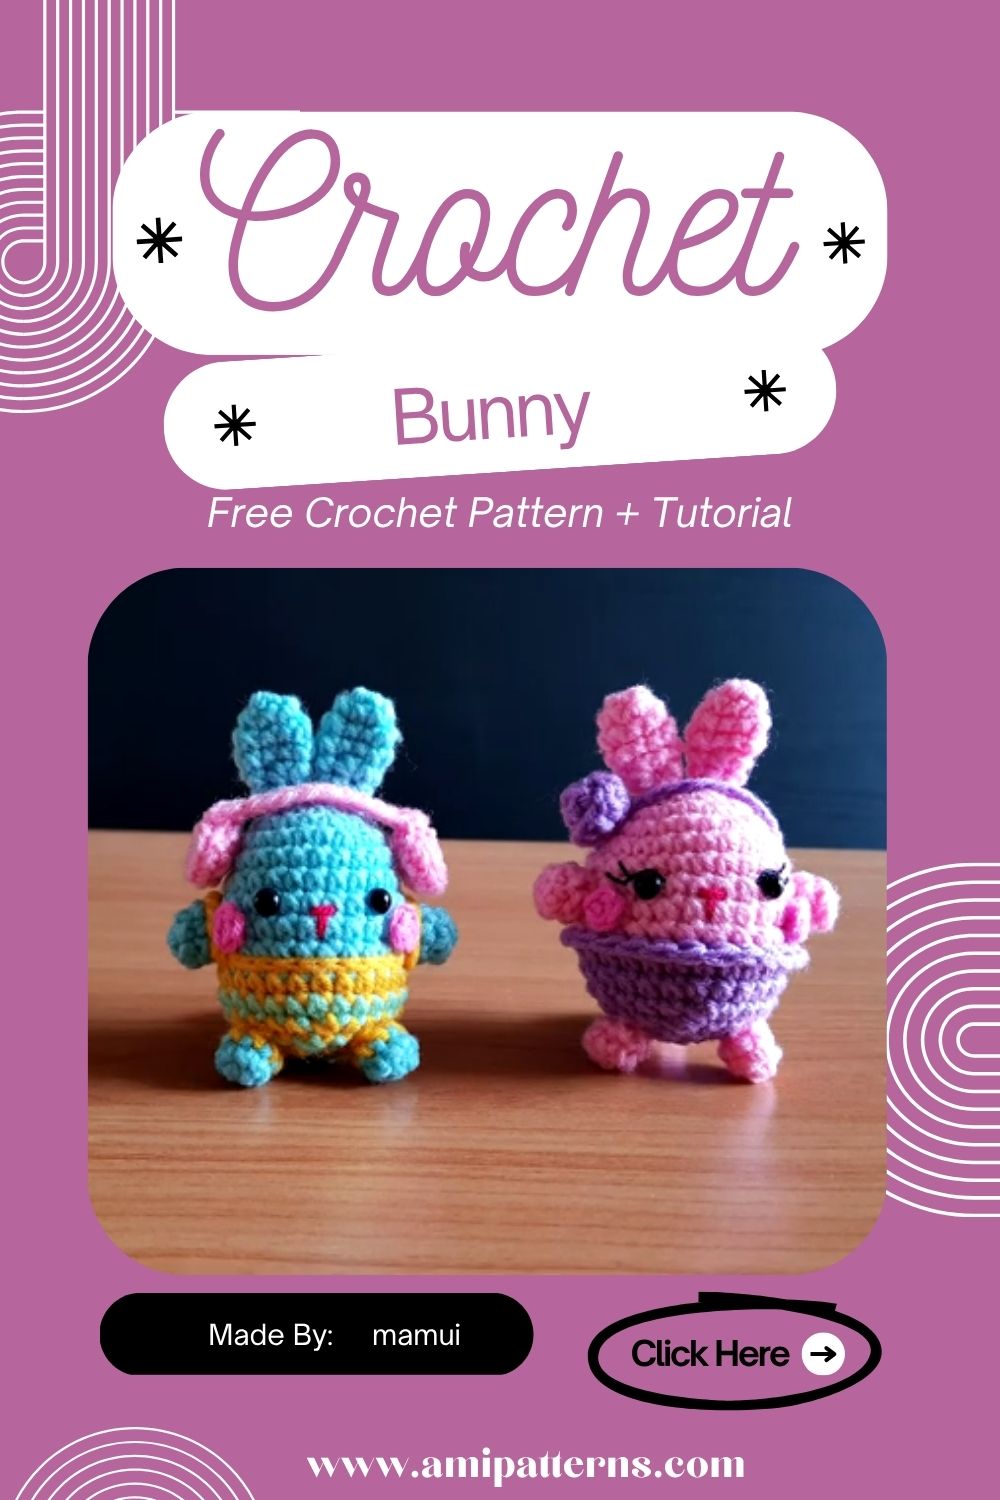
Crochet Easter Bunny Amigurumi Pattern for a Cute Display
Some crochet projects are already favorites even before they are completed and an Easter bunny is one of them. It feels reassuring to see a few strands of yarn gradually becoming floppy ears, tiny paws and a cute wee face that even looks like it has a personality of its own. You may be decorating your house in the spring or giving a personalised, homemade gift, but this bunny adds a touch of warmth that store-bought decorations often fail to capture.
The crochet Easter bunny pattern is the one anyone can follow to make a soft, decorative amigurumi without the complex shaping and other more advanced skills. The completed bunny is small enough to fit just about any spot, but is detailed enough to make it the focus of your seasonal decorations. But even better, it can be customized with various colors, ribbons, or other small details, and all the bunnies you create will be special.
And, in case you have been seeking something of a calming occupancy that involves a bit of springtime and creativity, this little bunny is a wonderful place to start.
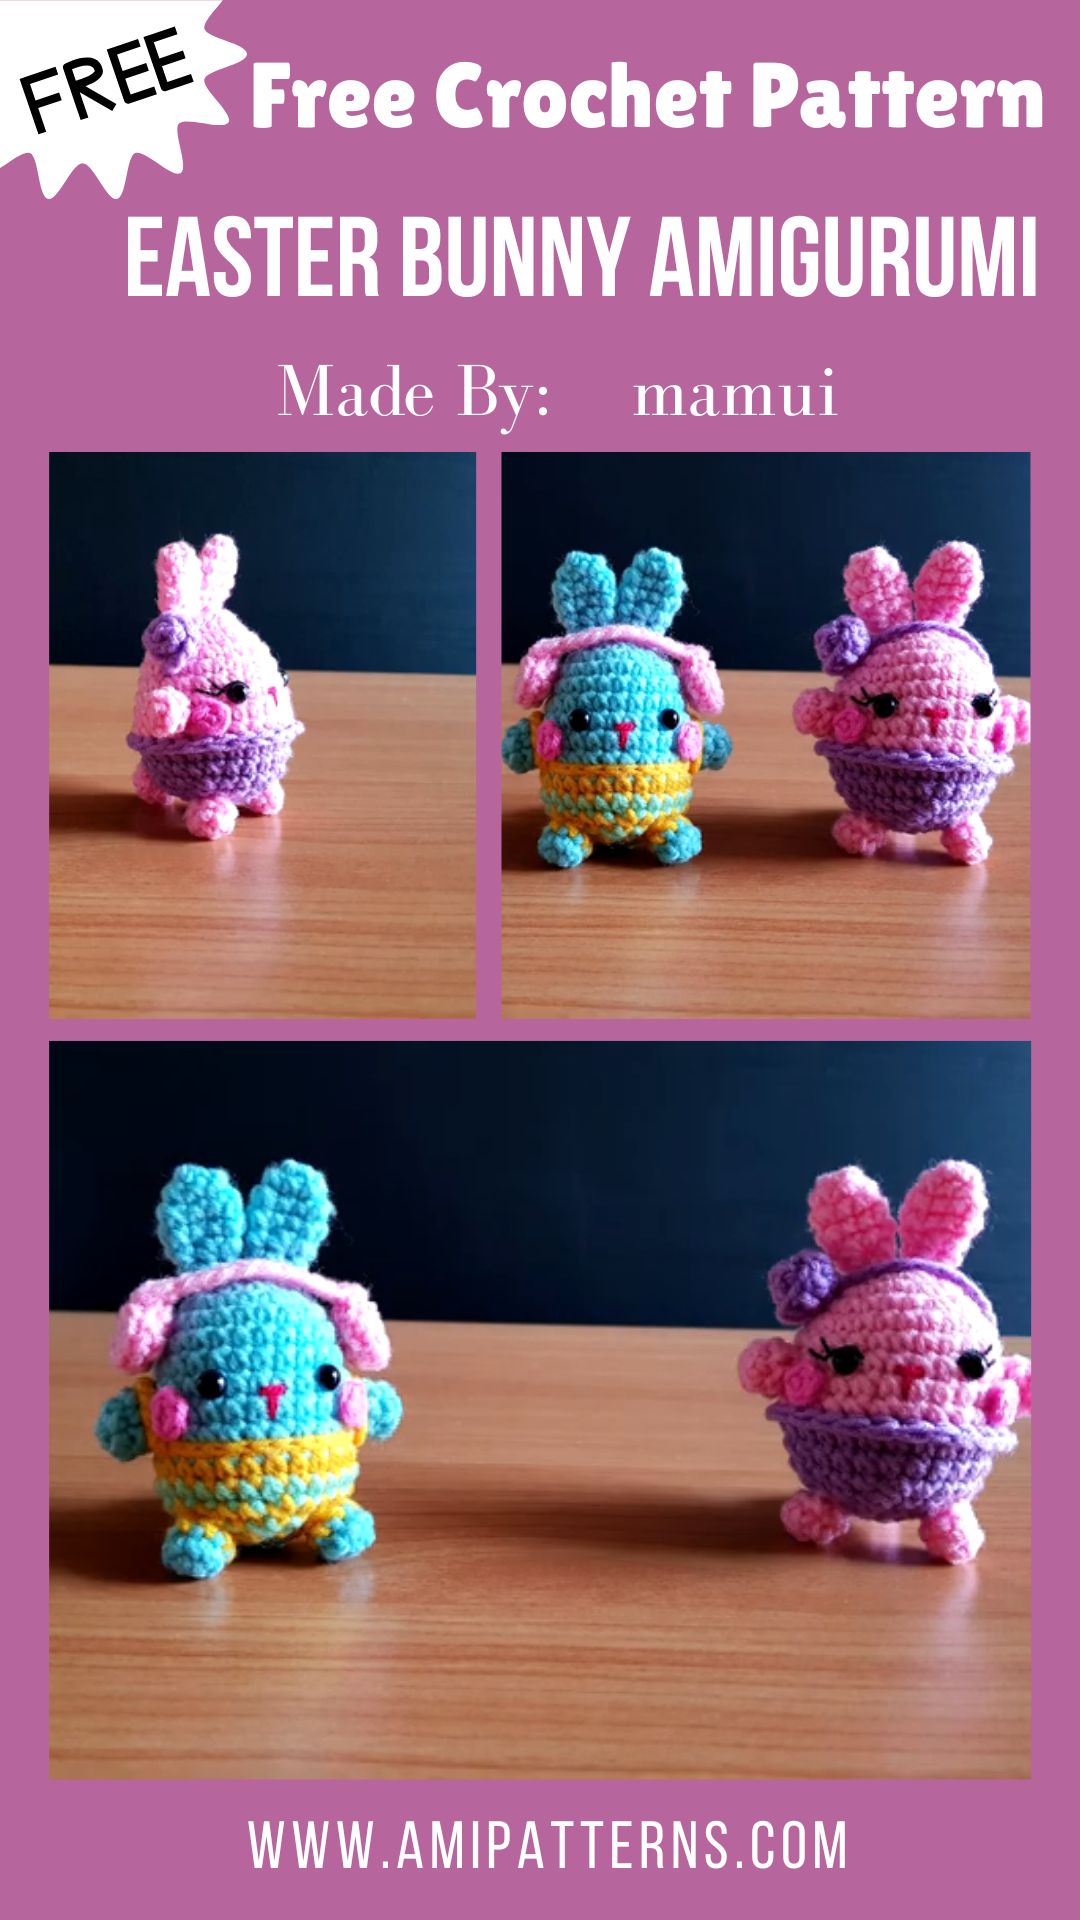
A Handmade Decoration That Never Goes Out of Style
Easter decorations are fleeting, but crochet items handmade tend to reappear every year. Most of the plastic ornaments do not have the time, care, and creativity you put into each stitch, but a crocheted bunny does.
It is also easy to crochet due to its simple shape. You do not have dozens of pieces that are complex in your hands. Rather, you slowly create a cuddly little personality, which naturally falls together. When you have finished you are likely to be making another one in other colors or a whole bunny family.
Materials You’ll Need
Get it all ready in advance.
- White, cream, beige or pastel yarn.
- Pink ear inner ear yarn.
- Black embroidery thread
- Pink embroidery thread
- Safety eyes
- Polyester fiberfill
- Hook to use with your yarn.
- Stitch marker
- Yarn needle
- Sharp scissors
- Satin ribbon (optional)
- Small pom-pom (optional)
The cotton yarn provides firm stitches and the acrylic provides a firmer bunny a more cuddly touch.
Difficulty Level
Type of Skill: Intermediate to advanced.
You will like this project when you are already familiar with:
- Magic ring
- Single crochet
- Increasing and decreasing
- Continuous rounds
- Simple sewing and assembling.
The building is simple and the ears and finishing details give sufficient diversity to make the project interesting.
Special Features of this Pattern
This bunny is easy to make, but there are numerous details that are thoughtful.
- Soft rounded body
- Long floppy ears
- Tiny embroidered smile
- Fluffy tail
- Compact decorative size
- Beginner-friendly shaping
- Minimal sewing
- Easy customization
- Lightweight display piece
The completed bunny can also serve as a spring bunny crochet decoration, which fits perfectly well with seasonal decorations.
Steps to Make Your Easter Bunny
Step 1. Shape the Head
Start with a magic ring and stitch some single crochet stitches into it. Gradually add more and more rounds until you have a smooth ball. Work a few rounds and then put on the safety eyes. Stuff the head to the point of overfilling. The rounded out form makes it seem friendlier and softer.
Step 2. Add the Face
Not much facial details are required to make a bunny look cute. Stitch a small nose and a curved mouth with black embroidery thread. You can add short whiskers on each side, should you desire a little additional personality. Apply pink blush lightly on the cheeks to create a warm, cheery look.
Step 3. Have Long Ears Crocheted
Most of the personality of the bunny is given by the ears. Take two long oval pieces, and crochet them with the main color of your yarn. Prepare similar pink ear plates and then sew them in a good manner on all ears.
You can leave the ears unstuffed and have a relaxed floppy appearance. Should you prefer that they should rise on their hind legs, be sure to put a bit of stuffing in just above the root. Place the ears evenly on the top of the head.
Step 4. Build the Body
Begin with another magic ring and gradually increase until you’ve formed a rounded base. Keep on with the crocheting until the body becomes taller. Pack stuff as you go to work so that the filling is evenly spread. Attach a long strand of yarn to which the head would be attached later. The slightly curved body of the bunny makes it look like a traditional cuddly bunny.
Step 5. Crochet the Arms
Using your main yarn color, crochet two small rounded arms. Light stuffing is necessary so that they do not get stiff. Hook one arm on one side of the body. Place them in a sitting position a bit forward and in a relaxed position.
Step 6. Make the Legs
Crochet two hefty legs, flattened at the bottom. These enable the bunny to be placed more safely in shelves or tabletops. Sew the legs completely in line with the body and then balance. The sitting position is stable and makes the completed decoration appear highly polished.
Step 7. Make the Tiny Tail
No Easter bunny is complete without a fluffy little tail. Using white yarn, crochet a small rounded pom-pom. Lightly stuff and then fasten it to the lower back. Though it is one of the smallest works in the project it brings a lot of charm.
Step 8. Assemble Everything
Now unite all the fragments. The head should be sewn firmly to the body and the ears, arms, legs and tail can be attached. Stop and look at the bunny in all its angles and then tie up your stitches. Details matter a lot to the final effect.
Step 9. Add Personal Touches
Time to make your bunny your own. Attempt at decorating it with:
- Satin ribbon
- Tiny bow tie
- Mini flower crown
- Crochet carrot
- Little basket
- Heart appliqué
- Embroidered flowers
- Small lace collar
- Button-style decorations
These final touches provide all the bunnies with a personality of their own making it even more fun to display them.
Step 10. Finish and Shape
When all the pieces are all sewed, weave in the left ends of the yarn. Gently hand shape the stuffing until the bunny appears smooth and well-rounded. When needed, steam the ribbon or accessories (a little) without touching the yarn with it, to make the finished project look nice and polished. And your own-crafted Easter bunny is now prepared to join your spring decoration or a personal gift to a loved one.
Video Pattern Here:
Decorating with Your Finished Bunny
Among the delights of creating seasonal amigurumi is finding imaginative places to showcase it. It is not the sort of decoration that is packed up after one day in the life of this bunny. Its muted tones and classic style render the piece a beautiful piece to add to your house all throughout the spring.
Put it on a table in the entryway to greet visitors, or put it between your favorite flowers on a shelf, or leave it on the stack of your favorite books. With wooden eggs, tiny birdhouses, and pastel candles, this bunny is a perfect match in case you love to decorate tiered trays.
In the case of children’s rooms, it acts as a cute souvenir that is both enjoyable and soothing. You can even crochet a few bunnies with various pastel colors and make a lovely little family ensemble.
The completed project is also a great pastel bunny shelf ornament, adding a hand crafted touch to living rooms, bedrooms, nurseries or craft areas.
Make Every Bunny Unique
Even though the simple structure remains the same, it is surprisingly simple to give every bunny a personality.
Test various yarns colors such as soft lavender, dusty blue, blush pink, mint green or warm beige. Rather than the traditional ribbon, use a small scarf in the winter months or a flower crown in spring. You can also crochet small accessories such as:
- Mini carrots
- Tiny Easter eggs
- Little flower bouquets
- Small baskets
- Heart-shaped cushions
- Crochet mushrooms
- Daisy hair clips
- Decorative bows
- Pocket aprons
- Mini blankets
Such details assist all of the completed bunnies to narrate their own little tale and to make your collection look new and unique.
When you like a well-crafted handmade gift, soft Easter rabbit plush in a gift basket is still recollected long after the chocolate has been devoured.
Caring for Your Handmade Bunny
Your crochet bunny can be beautiful throughout several seasons with a little care. Clean it every now and then with a gentle brush or lint roller to make the yarn look good. Should it require more thorough cleaning, wash it in a mild detergent in cool water. Wringing the toy also avoids stretching the stitches and will alter the shape. Rather, squeeze out too much water using a clean towel and allow it to dry at room temperature.
When dry, reposition the body, ears and tail with your hands, and reposition it on display. Maintaining the bunny out of long periods of direct sunlight will also assist in maintaining the color of your yarn.
Final Thoughts
There are types of handmade projects, which do not get bored easily, and this Easter bunny belongs to them. With its wavy ears and round tail to a kind smile and snug form, all the stitches work together in forming a decoration that is warm, friendly and characteristically engaging.
Be it on a spring display, as a present to someone special or a collection of various colors, this crochet Easter bunny pattern is one you will find you will go back to year after year. It is a great project to relax, a great hand-made gift, and a terrific reminder that the easiest things to make are the ones that make the biggest smiles.