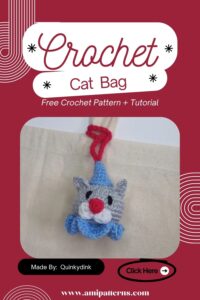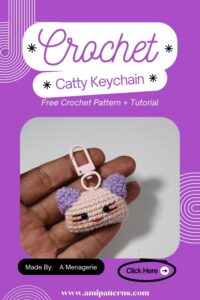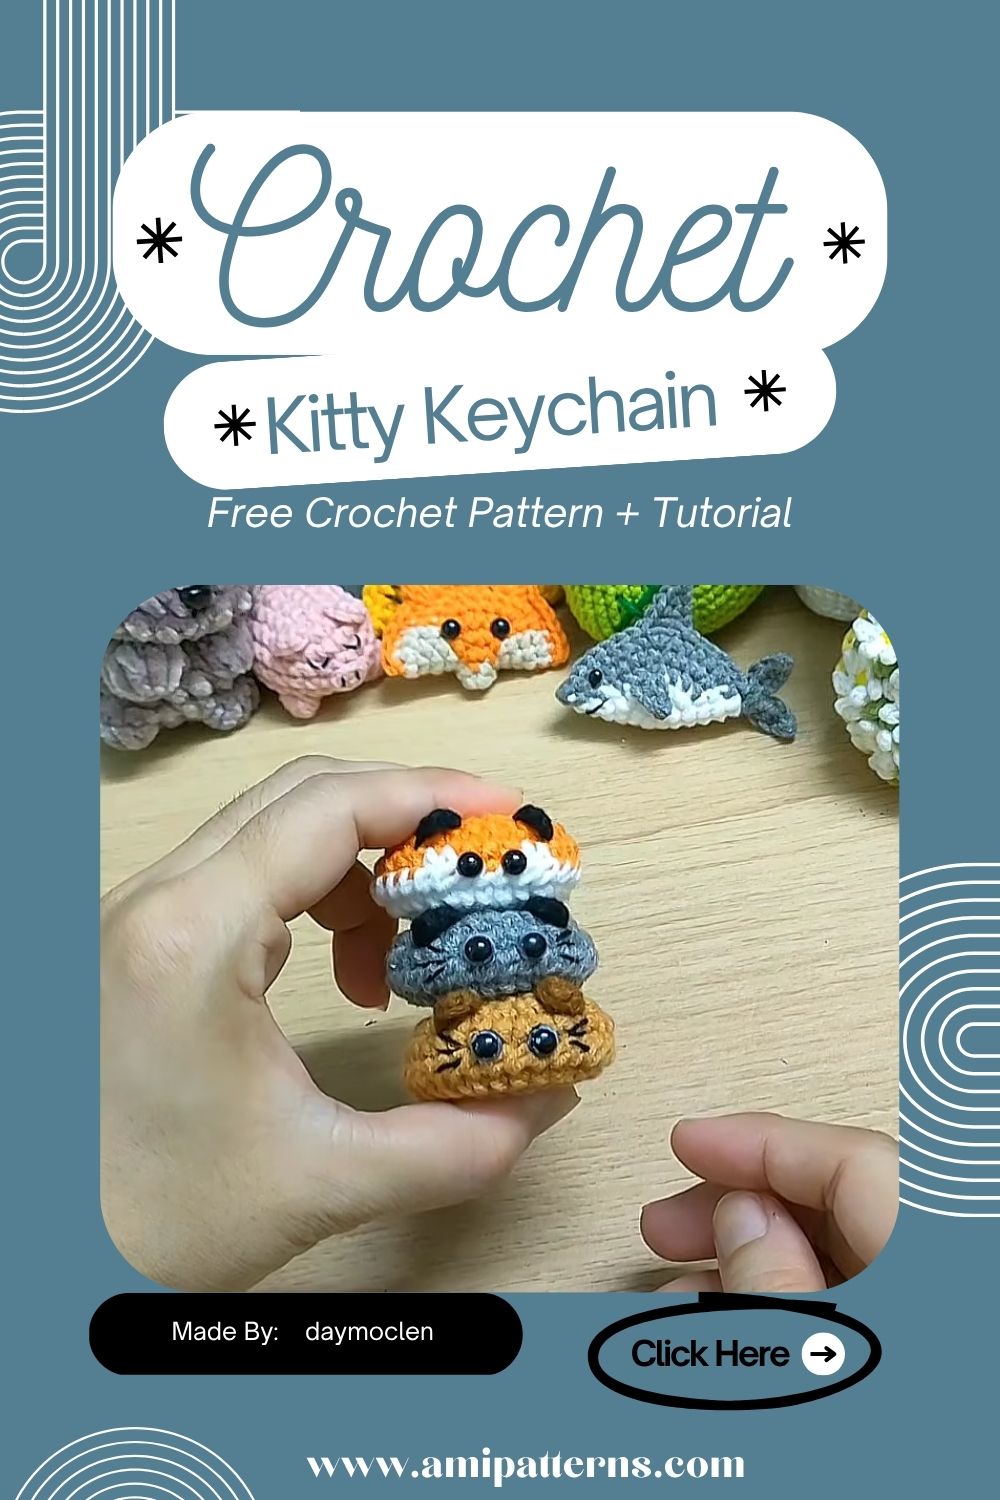
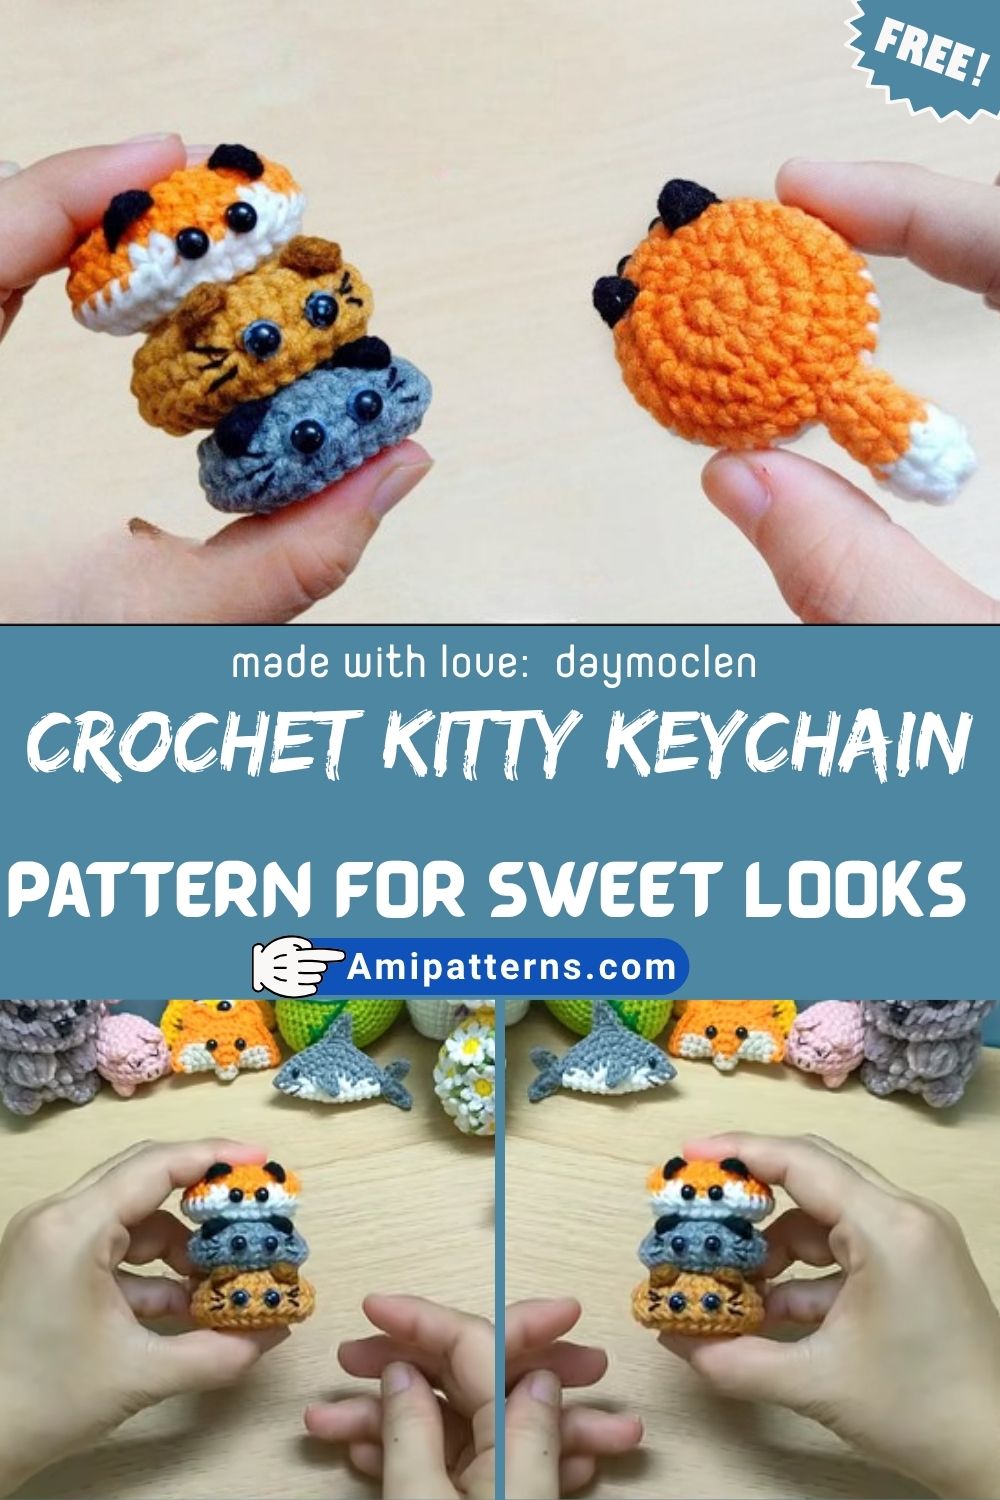
Why This Free Crochet Kitty Keychain Amigurumi Never Leaves My Bag
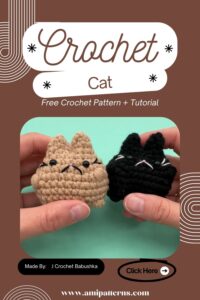
Crocheting cats is an eternal classic! Or perhaps it is their playful nature, their little paws or their little paws with a curious little face – which makes all handmade projects come to life. Whether you are an expert cat crocheter or just starting, there is always something about a cat crochet project. Not only are they fun to make, they’re easy to personalize, and hard to stop at one.
This kitty keychain amigurumi pattern is perfect for a cute and useful project. It’s so little but yet so cute that it can fit easily into your pocket or be attached to your keys, backpack, purse, or even be a thoughtful handcrafted gift.
This project is one of the best things because it is very versatile. It is easy to create a traditional white kitten, black cat, ginger tabby or even your very own pet with various yarn colors. Every little change makes your kitty into an unique personality, creating each finished keychain feel totally different.
Why You’ll Love This Crochet Kitty
Small Crochet Projects seem to find their way into busy schedules. They’re not time consuming to complete and can be made out of leftover yarn from larger projects.
This mini crochet cat keychain is super easy to make with all the cute features that make amigurumi fun. All the little details from the small ears to embroidered whiskers contribute to making this item extra unique and special.
It’s a great project for beginners who want to practice their assembly and shaping techniques but are not ready to do a big stuffed toy.
Skill Level & Finished Size
This is an easy to do pattern that is perfect for all those who have learnt basic crochet stitches. Simple shaping techniques will be used to make the head, the body, the ears and the tail before they are all put together to form one super cute keychain.
Once finished, the kitty is about 3-4 inches tall, which makes it easy to use in everyday activities without it being too cumbersome.
Materials You’ll Need
- Yarn of your choice in cat colors.
- Small amount of pink yarn for the nose
- Black embroidery thread
- 2.5mm–3.5mm crochet hook
- Polyester fiberfill
- 8mm safety eyes
- Yarn needle
- Stitch marker
- Scissors
- Open key ring or lobster clasp
Step 1. Crochet the Head
Take a magic ring and work the initial stitches into the center. Close the ring tightly to get a nice beginning.
Add stitches until the head is in the shape of a rounded ball. Work continues evenly as sides start to curve naturally.
The head should be a little bigger than the body, making your kitty that classic “cute and bulky” appearance.Check on a regular basis the shape you are creating while working. A smoothly rounded head will simplify the process of attaching facial features later.
Step 2. Crochet the Body
The body is to be slightly smaller than the head to achieve a balance of proportions. Again start with a magic ring, then gradually add more stitches to increase the body width to the desired size.
After forming the rounded shape, work evenly and then a progressive decrease to the bottom. As soon as the opening is closed, start to stuff the body gradually. Fill sufficiently to hold shape but not too hard. A slightly soft body gives the finished kitty a more cuddly appearance.
Step 3. Make the Ears
This will make cats instantly recognizable by their pointed ears and will certainly give them loads of personality.
Use the same yarn color as the head to crochet 2 identical triangle-shaped ears. Do not be concerned about making them absolutely sharp. Rounded points may result in a more muted and endearing face.
Pin and test both ears on the head before sewing in place permanently. You’ll notice a difference in the finished product if the spacing is even. When you are satisfied, bind them off with the same yarn.
Step 4. Create the Tail
The tail can be a minor detail, but it’s a necessary element in the design. Crochet a thin tube long enough to gently wrap around the back of the body. It can be left straight, slightly bent, bent in a curve on one side to make various poses.
The tail is curved and a bit long, it gives her a fun look and also balances her shape. Make sure it is sturdy and will remain stable even after regular use.
Step 5. Add the Face
Here your little kitty really comes to life. Place two safety eyes close together but not touching in the middle of the head, leaving space for the nose. Embroider a set of fine whiskers with black embroidery thread on the face. These easy facts just make your project a charming, cute cat crochet charm, and add a lot of personality.
Step 6. Place the Head on the Body
After the head and body are completed, it is time to assemble the head and body. Put the head on top of the body and inspect the head for straightness before sewing. The kitty’s head should look cute and cartoon-like, yet balanced, with the head being just a bit oversized. Once it’s all put on, give the neck a little shaping with your hands to make the neck line smooth and natural.
Step 7. Add the Front and Back Paws
Your kitty’s little paws are adorable, but they certainly give him some personality! Using the same yarn as the body, crochet 4 short oval shaped pieces. Keep them simple and slightly rounded to match the soft look of the project.
Before sewing, pin front paws to the lower portion of the body. They should be level with each other, as if the kitty is putting its paws on top of each other. Place the back paws at the bottom of the body and make sure that they are parallel to each other so that the keychain looks good on display.
The cute little details add to the overall appeal of the easy crochet kitty plush without making it too difficult to do.
Step 8. Attach the Keychain Hardware
This is an important step, as a keychain must be sturdy enough for everyday use. Bring a firm thread through the top of the head and secure it with a few tight stitches. If the loop starts to feel firm, use your split key ring or lobster clasp on it.
Give the hardware a gentle pull to make sure it’s attached properly. Your kitty will feel comfortable and remain securely fastened to your keys, handbag, backpack or zipper without becoming loose over time.
Step 9. Add Cute Accessories
This is where you will be able to truly make your kitty special. Make a small bow to attach to one ear, embroider a small scarf around its neck or tie a small bell on its neck. If you like adding pretty things, you could even create a little flower, a heart or even a little sweater.
Another simple way to make your project a bit of your own is to change the colors of the yarn. Create a gray kitten, black cat, calico cat, or even make your own pet in color with similar colors. The finishing details add a unique touch to your mini crochet cat keychain.
Step 10. Give Your Kitty the Final Touches
Take a few minutes to make sure all the details are in place before you consider your project over.
Cut out any yarn ends and ensure that all sewn sections are firm. If the stuffing has nudged slightly off shape, massage it back into the shape with your hands.
Take one last look at the face. The whiskers or slightly reshaped ears can make a huge difference – sometimes even a surprising one – in the final expression.
Video Pattern Here:
Special Features of This Pattern
It is a cute kitty keychain that can be both easy and cute.
- Beginner-friendly construction
- Fast project with a short turnaround time.
- Works with a very small amount of yarn
- Ideal for incorporating and utilizing scrap yarns
- So lightweight it’s great for everyday use!
- Simple to add various colors and accessories to it
- Makes thoughtful handmade gifts
- Great for craft fairs or small businesses!
Tutor Tips (From Experience)
If you’re using safety eyes, install them before completely closing the head. It’s much easier than trying to squeeze them into place afterward.
Before permanently sewing the ears, paws and tail, always pin them first. Since your kitty is viewed from a variety of angles, you can detect the uneven placement at an early stage.
When stuffing in the body, take only a little at a time, rather than a full handful. This makes the shape a lot smoother, and makes it less likely to get lumps.
If you are creating multiple keychains, crochet your heads first, your bodies second and then tie them together at the end. This helps you stay focused and time-efficient.
Common Mistakes to Avoid
Beginners’ biggest error is overstuffing the head. Excessive filling can cause the stitches to be stretched, which may result in gaps between them. The head should be soft but maintain its roundness.
The other common error is having the ears too far apart or too close together. Pin them down and check the distance from the front before sewing. There is a distinction of a matter of life and death in getting the kitty to say “hola”.
Creative Uses for Your Crochet Kitty Keychain
- Attach it to your house or car keys.
- Add a touch of elegance to your backpack or purse.
- As a zipper charm on jackets, travel bags etc.
- Include it in a hand made gift basket.
- Design and make party favours.
- Go to craft fairs or sell it in your handmade store online.
- Create keychains to give as gifts.
- Make several into a colorful collection of cats of various breeds.
This kitty keychain amigurumi pattern is also very economical with the yarn so it’s a great stash-busting pattern using leftover (leftover) cotton yarn.
Final Thoughts
There are certain crochet projects which are memorable for being large and detailed. Others are favorites due to their ease of fit in everyday life. This is one of these little projects: this little kitty keychain.
It can be completed in a leisurely afternoon, accessible to novices, and ever so complete and impressive. Keep it in your pocket or hand it out as a handmade gift – these are types of projects that will always make you smile when you pick up your keys.