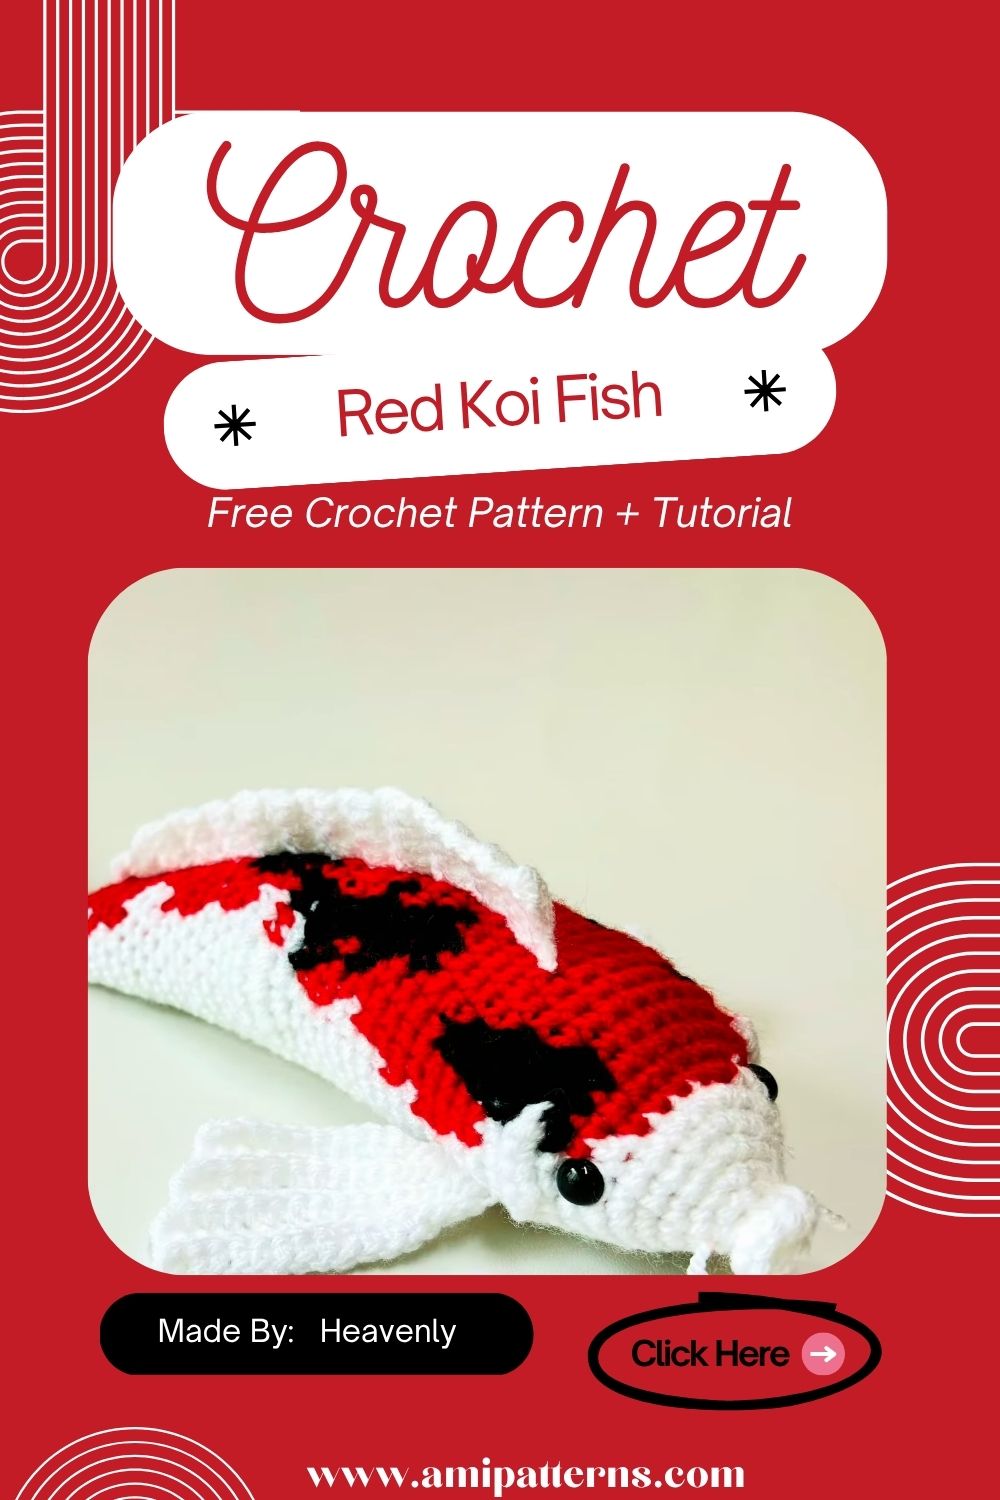
Free Crochet White Red Koi Fish Amigurumi Plush
It is quite an invigorating sight to see a koi fish. The movement and shape of its fins make it a natural choice for crochet projects, plus it has bright red markings. This is a white-and-red koi fish amigurumi that creates this tranquil feeling inside even in a more relaxed and playful way.
This adorable crochet koi fish is made up of simple amigurumi techniques and plush yarns and can make a lovely shelf décor, nursery accent or crochet gift for the fish lover.
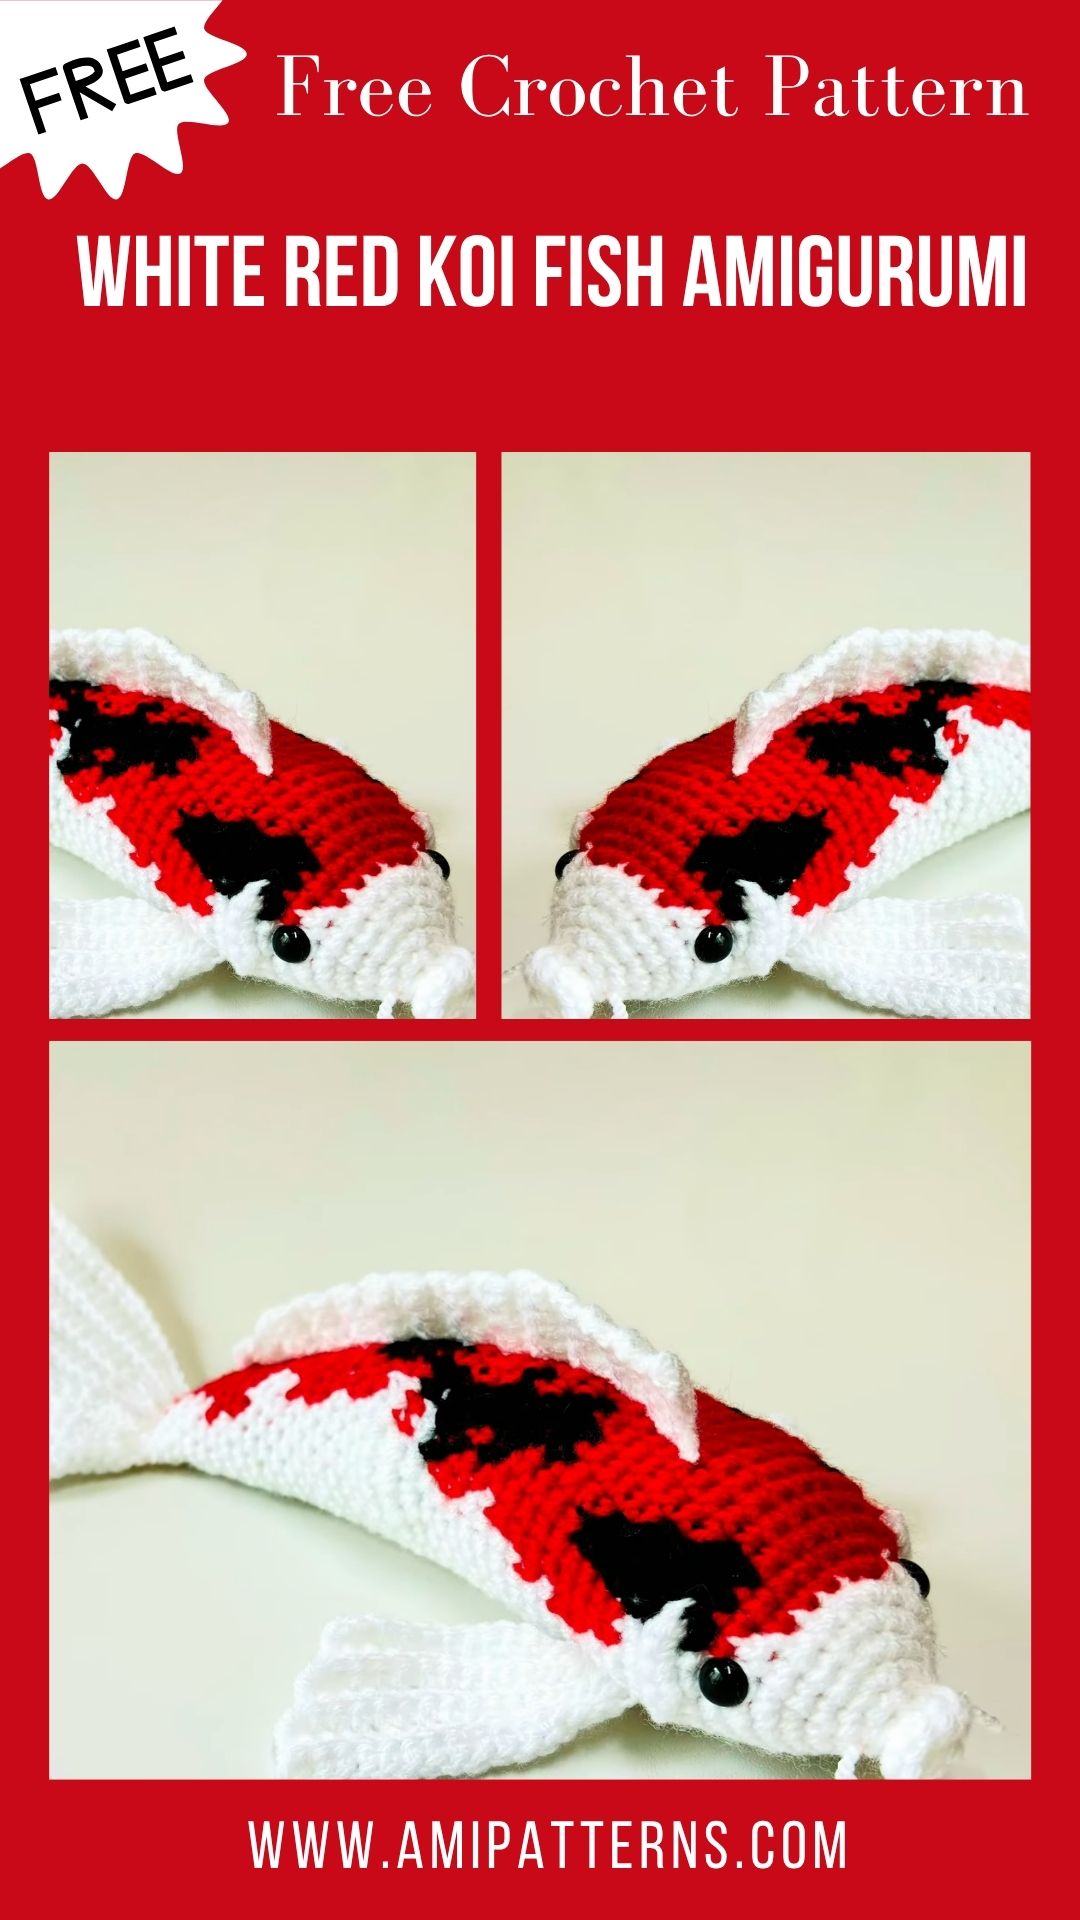
The white body provides a good contrast to the red patches, and the fins and tail provide assistance in making the fish appear to be moving when it is not actually moving.
The best thing is that you can vary the colors and markings to create a unique koi in each instance. Some will have big red spots, and others will have small red spots all over the head and upper back. Let’s get started.
Pattern Highlights
- Cuteness Rating: 🩷🩷🩷🩷🩷
- Finished Size: approximately 6–8 inches long, depending on yarn and tension
- Difficulty: Intermediate (estimated)
- Hook Size: 3.5 mm or a size suitable for your yarn
- Yarn Palette: white as the main color, with red for the koi markings and small amounts of black or dark yarn for the eyes
- Key Detail: soft fins, a rounded body, flowing tail, and bold red markings
- Estimated Time: 3–5 hours (estimated)
What You’ll Need for This White Red Koi Fish Amigurumi
A soft chenille or plush yarn would be perfect for this project.
- White for the body – plush or chenille yarn.
- A small piece of red yarn to mark the koi’s markings
- Very little black/dark yarn for eyes
- Yarn (3.5 mm crochet hook or corresponding hook to yarn)
- Polyester fibre filling or hollow fibre stuffing
- Safety eyes 8-10 mm in size depending on final dimensions
- Stitch marker
- Tapestry needle
- Scissors
- Yellow yarn for cheeks (optional: pink yarn for tiny cheeks)
Abbreviations Used in This Pattern
| Abbreviation | Meaning |
| mr | Magic Ring |
| ch | Chain |
| sl st | Slip Stitch |
| sc | Single Crochet |
| hdc | Half Double Crochet |
| dc | Double Crochet |
| inc | Increase — 2 sc in the same stitch |
| inv dec | Invisible Decrease |
| FO | Fasten Off |
Before You Begin — Getting the Details Right
The body of a koi is very smooth and rounded, so it will be necessary to keep your stitches reasonably tight to produce a koi with the correct shape. If you find that you have large holes between the stitches, you should consider using a smaller sized hook.
The body is worked in continuous rounds, beginning with a magic ring. It is here that a stitch marker comes in handy, as it may be hard to discern where each round starts when working with fluffy yarn.
The body needs to be filled slowly and not all at once. Fill in with a small amount of fiber fill each round and mould it with your fingers. This allows you to have a lot more control over the final shape.
Crochet Detail Tip: If adding eyes, try to position them loosely on the body and view from various angles. Koi are gentle-looking and moving an eye one or two stitches can drastically alter the look of your finished plush.
Try not to overstuff the body. The crochet koi fish plush has a slightly soft body to provide it with a more natural shape and to help the fins fit nicely on the side.
The Passionate Crochet Koi Fish Pattern, Piece by Piece
Main Body (×1)
Start with white yarn and magic ring.
- Round 1: 6 sc in mr (6)
- Round 2: 6 inc (12)
- Round 3: (1 sc, inc) × 6 (18)
- Round 4: (2 sc, inc) × 6 (24)
- Round 5: (3 sc, inc) × 6 (30)
- Round 6: (4 sc, inc) × 6 (36)
- Rounds 7–12: sc around (36)
- Round 13: (5 sc, inc) × 6 (42)
- Rounds 14–18: sc around (42)
- Round 19: (5 sc, inv dec) × 6 (36)
Round 20: (4 sc, inv dec) × 6 (30)
Round 21: (3 sc, inv dec) × 6 (24)
It is at this point that you should start stuffing. Using the fingers, work around body and push the fiberfill to the sides to keep the fish from becoming flat.
Fasten off and close the opening. Pass yarn through the other stitches and slide through lightly.
The end product should be a small rounded fish and not a perfect ball. If it’s too round, shape the front and back with the fingers.
Tail (×1)
The flowing look of the koi is due to the tail.
With white yarn make a knot on the narrow end of the body at the back.
Now take the tail and lay it over slightly and crochet through both sides to close.
With the tail split, start yarn in the middle of the tail and knit two small curved rows outwards. Another simple V tail is achieved by expanding to each outer edge.
Quickly remove the end and weave.
If the tail is not symmetrical, it is okay. It is more natural and animated to have a slightly out-of-shape tail.
Side Fins (×2)
Quickly put it on, leaving a long tail to sew.
Sew each fin flat and up both sides of the body. Set them just behind the eyes and set them down.
They can be moved around before the sewing operation. Place each fin against the body and observe the fish from the top, the side and the front.
Top Fin (×1)
The upper fin is smaller and is used to complete the koi’s silhouette.
Tie off and cut a tail.
Sew the fin to the top middle of the body. Allow some freedom of movement with stitches for the fin.
Creating the Red Koi Markings
It’s here that your koi fish crochet home décor project takes on personality.
You don’t have to make all the marks the same. The designs of the real koi are in a different pattern therefore it would be better to make the fish with little variances and make it more interesting.
Cut small pieces of red yarn and embroider irregular patches on the white body with a tapestry needle.
Use 1 large red patch close to head, 2 or 3 small patches on back. It is also possible to put, for example, a small red part next to the tail.
Do not make each patch a completely perfect round to create a softer look. The edges of the pieces are slightly curved, which is more natural than straight ones.
Pattern Tip: If you’re creating multiple koi, vary the location and the size of the red patterning on each fish. Just a few koi with different patterns on them are far more interesting than a bunch of copies with the same pattern.
To achieve deeper color, the area can be stitched twice. Don’t tighten too much or the red yarn will end up in the creases of the soft surface.
Adding the Eyes and Face
Attach safety eyes to the front of the body. If you use different yarns or are looking for different sizes, 8–10 mm eyes should be okay.
Before securing, make sure they are level.
To give it a handmade look, embroider small black details all around the eyes. Dark yarn can also be used a little to do mouth delineation.
Simplify the mouth. Just 1 or 2 ‘small’ stitches will suffice. A complex expression can cause a fish to appear less natural.
For a more kawaii look, draw two little pink cheeks below the eyes.
Assembly
Close the main body, but don’t close it completely until the main body is finished.
Tie tail tightly to the narrow back part.
Stitch the two side fins to each side of the body.
Stitch on top fin over the middle of the back.
Place and attach safety eyes.
Embroider mouth and optional facial features.
Using a tapestry needle, add the red koi markings.
Tackle all the loose yarn ends.
Form the body, fins and tail by hand.
Take your time with sewing. The effects of the location of the fins are surprisingly significant! If a fin is elevated too high, the fish may appear to be crooked.
Making Your Koi Extra Cute
The basic fish is done, and there are lots of subtle ways to alter its look.
Experiment with creating a koi that is predominantly white in color and has very small red eyespots. Another might have a large red patch on the majority of the forehead. Consider even adding a bit of gold or orange yarn between the red markings for a more decorative look.
To get a more muted nursery scheme, bright red may be replaced with pastel tones of red or coral. A light, creamy color tone can also lend a more vintage vibe.
You can put a small hanging loop onto your fish so it can be a decoration rather than a toy. A number of varying sized koi would be a beautiful addition to a bookshelf, craft area, or child’s room.
A single white red Koi Fish Amigurumi is also very nice to display on your bedside table or shelf! Its rounded shape provides a bit of color without dominating the area.
Ideas for Your Crochet Koi
These handmade fish can be used in more places than one would think.
Set against one of these small plants for a straightforward nature-inspired show. Place several in a basket along with other homemade crochet items. Alternatively, place three koi on a shelf using small stones, fake plants or a small decorative bowl.
If the fish has safety eyes or other small parts, keep them out of the reach of a child’s room; otherwise, use soft colors.
Another option is to get an entire koi pond set. Have various sizes, tail shapes and markings to give each fish its own personality.
Passionate Crochet Koi Fish Final Look
It’s one of those crochet patterns that get cuter the more you add on! The white, soft plush body provides a clean and soft foundation, while the red markings add a touch of uniqueness to each fish.
The fins and tail are particularly crucial since they make sure that the project does not look like a simple stuffed oval. Add a bit of form and allow them to bend with the rest of the body.
Mostly – enjoy the markings! Koi should never be exact replicas, making this a good project for experimentation.
Do one for your own shelf, make a set of them as a handcrafted gift or make several of them to make a soothing little crochet pond. Regardless of how you arrange it, this colorful koi fish will be sure to add a whimsical element to your home.
FAQs
What yarn do you use to make a crochet koi fish plush?
Soft chenille or plush yarn is ideal as it helps to give a smooth rounded body. The red markings are also good against a white plush yarn.
Can you change koi colors?
Yes. The red and white effect is very pretty, but coral, orange, pink, cream and even soft yellow can make interesting variations.
What can I do to make the koi more realistic?
Maintain a long body, use non-matching red irregular markings, and carefully shape the fins. Gentle shaping also ensures a more natural fish shape.
May I use this crochet koi in decorating my home?
Absolutely. A koi can be displayed on a shelf, desk, basket or display once it is finished. A few handmade fish of various sizes can be used to make a fun arrangement inspired by a fish pond.