How to Crochet a Pop-Tart Turtle Amigurumi Pattern for Whimsical Decor
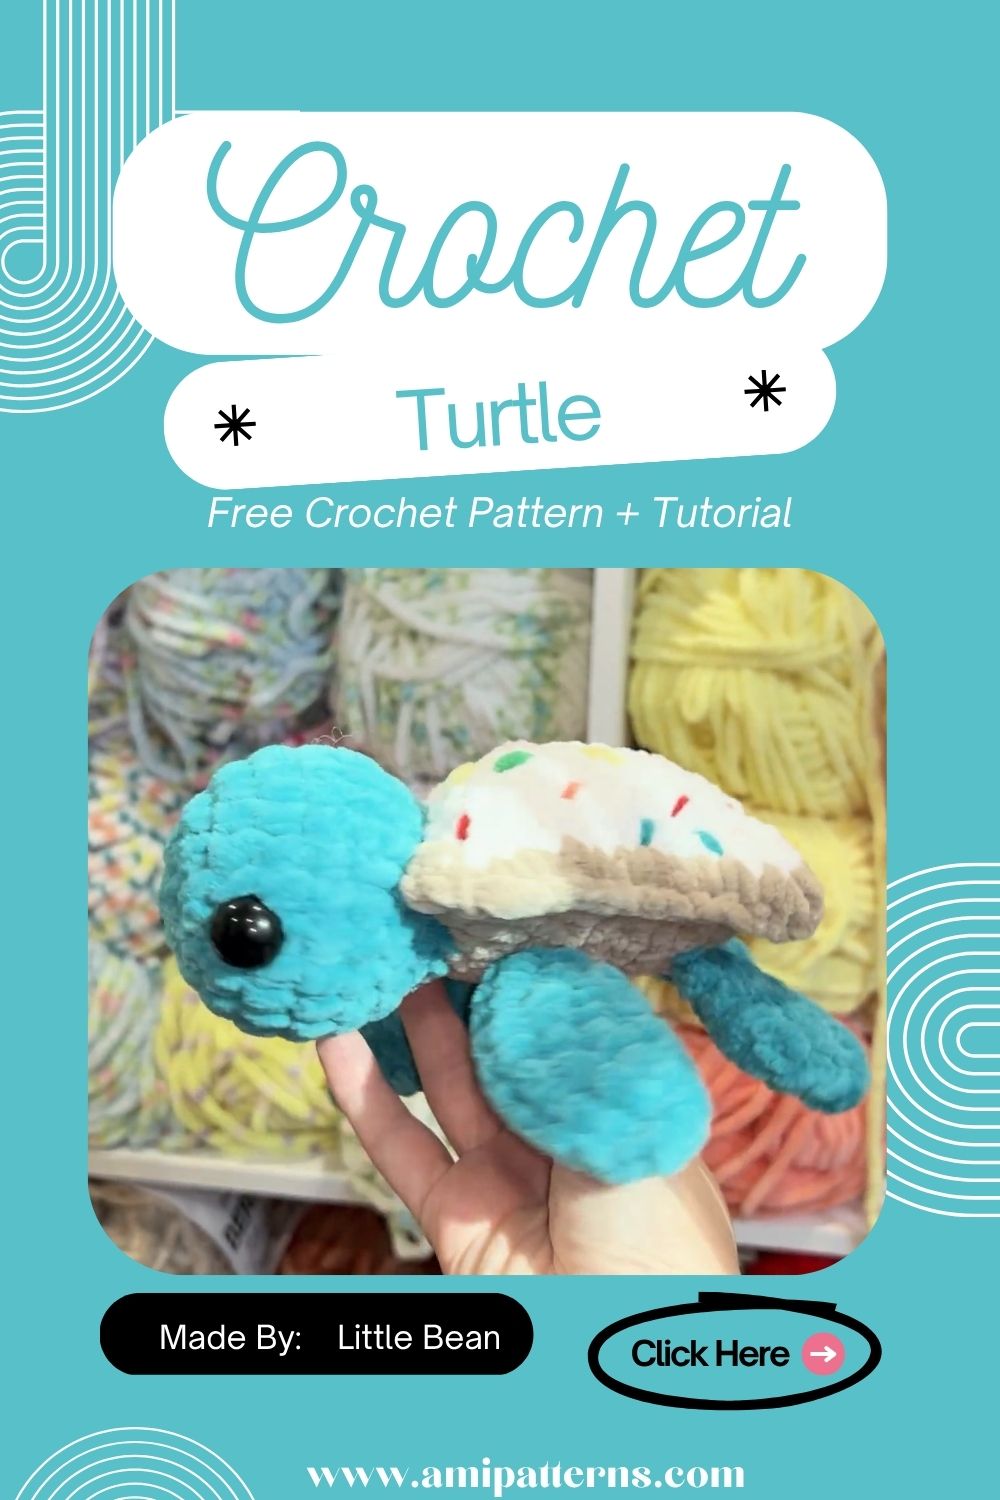
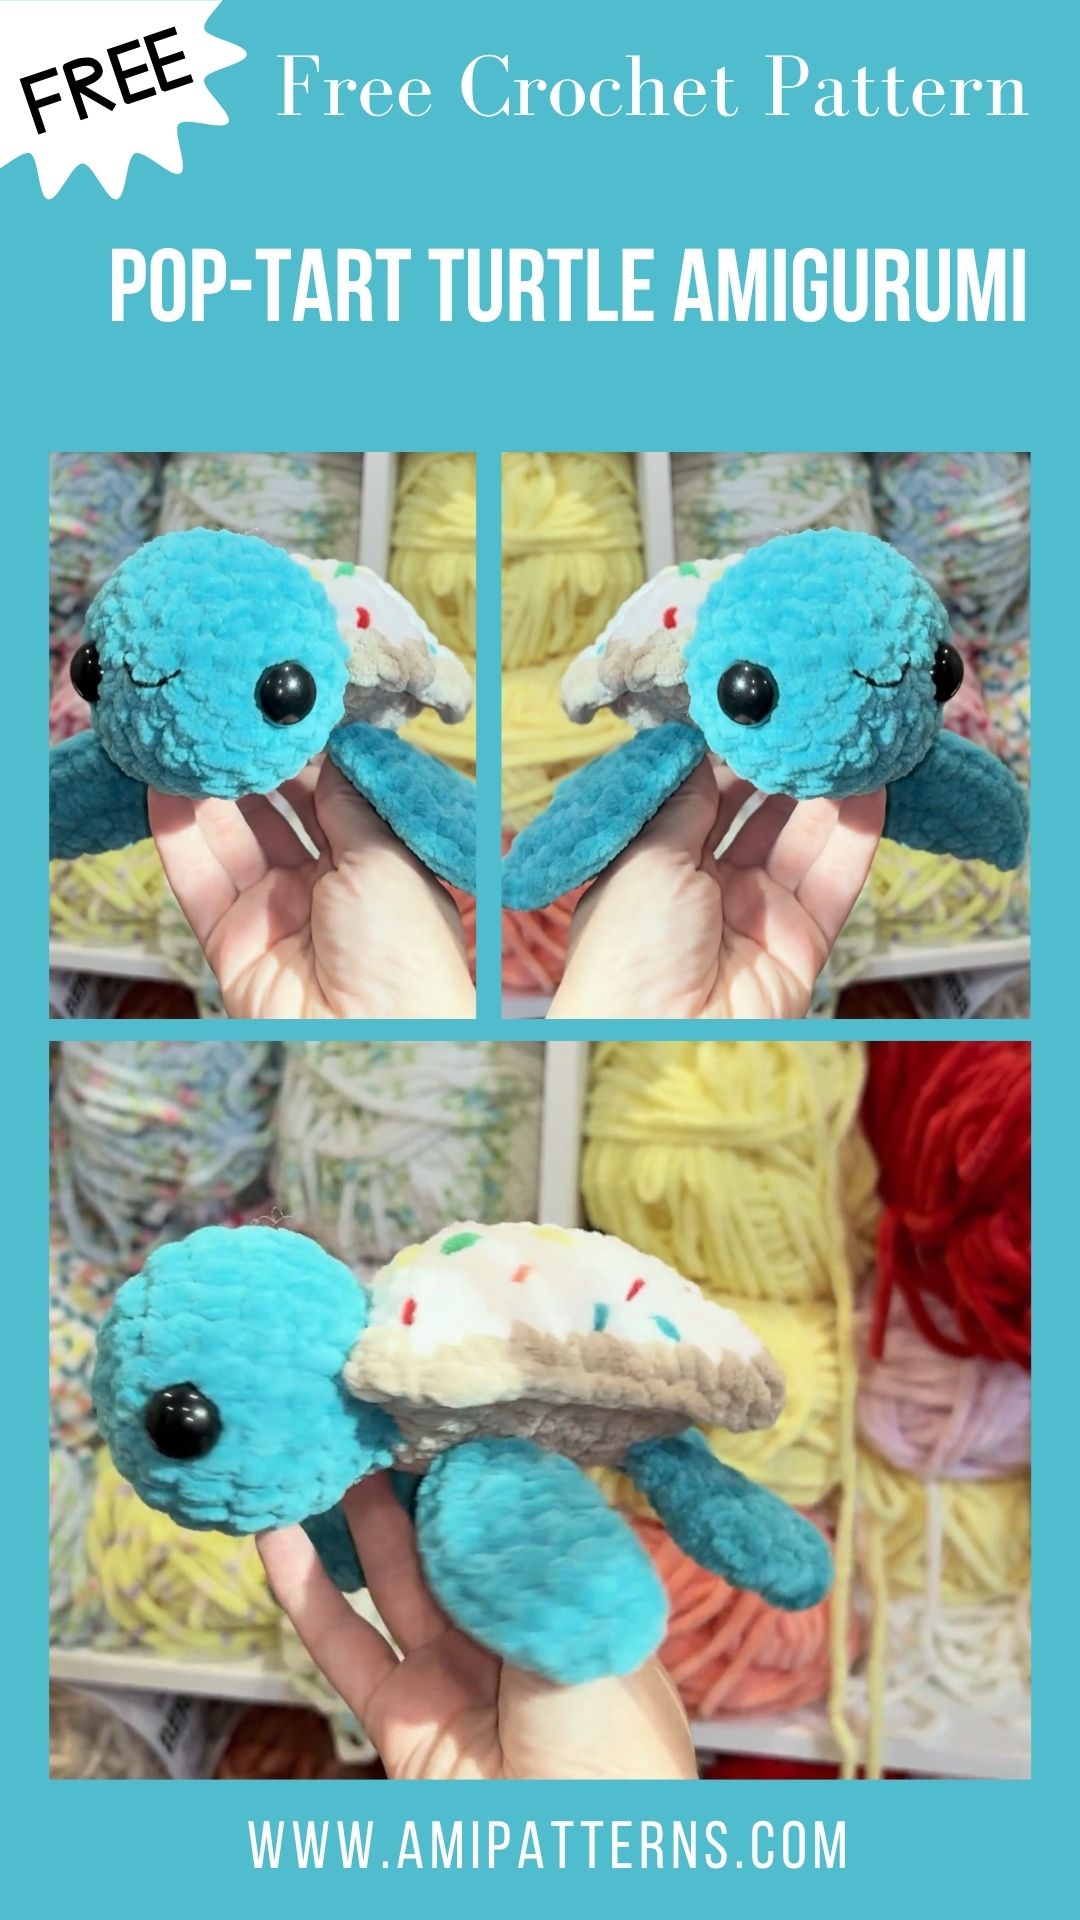
Do you want to make an amigurumi animal that looks cute and fun-loving at the same time ? A Pop-Tart turtle is what you will need. You can bring life to this turtle with a round head, small legs and a rectangular shell. Everywhere you take it, you wont stop getting compliments. Whether you use it as decor to transform your decor or give it away as a gift it has the charm that is hard to beat.
It is perfect for crochet lovers who want to experiment something new. You will know it is not a traditional turtle but its so memorable. The bright colors and embroidered sprinkles along with various combinations of yarn. There you have it!
For all those who have been looking for a amigurumi turtle pattern free that is not like other animal designs, this creative idea is just a fun way to practice shaping, colorwork and character details.
Why Make a Pop-Tart Turtle?
The crochet turtle is adorable and you can make any expressions that you like. The shell can be decorated with frosting, sprinkles, small embroidered shapes or a happy face. The completed turtle is suitable for use as a wall hanging, office decoration, nursery decoration, or gift.
It is also suitable as a mini size collectible item. Create multiple versions in various colors and hang side by side to create a happy homemade display. This pattern is particularly beautiful for those with a penchant for food-themed crochet, fantasy creatures, or oddball home décor.
Difficulty Level
Time: 1 hour
This project is suitable for crocheters who know:
- Magic ring
- Chain stitch
- Single crochet
- Increasing and decreasing
- Working in rounds
- Working in rows
- Basic sewing
- Simple embroidery
The turtle’s body is made with basic amigurumi techniques. It is shaped with simple rectangles, which confident beginners can make easily.
Materials You Will Need
Before you start, collect the following materials:
- The turtle is made of green yarn.
- Light brown or tan pastry yarn
- Bright yarn to make the frosting
- Colourful sprinkle yarns in little bits and pieces
- Black embroidery thread
- Yarn for eye highlights (optional but recommended)
- Crochet hook suitable for your yarn
- Polyester fiberfill
- Yarn needle
- Stitch marker
- Sharp scissors
- Safety eyes, embroidery thread
Special Features of the Pattern
This fun turtle may contain:
- Rounded turtle head
- Small flippers
- Bright pastry-shaped shell
- Frosting panel
- Colorful sprinkles
- Cute embroidered face
- Soft stuffed body
- Customizable colors
The design may be simple or embellished with additional details for a more vibrant appearance.
Step-by-Step Pop-Tart Turtle Amigurumi Pattern
Step 1: Crochet the Turtle Head
Start with green yarn and form magic ring. Single crochet stitches and even increase to create a rounded shape. Row by row continue until head is sufficiently wide. Repeat several rounds, not increasing. After that, start to slowly decrease. If using, put on safety eyes before closing the head. Place stuff into the head gently.
Step 2: Add the Facial Features
The face is what brings the personality to the turtle. Place the eyes side by side, close the distance between the eyes to the upper front of the head. Embroider a little smile curve under them. Tiny cheeks can be added with pink yarn or small white highlights can be added around the eyes. Maintain simplicity and positivity in the expression. Just a few strategic stitches will make the turtle look friendly.
Step 3: Crochet the Turtle Body
Make a ball out of green yarn. Start with a magic ring; increase slowly. Repeat until the body is about as wide as the head. Roll several rounds, evenly. Stuff as you crochet. The body should be sturdy enough to hold up the shell but soft enough to make the toy cuddle-worthy. After desired height, reduce and close the opening. A long yarn tail should be left for attaching the head.
Step 4: Make the Front Flippers
Make two little green crochet flippers. Start with a magic ring and make a couple rounds to make a round shape. The flippers can be left flat or a very light layer of stuffing added.
Glue them on the front of the body. Tilt them slightly forward to get an easy pose. If you have attempted a turtle pattern-free project before, you might be familiar with this simple turtle flipper build. The pastry shell is the distinctive feature of this version and is colored.
Step 5: Crochet the Back Flippers
Create two smaller flippers, one for the back of the turtle. Keep them small, so they will not overpower the body. Secure them evenly close to the bottom back. Look for balance between the flippers from the front and the side of the turtle.
Step 6: Make the Pop-Tart Shell
The shell is the focal point of this project. Make a rectangle piece of yarn using tan or light brown yarn. Start with a chain base. Single crochet in rows, going back and forth. Repeat or modify the pieces until the desired length of panel is achieved.
The corners should be somewhat rounded, not square. Make an identical matching panel. Combine both pieces together and crochet at the edges to join them together. When closing the last side, place a little fiberfill. The shell should be soft and slightly puffy – like a mini pastry handbag.
Step 7: Add the Frosting
Pick a bright color of frosting. Any color, pink, purple, blue, yellow or mint green, is good. Crochet a flat rectangular or slightly wavy piece of crochet that is smaller than the pastry shell. Stitch onto the top side.
Ensure frosting is level and smooth. Small curved edges can be added to give the effect of a melted frosting. The bright frosting gives a happy contrast to the tan color of the pastry.
Step 8: Add Coloured Sprinkles
Embroider sprinkles with small pieces of yarn on top of frosting. Experiment with various colors for a sweet candy appearance. Shut the sprinkles off as close as possible. Use straight stitches, small crosses or small dots.
Avoid adding too many decorations. A well-done design will generally appear more balanced and classy. This creative side shuck detail will help you to create a whimsical and eye-catching decoration using this turtle pattern.
Step 9: Attach the Shell
Put the Pop-Tart shell on the turtle’s body. If you are not familiar with stitch markers or pins, you can use them to make sure that you are in the right place.
Shells should lay flat and be centered. Stitch around the bottom edge with short, tight stitches. Be sure not to tilt the shell to one side. After attaching, softly press the shell into place and verify the overall shape.
Step 10: Assemble the Turtle
Glue the head onto the front of the body. Take the long tail of the yarn and sew around the connection several times. Make sure that the head is in place and facing forward. Examine shell and/or flippers.
Straighten out any uneven yarn ends before weaving in the remaining yarn ends. Now that you’ve made your Pop-Tart turtle, you can display it.
Video Pattern Here:
Pro Tip
Please use stitch markers to place the shell before sewing. This will make it easier to hold the pastry shape and ensure that the turtle will look even from above.
Creative ways to display your Pop-Tart Turtle
This little guy can brighten a lot of spaces. Hang on a bookshelf, desk, bedside table or craft room shelf. Decorate a nursery or playroom with it for a bright spot. Frost various turtles with different colors and line them up.
Additionally, create a matching crochet pastry collection with donuts, cupcakes, cookies or other sweet-themed characters. The turtle is a thoughtful handmade gift for birthdays, holidays or special occasions. It’s also fun to add to a craft-market display. The completed design can be quite a quirky turtle amigurumi pattern variation for collectors with a food theme.
How to take care of Your Crochet Turtle
Use a soft brush or clean cloth to gently remove dust. Always wash yarn according to label instructions.
If the materials permit, hand wash the turtle in cool water using a mild detergent. Avoid twisting or wringing the piece. Dry off with a clean towel.
Place the turtle on its side and leave it to dry. When the head, flippers and shell are dry, reshape them gently. Avoid exposing the completed piece to direct sunlight for extended periods to help maintain the colors.
Final Thoughts
The turtle will be easy to design, combining it with a colorful pastry shell makes the character look cheerful, creative and totally unexpected.
The rounded head, small flippers, soft body, bright frosting and little sprinkles all contribute to a hand-made creation that will be remembered.
You can follow the design or it can be personalized. Experiment with different frosting shades, add in creative sprinkle designs or even make your own line of pastry turtles.
This small turtle will add warmth and colour to any area, whether in a shelf, as a gift or for a brightener in the office. It’s possible to use just a handful of stitches and a bit of imagination to create a yarn character that will bring a smile to faces!