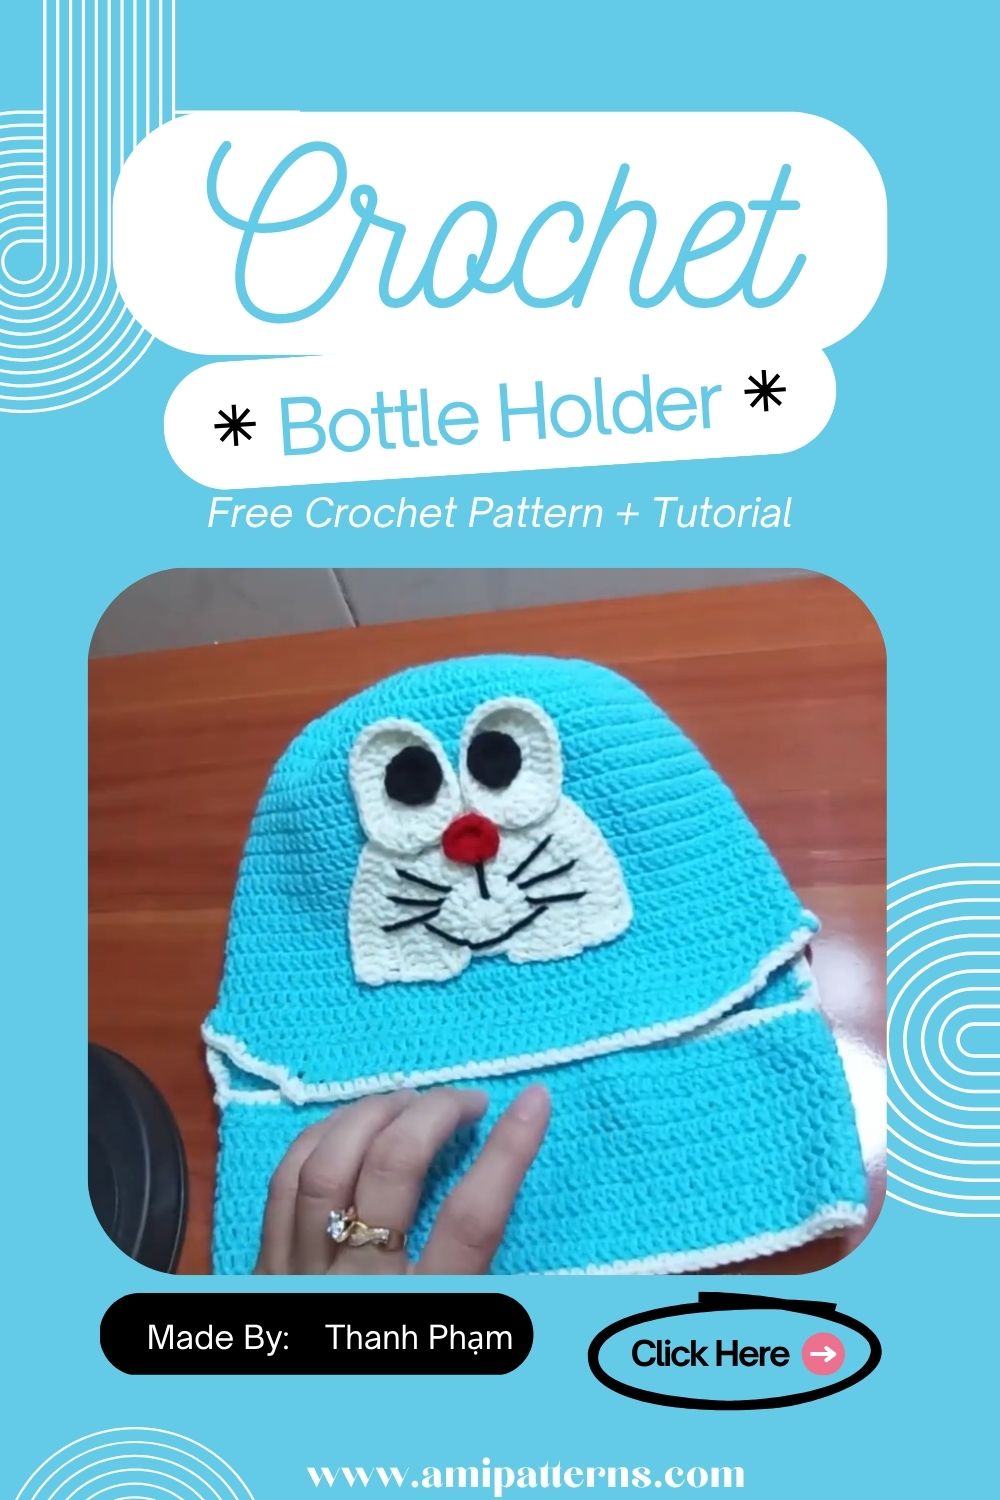
Luxurious Crochet Doraemon Bottle Holder Pattern for Beautiful Projects
What if a water bottle was like a little bit of childhood magic? While a basic bottle holder can be helpful, a handmade bottle holder that is shaped like a character can be much more special.
Crochet bottle holders are a fun idea for fans of crochet Doraemon, and they help to create something useful from a favorite Doraemon design. The completed design can be used for water, juice, a baby bottle, or a small thermos. You can use it as a personal accessory, thoughtful handmade gift, or a colorful addition to a crochet collection.
Why Make a Crochet Character Bottle Holder?
The crochet fabric is intended to form a soft layer around the bottle, which will help minimize scuffs and add a plush feel. A strong strap is also handy for walking around with, traveling, shopping, school, or for a day out.
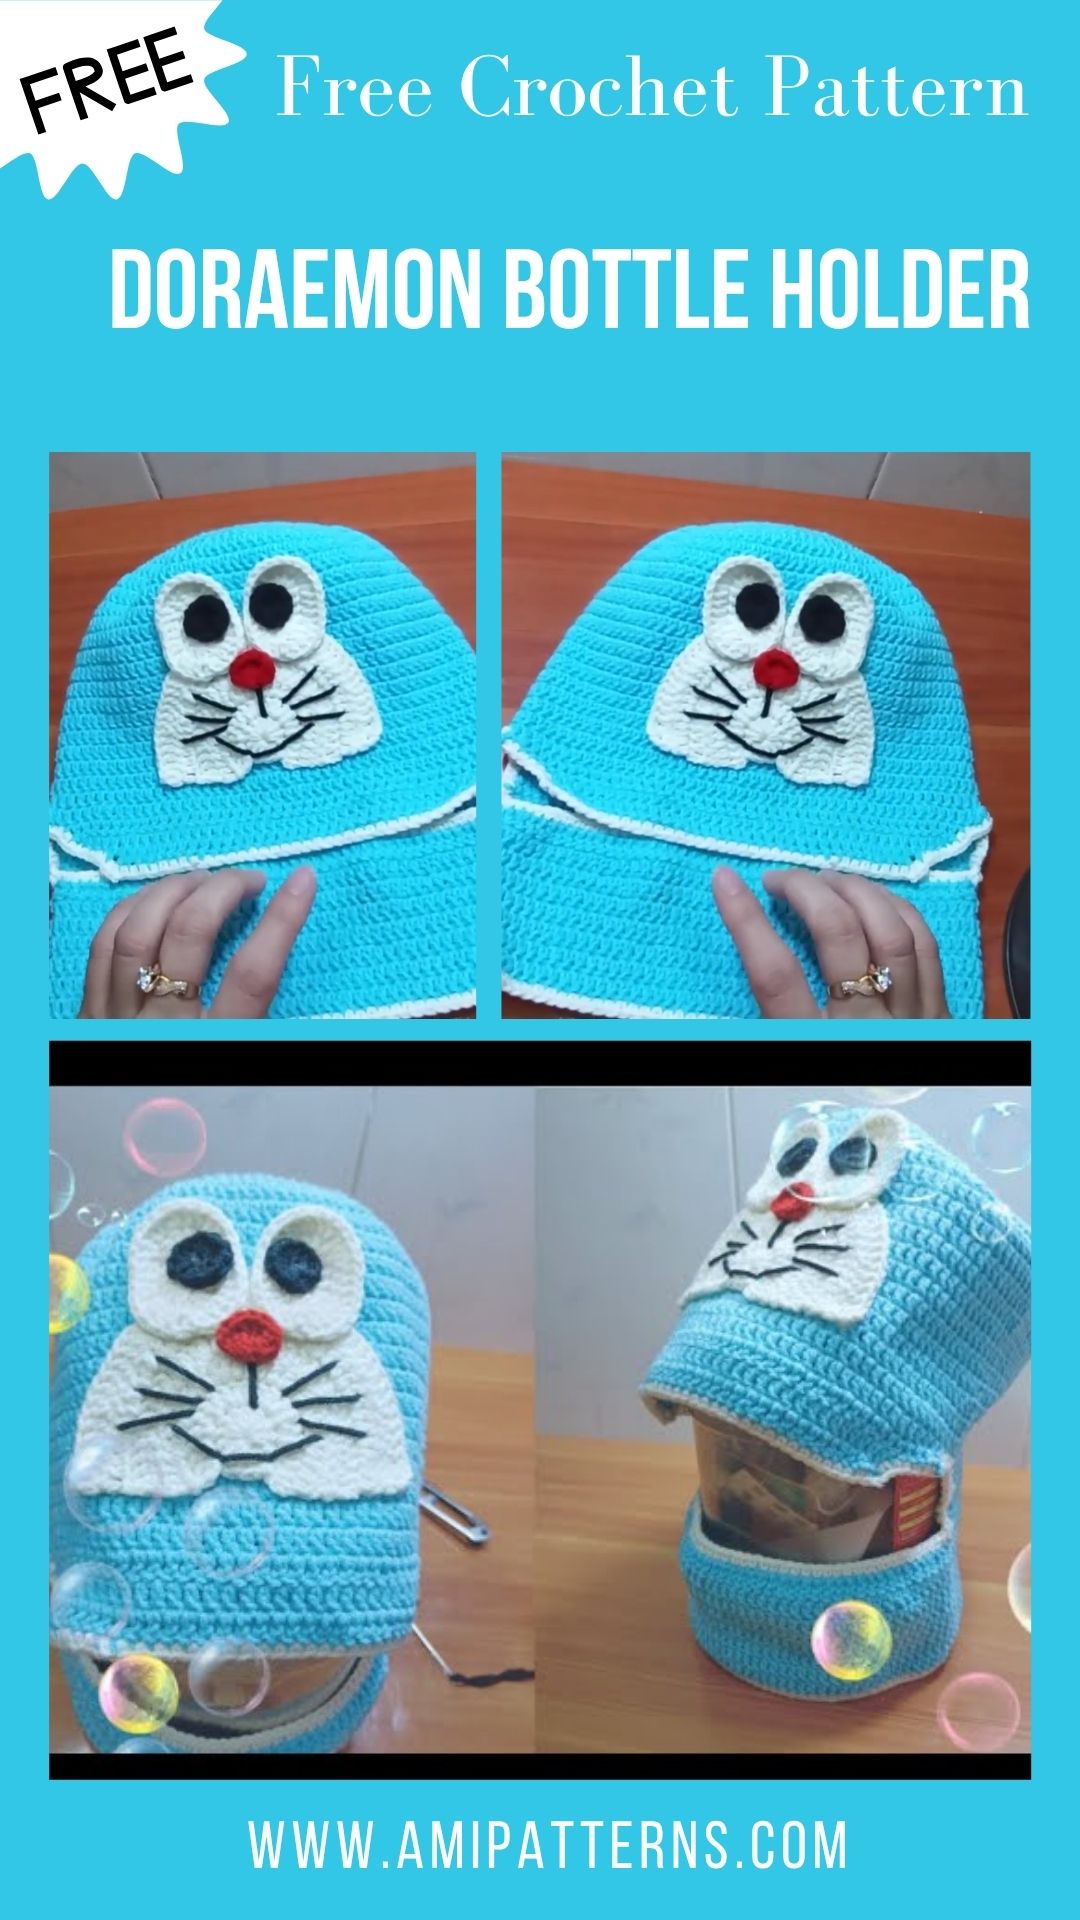
The design is inspired by the character, offering a more interesting holder than the traditional cover. The overall design is light and cheerful, with the blue body and contrasting facial elements adding to the visual appeal. The rounded shape of the project creates a polished and refined look, completed by the contrasting facial elements.
It’s a lovely bottle holder crochet tutorial, something useful for everyone’s daily life, and yet a lovely handmade creation.
Difficulty Level
The skill level is beginner to intermediate
- Magic ring
- Chain stitches
- Single crochet
- Increasing and decreasing
- Working in rounds
- Basic sewing
- Simple embroidery
The primary bottle holder is quite easy to make. The placement of the face and decorative details is important to ensure a neat result.
Materials You’ll Need
Before you begin, have the following items on hand:
- A blue yarn for the main holder.
- White yarn for the face and belly of a yarn.White yarn for the front and belly of a yarn.
- Black yarn or embroidery thread.
- Red yarn for the collar or decoration
- Yellow yarn for the bell.Yellow yarn for the bell.
- Crochet hook suitable for your yarn
- Yarn needle
- Stitch marker
- Sharp scissors
- Optional polyester fiberfill
- Fibres suitable for the strap.Fibres suited for the strap.
Cotton yarn is a great choice for this project; it is stiff and will retain its shape. A soft yet tough finish is also possible with a cotton blend.
Special Features of This Pattern
This is a handmade bottle holder that may feature:
- An elasticized blue crochet body with a round shape.
- Contrasting white face
- The embroidered eyes and mouth on the mask are a lovely touch.
- Decorative collar
- Small bell detail
- Comfortable carrying strap
- Customizable bottle size
- Lightweight construction
- Reusable design
If you like amigurumi Doraemon projects, you can apply the same facial technique here, while making something that has some use.
Step-by-Step Crochet Doraemon Bottle Holder Pattern
Step 1. Measure the Bottle
This is crucial because bottles can vary in shape and size. Your crochet basket should be tight enough around the bottle so that it will not roll around and so that the bottle is easily inserted and removed from the basket. Have the measurements handy while you work to compare with the crochet piece.
Step 2. Crochet the Base
Start with blue yarn and form a magic ring. Single crochet into the ring and start increasing evenly.
Increase until the circular base is just smaller than the bottom of the bottle. The crochet fabric will stretch a little, so it is better to have it snug than loose. Make sure to compare the base with the bottle during your work visually. Once you have the correct width, stop increasing the circle.
Step 3. Build the Holder Body
When the base is wide enough, single crochet evenly around the outer edges. Continue working round without increases. As time goes on, the sides will slowly start to get taller around the bottle. Continue measuring as you go along.
If you are crocheting in the ‘crochet doraemon pattern style’, make sure you choose a dark blue colour for the body and use white for the facial panel to contrast the pants. For a taller bottle, continue working additional rounds.
Step 4. Add the White Face
Among the most recognisable features of this design inspired by characters is the white face. Crochet a white circular or oval piece that fits snugly into the front of the blue holder.
Take care to sew it in with a yarn needle. It is best to align the panel before permanent attachment. Small even stitches around the edge for a more refined appearance. The contrast of the blue body and the white face creates a nice, clean, and elegant look for the holder.
Step 5. Create the Facial Details
Next, draw the eyes, nose, whiskers, and a mouth. The features can be embroidered onto the white face or small pieces crocheted first. For the eyes, mouth, and whiskers, use black yarn. If you want, draw in the nose with a little red or another contrasting color. Don’t rush the placement!
A simple change to the eyes of the finished bottle holder can make all the difference. The design comes across as very friendly and fun when the face has a smile on it.
Step 6. Add the Collar and Bell
To create a thin, red crochet strip or embroidered collar below the face. The collar is a bright blue accents the body. Crochet or embroider a little yellow thing on the bell.
It can be flat and decorative or it can be a small raised piece. Securely attach everything so that the details stay in place at all times.
Step 7. Finish the Top Edge
When the body is in the proper height end the top edge nicely. You can do 1 or more rounds of single crochet to have a clean border. An alternate colour finish can also create a more decorative touch. Ensure the opening is big enough to allow ease of bottle insertion/removal.
Step 8. Crochet the Carrying Strap
The bottle holder is more convenient to use due to the strap. Make a strong chain and single crochet several rows over the chain. To offer extra strength, the strap ought to be broad enough to hold the weight of a full container.
Either a short handle or a long shoulder strap can be made, as it will be used in the holder. Securely attach each end to opposite sides of the holder. Stitch the attachment points again to reinforce.
Step 9. Add Optional Details
This is where you can make the project really a personal one. Consider adding:
- Name initial used for decorative purposes.
- Miniature crochet piece of jewellery.
- Contrasting edging
- A colorful strap
- Tiny bow
- Embroidered stars
- Decorative tag
If you’re trying to get some new ideas for crochet doraemon patterns, you can also try messing around with the size and position of the face to make it look like different expressions.
Pro Tip
Test fit the bottle in the holder, then place it inside. This will prevent an overly loose or over-tight crochet cloth, and help the cover to have the correct shape.
Creative Ways to Use Your Crochet Bottle Holder
The possibilities are endless when it comes to how you can use your crochet bottle holder! This bottle holder comes in handy in numerous scenarios. Bring it to school, to work, to the gym, to a park, or on the way. It can also be a personalized, handmade gift for birthdays, holidays or for special occasions.
The bright design, featuring characters, can make carrying a water bottle more fun for children. A finished crochet piece can be a playful accessory for adults, enhancing their daily lives. You can also design several holders in different colors and develop a matching handmade collection.
If you like making a crochet Doraemon collection, you can also see this design to make the matching pouch, bag, keychain and soft decorations.
Taking care of your Crochet Bottle Holder
If you take proper care of your bottle holder, it will continue to look good and functional. Remove the bottle before cleaning the crochet cover.
Be sure to read the yarn label before washing. Sometimes mild hand washing with cool water can be performed with a mild detergent. Don’t twist or squeeze the holder, as this will stretch the stitches.
Rather, squeeze out the excess water using a clean towel and spread the cover open to dry. Wait until it is dry before putting a bottle in. Avoid exposing the holder to direct sunlight for extended periods of time to prevent fading of the colors.
Final Thoughts
The bottle holder project may seem simple, but it becomes rewarding when it is inspired by your favorite character. It is a luxurious bottle that combines a practical design with a cheerful appearance. When you take a look, it brings an instant smile on your face. Take it anywhere with you, and everyone else won’t stop looking at it.
An ordinary bottle will transform into something beautiful with a little yarn, patience, and imagination, and be a part of a handmade project that can be enjoyed every day. Make one today and you will keep creating new ones for many days to come.