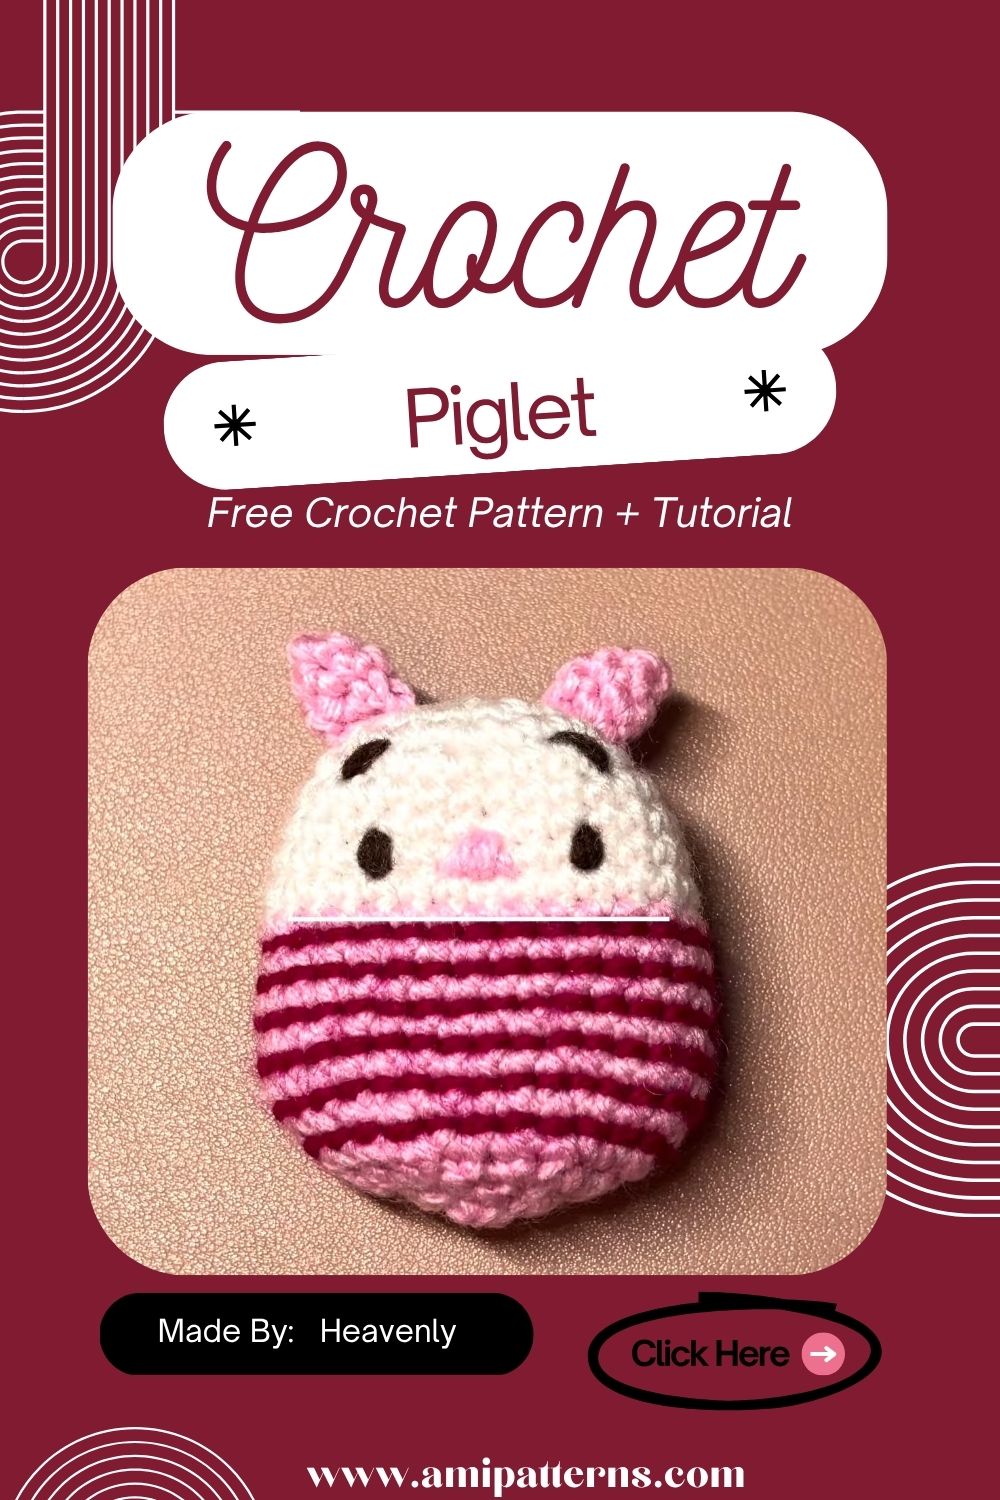
Crochet Piglet Door Amigurumi Pattern for Beginners
Few things cheer up a long ship hallway like a handmade character waiting beside a stateroom door, and door decorating has become a beloved tradition on Disney cruises. A soft pink Piglet is a charming way to join in. This crochet Piglet door amigurumi pattern for beginners turns a small stuffed character into a magnet that clings to the ship’s metal door and brightens the hallway.
Below, you will find what the pattern involves, which supplies make sense, how the pieces come together, and how to dodge common slip-ups. Since details vary between designers, anything specific to one pattern stays with the pattern itself.
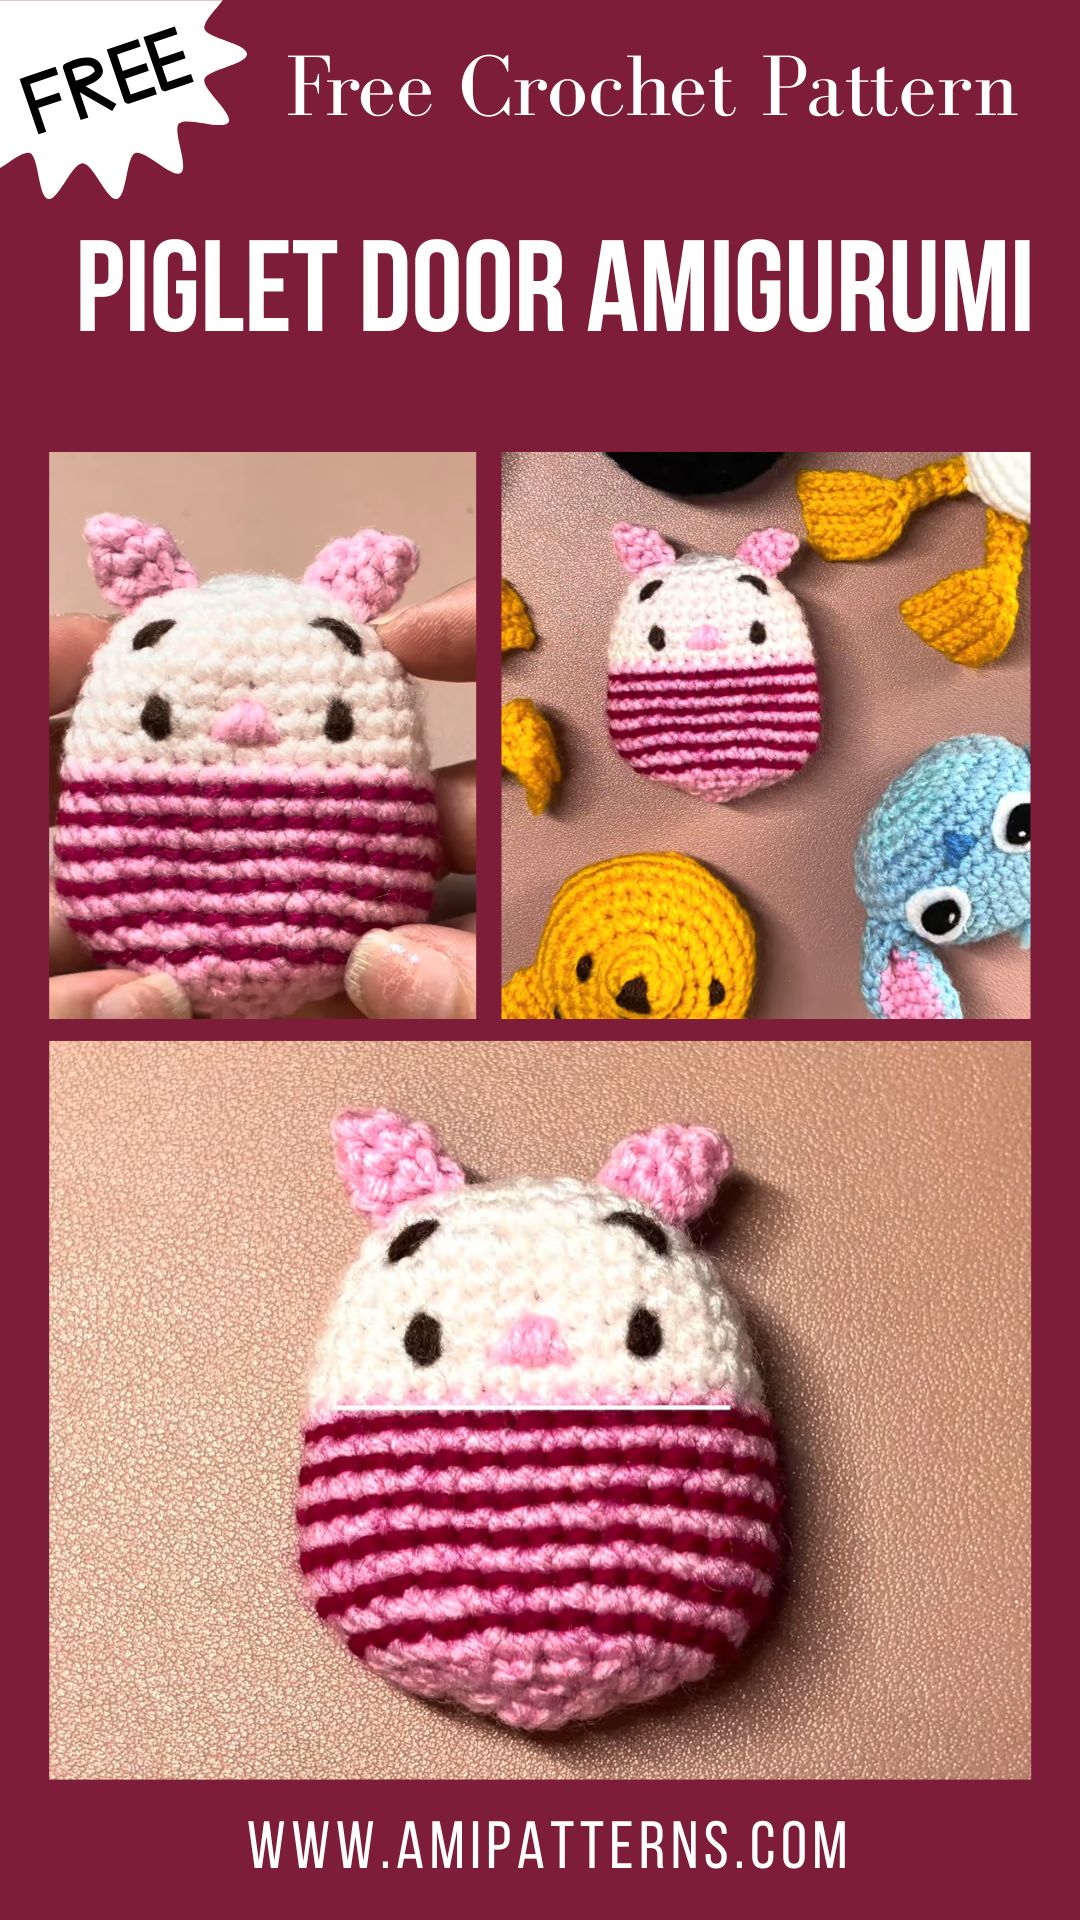
Crochet Piglet Door Amigurumi Pattern Overview
This design is a small amigurumi Piglet made as a decorative door magnet. Disney cruise staterooms have metal doors, so a magnet-backed crochet piece sticks right on, and it comes off easily at the end of the trip.
The look relies on pink yarn plus matching colors for the face and other details, which makes the character read as Piglet at a glance. After you finish the crocheted shape, you attach a magnet to the back. That last step turns an ordinary amigurumi into a piece that holds firmly on a cruise door.
Crochet Piglet Door Amigurumi Pattern Features
- Cruise-ready purpose: It suits metal stateroom doors rather than shelves or bags.
- Detailed shaping: You crochet Piglet’s form and features with care instead of merely hinting at them.
- Pink and matching colors: Coordinated yarn keeps the character recognizable.
- Magnet backing: You add the magnet after crocheting, so you need no tape or hooks.
- Small and giftable: It makes a good trip souvenir or a surprise present for fellow cruisers.
Skill Level and Materials for the Crochet Piglet Door Amigurumi Pattern
Skill Level for the Crochet Piglet Door Amigurumi
This pattern welcomes beginners. Amigurumi at this scale depends on a short list of basics: working in the round, increasing, decreasing, and stuffing. If you can make a magic ring and a single crochet, you are well placed to begin.
However, the detailing calls for patience more than advanced skill. First-timers should allow extra time for sewing on the parts, since placement is where small projects either shine or look slightly off.
Materials for the Crochet Piglet Door Amigurumi Pattern
The exact list depends on the pattern, so check the original instructions for quantities and colors. In general, a door magnet like this needs:
- Pink yarn for the main body, plus matching colored yarn for details
- A crochet hook in the size the pattern states
- Polyester fiberfill, used lightly
- A yarn needle for sewing on parts and weaving in ends
- A stitch marker to track your rounds
- Scissors
- Safety eyes or embroidery thread, depending on the pattern
- A strong, flat magnet and a strong adhesive suited to fabric and metal
This guide does not name a magnet size or strength, because both depend on the finished weight of the piece.
Yarn Information
Cotton and acrylic both suit small amigurumi. Cotton gives crisp stitches and holds its shape well, while acrylic feels softer and comes in many shades of pink.
Match the yarn weight to what the pattern calls for. Thinner yarn makes a smaller piece, whereas thicker yarn makes a larger, heavier one, which matters when a magnet has to carry the load. If you substitute, stay close to the original weight and choose a hook that makes tight fabric, so the stuffing never peeks through.
Pink shades also vary a lot between brands. Therefore, pick one that still looks like Piglet pink when you place it beside the accent colors.
Size, Abbreviations, and Gauge for the Crochet Piglet Door Amigurumi Pattern
Finished Size of the Crochet Piglet Door Amigurumi
Finished measurements depend on the pattern, the yarn, and the hook, so this guide does not promise a figure. For a door magnet, weight matters as much as height. A compact piece is easier for a magnet to hold, while a larger, heavily stuffed one needs a stronger magnet. Check the size in the original pattern before you choose yarn.
Abbreviations for the Crochet Piglet Door Amigurumi Pattern
This list uses US terms. Check the pattern’s own list too, since designers sometimes use variations such as invisible decreases.
- MR: magic ring
- ch: chain
- sl st: slip stitch
- sc: single crochet
- inc: two single crochets worked in one stitch
- dec: two stitches worked together as one
- st: stitch
Designers usually work amigurumi in continuous spirals rather than joined rounds, so a stitch marker is a handy companion.
Gauge Information
Gauge rarely needs to be exact for amigurumi, and this pattern may not list one. Your real goal is a dense fabric with no gaps that show the fiberfill. A hook one or two sizes smaller than the yarn label suggests often does the job. Still, matching the designer’s yarn and hook helps the finished size land close to the original.
Tips Before You Start Crocheting
- First, read the whole pattern, including any notes about the magnet.
- Keep your tension snug and consistent, especially on the first few rounds.
- Count your stitches at the end of every round to catch errors early.
- Mark the start of each round so you never lose the spiral.
- Pin every part in place and check it from the front before you sew.
- Test the magnet’s strength by holding the finished piece against a metal surface before the trip.
Step-by-Step Crochet Piglet Door Amigurumi Pattern Overview
Exact stitch counts and round-by-round directions belong to the original pattern. Meanwhile, the overview below shows the general flow, so the process feels familiar before you begin.
Start With the Main Shape
Begin with a magic ring in pink yarn and work outward with increases until the piece reaches its intended width. Small shapes grow quickly, so keep the marker in place and count often.
Shape and Stuff
Next, work even rounds to build height, then decrease to close the shape. Add stuffing before the opening gets too small, and use small pieces so the surface stays smooth rather than lumpy.
Make and Attach the Details
Most patterns work features such as ears, a snout, and other accents as separate small pieces in pink or matching colors. Pin each one first, step back to look, and only then sew it down with a yarn needle.
Add the Magnet to the Crochet Piglet Door Amigurumi
Attach the magnet to the flat back last. Secure it firmly, and then test how well the finished piece clings to a metal surface before you pack it.
Customizing Your Crochet Piglet Door Amigurumi
- Color shades: A lighter or deeper pink changes the whole mood while the character stays recognizable.
- Seasonal touches: A tiny bow, scarf, or holiday accent freshens the look for different sailings.
- Embroidered details: Stitched features can replace safety eyes for a softer finish.
- Yarn weight: Thicker or thinner yarn changes the scale, though a larger piece needs a stronger magnet.
Common Mistakes and Troubleshooting
- Gaps showing stuffing: Your hook is probably too large. Switch to a smaller one and keep your tension tighter.
- Lumpy shape: Overstuffing or uneven filling usually causes this. Add small amounts and smooth them out.
- Crooked features: Pin the parts and check them from several angles before you sew.
- Magnet sliding or falling off the back: The magnet may be too weak for the piece, or the adhesive may not have had enough time to set. Choose a stronger magnet and let everything dry fully.
- Piece too heavy for the door: Lighter yarn and gentler stuffing cut the weight without changing the design.
Finishing and Care Tips
Finishing Instructions
Weave in every yarn end with the needle, tuck the tails deep inside the body, and then trim them close. Give each seam and sewn-on part a gentle tug to check it. Next, secure the magnet to the back with strong adhesive, press it flat, and let the piece set for the full time on the adhesive’s packaging. A small stuffed piece like this does not need blocking.
Care Instructions
Spot clean with a damp cloth and a little mild soap, since soaking can weaken glue and flatten the stuffing. Let the piece air dry completely before you store it. In addition, keep the magnet away from credit cards, key cards, and electronics, and store the piece somewhere dry between trips.
Bonus: Cruise Door Display Tips
Placement can make a small piece stand out. A spot near eye level catches attention from the hallway, and some empty space around it keeps the door from looking crowded. Because ship rules on door decorations can change, check the cruise line’s current guidelines before you sail, and rely on the magnet alone rather than tape.
Crochet Piglet Door Amigurumi FAQs
Is this crochet Piglet door amigurumi pattern suitable for first-time makers?
Yes. It welcomes beginners and uses basic skills such as the magic ring, single crochet, increasing, and decreasing.
What keeps the Piglet on the door?
A magnet on the back holds the piece against the metal stateroom door.
Which colors do I need?
Pink forms the body, and matching colored yarn covers the features and details. The pattern lists the exact shades.
Can I use it somewhere other than a cruise door?
Yes. Any magnetic metal surface works, such as a refrigerator, a locker, or a filing cabinet.
Can I substitute a different yarn?
Yes, as long as the weight stays close to the original and the hook makes tight stitches.
A Friendly Pink Face at Your Door
A small pink Piglet can turn a plain stateroom door into a friendly landmark in a long ship hallway. This crochet Piglet door amigurumi pattern keeps things approachable, with simple stitches, clear construction, and a practical magnet finish that makes the piece useful as well as cute.
So grab some pink yarn, check the original pattern for the exact details, and start crocheting. Your finished Piglet will be ready to travel, and you are welcome to share your result in the comments.