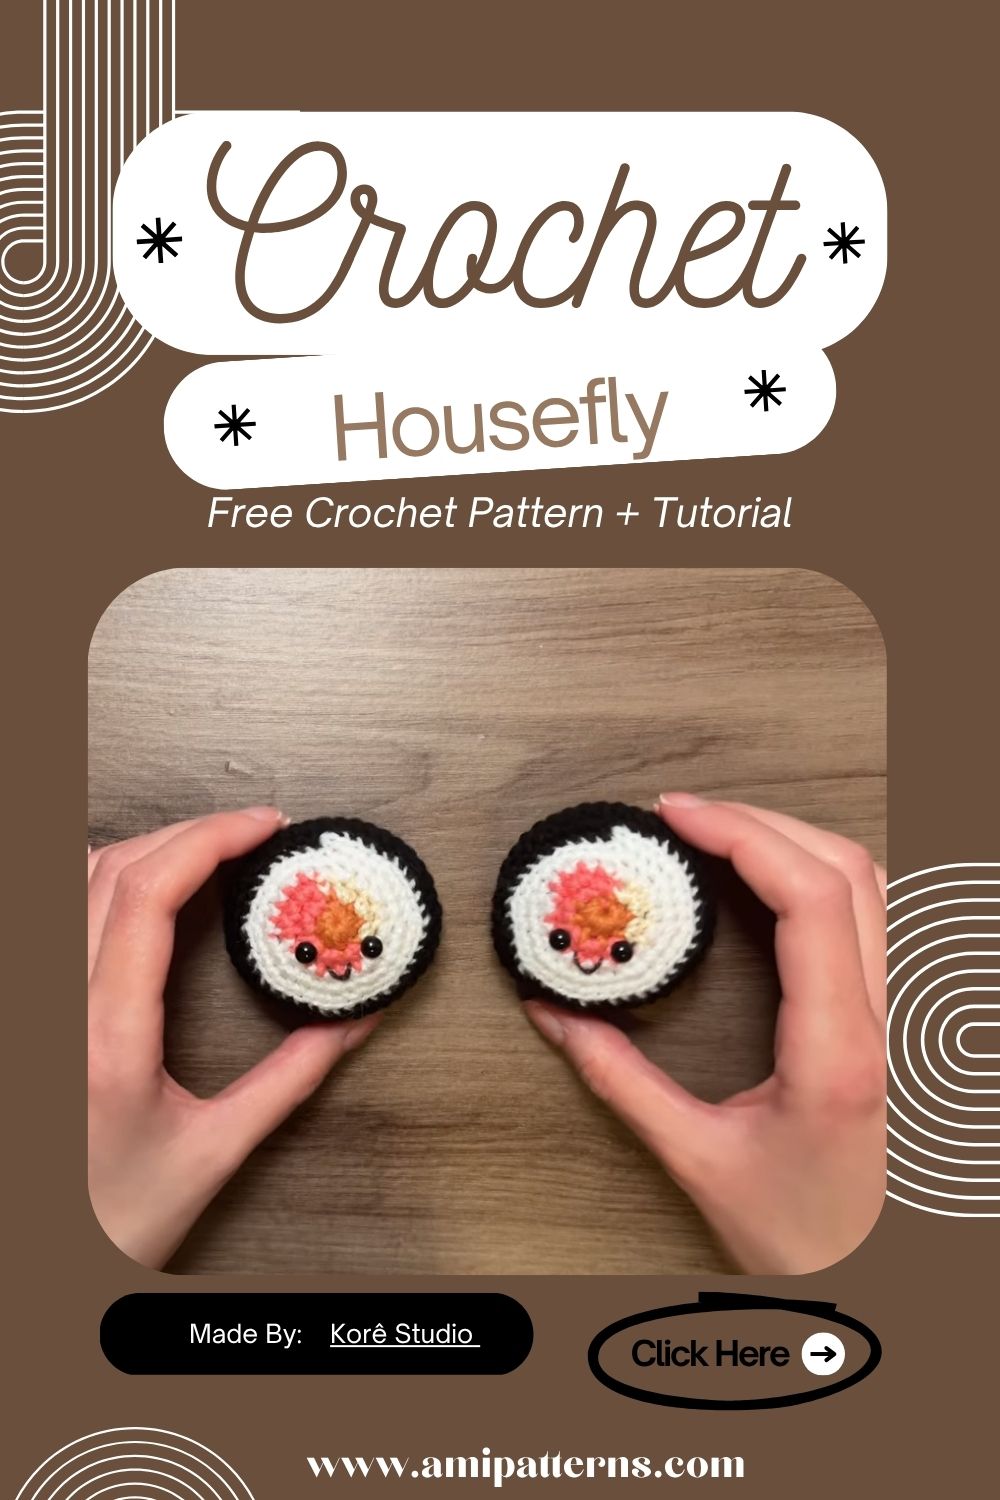
Precious Crochet Housefly Amigurumi Pattern to Brighten Spaces
Many of us live our lives attempting to keep flies out of the house. A crochet housefly pattern may seem like a strange endeavour at first. But that’s exactly what makes it so memorable. Having oversized eyes, fragile wings, tiny legs and a charming smile, this little character transforms one of the least popular insects of nature into something that is very cute. It is fanciful, light, and full of character, the type of amigurumi that causes people to pause, smile and say, “Did you make that too?
This project is a refreshing change if you have been crocheting bears, rabbits, and cats. It allows you to play with various textures, light colors, and playful details but with basic stitches. Be it to add to your own collection, a child enamoured of strange things, or a person who values handmade art with a sense of humour, this tiny fly will shine through.
You will be able to sew the last two wings on and have a beautiful little friend who will be much more endearing than any real housefly that ever existed.
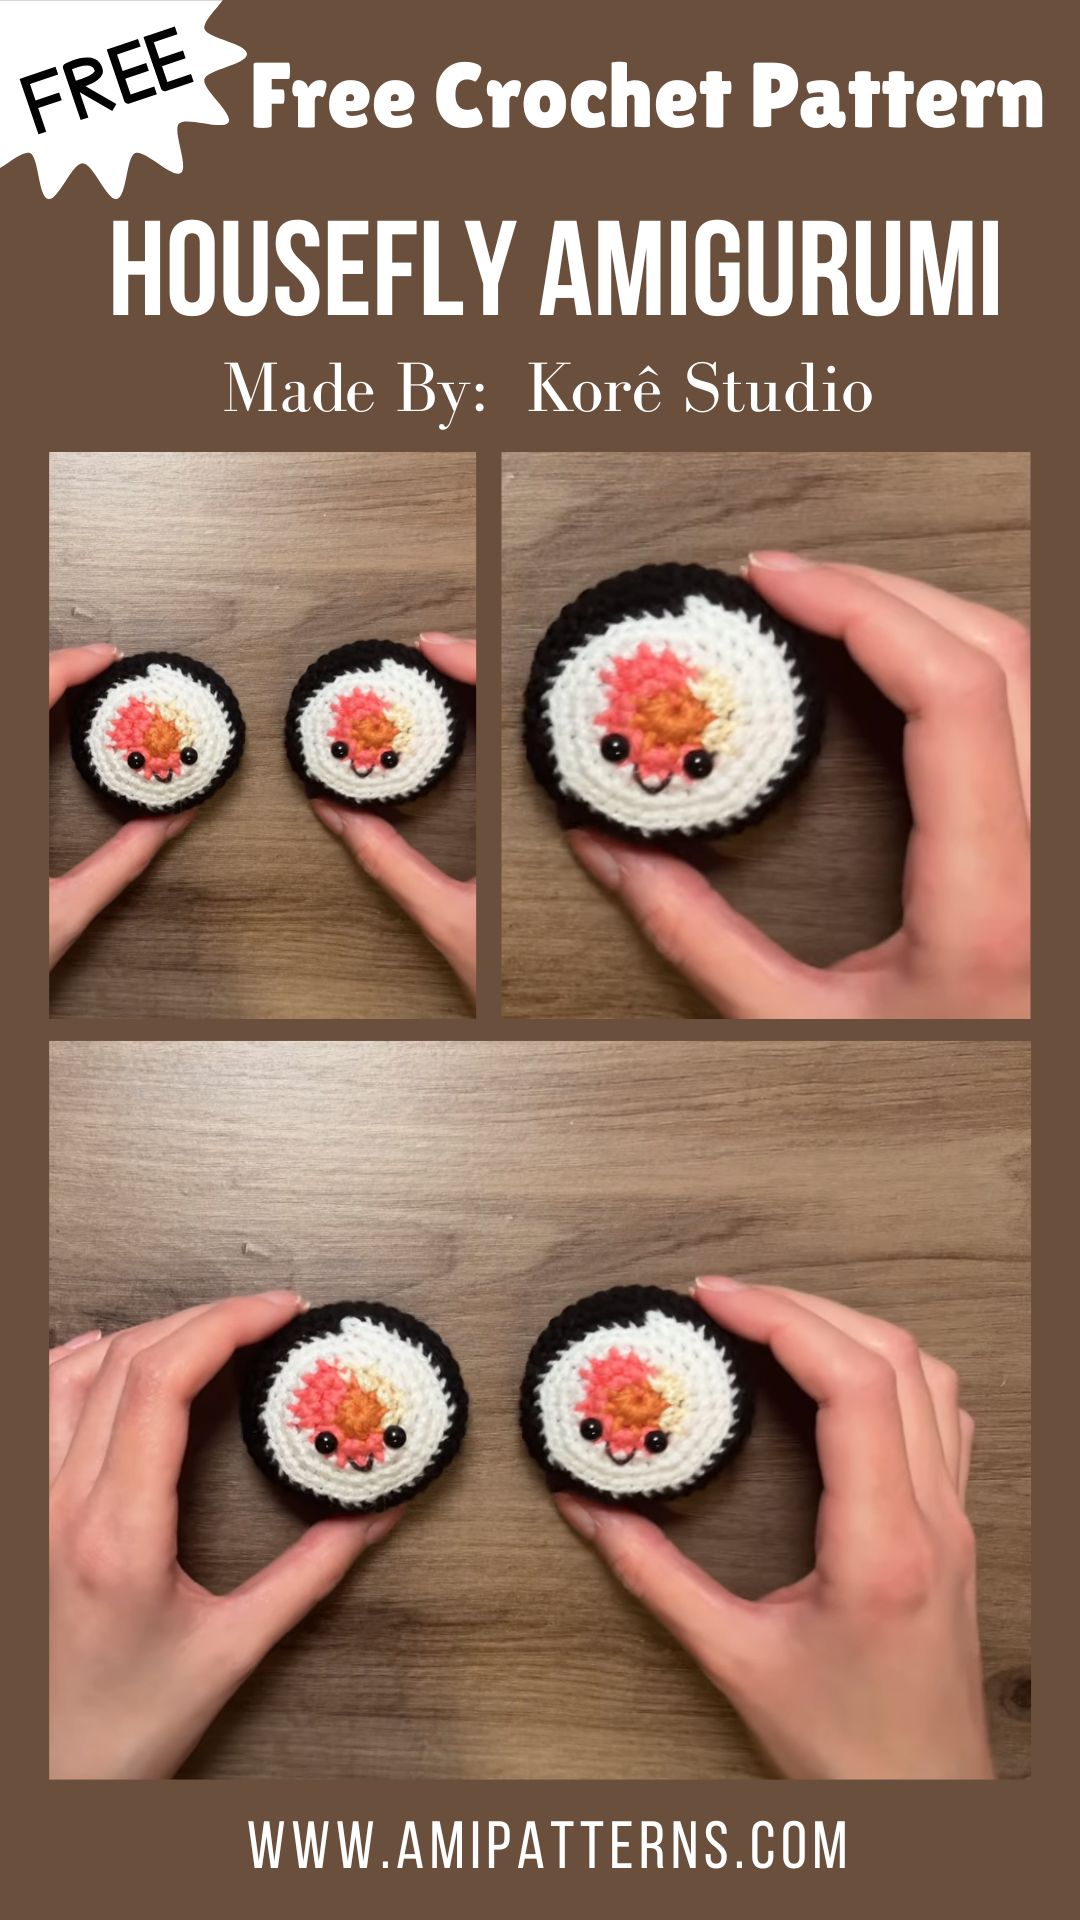
Why This Amigurumi Is So Much Fun to Make
The greatest thing about crochet is that anything can be cute with sufficient creativity. The housefly is by no means the first animal one would think of when selecting a new project but that is precisely why it is working so well. Its big eyes, circular shape and clear wings make a contrast which is both playful and distinctive.
It is also an outstanding project to use old yarn. Due to the small sizes, you will not require full skeins of each color and it is ideal to eliminate the amount of yarns you have and make something entirely new.
The completed fly is light, easy to showcase, and will surely be one of the most discussed items in your homemade collection.
Difficulty Level
Experience: Beginner to Intermediate.
You’ll like this pattern in case you are already familiar with:
- Magic ring
- Single crochet
- Increasing and decreasing
- Continuous rounds
- Basic sewing
- Simple embroidery
The majority of shaping is simple, with the wings and legs being a fun way of adding subtle finishing touches.
Materials You’ll Need
Have it all in a single location before you start.
- Grey yarn for the body
- Black head details yarn.
- Wings: white yarn.
- Light blue or transparent-effect yarn (optional)
- Black embroidery thread
- Embroidered eyes or eyes of safety.
- Polyester fiberfill
- Hook: Crochet hook to be used with your yarn.
- Stitch marker
- Yarn needle
- Sharp scissors
- Thin craft wire (not necessary with poseable legs)
Cotton yarn provides stitch definition and acrylic offers a smoother and a little fluffier finish.
Special Features of This Pattern
Although it’s a small project, it includes plenty of charming details.
- Rounded segmented body
- Large expressive eyes
- Soft textured wings
- Bendable legs (optional)
- Cute embroidered smile
- Beginner-friendly construction
- Lightweight decorative size
- Easy color customization
- Minimal yarn required
The completed fly can also be used as a crochet insect plush that can be used to decorate craft rooms, children’s shelves, or even as a seasonal decoration.
Step-by-Step Crochet Housefly Pattern
Step 1. Crochet the Head
Start with a magic ring and stitch some single crochet stitches in the middle. Gradually increase till you have a smooth head shape which is rounded. Keep on crocheting in a straight line, making a few rounds or so until you start making decreases towards the neck.
Prior to sealing the opening altogether, insert the safety eyes, spacing them out enough to form a smiling face. Work softly, stuffing the head. The hard stuffing prevents the face to stretch the stitches to maintain the rounded shape of the face.
Step 2. Shape the Body
It is the body that makes your housefly look like it does. With grey, take another magic ring, and proceed to add layers, slowly widening it to a shape that is slightly oval. The body must not be too long as the head and unlike a perfect sphere, it should look slightly longer than the head.
Stuff slowly as you crochet, keeping the body firm, but still slightly squishy. Removing the stuffing Before removing, use your fingers to mound it, making the surface smooth.
Step 3. Add Body Segments
The body parts of a real fly are subtle, and these additions can make your amigurumi appear a lot more interesting. Create soft stitched lines around the body with matching grey yarn, to imply separate parts.
Don’t pull the yarn too tightly. Soft shaping would appear much more natural than deep depressions. This small touch will add more personality to the completed project without complicating it.
Step 4. Crochet the Eyes
One of the reasons why this little fly is so cute is that it has oversized eyes. When you have safety eyes, be sure to put around them some small circles of white crochet to give them the cartoon look. Instead, crochet two raised eye pieces individually, and then stick on them to the head. Huge eyes immediately make the appearance of the insect softer and more amiable.
Step 5. Create the Wings
It is the wings that make this project really come alive. Four oval-shaped wings, so tiny in size and so delicate that they appear to be made of white or very pale blue, crocheted out. Have them well worked, so they are not thick and heavy.
Stick two wings on each side of the upper body, and slightly overlap them in order to produce a realistic effect of layers. You might want to add some structure, but when done, lightly stiffen the wings.
This clear look adds a classy touch to this cute bug amigurumi and maintains the composition of the design of the bug as a playful one overall.
Step 6. Crochet the Legs
Crochet six legs, with black yarn. Make them relatively thin and not overstuffed. In the case of poseable legs, a thin strand of craft wire is threaded through each leg and is then attached to the back of the body.
You can bend each leg a bit outwards until the fly is safely seated on a shelf or a tabletop. The slightly curved legs assist to provide the finished piece with an animated look.
Step 7. Add the Antennae
The antennae can be small yet they have a big impact on the completed character. Make two short, narrow antennas using black yarn. Make them a little bent and not straight so they appear natural and soft.
Stitch them so evenly on top of the head, with a small gap between them. Make sure that the fly is completely secured before you look at the front where you can be sure that both the antennae are at the same angle. This minor fact makes your housefly even more personified.
Step 8. Embroider the Face
And now you can make your crochet pieces look like a cheery little person. With black embroidery thread, stitch a small curved smile beneath the eyes. You may wish a livelier look, a couple of embroidered eyebrows, or two rose cheeks, with a soft pink yarn.
Be simple with the facial details. Sometimes, only a couple of stitches are needed to make your amigurumi look cozy and inviting.
Step 9. Assemble Your Housefly
When all the separate parts are finished, then it is time to assemble it all. Before adding the wings, legs and the antennae, sew the head firmly to the body. Work gradually, positioning each piece one at a time.
See your project in all perspectives and then sew the last few stitches. Often just a couple of millimeters of movement of a wing or a leg can give the completed fly a far more balanced appearance. Lastly, tie all loose ends of yarn, and then form the body with your hands. We now have your crazy little housefly to decorate any shelf, craft room or gift basket.
Creative Ways to Display Your Crochet Housefly
This is a playful project, but surprisingly easy to use in terms of decoration. Below are some of the fun ideas:
- Display it on a bookshelf with other crochet insects.
- Place it in a forest-themed nursery or garden.
- Put it next to the potted plants in the whimsical manner.
- Make it a discussion item in your craft room.
- Tie it in a homemade gift basket.
- Hang a little one as a decorative ornament.
- Prepare a collection of bees, butterflies and ladybugs.
- Make a portfolio of your crochet using it as a photography prop.
- Gift your nature-loving friend something special.
- Sell complete versions either at local craft markets or online.
The completed fly also serves as an adorable whimsical crochet bug décor item that can add charm but does not require a lot of space.
Why This Pattern Deserves a Place in Your Collection
Crochet is all about being creative and occasionally the least expected ideas are the most fulfilling projects. This tiny insect housefly is evidence that even a simple insect may be made to be lovely by some yarn and a bit of imagination.
It can be made fast, personalized, and requires very small quantities of yarn, making it a great project to bust the stash. Better still, each fly can be given its own say, wing shape, or coloring, and no two flies will ever be exactly alike.
Pro Tip
Place a small piece of cloth over the wings and stick them. They’ll be more resistant to shape and will provide a more fine, polished look to your housefly.
Caring for Your Handmade Housefly
With a little care, your crochet work will be preserved in its best condition. Occasionally dust it with a soft brush or a lint roller. Should it require washing, carefully wash it in cold water with a mild detergent. Do not twist or wring toys.
Rather, squeeze out all the water using a clean towel and leave it flat to dry. When dry, use your hands to reform the wings and body and put it back on display. Storing your amigurumi in the shade will also contribute to the colors of the yarn remaining vibrant.
Final Thoughts
The most surprising crochet works are those that no one would guess and this cute housefly is such a dream come true. The large eyes, the delicately fluted wings, the small legs, the smiling expression all make it what it is: an otherwise ordinary insect into a wonderful handmade friend full of life.
Be it to add it to your personal amigurumi collection, to adorn a corner of your home, or to make a cute present to someone who loves the weird handcrafted art, this crochet insect plush will leave a smile wherever it goes. The strangest things sometimes make the dearest things–and this little housefly is just that.
Frequently Asked Questions
Is this pattern beginner-friendly?
Yes. Provided that you are familiar with simple amigurumi methods, such as magic rings, single crochet, and simple sewing, this project is fun and straightforward to do.
Is there a bigger housefly that I can make?
Absolutely. All you have to do is use a heavier yarn and a bigger crochet hook. Construction is constant and the completed fly is significantly larger.
Should the legs be wired?
No. Wire is totally optional. Crocheted legs are soft and should be used when the housefly is to be used as a decoration object or a children’s toy.
Which is the best yarn to use?
Cotton yarn will form crisp stitch definition and the acrylic yarn will form a soft and softer finish. Both are superb options based on your favorite style.