
Crocheter Sweet Strawberry Pillow Pattern for Every Needs
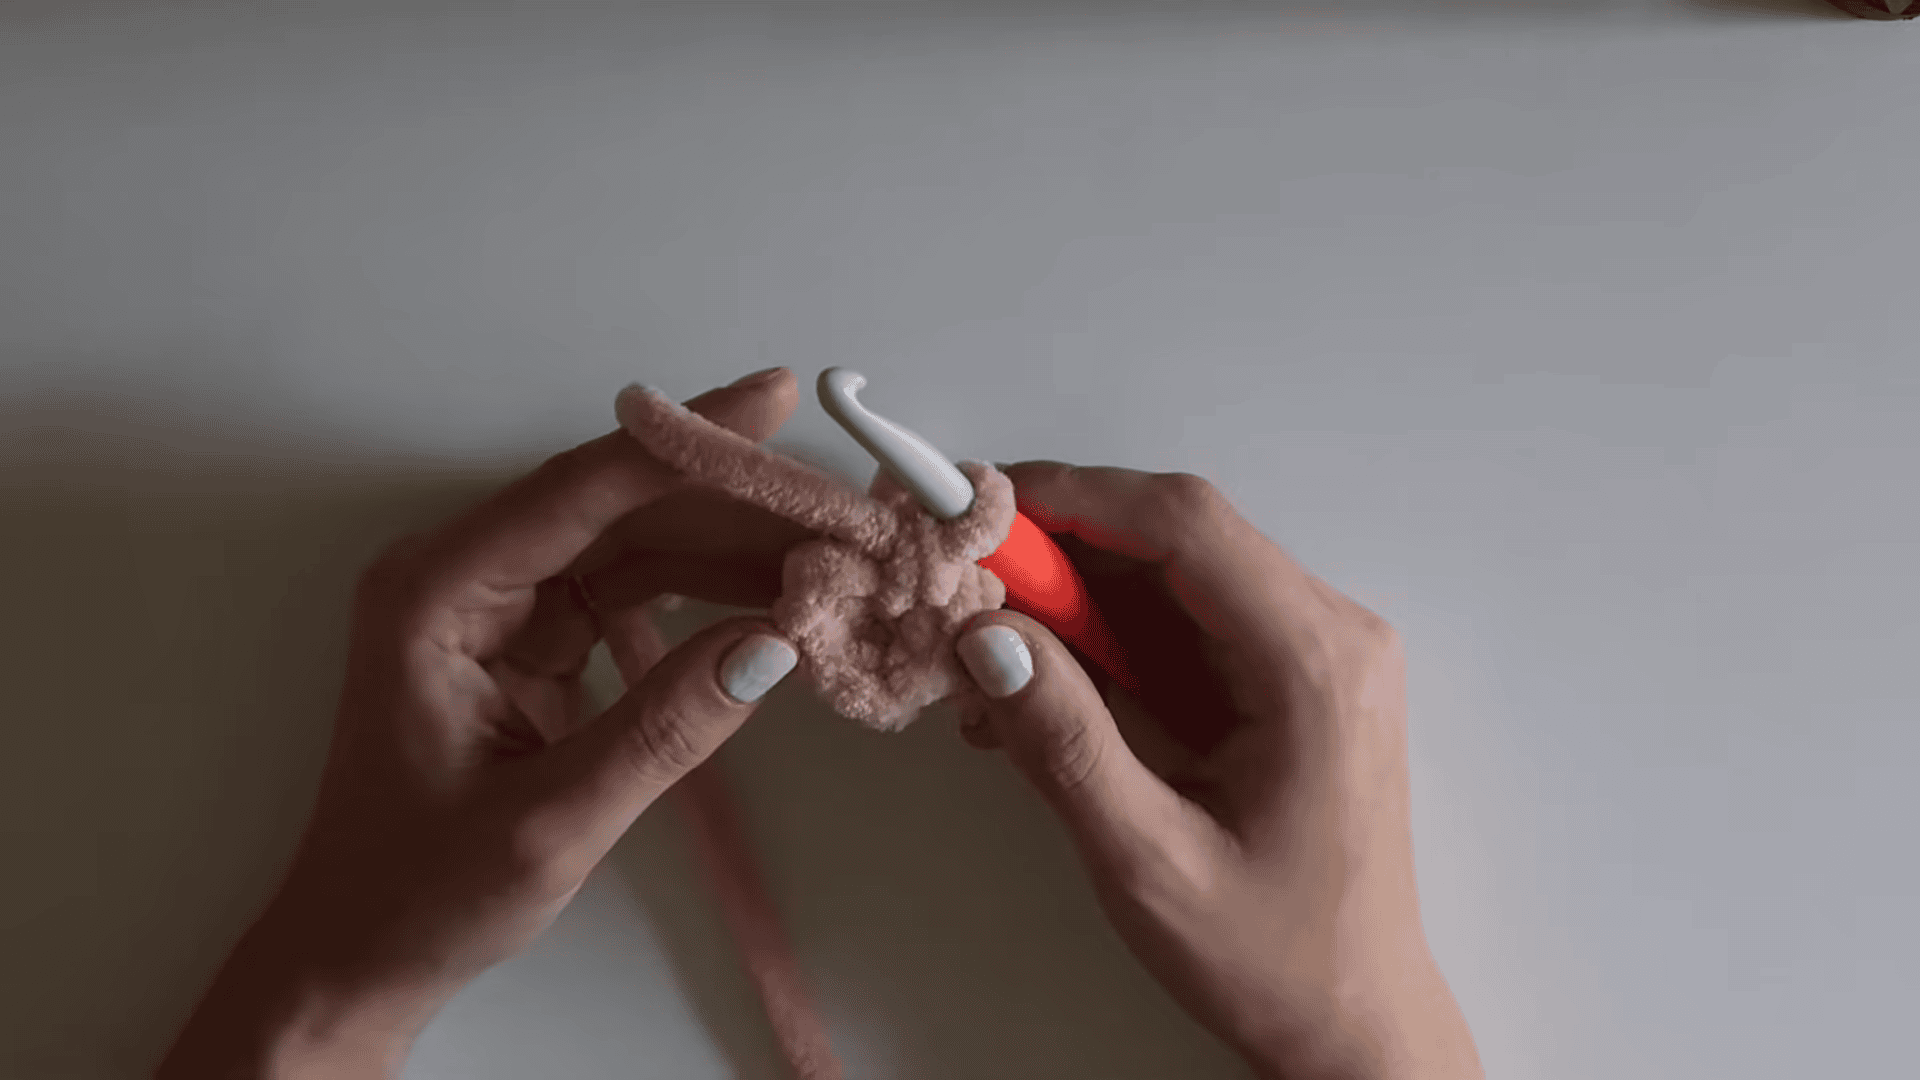
One of those crochet projects that can help to jazz up any room without having to build a complicated design is using strawberry pillows. Being so easy to shape, bright in color, and topped with foliage, it is hard to not add a lot of personality to this item; it can also be used as a decorative cushion, an accent for the nursery, or a cozy piece in a reading corner.
It’s this concept that led me to design this Crochet Sweet Strawberry Pillow Pattern for Every Need. A small pillow for a shelf or chair, a big one for a bed, or several strawberries in colors for a fun-filled collection.
This stitch work is also a great project for those who prefer to crochet something other than an amigurumi. You will have the opportunity to use familiar stitches, practice shaping and end up with a pillow you can use.
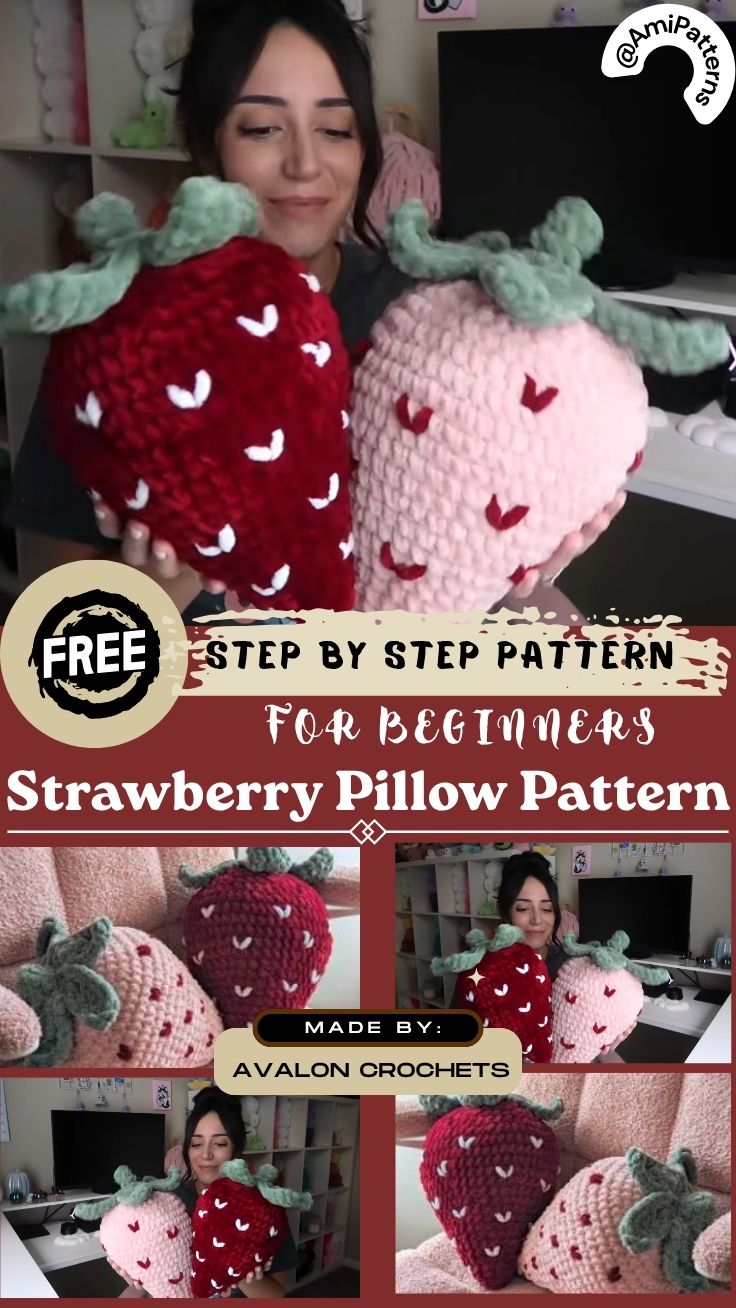
Why Make a Crochet Strawberry Pillow?
Crochet cushions really can make all the difference in an interior. A square strawberry cushion will have a more modern and fun appearance compared to a simple square cushion.
Perfect for giving a bit of colour to rooms without an extra large piece of furniture.
Think about:
- Children’s bedrooms
- Nurseries
- Reading corners
- Craft rooms
- Playrooms
- Kitchen seating
- Garden rooms
- Seasonal displays
A crocheted strawberry cushion can also be a nice handmade touch for a summer style room.
The best part is that you can make them as large or come in different colors as you like, depending on the space they will occupy.
Skill Level
Total hours: 400+
Be familiar with:
- Chain stitches
- Single crochet
- Half double crochet
- Slip stitches
- Increasing
- Decreasing
- Working in rounds
- Basic sewing
- No fancy crochet skills required.
The biggest problem is maintaining a similar size of the two strawberry panels, enabling them to align correctly when bringing them together for assembly.
Materials You’ll Need
Before starting, gather:
- Red or pink yarn
- Green yarn for the leaves
- Pale yellow, cream or white yarn for the seed.
- Yarn that fits the crochet hook you are using.
- Yarn is the right size for the crochet hook.
- Sponges or fiber fill for pillows
- Yarn needle
- Stitch markers
- Sharp scissors
- Cotton yarn is to make a firmer cushion or acrylic yarn to get a softer appearance.
When creating a kid’s pillow, choose washable yarn and refrain from decorations that may come off.
How to Crochet the Strawberry Pillow
If making a medium weight decorative cushion, use medium weight yarn and appropriate weight hook.
If you are making a large floor or bed cushion, you will need a heavier yarn and larger hook.
Remember you’re not only changing size when you change yarn weight. It also alters the texture and drape of the fabric.
Be careful not to leave too loose of a surface.
Step 1: Create the First Strawberry Panel
Start with red yarn.
The magic ring can be used as a starting point in a single crochet.
Add on in equal increments in the first few rounds.
The objective is to design a wide upper portion which tapers off toward the lower part.
Keep an eye on the shape as you shape it.
Strawberries are not perfectly round. It is broad at the top, and narrows slowly at the lower end.
This shaping occurs in stages and is what gives the pillow its recognizable fruit shape.
Step 2: Shape the Strawberry Body
Repeat, making increasingly subtle increases and decreases.
Avoid making sudden changes.
Too rapid a reduction may cause a pointy bottom.
If you don’t cut it down, it could end up looking more like a round cushion than a strawberry.
Pace yourself around the bottom of it.
The shape should look balanced, not symmetrical.
There’s a little bit of handmade charm that can be added to the finished pillow.

Step 3: Make the Second Panel
Do the same procedure with the second strawberry to make a second strawberry panel.
Aim to maintain even stitch and tension.
The two pieces should have a similar size.
Place them on top of each other and check the edges.
Before connecting, if a panel is obviously larger, block or adjust it.
This will save a lot of hassle later.
Step 4: Add the Strawberry Seeds
Here’s one of the features that instantly identifies the pillow.
Work with a white, cream or light/yellow-colored yarn.
Small oval or teardrop shaped seeds may be embroidered to the front panel.
Place them in a loose but orderly manner.
Some seeds may be sown closer together and some farther apart.
These small embroidered details add up to a surprisingly big impact for a crochet fruit pillow.
Avoid too large seeds.
Step 5: Crochet the Green Leaves
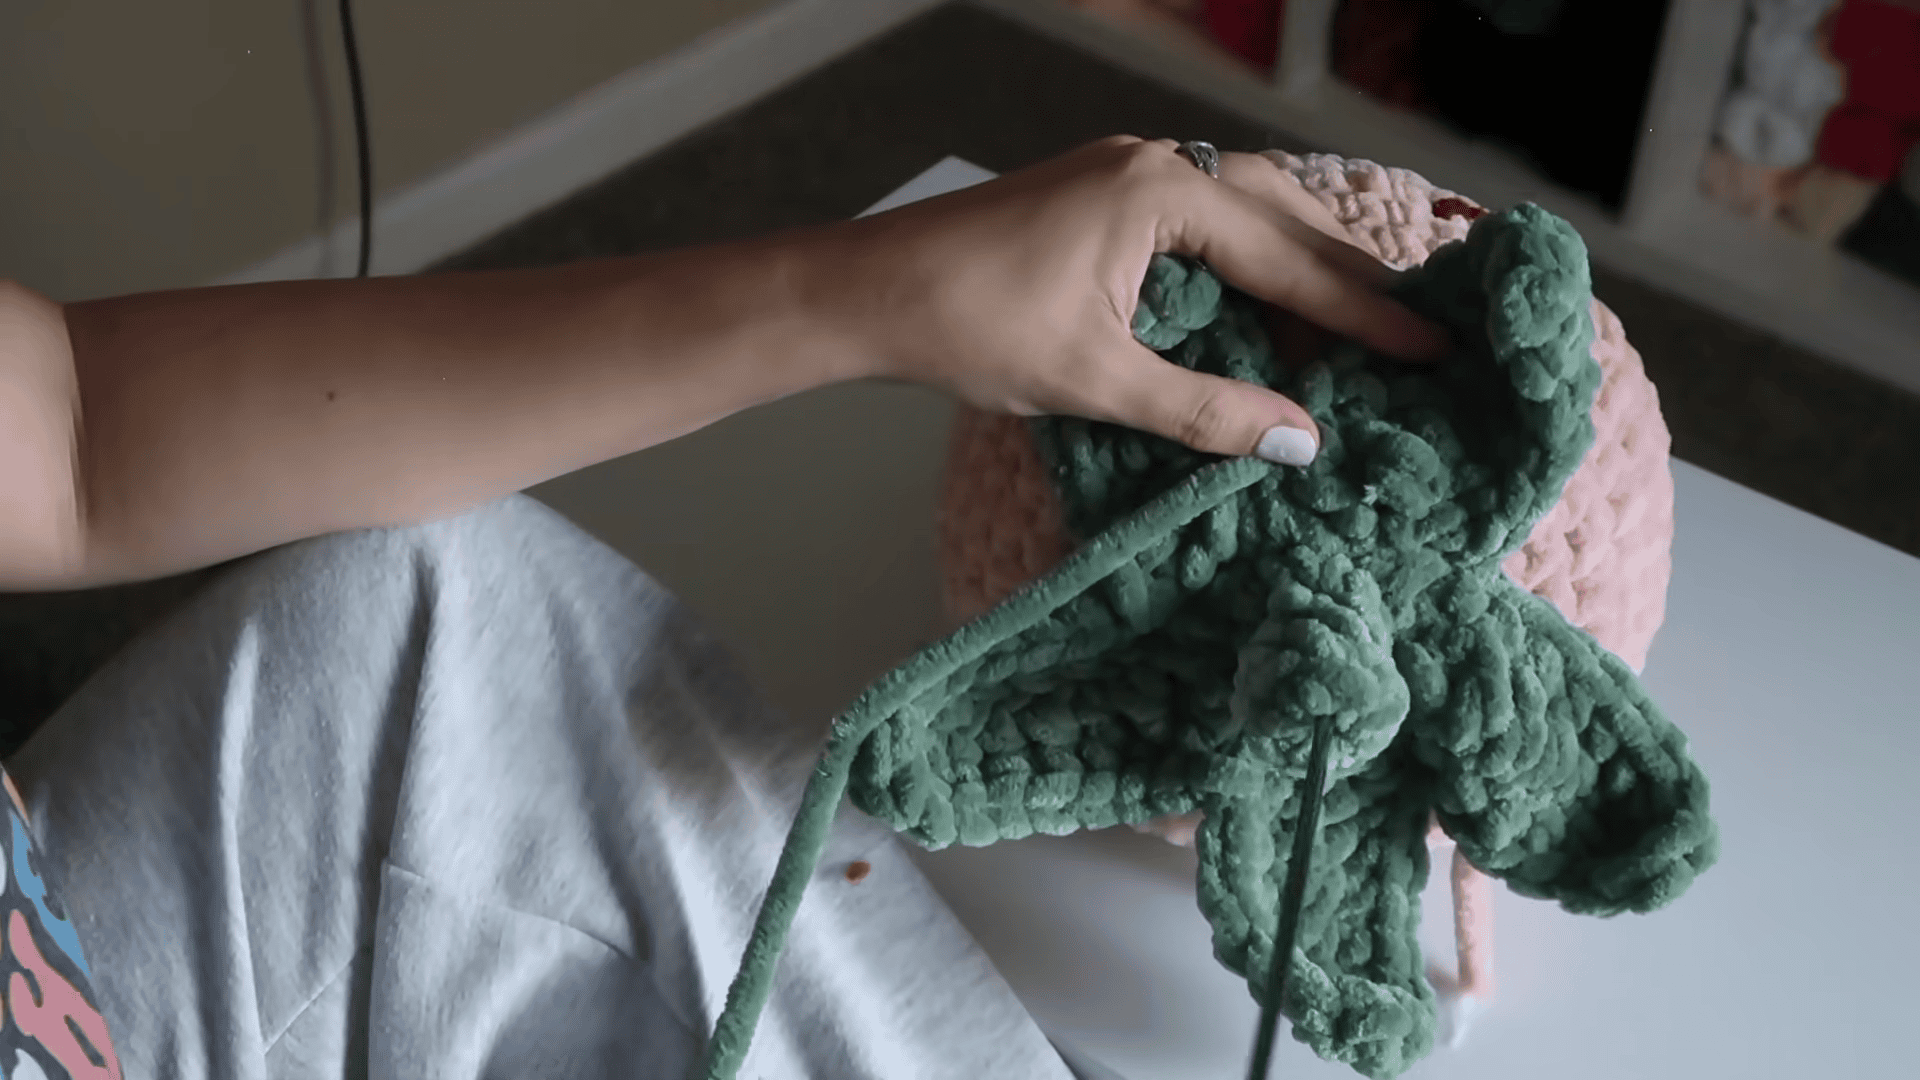
Use green yarn for the leaves at the crown.
Several pointed leaves can be achieved with chains and single crochet.
Make about 5-6 leaves based on the size of your leaf pillow.
The leaves don’t have to be the same.
A slight variation will make the top feel more natural.
Surround them along the top center of the strawberry.
If positioning the pillows is easier, secure them with stitches prior to joining the panels of the pillow.
Step 6: Connect Strawberry Panels
Align edges of two red panels and position together.
Stitch in red yarn and with a yarn needle stitch around the outside.
Use a whip stitch, another method used to join is desired.
Don’t close the entire edge immediately.
Make sure there’s enough room to stuff it.

Step 7: Add the Filling
It’s now time to shape your strawberry!
Slowly add polyester fiberfill.
Fill the lower portion first.
Then walk towards the wider upper area.
Use your fingers to push the stuffing into the corners and edges.
Be not an all at once packer.
With the addition of small amounts, shape can be controlled.
The final product should be full but not too firm.
If using a pre-made pillow insert, ensure it will fit into the crocheted cover.
Step 8: Close the Opening
When the pillow is as full as desired, stitch the other opening.
Make sure to keep your stitches tight.
Make sure there is no stuffing seen between the stitches.
At the end, pull and crisscross the yarn on the pillow with the tail inside.
Use a light touch to squeeze the strawberry.
Adjust the stuffing so that each side is level prior to the yarn tail being fully hidden.

Step 9: Attach the Leafy Top
Place the green leaves on the top of the strawberry.
The center should be sewn very securely first.
Next, one by one add the leaves.
Some leaves may be angled outwards for a fuller look.
If you’re looking for a more dimensional design, lightly stuff the center of the leafy crown before attaching it.
Don’t add too much.
The leaves will still be pliable.
Step 10: Add the Final Details
Take a few minutes to inspect your pillow.
Check:
- Seed placement
- Leaf attachment
- Seams
- Stuffing
- Overall shape
- Loose yarn ends
- A small green stem may be inserted in the middle.
Embroidery can also be used to add some texture to the leaves with a few lines.
Your strawberry pillow is now ready to use!
Fun Color Variations
A strawberry doesn’t need to be a vibrant red color.
Experiment with creating your pillow using:
- Soft pink
- Raspberry
- Coral
- Burgundy
- Cream
- White with pink seeds
- You can also do a drive for things.
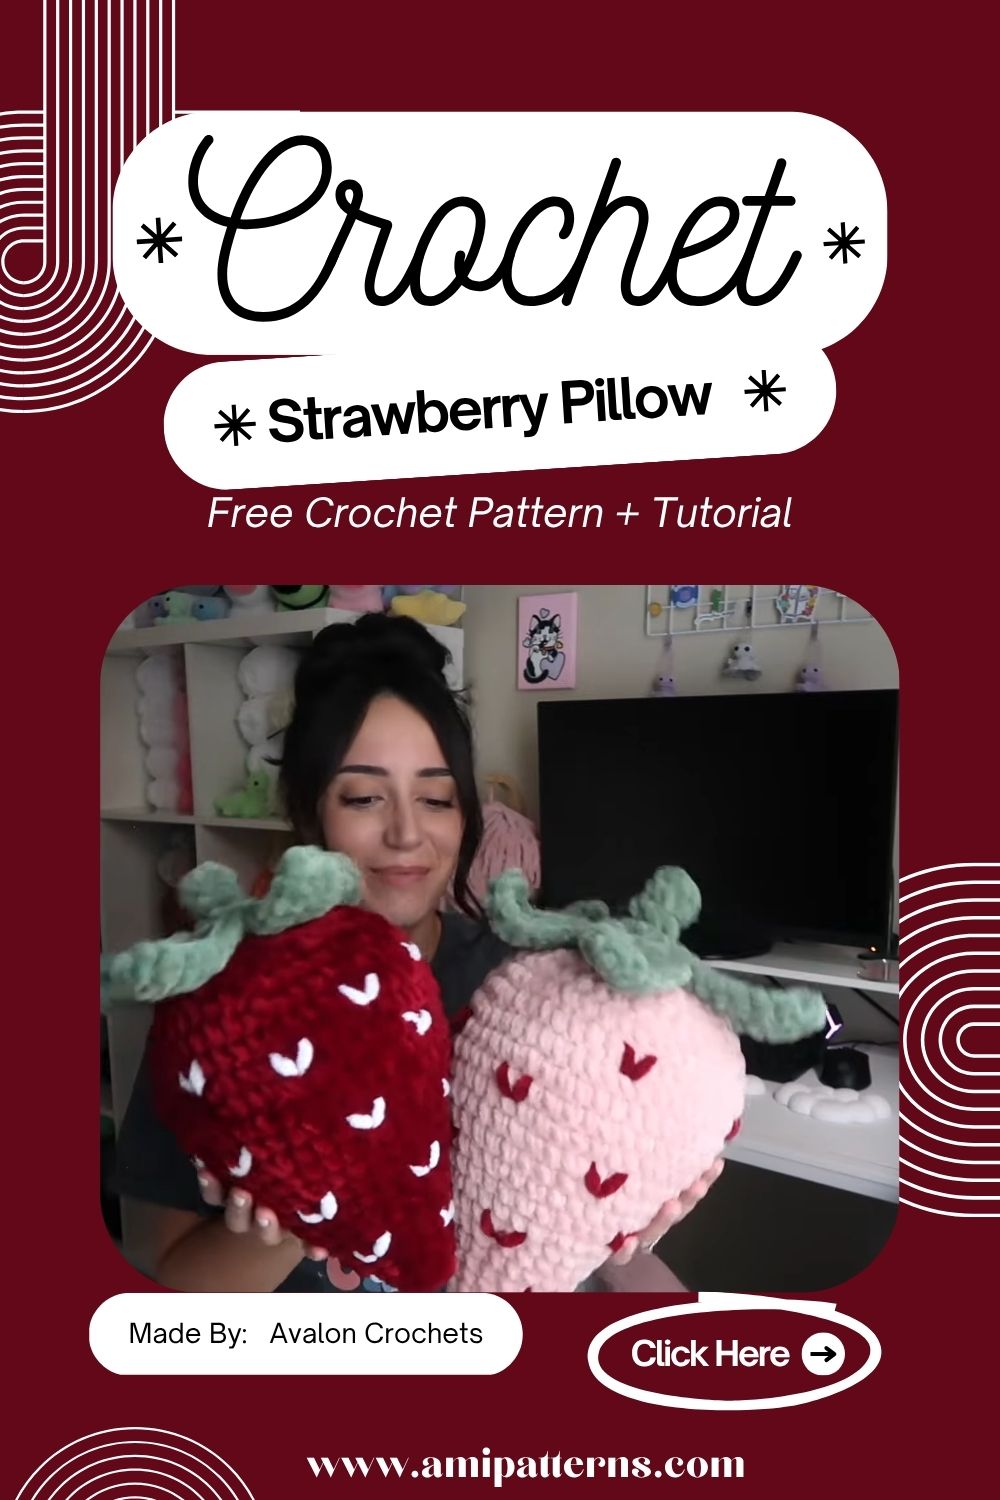
- Make one red strawberry, one light pink strawberry and one deep red cushion.
They can be displayed as a group and are a fun handmade activity.
Ways to Use Your Strawberry Pillow
Here are a few ideas for using your strawberry pillow:
There’s enough space for this cushion to fit.
Bedroom Accent
Set on a bed on neutral cushions.
Nursery Decoration
It’s possible to inject color in the nursery with the help of a small strawberry pillow and not make it look like it’s too crowded.
Reading Corner
Place in a chair or floor basket for a warm and inviting addition.
Craft Room
Make your creative space more personal with several cushions themed around the fruits.
Kitchen / Dining Area
A cozy little strawberry pillow makes a fun seasonal touch to a breakfast table.
Seasonal Display
Spring and summer are great times to decorate with strawberries.
How to Make Different Sizes
The simplest method to alter size is to alter your yarn weight and hook size.
For a lightweight pillow, opt for lighter yarn.
Use chunky yarn and a larger hook to make a bigger cushion.
The number of shaping rounds can be increased as well.
However, don’t simply add random rounds.
Proportions are important to keep the strawberry from becoming too wide or too flat.
For an extra large cushion, make a gauge swatch and measure the cushion size before you begin.
Customization Ideas
After the fundamentals, one can do a lot of things to make it their own.
Try:
- The edge of a leaf that is scalloped.
- Embroidered leaves
- Textured seeds
- contrasting border
- small loop that hangs from it.
- removable cushion insert
- striped strawberry
- matching mini strawberry
- variation of the strawberry that has a heart shape.
- Consider also using crochet blueberries, cherries, lemons, or watermelon slices.
This is the perfect transformation of one project to an entire fruit theme décor set.
Pro Tip
Stuff the pillow slowly and mold it with your hands as you fill it. This will allow you to have a much better control over the whole cushion than filling it all at once.
Caring for Your Crochet Strawberry Pillow
Before washing, see the care instructions of the yarn.
Hand wash the pillow with cool water and mild soap (if the yarn will allow).
Don’t twist or wring the cushion.
Instead, squeeze out as much water as you can by using a towel and then let it dry flat.
If you have a removable insert, remove it before cleaning the crochet cover.
If you wish to maintain the color stay the pillow out of direct sunlight for too long.
Final Thoughts
A fruit cushion is a great way to add some personality to a room, and it’s a nice touch to have something handmade. The strawberry shape is recognizable, the colors are easily changeable and the foliage end will provide the pillow with a distinctive silhouette.
One can be made for a kid’s room, a few made for a reading corner, or an entire collection of crocheted fruits can be made.
This is not a project that requires any complex techniques. The key is in making sure that you are applying the tension consistently, shaping carefully and being patient while connecting the two panels.
This is a beautiful crochet project for a small pillow that would make an excellent item for home décor. Choose a small size, try your favorite yarn, and don’t hesitate to make seeds and leaves your own.