
Crochet Super Mushroom Mario Bros Amigurumi Pattern
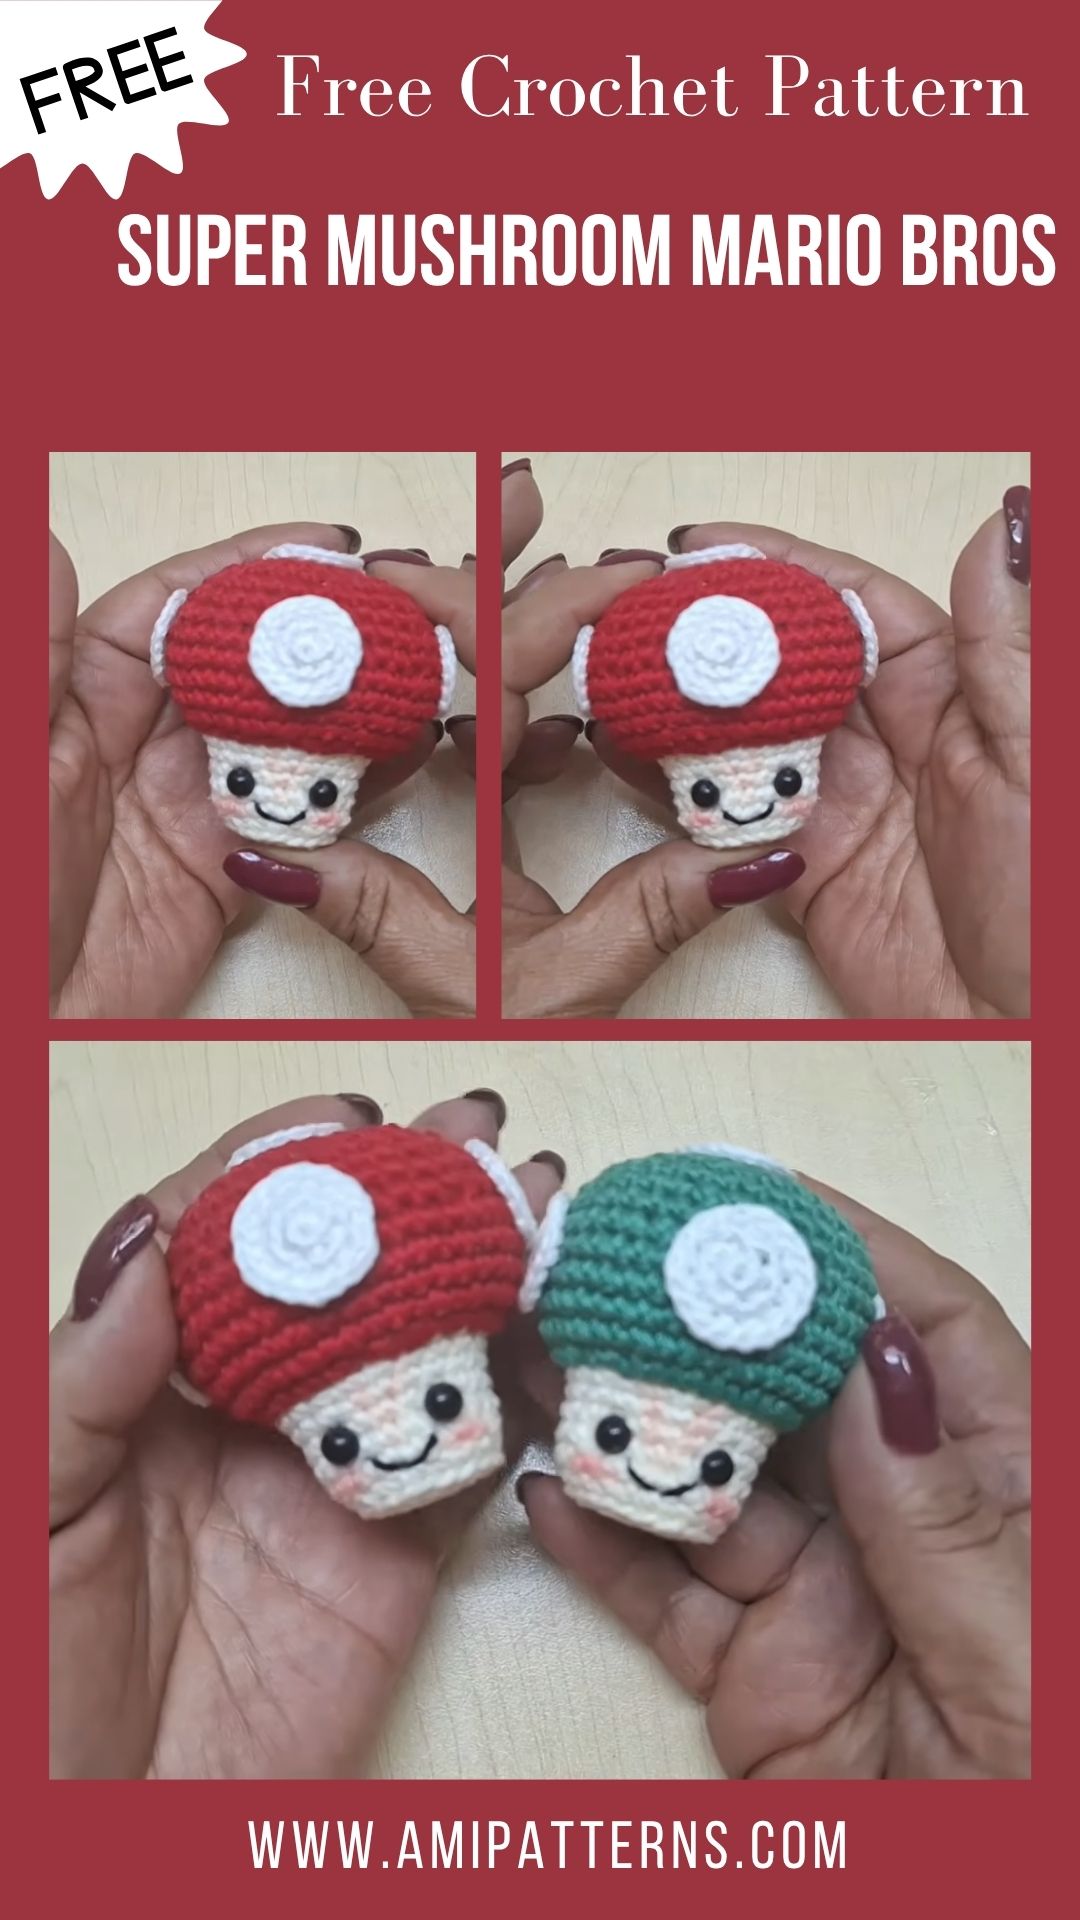
A mischievous yarn mushroom can add some delightful, unexpected texture to a room. Those who have played the classic video games will find the red cap, white spots and the simplicity of a Super Mushroom to be very familiar and nostalgic. Crochet Super Mushroom Mario Bros Amigurumi Pattern is ideal and can be used in so many creative ways. It will make heads turn wherever you go. Don’t be surprised if you make one or two more after competing one.
The mushroom is also an interesting crochet item to make, due to its shape. Basically, you just have to assemble a spherical cap, a strainer and some trims. The project is ideal for those who want to create something extra ordinary. You can go with the traditional mushroom color or add your own touch to it.
Why You’ll Enjoy This Crochet Mushroom
There are so many opportunities to make a mushroom amigurumi in crochet!
The first is that the shape is accessible. Don’t try to make a complicated stitch pattern when it isn’t necessary.
Secondly, the project does not require much yarn. You might have some leftover red, white, cream or brown yarn from previous projects, so you may have most of what you need already.
It’s very customizable as well. Create a little mushroom to hang on your workplace or a big mushroom to stand on your shelf. Add some color, a small face or make a few mushrooms of varying sizes.
Any person who enjoys gaming themed décor, but isn’t seeking to construct a very complicated project will enjoy this kind of job.
Skill Level
Special needs: None
Know the following:
- Magic ring
- Single crochet
- Chain stitch
- Increases
- Decreases
- Slip stitch
- Round the clock effort, 24 hours a day.
- Basic sewing
- Stuffing amigurumi
If you’re new to amigurumi, mark with a stitch marker, and count your stitches at the end of each round.
Materials You’ll Need
Before beginning, gather:
- Red yarn for mushroom cap
- White or cream yarn for the spots
- White or beige yarn to stem
- Black embroidery thread to add facial details
- Polyester fiberfill
- A suitable crochet hook for your yarn.
- A crochet hook appropriate to your yarn.
- Stitch marker
- Yarn needle
- Sharp scissors
Before Starting the Crochet Steps
The mushroom is prepared in two parts—the cap and the stem. The cap should be broader and rounded and the stem shorter and narrower.
The white spots may be crocheted and sewn into the cap. This technique allows them to be more carefully controlled in size and location.
You can also create spots of varying sizes rather than creating all the same size. It gives the feeling of something being more handmade and fun.
If a face is desired, it should be determined prior to sewing the spots onto the canvas.
How to Crochet the Super Mushroom
Step 1: Start the Mushroom Cap
Working with red yarn, make a magic ring.
Make 6 single crochets into the ring.
Close ring and set in stitch marker.
Grow uniformly over the next few rounds.
The diameter of the circle will slowly increase.
Make the increases even, don’t let it become a point around the cap.
The mushroom cap will start to form as the diameter increases.
Step 2: Build the Cap
Once you’ve reached the desired width, continue working several rounds without increases.
This will provide the cap with some elevation.
You don’t want the top to become too tall. Typically, mushroom caps are best when they have a wide, round shape.
Shape as you go with your hands.
When the cap begins to bend too much, add another round.
If it grows too high, take off a circle and adjust the measure.
Step 3: Form the bottom of the cap
Start to slowly taper down around the bottom.
This forms the bottom of the mushroom cap and enables a natural mushroom to gradually change into its stem.
If the cap requires structure, add lightly polyester fiberfill.
Don’t overstuff it.
The cap should have a rounded shape but be somewhat soft.
When you’ve reached your desired opening, fasten off.
If using tail for assembly, leave enough yarn to use for assembly.
Step 4: Crochet the Stem
Use white, cream or beige yarns.
Work into a magic ring and then several single crochet stitches across the center of the ring.
Make the base gradually larger, roundish.
Work up without any increases.
The cap should be wider than the stem.
As you make it to the top, start a few decreases.
Stuff stem lightly while working.
Make sure that there is enough firmness in the stuffing so that it does not fall apart, but not so tight that it crushes.
Securely close the opening.
Step 5: Shape the Stem
The stem doesn’t need to be completely straight.
The bottom can be a bit wider and the top a bit narrower.
This gives the mushrooms a more natural appearance.
If the mushroom is meant to be used for decoration and should stand up, be sure the base is flat and evenly filled.
If the stem is not stable, add a little more stuffing in the lower part of the stem.
Step 6: Crochet the White Spots
The mushroom is immediately recognizable by the spots.
Make a number of small circles with white yarn.
You will begin each spot with a magic ring, increasing the size of the circle until you get to the desired size.
Quickly untie and tie a yarn tail.
Make a mixture of small and medium spots.
The cap does not have to be covered with all of the material. Spacing is normally achieved with a few strategically placed locations for a cleaner appearance.
Step 7: Set up the Spots
Place spots around the red cap before sewing.
Examine the mushroom from different perspectives.
Larger spots in the center, smaller ones at the edges may be desired.
When satisfied, sew securely each spot.
In general, keep the stitches in the white yarn as much as possible.
Step 8: Join the Cap and Stem
Place the stem under the mushroom’s cap.
Carefully sew two pieces together.
Make a complete wrap around the opening so that the connection is good.
When finished be sure the stem is positioned directly under the center of the cap.
If the stem is off center, the mushroom may appear to be crooked.
Step 9: Give the face some details
This mushroom is not required to have a face, but it would be a lot of fun to add one for this mushroom to give him a personality.
You can add:
- Two black eyes
- A small smile
- Tiny pink cheeks
- Eyebrows
- Simple sleepy eyes
- Embroidery thread is suitable for fine facial features.
- For the mushroom to be used as a decoration rather than a toy, then you can use the small safety eyes.
- Embroidered features are safer for young children.
Step 10: Give It Your Own Style
After the basic mushroom has been created, consider where the mushroom will be used at home.
A traditional red and white style is great for a gaming room.
A mushroom can be accommodated in a nursery space or craft space.
Some neutral color schemes might be better suited to a dark red and cream look!
You might even create an entire set of mushrooms, one by each color and size.
Creative Color Ideas
Red and white are the traditional colors to combine, but don’t limit yourself to that. Try:
- Pink and cream
- Purple and white
- Blue and ivory
- Green and beige
- Orange and cream
- Yellow and white
- Brown and cream
- Muted colors may appear rather chic for a contemporary home accent.
- Consider dusty rose, sage green, oatmeal, soft blue or terracotta.
- Even if the colors vary, it’s still going to look like a mushroom.
Creative Uses for Your Crochet Mushroom
This is a small mushroom that may be utilized all around your house.
Try placing it:
- On a bookshelf
- Facing a console.
- On a computer desk
- In a craft room
- On a nursery shelf
- In a decorative basket
- On a coffee table
- In a themed display
- With other crochet characters
A collection of a few mushrooms can make a fascinating little showcase. They can be made in various sizes and assembled in a little handmade mushroom garden.
Pro Tip
Pin or position lightly onto the cap prior to sewing the white spots on. Take a step back to analyze the mushroom from various perspectives for a sense of balance.
Caring for Your Crochet Mushroom
Here are some ideas for creating a Gaming Inspired Display:
A crochet mushroom can be a single decoration or a group of mushrooms.
Make a miniature mushroom theme with some handmade mushrooms of various shapes and sizes.
You could hang them on the side of game controllers, as a framed piece of artwork, next to books or other crochet characters.
If you love amigurumi, you might want to make some amigurumi accessories like stars, clouds, flowers and other fantasy items.
The objective needn’t be a replica of a game scene. A handful of familiar hues and whimsical handmade items can evoke a sense of whimsy without dominating the space.
Final Thoughts
A Crochet Super Mushroom is a mini project that has a ton of character! The round cap, the light spots and the plain stem provide enough of a framework that you can create a recognizable decoration, and the construction is simple enough to help you draw inspiration from your own creativity.
You can use the classic red and white color scheme, try out soft pastel colors or create an entire mushroom range of color for your house! Either add a little face or combine various sizes or simply go for a spartan design and let the yarn do the talking.
The project is also great practice for learning the basics of amigurumi. Increase, decrease, stuffing, shaping, sewing and small decorative pieces will be used. Skills that can be used in future crochet projects.
Above all, don’t rush things so that every mushroom is the same. It can be individualized by a slight variation of the spots or a slight change in shape.
This Crochet Super Mushroom Mario Bros Amigurumi Pattern is a fun handmade project that embraces a little bit of Mario Bros and the joy of crochet.