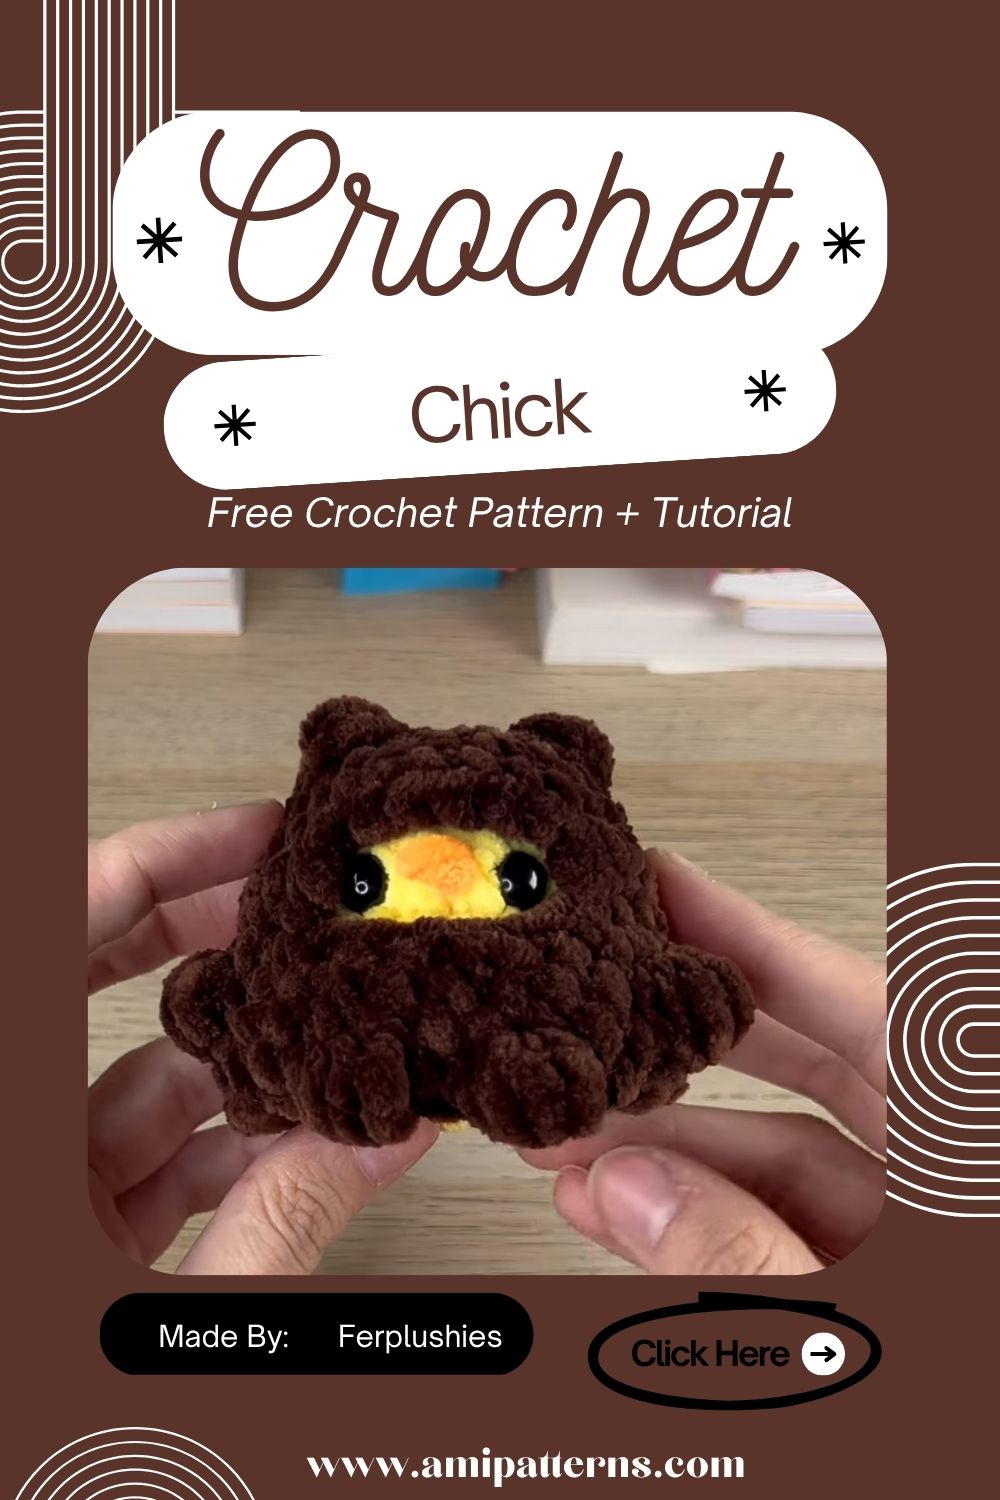
Passionate Crochet Chick Amigurumi Pattern for Soft Toy Lovers
There’s something comforting about having a small crochet chicken pattern that instantly brings a smile on your face. The little beak, fluffy body and sweet expressions will make your day. This amigurumi crochet chick pattern will help you produce a soft handmade toy without putting in much effort. You can make it with simple stitches and some pieces that fit together in this pattern. It turns out to be your best weekend project.
It is accessible to confident beginners and is fun to do even to experienced makers in need of a relaxing weekend project. This cute chick would be a great idea to make when you are making a thoughtful handmade gift or just need an elegant decoration to your house. Take your favorite yellow yarn, get your crochet hook ready and have fun creating this adorable little creature stitch after stitch.
Why You Will Love This Pattern
One of the best things about this crochet chick is its versatility. It may be put on all through spring, as part of Easter, as an accent to the nursery, or given to the person who is fond of homemade toys.
The rounded body can be worked up in no time and the small wings and feet provide a little detail to make the finished project special. It is also a great stash-busting project as it uses very little yarn. In case you want a calming crochet that could provide cute results, it will not fail you.
Skill Level
The skill level is beginner to intermediate. And once you’re comfortable making a magic ring, working in continuous rounds, and with simple increases and decreases, you will be able to finish this project confidently.
The individual parts are small and can be sewn easily, thus a great pattern that anyone can use to test their amigurumi skills.
Materials You’ll Need
Preparations Before you start, prepare the following supplies.
- Yellow yarn
- Beak and feet an orange yarn.
- Black embroidery thread
- 8–10 mm safety eyes
- Polyester fiberfill
- Hook to use with your yarn.
- Stitch marker
- Yarn needle
- Sharp scissors
- Optional blush powder
- Little ribbon or bow (optional)
Cotton yarn has a nice definition of stitches and the acrylic provides a plushier finish.
Special Features
This tiny chick contains a lot of cute details.
- Rounded fluffy body
- Tiny triangular beak
- Cute embroidered smile
- Small folded wings
- Soft stuffed texture
- Simple standing feet
- Beginner-friendly construction
- Minimal sewing
- Easy customization
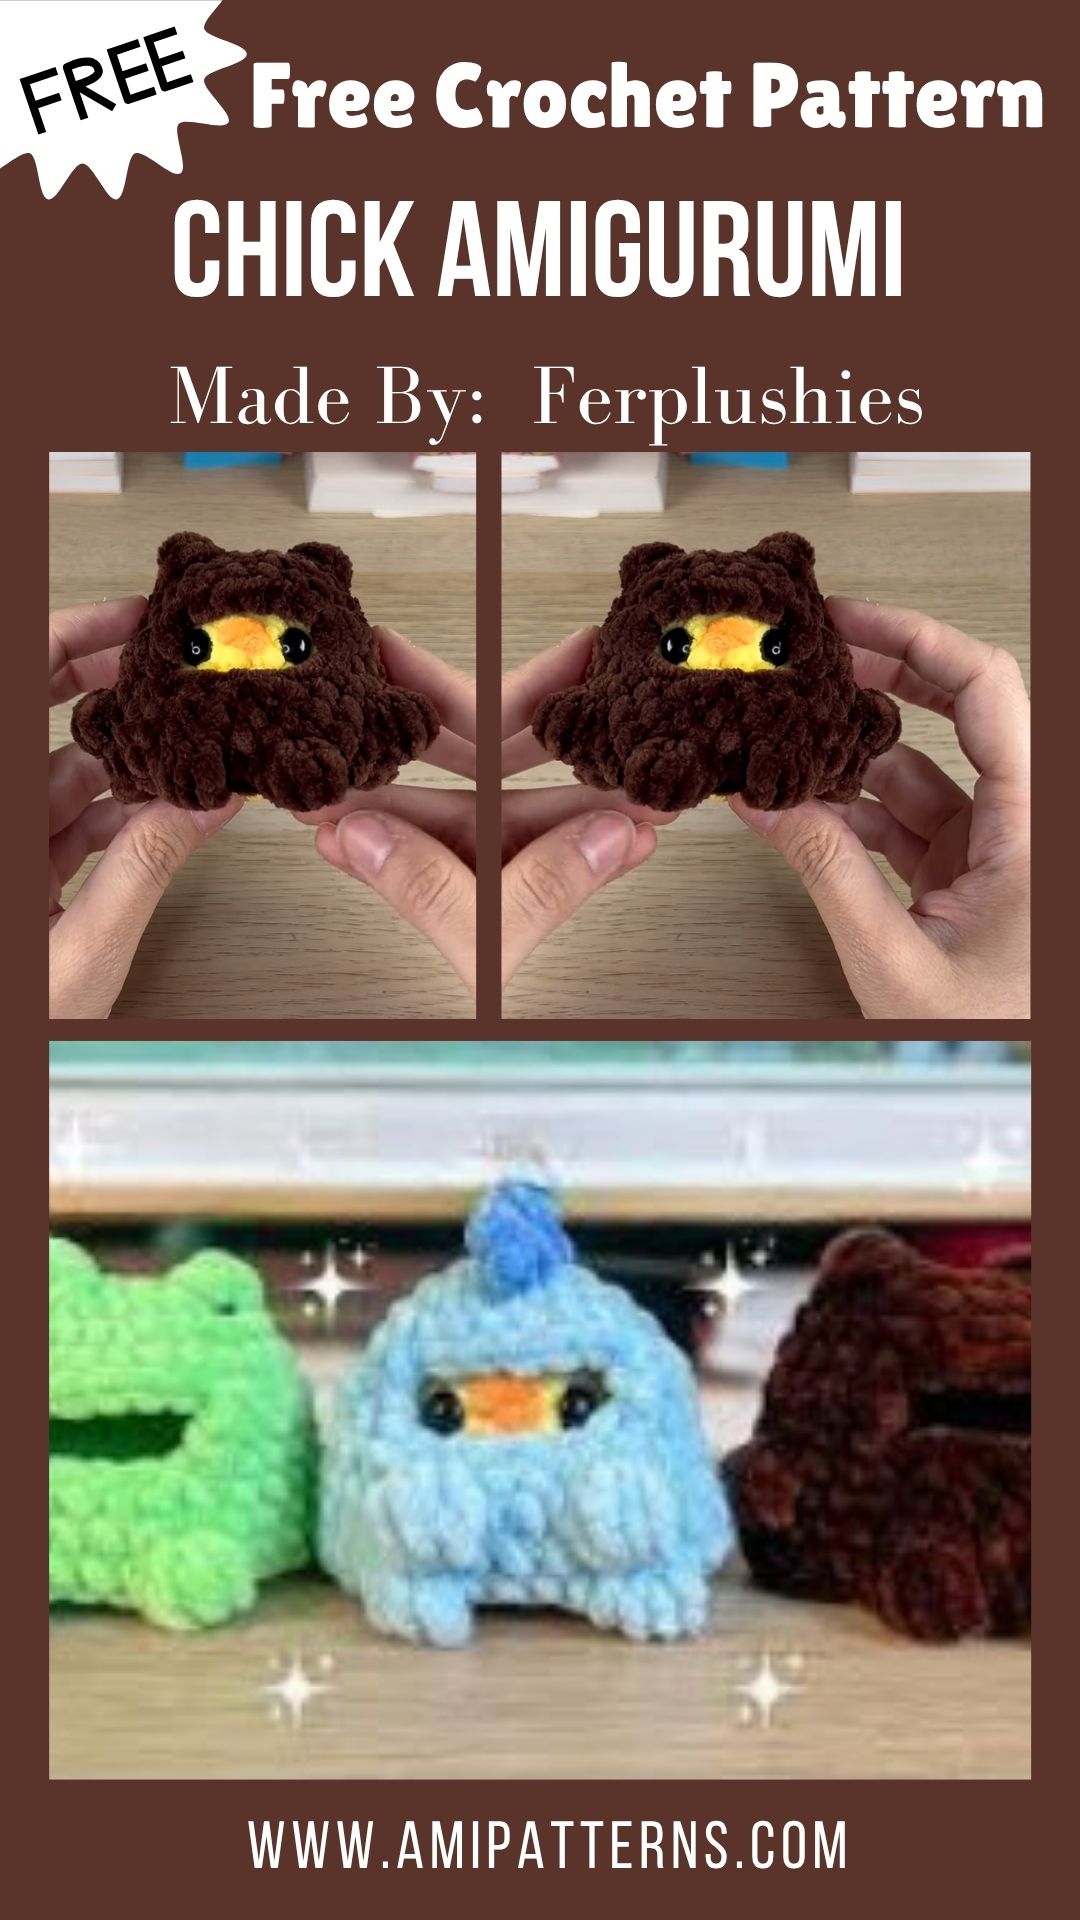
The completed toy also forms a charming small chick crochet plush, which can be used to decorate the season or be placed in a bag as a heartfelt hand-made gift.
Step-by-Step Instructions
Step 1. Crochet the Head
Use a magic ring and put single crochet stitches in the center. Gradually add rounds until you have a smooth ball. Keep on with the crocheting in a straight line but make sure that the head is well rounded. The safety eyes must be inserted before the opening is closed in entirely.
Insert polyester fiberfill stuff into the head until it is filled up to the brim.
Step 2. Embroider the Face
With black embroidery thread, cut a small curved smile under the eyes. Light pink blush can also be added on both cheeks to make it even sweeter.
Handmade toys have personalities of their own as small facial details can include.
Step 3. Crochet the Beak
Using orange yarn, crochet a tiny triangle or cone-shaped beak. It doesn’t need to be stuffed since it is very small. Put it in a place between the eyes then sew it on the face. This is the step that you should take your time since the placement of the beak has a big impact on the general look.
Step 4. Crochet the Body
Another magic ring starts the body. Add more and more until you have a rounded bottom.
Keep crocheting at the same rate upwards then start doing a series of decreases towards the top. Stuff the body as you work and it should be soft yet firm enough to retain its shape. Attach a long piece of yarn to attach the head.
Step 5. Crochet the Wings
Using yellow yarn, crochet two small oval wings. Stuff them lightly or leave them flat, as you like. Take one wing to each side of the body. Place them slightly on the back so that they look natural.
Step 6. Make the Feet
Make two small feet of orange yarn. Every foot must have three small toes which are slightly raised forward.
They may be minor, but these details aid in the creation of the life of the chick. Fix both feet in the same position below the body to ensure that the chick is seated comfortably.
Step 7. Crochet Feather Tuft
One of the cutest components of the project is the feather tuft. Crochet three small loops or short strands with the help of yellow yarn.
Securely fasten them to the head. This little finishing touch makes the chick have its playful character.
Step 8. Assemble the Chick
Now time to put it all together. Stitch the head on the body. Stick the wings, feet, beak and feather tuft on (unless you already have). Before tightening each stitch, make sure the position is correct at all angles. Lastly, weave in all loose ends of yarn.
Step 9. Add Decorative Details
You can now customize your chick in any way. Try adding:
- Tiny ribbon
- Mini bow tie
- Flower crown
- Little scarf
- Easter egg accessory
- Small basket
- Tiny hat
- Embroidered heart
- Mini overalls
All these details make each chick absolutely special.
Step 10. Final Shaping
Using your hands, gently form the stuffing until you get an even rounded body. Tilter the wings and feather tuft as required. Your cute crochet hen is now ready to be on display or to give.
Video Pattern Here:
Uses for Your Crochet Chick Amigurumi
The best part of this little chick is that it is easy to integrate it into your house. Although it’s small, it adds a cheerful touch wherever it’s displayed. Some imaginative uses of your completed project are:
- Decorate a nursery or children’s bedroom.
- Display it on bookshelves or floating shelves.
- Put it in your Easter table centre.
- Put it in a floral springtime display.
- Put it into a homemade gift basket.
- Present as a baby shower present.
- Make it a photography prop to use with photos of homemade products.
- Sell it in the local craft fairs or online market places.
- Make other color pairs of chicks to form a family display.
- Make several as party favors for Easter celebrations.
- Include it in seasonal window decorations.
- Gift an animal lover a nice handmade gift.
It is soft, and has a cute face, so it will make a great decoration you will love to have on your shelf long after it is finished.
Why Newcomers Will Like this Pattern
This is an excellent project to start with amigurumi as it concentrates on the methods that all crocheters need to understand without getting too complicated. Being a beginner bird crochet pattern, it assists you in practicing:
- Creating a magic ring.
- Shifting in rotating shifts.
- Sewing more and less stitches in equal measure.
- Stuffing amigurumi correctly.
- Sewing small crochet pieces together.
- Simple embroidery of the faces.
- Shaping a simple plush toy.
The project is also relatively small, so you will witness gains in a fairly short time, which is a positive trend to anyone looking to gain confidence.
Customization Ideas
After you are through with your first chick you are likely to be eager to test various styles. Its basic body form allows easy personalization in terms of colors and accessories. These are some of the ideas:
- Crochet a chick of white or pastel-blue.
- Plant a small flower crown.
- Baby clothes it in overalls.
- Little rain hat crocheted.
- Add a bow tie.
- Provide it with a small backpack.
- Make a Christmas edition including a Santa hat.
- Make a graduation chick with a miniature cap.
- Sew small hearts on the wings.
- Join a little sunflower decoration.
- Crochet a small nest to show.
- Make a complete family of chickens of varying sizes.
All these small details help to make each completed toy individual.
Pro Tips
Finishing is even advantageous to simple amigurumi projects. Keep these tips in mind as you crochet:
Take a hook of crochet that is just a bit smaller than what your label of yarn suggests to use in the tight stitches. Check your stitches to ensure that the shape is correct. Stuff the head until it is not floppy.
Evenly sew the wings and tighten the stitches. Attach the beak by placing the eyes first. Tuck in all the yarn ends. Assemble at your own leisure to give the best finish. The slightest details can create a significant difference in the end result.
Final Thoughts
Hardly a crochet project is as upbeat as a small homemade chick. Its fluffy body and its small wings, its orange beak and its sweet smile all combine to make a toy with a personality. You can use this crochet chick amigurumi pattern to decorate your home, Easter, a baby shower, or to add another character to your amigurumi collection and you will be glad to revisit this project many times over.
Its easy assembly, adorable details and unlimited customization features make it easy to use by crocheters of all skill levels. Soon you can be creating a flock of crocheting in various colors, outfits, and sizes, to adorn every part of your house.