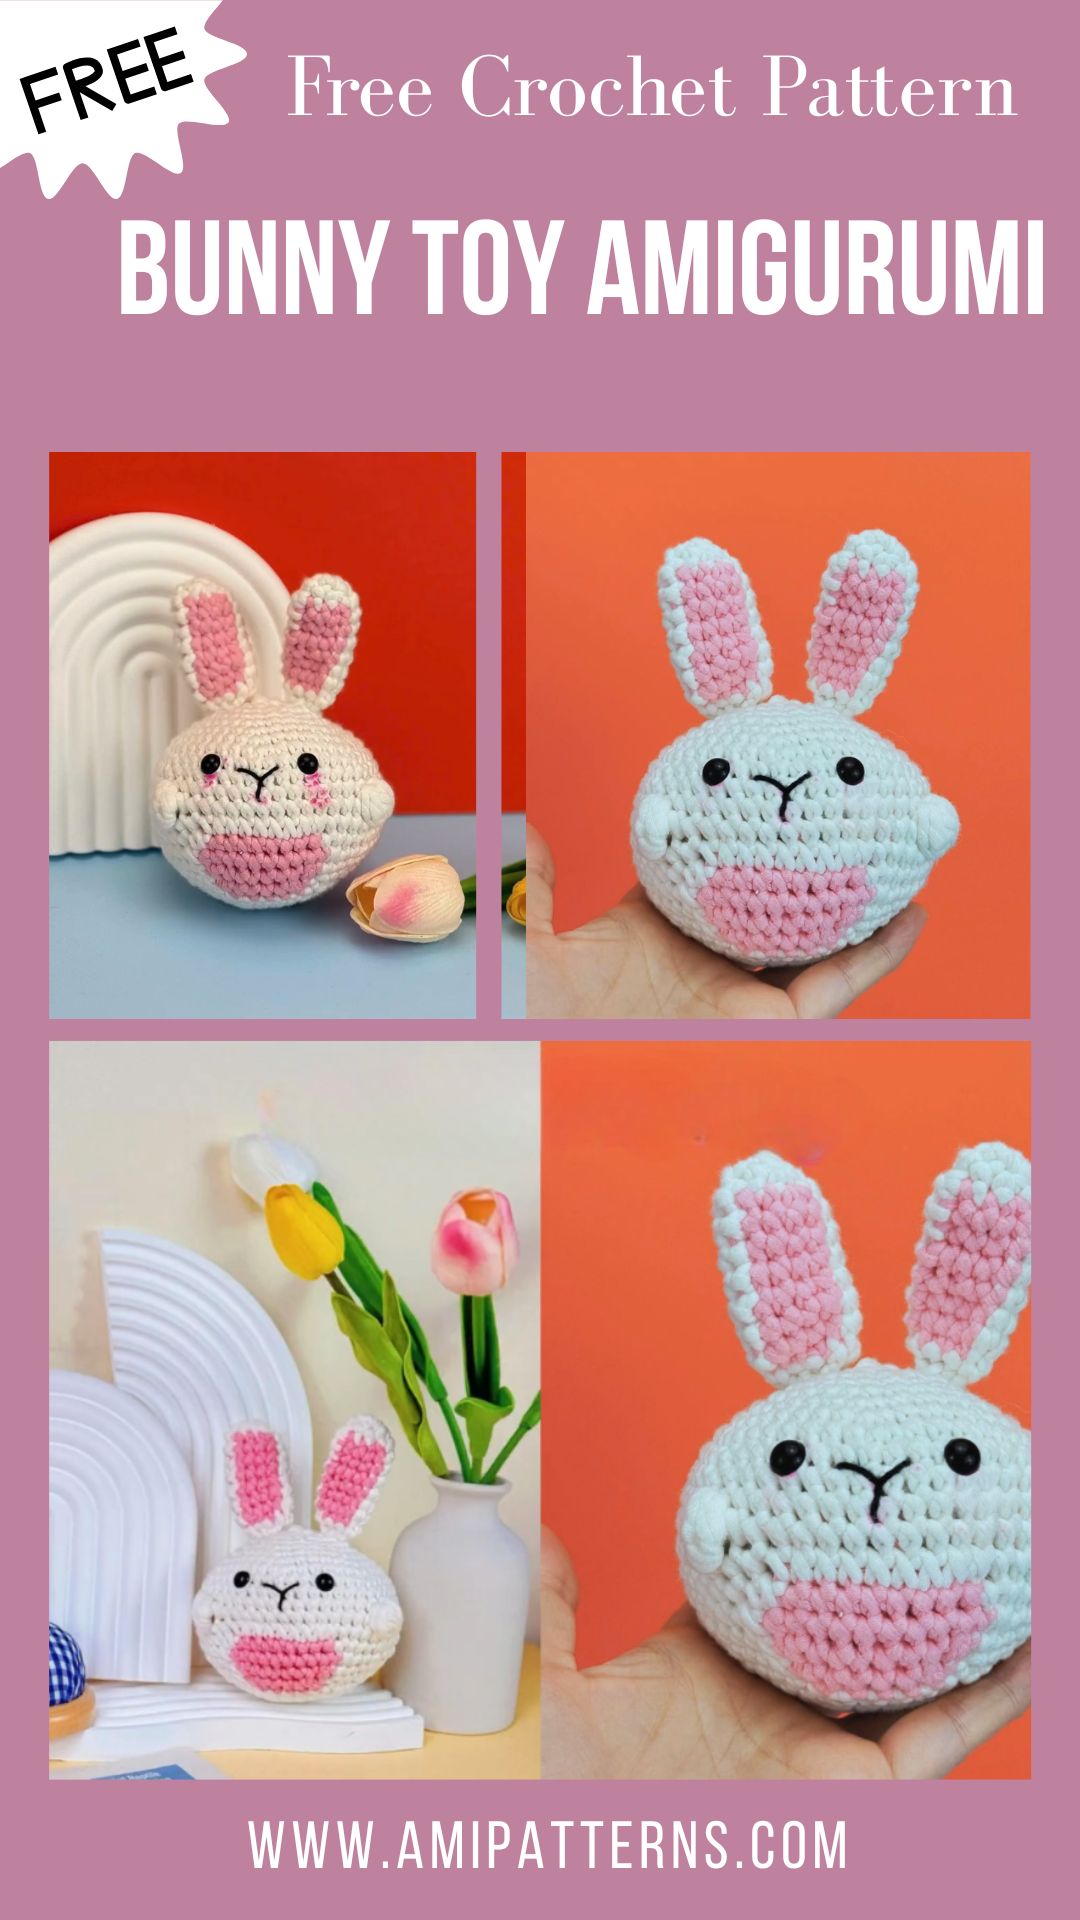
Charming Crochet Bunny Toy Amigurumi Pattern for Amazing Looks
Certainly, some homemade toys never go out of style. They quietly join childhood memories, occupy nursery shelves, and can frequently end up in nursery keepsake boxes many years later. One of such timeless creations is a crochet bunny. It starts to take on its own personality before you sew on the second ear and by the last stitch, it becomes less of a piece of yarn and more of a little friend.
That’s the magic of amigurumi. You can make it of plain materials by the use of a simple hook, soft yarn, and a bit of patience and turn out to be full of warmth and character. You are making this bunny either as a baby shower gift, a birthday present, an Easter decoration, or simply because you love to make cute, soft toys. This project is as satisfying as it is calming.
When you’re seeking a fun project to crochet that also looks pretty to display, this crochet bunny toy pattern is one you will regret not using again in the future.
Why You’ll Fall in Love with This Bunny
It is soothing to make a bunny out of crochet. The curvy lines, rounded forms and smooth edges all bring out a sense of ease and fulfilment with each step.
This bunny is surprisingly fast to complete, unlike other crochet projects that may require weeks to complete. One of the characters is brought to life bit by bit with each piece completed, the ears, the arms, the legs, the fluffy tail.
And it is an excellent way to use up old yarn. Warm browns, blush pinks, sage greens, and pastel blues all are beautiful in their results.
Difficulty Level
Level of skill: Intermediate or beginner
You’ll enjoy this pattern if you’re familiar with:
- Magic ring
- Single crochet
- Increasing and decreasing
- Continuous rounds
- Basic sewing techniques
- Simple embroidery
It is easy to shape and a relaxing project to confident beginners but still enjoyable to experienced crocheters. It is true that when making either a single bunny or a whole family, each of the finished toys will have its personality.
Materials You’ll Need
Before starting, gather all of your supplies.
- Light acrylic or cotton thread.
- Pink yarn to use as nose details.
- Black embroidery thread
- Embroidered eyes or safety eyes.
- Polyester fiberfill
- Hook to fit your yarn.
- Stitch marker
- Yarn needle
- Sharp scissors
- Satin ribbon (optional)
- Little wooden button (optional)
Soft acrylic will produce a plush fluffy feel, and cotton yarn will give sharp definitions to the stitches.
Special Features of This Pattern
There are lots of clever little details in this bunny.
- Soft rounded body
- Long floppy ears
- Gentle embroidered smile
- Tiny fluffy tail
- Beginner-friendly construction
- Lightweight and cuddly
- Easy customization
- Minimal sewing
- Perfect gift size
The completed bunny also makes a fine handmade bunny plush that is pretty in nurseries, children bedrooms, or seasonal springs.
Step-by-Step Crochet Bunny Pattern
Step 1. Crochet the Head
Start with a magic ring and make some single crochet stitches in the middle. Add more and more rounds until you have a round ball. Keep on crocheting in the same direction then start to make decreases gently towards the bottom. Safety eyes are to be inserted prior to closing the head.
Stuff the head, and mold it with your hands to produce well-rounded curves without straining the stitches. The bunny has a well-shaped head that makes it look friendly.
Step 2. Embroider the Face
It is on the face that your bunny really lives. Stitch on a small triangle nose in pink with a yarn. Next, draw a short straight line downward below it, and then a curvy smile with black embroidery thread.
You want it to be even sweeter, put in little blush circles under the eyes with delicate pink yarn. Make the features small and proportionate.
Step 3. Crochet Long Ears
One of the most familiar aspects of the bunny is the ears. Make two long ear-shaped pieces with your main yarn color. To add additional detail, cut smaller inner ear panels in pink or cream and sew them to the larger ears. Keep the ears largely unstuffed in order to have them hanging naturally.
Glue them to the top of the head, checking on both sides before gluing them permanently. The bunny has a playful personality due to its slight tilt.
Step 4. Crochet the Body
Take another magic ring and apply your preferred body color. Gradually add more and more until you have a rounded base. Keep on crocheting in an even manner and shape the body to a soft oval shape. Fill gradually over the process instead of filling at the end. Even stuffing puts the bunny in balance as well. Handle off a long tail of yarn which you will add to the head.
Step 5. Crochet the Arms
Prepare two similar arms with simple rounded tubes. The upper part should be lightly stuffed to enable them maintain shape without being too hard. Attach each arm just below the neck. Place them a little forward so that the bunny is poised to receive a warm hug.
Step 6. Crochet the Legs
Crochet two strong legs with plumped bottoms. These enable the bunny to stand on its legs. Light stuffing provides the legs with adequate structure yet soft to the touch. Tie them under the body in an even manner and test the balance then knot the stitches.
Step 7. Make the Tail
All the bunnies ought to have a fluffy tail. Make a small round pom-pom with white or cream yarn. Lightly stuff it then sew it firmly on the lower part of the back of the body. Although it’s one of the smallest pieces in the pattern, it instantly completes the classic bunny look.
Step 8. Assemble the Bunny
The moment has come to make it all come together. Add the head to the body with sewing and then the ears, arms, legs and tail. Stop after every bit and have a look at the bunny both in front and at the sides. A little fiddling about now produces a very pretty finished toy. When all is attached, tie in all the loose ends of the yarns and, with your hands, fluff out the stuffing to give it a smooth, rounded look.
And lastly, wrap a small satin ribbon around the neck or a second decorative accessory in case you want a bit of added flair. The finished bunny will also make a great handmade gift to both children and adults, both as an easy crochet rabbit doll and as an easy crochet rabbit handbag.
Give Your Bunny Its Own Personality
Among the best things about creating amigurumi is the inclusion of those small elements that make each one of the creations unique. Although you might go through the same pattern every time, you will never see two bunnies that will look exactly like each other.
Attempt to switch the colors of the yarns to fit various seasons or events. Woodland bunnies are made out of soft cream and beige, and blush pink, baby blue, lavender, or mint green make the toy feel more spring-like. To make it festive, a small red scarf or a knitted sweater can be added. You can also dress your bunny with:
- bow round the neck of satin.
- small flower crown.
- Tiny denim-style overalls
- crochet carrot
- little heart appliqué
- Embroidered paw details
- small backpack
- cozy winter hat
- A lace collar to a vintage appearance.
These final details make a plain toy seem like a present that is really special.
Fun Ideas to Showcase Your Bunny
The following are some of the ideas on how you can display your completed work:
- Showcase some bunnies as a seasonal assortment.
- Make it a part of a baby shower gift.
- Photo prop: Use as a hand-made product photographing prop.
- Decorate a craft room with a family of colorful rabbits.
- Gift someone dear to you with a handmade present.
- Place it in a nursery with a woodland theme.
- Offload bunnies at the local craft fairs or on the internet handmade stores.
The timeless design ensures that it does not make it any less beautiful during spring compared to the rest of the year.
Why You’ll Want to Make More Than One
Since the construction is easy and the amount of yarn is minimal, it is not challenging to test new colors, accessories, and sizes. You will soon have a flock of rabbits, all of them having a personality.
They are also ideal to utilize old yarn, which makes them artistic and functional. A basket with a bunch of handmade bunnies is an instant heart warming decoration that cannot be overlooked.
This pattern can be used to create infinite possibilities in terms of creativity whether you are crocheting on behalf of yourself, your family, or your handmade business.
Pro Tip
Permanently sew the ears by pinning them. Even a small shift of their angle will make your bunny change its face and become even more personal.
Final Thoughts
A crochet bunny is a handmade project that is more likely to bring about warmth than any other project. Even the floppy ears and the tiny fluffy tail are sewed in to form something that is comfortable and a personality at the same time.
This crochet bunny toy pattern may be useful as a heartfelt gift, nursery decoration, or just a quiet afternoon with a crochet hook, but it is a pattern that you will refer to over and over again. It is easy to like, it is elaborate enough to be remarkable and it is a classic in the sense that it will be a treasured souvenir. The most delicious homemade things are sometimes the most basic and this cute little bunny is an example of that.