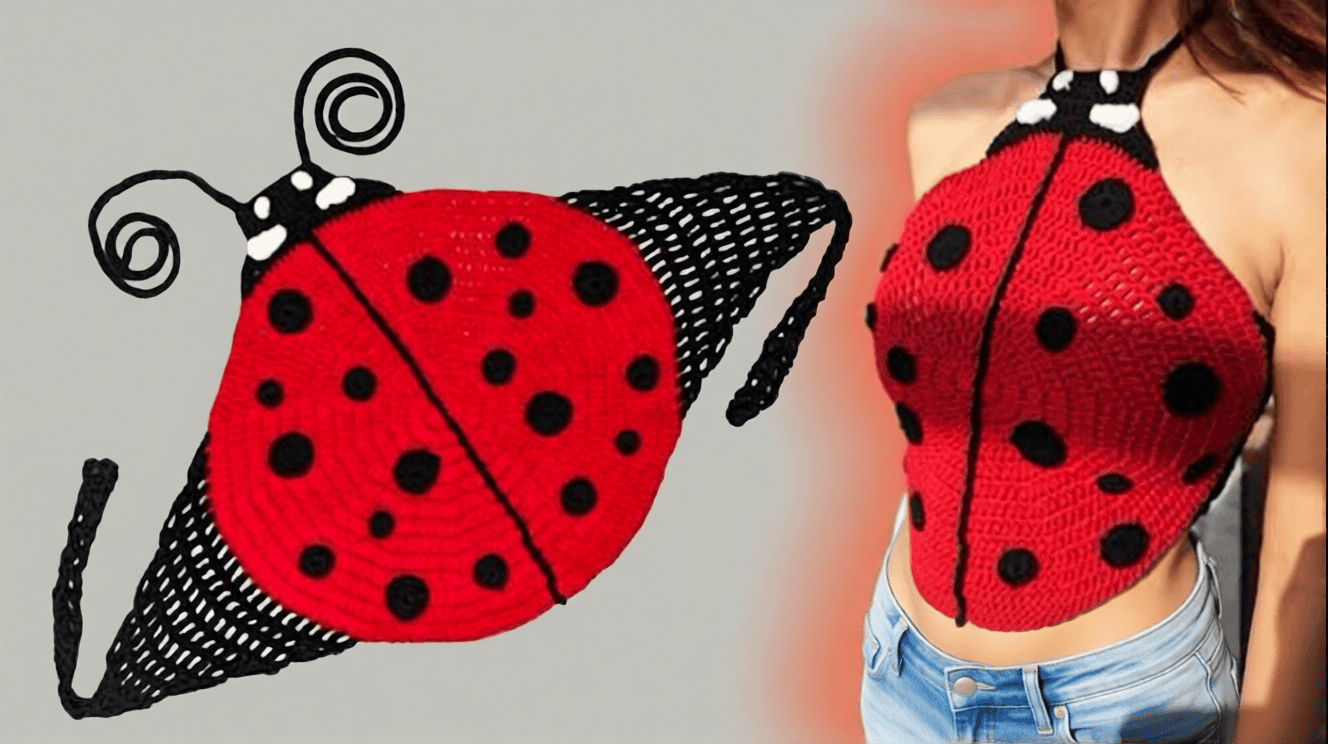
Cute Crochet Ladybug Top Pattern for Playful Style
Crochet tops don’t need to be plain or too fine. Sometimes a little quirky is the perfect way to make a handmade piece memorable. That idea takes flight in this Cute Crochet Ladybug Top Pattern for Playful Style, which is sure to be a fun design to wear that will display your crochet obsession.
Colors, spots, edging or small decorative details may be incorporated into the ladybug theme. Red and black are the most popular combinations and will look instantly recognizable but you can tone the theme down with burgundy, cream, pink and even pastels. It can be cute and yet not feel like a costume.
This project is recommended for experienced crocheters who wish to explore creating something wearable. In neither aspect is there a fixed size—designs can be modified to accommodate various body shapes and desired lengths.
This top is for those who want to try something different with their clothing, or for those who want to wear something that is indicative of warm weather, the holiday season or even just because they love something outside the norm when it comes to crochet wear.

Why Make a Ladybug-Inspired Crochet Top?
Crochet clothes are attractive due to the fact that the process can be managed from the initial chain to the final border.
There’s a very entertaining color scheme for a ladybug-inspired top. Red and black will always provide contrast, and the rounded spots offer something to add a familiar theme to the design without making a heavy pattern all over the garment.
It’s also a great way to learn about garment construction. Practice maintaining a steady tension, measuring, opening up shapes, and finding a good fit.
The ladybug crochet tops can be used in a variety of ways if you’re searching for a ladybug crochet clothing concept. Keep the body simple, let the color combination do the rest or embellish with small crochet spots for an extra strong theme.
Skill Level
Difficulty: Intermediate
This will be a much easier project if you have some basic knowledge of crochet.
It is important to be familiar with:
- Chain stitches
- Single crochet
- Half double crochet
- Double crochet
- Slip stitches
- Increases and decreases
- Turning chains: working into the turn of the chains
- Basic color changes
- Joining crochet pieces
- Weaving in ends
When you have never crocheted a garment before, make a small gauge swatch first and do not jump to the head of measuring!
Plan a few minutes to save a few hours.
Materials You’ll Need
Gather:
- The main body is in red yarn.
- Black yarn, for spots and edging
- White yarn for spot details (optional)
- A crochet hook that will fit the size of your yarn.
- Measuring tape
- Stitch markers
- Yarn needle
- Sharp scissors
- Optional:
- Small buttons
- Contrasting yarn
- Embroidery needle
- Fabric lining
- Decorative ribbon
Select a yarn that is snug yet comfortable. For warm weather tops, cotton and cotton blends are good as they tend to have good stitch definition and are somewhat breathable.
If you want something a little warmer, soft acrylic or wool blend would be great.
How to Crochet the Ladybug Top
Video Pattern Here:
Step 1: Start the Main Body
Start with a red yarn.
Make a foundation chain using the Bust measurement and desired ease.
In the round, be careful to join the chain.
Be sure not to have the chain twisted.
Knit the desired stitch around the foundation.
Half double crochet is a good choice as it is a relatively fast stitch for creating the fabric with some flexibility.
Continue making even work until the work body is desired length.
Step 2: Shape the Waist.
This step is not required.
To get a snugger fit, slowly take in a few stitches at the waistline.
Don’t make sharp changes.
Gentle shaping will usually look better on the body.
If the top is loose or oversized, there is no need to do any shaping at all.
This will give the straight body a more relaxed fit.

Step 3: Create the Upper Section
After the waist/underarm area, shape the upper area.
When creating a sleeveless top, separate the body into the front and back.
Make the armholes large enough to fit comfortably.
Use 1 section at a time.
If an open neckline, move to the center of the neckline and gradually decrease stitches.
The shallower the neckline, the more traditional the look of the top and the deeper the neckline, the lighter the look for the summer.
Step 4: Shape the Shoulder Areas
Work front and back until desired shoulder width is reached.
Tie each section snugly.
Arrange all the pieces before you sew them together and make sure the shoulder seams match up.
A good time to wear the top on.
If the neckline feels too tight or the armholes uncomfortable, just alter the shape prior to sewing the seams.

Step 5: Join the Shoulders
Position front and back pieces together.
Slip stitches or a yarn needle are used for joining the shoulders.
Stitch the seam neat but not tight enough to pucker the fabric.
When both shoulders are connected, try the top on once again.
Just make sure that the neckline is positioned correctly.
It is much easier to make some minor changes at this point than when the decoration is completed.
Step 6: Add the Ladybug Spots .
And now, the detail that makes the top, the top.
Make small black circles and sew them to the red fabric.
Additionally, crochet them onto the body using color changes.
It’s easier to control appliqué spots for a simpler project.
Create spots of various sizes.
Put some bigger circles in the middle and smaller ones in the edges.
It is not necessary to cover the entire garment.
Just a few well-placed spots can make a ladybug theme, suggesting it.

Step 7: Create a Center Detail
The dark dividing line is a characteristic feature of the traditional ladybug wings.
It can be done using a thin black crochet thread or embroidered along the front in the center.
If you’re looking to wear the top every day, make it subtle.
If you want a more playful design, then the line should be a bit thicker and you can add some spots on both sides, just in case.
The design could be simple or elaborate, whatever you like.
Step 8: Finish the Armholes
Make a single crochet around each armhole.
This will make the edge cleaner and reduce over-stretching.
To create a stronger border, add another round.
The colors of the ladybug can be nicely integrated with a black border.
Maintain constant tension around curves.
If the edge begins to curve, see if you are working more stitches.
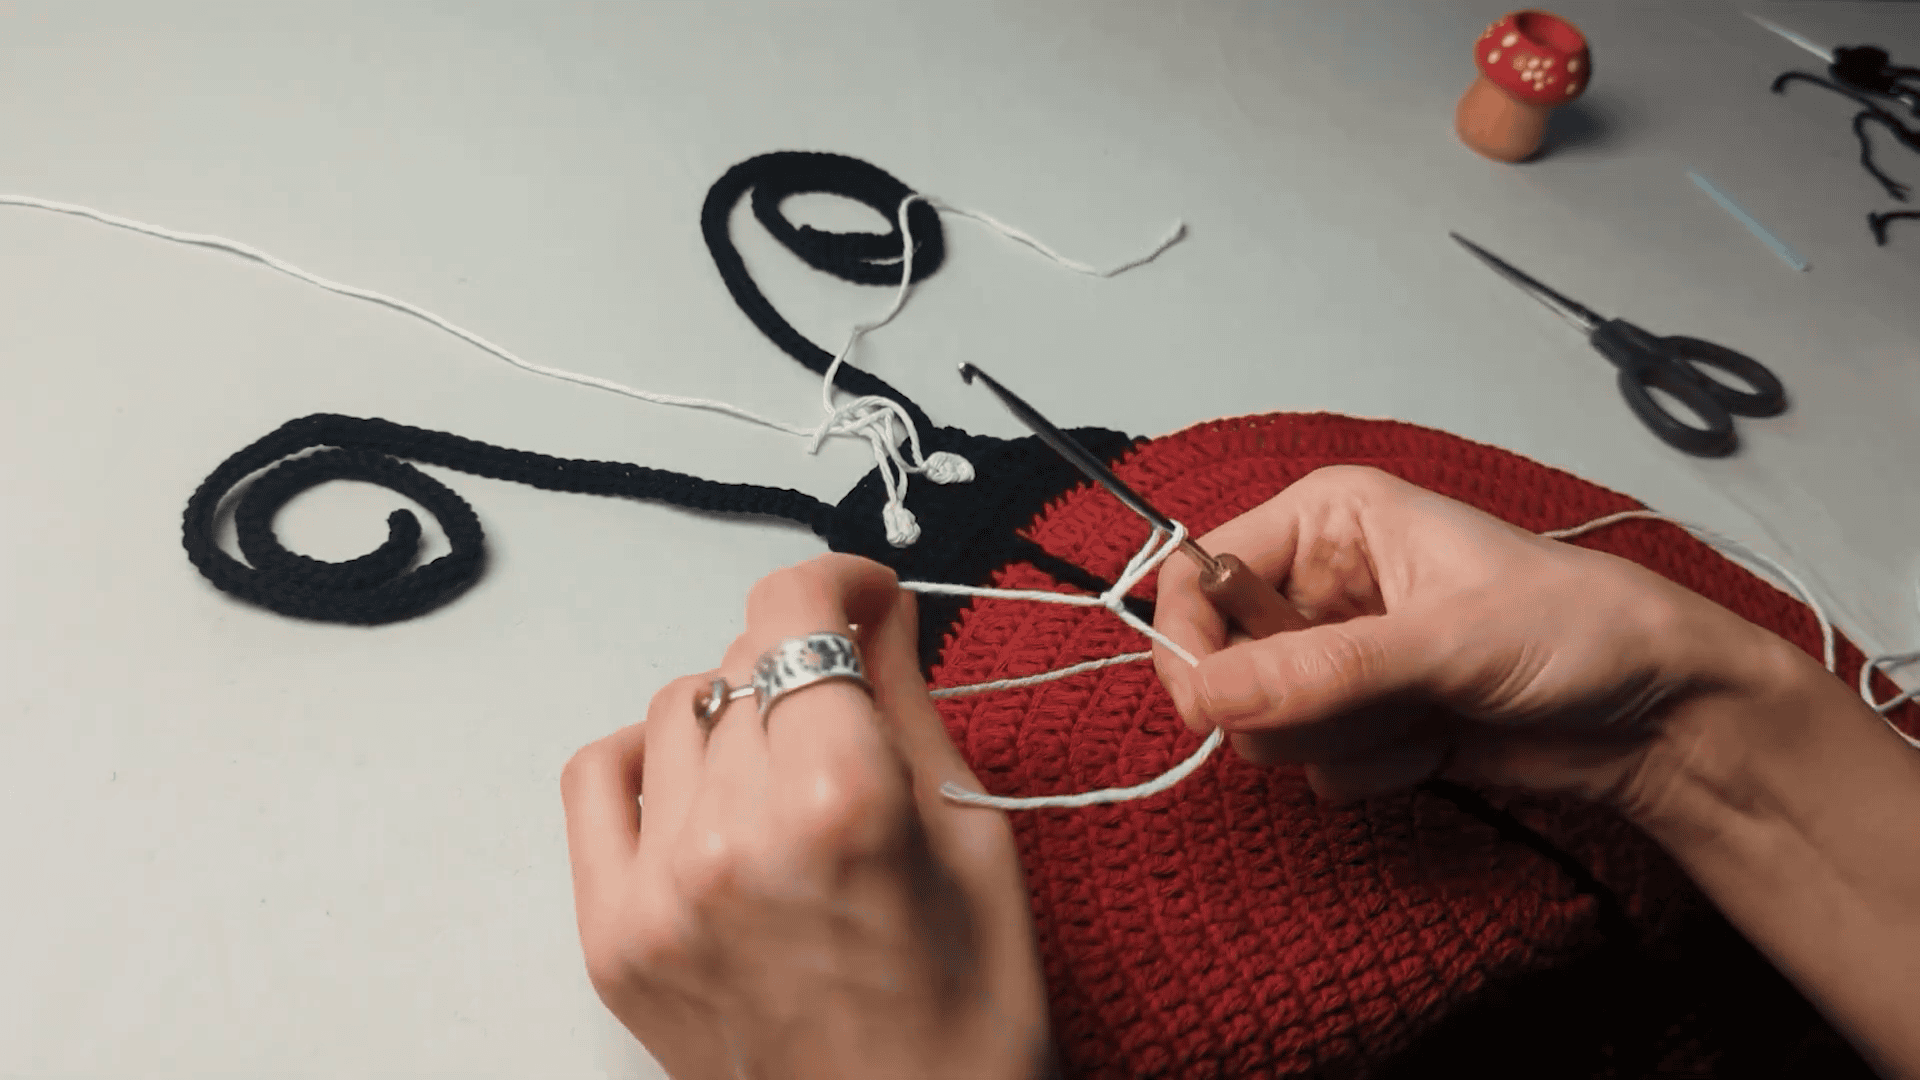
Step 9: Finish the Neckline
Apply the same technique at the neckline.
A simple black border provides a neat finish.
White can be used for a lighter contrast, too.
A narrow neckline is suitable if you are creating a summer top.
If you want a more decorative edging, go for a slightly wider one, with shells or a plain crochet border.
Step 10: Finish the Bottom Edge
The other side is a chance to put some individuality into the bottom edge.
The simplicity of the black round keeps the design streamlined.
Alternatively, a scalloped edge can be used for a more subtle effect.
For a more contemporary look, make the edge straight and crochet in single crochet stitches.
Once completed weave in all loose ends.
If yarn/care instructions permit, give the top a soft block.

Choosing Colors
Although red and black are the obvious colors, they are not the only ones that you can use.
Try:
- Burgundy and charcoal
- Coral and black
- Pink and dark brown
- Cream and burgundy
- Mustard and black
- Dusty rose and navy
For casual wear, neutral hues are best for coordinating with other outfits.
Lighter colors will bring out the lights for a more playful effect.

Crochet Ladybug Top Styling Ideas
Crochet tops are not hard to style and can be played with.
Pair it with:
- High-waisted jeans
- Denim shorts
- Wide-leg trousers
- A simple skirt
- Linen pants
- Leggings
- A lightweight jacket
- For a subtle look, wear the top over a plain camisole.
- A black or cream base color should complement red and black.
Or you can find them in accessories to repeat the theme of the ladybug with less crochet work.
Creative Ways to Customize the Pattern
Tackle the pattern with some creativity. Take the pattern and approach it in creative ways.
Once you have grasped the fundamentals of construction, you can alter a few details.
Try adding:
- Short sleeves
- Puff sleeves
- A cropped hem
- The length of the tunic.
- A square neckline
- A rounded neckline
- Small crochet flowers
- A scalloped border
- Decorative buttons
- A contrasting waistband
You could even create a matching headband or little bag in the same colors. This is a cute crochet top design that can be a beginning instead of a set pattern if you like to do your own fashion.
Pro Tip
Add the spots to the top and then spread the top flat to view the pattern from a distance of a few feet. This helps make it easier to notice if the spacing isn’t even before you’ve completed all the details.
Caring for Your Crochet Top
Be sure to follow your yarn’s care instructions.
Some wool blends are more difficult to wash, and cotton clothes can be washed gently.
Don’t use high heat unless the label for the yarn states it’s acceptable.
Wash and reshape the top after washing and if possible let it dry flat.
Store folded so that it helps keep its shape.
A soft wash and reshaping might be able to bring the garment back to its original proportions if it is stretched after wearing.
Final Thoughts
The crochet top inspired by a ladybug is a great method to add a bit of character to handmade tops. The basics of the garment can be plain, the colors and spots can form a theme.
The design doesn’t require a lot of advanced crochet skills for it to be interesting. The placement of the decorative details, the tension and care with which they are made can make a greater impact than the complexity of the stitches.