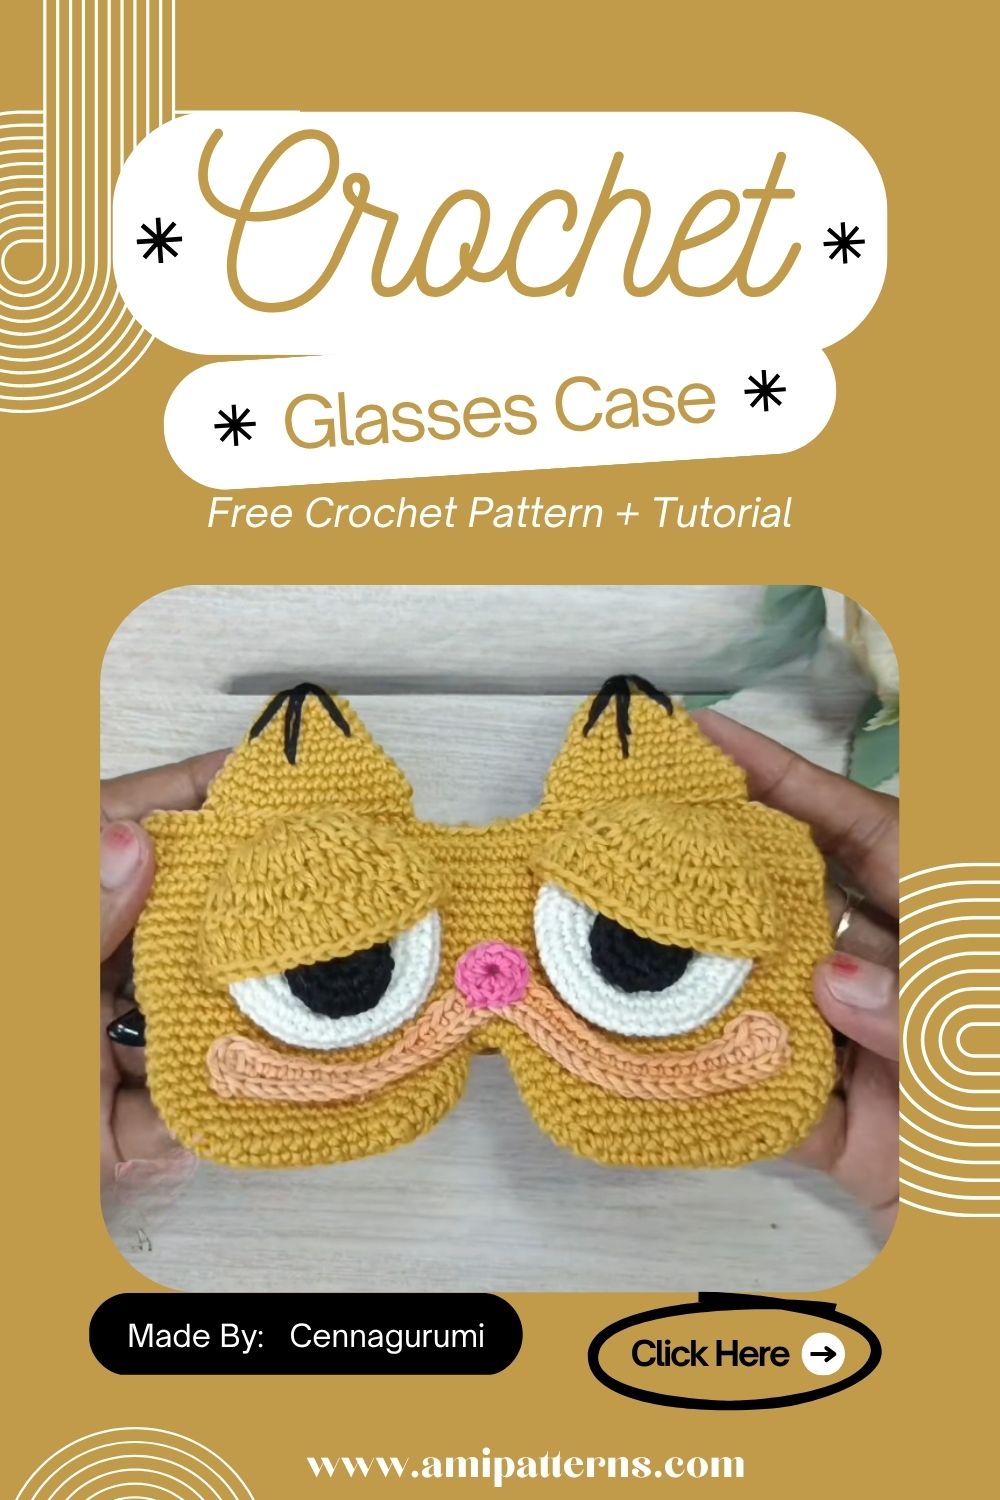
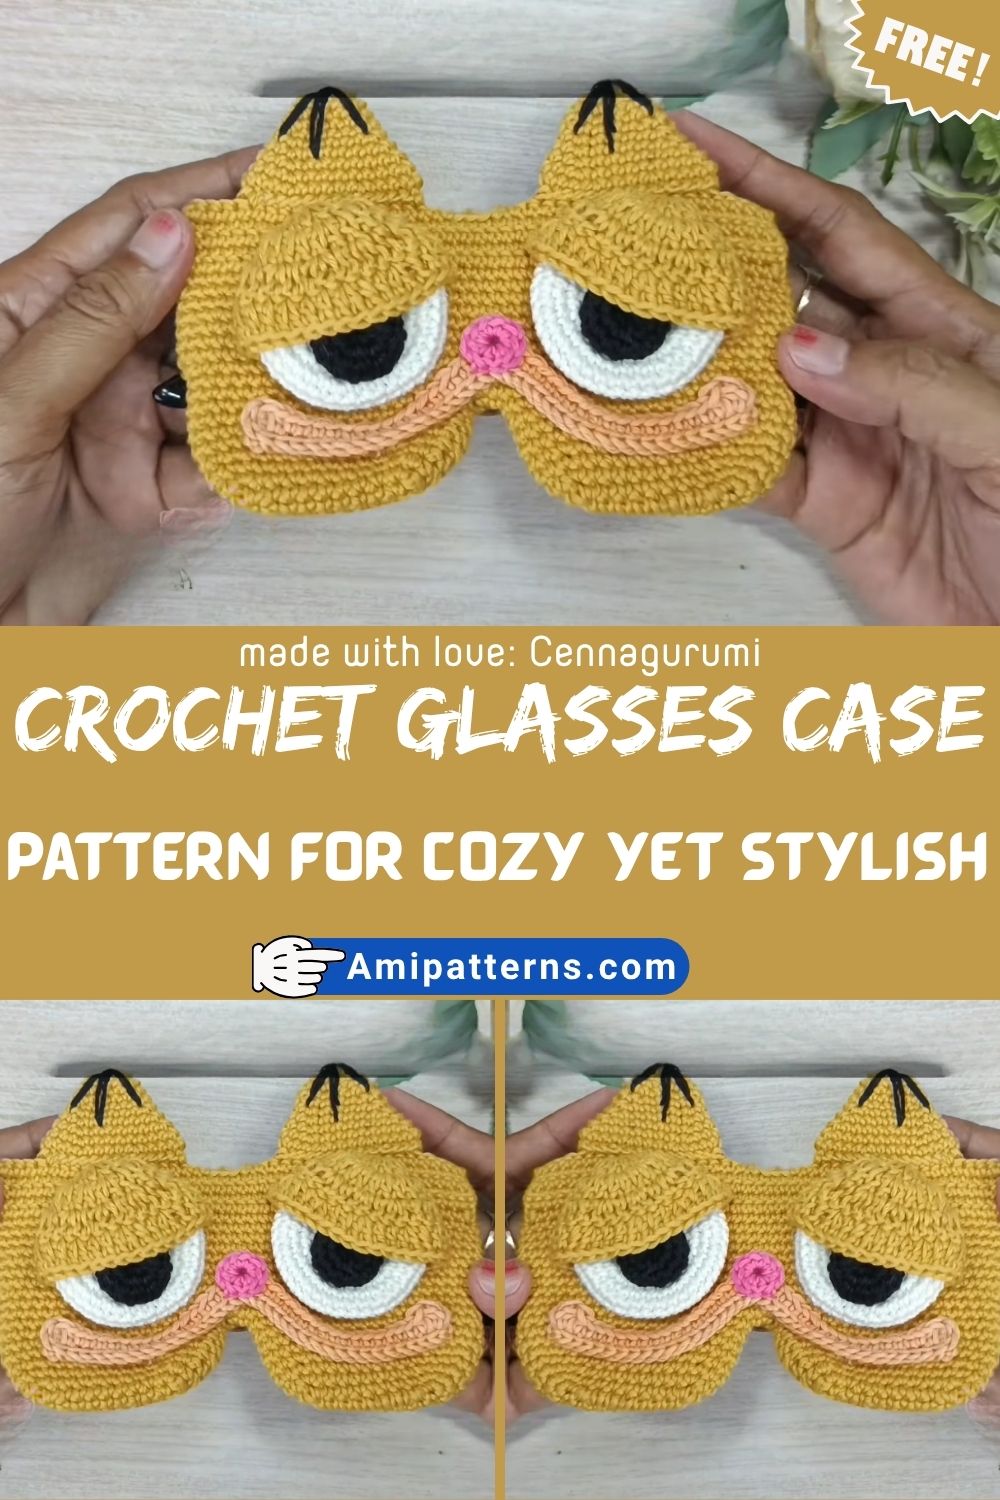
Sparkling Crochet Glasses Case Pattern for Cozy Yet Stylish Fashion
It feels comfortable when you slip your glasses into something handmade. Usually the glasses that we have are hard and cold, and they click shut with a snap. But with this handmade piece you can have something warm, soft and something just a little personal. You will feel it’s made for you as soon as you pick it up.
Now imagine a case that has a subtle sparkle and is woven finely into stitches. It isn’t flashy or loud, just enough to catch the light as you move it. No wonder, it is cozy, yet so stylish. That’s the charm behind the Crochet Glasses Case Pattern for Cozy Yet Stylish Fashion. It is practical and very thoughtful. Like something you will need in an afternoon or in the sun every single day.
Materials You Require
Here is a list of all the necessary materials that you need to have:
- Yarn: light cotton or acrylic yarn, with some shimmer or metallic thread
- Crochet Hook: 4mm ply in a color of your choice
- Tapestry Needle: For weaving in ends and stitching edges
- A stitch marker: It is to help with keeping track of place. Optional but helpful.
- Button or Snap Closure: It is used to attach the case
- Scissors: For fine cutting
For the nice “sparkle” effect, choose glitter-free yarn with a slight sheen. It doesn’t overwhelm the piece, but adds to the elegance. That’s when the sparkling crochet glasses case pattern begins to feel somewhat of a specialty.
Sparkling Crochet Glasses Case Pattern
Don’t just dive in, consider size first.
Get started
Don’t think about making the glasses perfect, just make sure it snug properly. A slightly stretchy stitch pattern will help here and if you alternate between sunglasses and reading glasses. Begin with a foundation chain the same width as your glasses. It may be a quick test run, and that is fine.
Building the Base
Do the first several rows in simple stitches, single crochet or half double crochet stitches are good choices. These provide a tight, yet soft hand feels and protect your glasses.
These are early rows, and it’s nice. They’re steady, predictable. You don’t need to work very hard, you’re just letting your hands do the moving.
The shape will begin to become apparent as the base develops. It’s not so obvious at first. But then, all of a sudden, it feels real. This is the first step of your handmade glasses holder crochet pattern. All the rest is clean stitches here.
Adding the Sparkle Texture
This is where the personality of this case will come into play. Simple stitch variations may be used to introduce texture, such as alternating between basic stitches and some slightly raised stitches, such as puff stitches or a gentle ridge pattern.
These textures will really accentuate the sparkle yarn. The raised stitches are illuminated differently when lit by light, giving a gentle shimmer with a natural effect.
That is the important part, it shouldn’t sound like a chore. For a more casual style, opt for a subtle pattern. Allow the yarn to speak for itself.
That’s where your easy crochet glasses pouch design begins to stand out! Not because it is difficult, but because it is on purpose.
Shaping the Case
When sufficient length has been created its time to fold and shape. The vast majority of cases for glasses are plain rectangles folded and seamed along the sides. Easy yet effective.
You must carefully stitch the edges. It is important to spend some time on it, as it will make or break the entire piece. If the edges are slightly uneven, there is no need to worry. That happens.
Filling out with a border or two is possible later. And, come to think of it, those minor flaws? They are what add a sense of reality to hand-made items.
Creating the Flap
The flap is both functional and decorative. Can enlarge one side of your rectangle a little so that it has a flap that folds over. Or come up with a different idea and create it using crochet, and then join it on later.
If you’d like a softer look, keep the shape slightly rounded. Straight edges are more structured, it’s both good, it’s different moods. This part makes the case seem complete. It’s not just fabric anymore, it’s something you can use.
Adding a Closure
This is where a simple button is just right. Stitch it to the front and then make a small loop with chain stitches to the flap. It doesn’t have to be flawless, it just has to be able to be held.
For a cleaner appearance, snap a magnetic closure or even forego it altogether for an open pouch design. Though it’s a nice little finishing touch. It gives the impression that you took care of the piece, making it look complete.
Finishing Touches
Slow down a bit now. Take all loose ends and weave them in carefully. Make adjustments to the shape using hands. Gently iron the stitches out.
You may even stretch the fabric slightly so that it “locks” into position. It’s a simple action that makes all the difference and takes little time. From the “almost done” to the “this is something I want to take with me.” And that shift? It’s always satisfying.
Special Features
- Soft yet protective feature
- Subtle sparkle for a stylish touch
- Lightweight and easy to carry
- Customizable size and color
- Simple structure
- Polished finish
Tutor’s Suggestions
Don’t rush the stitching along each side, as this is something people are going to notice first. If the tension feels uneven, pause and reset. If something feels off, do not worry, adjust it a little. Handmade work is flexible; you can change your mind halfway through it. You can understand the shape better, rather than just keep guessing.
Uses
- Everyday glasses protection
- Thoughtful, handmade gift
- A travel-friendly pouch
- A fancy item to add to your purse or satchel
Level of Difficulty
This project is fairly easy to do, but not too easy. The stitches are very basic. The shaping is very simple. It is all about attention to detail, particularly when putting together the case. Even if you’re a new player, you’ll be okay. Simply take things one step at a time.
Step-by-Step Flow
Stitches are simple and you begin with the foundation chain then create the base. Then there’s texture for that soft sparkle effect. Once the size is reached it is then folded and stitched on the sides. Thereafter, you make the flap, add the closure and then end in ends and shape your piece. Nothing feels rushed. There is a natural progression between steps. Making something that you will use every day is really nice.
Conclusion
A crochet glasses case is a project but it is very charming. It is simple and useful and personal at the same time. The Crochet Glasses Case Pattern is not about making something that shows off skills. It is, about making something that fits into your life in a meaningful way. You finish the crochet glasses case. Put your glasses inside and it feels right.
Pro Tip
If you want the crochet glasses case to look nicer, you can add a border around it using a stitch that’s a little tighter. This makes the edges look even. Gives the crochet glasses case a clean and finished look without making it less soft and cozy.