Crochet Sunflower Pot Pattern: Cozy Chenille Gift
Sunshine in a baby blue pot, with no watering required: this crochet sunflower pot pattern pairs a chunky sunny yellow bloom with a pot that blushes. Tuck the sunflower plushie on a desk or windowsill, and let it smile.
Real sunflowers wilt. Yours will only get cuddlier. Because chunky velvet chenille works up fast, the whole sunflower pot fits into one cozy weekend. Petals are simple leaf shapes, the pot has a cheeky face, and everything stands up on its own. Best of all, the finished handmade plant gift is ready for birthdays, thank-yous, and all sunny-day surprises.
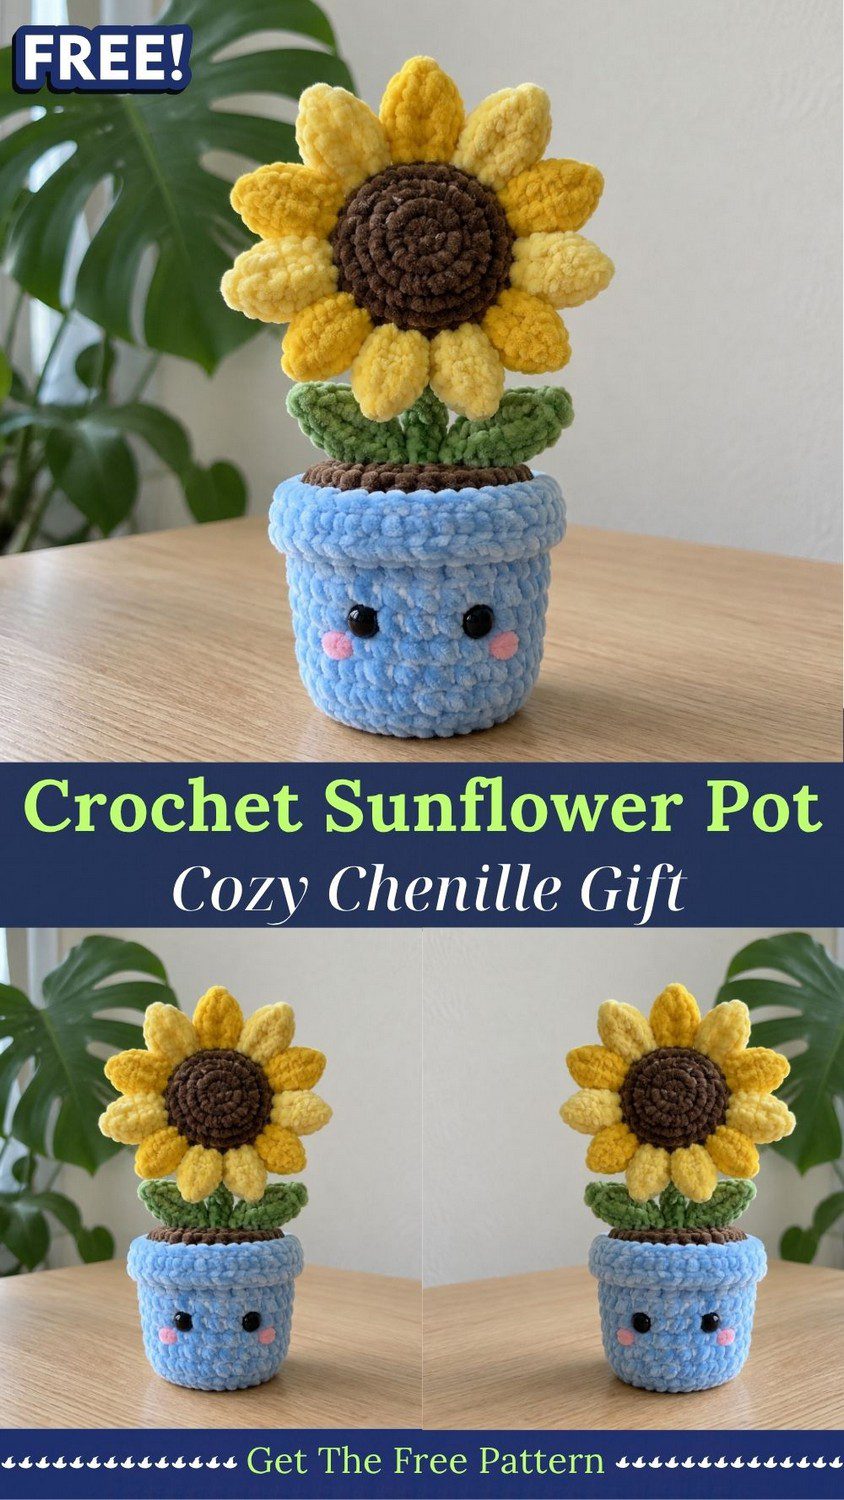
Crochet Sunflower Pot Pattern Overview
This crochet sunflower pot pattern builds one cheerful plant from seven simple parts. First, a baby blue pot gets worked in spiral rounds with a flared rim. Next, a brown soil disc closes the top, and a plump brown center joins a ring of yellow petals. Then a sturdy green stem and two leaves hold everything upright. Finally, a few minutes of sewing bring the plant together. With a 5 mm hook and super bulky velvet chenille, the finished sunflower pot stands about 7.5 inches (19 cm) tall. In addition, the flower measures roughly 5 inches (13 cm) across, and the pot is about 3.5 to 4 inches (9 to 10 cm) wide at the rim.
Gauge is not critical for a plush plant. However, tight stitches keep the stuffing hidden, so aim for about 3 sc per inch.
The pattern uses US terms:
- MR: magic ring
- ch: chain
- sl st: slip stitch
- sc: single crochet
- hdc: half double crochet
- dc: double crochet
- inc: two sc in one stitch
- dec: single crochet two stitches together
- BLO: back loop only
- R: round
Numbers in brackets show the stitch count at the end of each round.
Materials for the Crochet Sunflower Pot Pattern
- Super bulky velvet chenille yarn in baby blue, about 60 g
- Super bulky velvet chenille yarn in brown, about 25 g
- Super bulky velvet chenille yarn in deep yellow, about 20 g
- Super bulky velvet chenille yarn in light yellow, about 12 g
- Super bulky velvet chenille yarn in green, about 18 g
- 5.0 mm crochet hook
- Two 10 mm black safety eyes
- Two 10 mm pink felt circles, plus fabric glue or a needle and thread
- Polyfill stuffing
- One sturdy pipe cleaner (optional, for stem support)
- Large blunt yarn needle, stitch markers, pins, and scissors
Time Box
- Prep: about 15 minutes to sort yarn and gather supplies
- Stitching: about 2 hours 15 minutes for all pieces
- Finishing: about 45 minutes for the face and sewing
Altogether, plan on roughly 3 hours 15 minutes from the first ring to the last stitch.
Special Techniques for the Sunflower Pot
Working in the Back Loop Only
Insert the hook under the back loop of each stitch instead of both loops. As a result, the unworked front loops form a crisp ridge, and the pot gets its shaped base and flared rim.
Making a Petal
Petals and leaves grow from a short chain. First, work up one side, then turn the tip with a few stitches in the last chain. After that, come back down the other side. Once you have made two or three practice petals, the shape feels natural.
Sewing With Chenille
Chenille thins out when it is pulled through fabric again and again. Therefore, cut sewing strands about 18 inches long and use a large blunt needle.
Common Mistakes to Avoid
Loose stitches cause the biggest problem. Since velvet chenille has no grip, wide stitches let the stuffing peek through. In that case, drop down a hook size.
A skinny stem is another trap. Because the flower is heavy, a thin stem makes it flop forward. Therefore, stuff the stem firmly, and add a pipe cleaner if it still bends.
Uneven petals also spoil the shape. For example, bunched petals leave bald gaps around the center. To prevent that, pin all 12 petals first and check the spacing before sewing.
Finally, skipping the stitch marker leads to miscounts, because round pieces have no obvious start. Instead, mark the first stitch of every round.
Uses and Benefits of the Crochet Sunflower Pot
Set the sunflower pot on a desk, a bookshelf, or a bedside table, and it brightens the whole space without a single drop of water. Because the plush plant stands on its own, it also works as a cheerful centerpiece or a classroom decoration. Moreover, it makes a warm, thoughtful gift for teachers, new neighbors, and anyone recovering from a rough week. Stitch several in different pot colors, and a whole windowsill garden appears in one cozy weekend.
Beginner Tips for the Crochet Sunflower Pot Pattern
First, practice one petal on scrap yarn before starting the flower. Once the chain-and-turn rhythm clicks, all 12 petals go quickly.
Also, count the stitches at the end of every round. A quick count catches mistakes early, so ripping back stays small.
Meanwhile, leave tails about 8 inches long on every piece. Longer tails make sewing easier, and you will not need to re-thread the needle halfway through.
Crochet Sunflower Pot Pattern Instructions
Work the pot, soil, center, and stem in continuous rounds. Meanwhile, the petals and leaves are worked from a chain.
Step 1: Pot (baby blue)
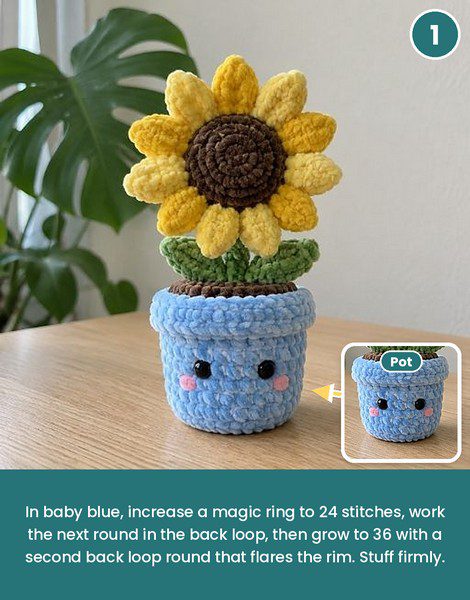
- R1: MR, 6 sc (6)
- R2: inc x6 (12)
- R3: (sc, inc) x6 (18)
- R4: (2 sc, inc) x6 (24)
- R5: sc in BLO around (24)
- R6: (3 sc, inc) x6 (30)
- R7-10: sc around (30)
- R11: (4 sc, inc) x6 in BLO (36)
- R12-14: sc around (36)
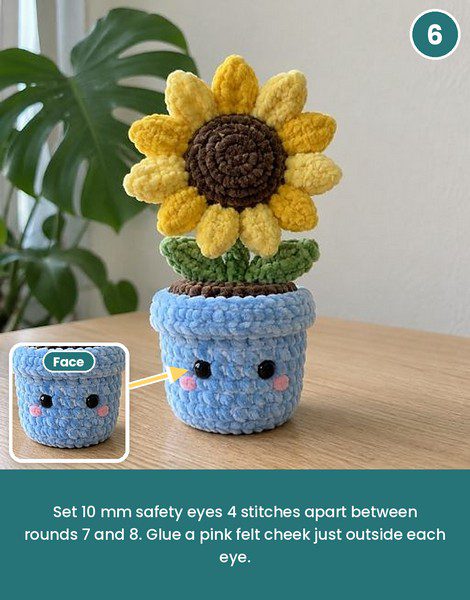
After R14, fasten off. Next, insert the 10 mm safety eyes between R7 and R8, about 4 stitches apart, and secure the washers inside. Then stuff the pot firmly up to R11.
Pro Tip: R5 and R11 in the back loops create two crisp ridges. The first shapes the base, while the second gives the rim its flare.
Step 2: Soil Disc (brown)
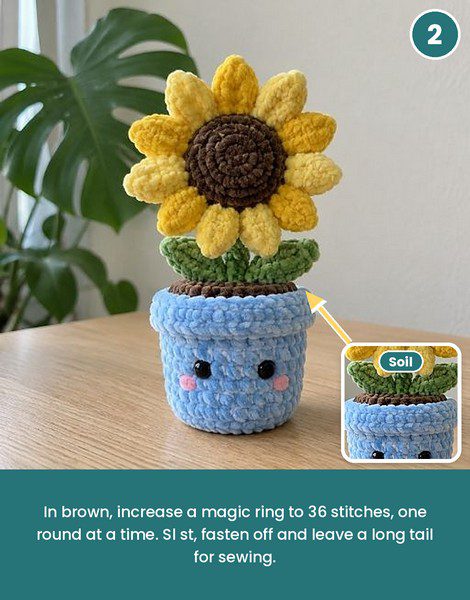
- R1: MR, 6 sc (6)
- R2: inc x6 (12)
- R3: (sc, inc) x6 (18)
- R4: (2 sc, inc) x6 (24)
- R5: (3 sc, inc) x6 (30)
- R6: (4 sc, inc) x6 (36)
To finish, sl st, fasten off, and leave a long tail for sewing.
Step 3: Flower Center (brown)
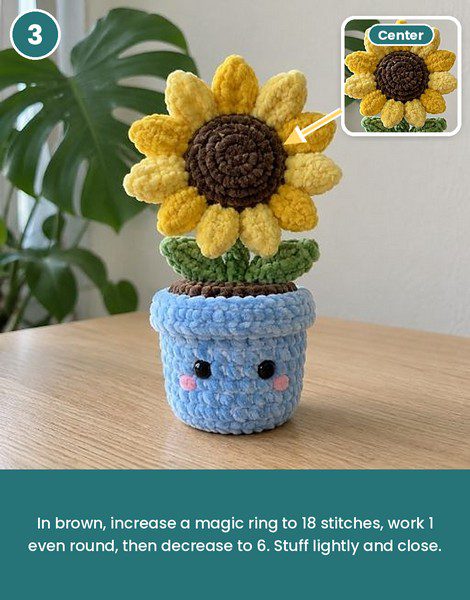
- R1: MR, 6 sc (6)
- R2: inc x6 (12)
- R3: (sc, inc) x6 (18)
- R4: sc around (18)
Stuff lightly, then continue:
- R5: (sc, dec) x6 (12)
- R6: dec x6 (6)
Lastly, fasten off, close the top, and leave a tail.
Step 4: Flower Base and Petals (yellow)
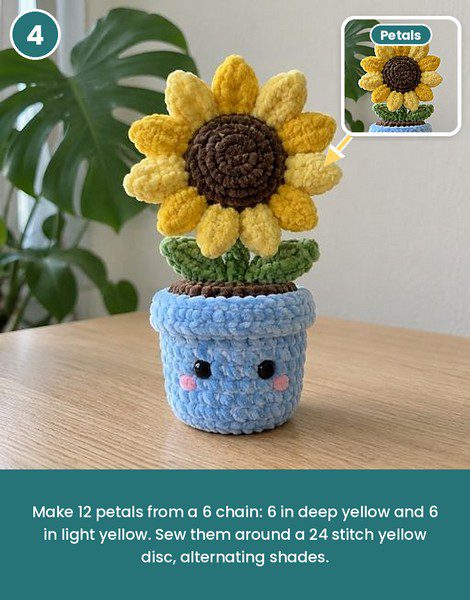
First, make the base disc in deep yellow:
- R1: MR, 6 sc (6)
- R2: inc x6 (12)
- R3: (sc, inc) x6 (18)
- R4: (2 sc, inc) x6 (24)
Sl st, fasten off, and leave a long tail.
Now make 12 petals: 6 in deep yellow and 6 in light yellow. Ch 6. Sl st in the 2nd ch from the hook, sc, hdc, dc, then 3 dc in the last ch. Next, working along the other side of the chain: dc, hdc, sc, sl st, and sl st into the first ch to join. Finally, fasten off and leave a tail.
Pro Tip: Pin the petals around the back edge of the base disc before sewing, alternating shades. Since there are 12 petals on 24 stitches, you get one petal every second stitch.
Step 5: Stem (green)
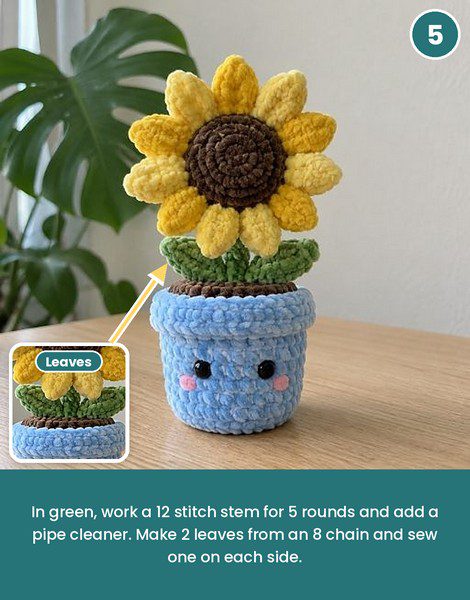
- R1: MR, 6 sc (6)
- R2: inc x6 (12)
- R3-7: sc around (12)
Stuff firmly. Then, for extra support, fold a pipe cleaner in half and push it down the middle. Afterward, fasten off and leave a long tail.
Step 6: Leaves (make 2, green)
Ch 8. Sl st in the 2nd ch from the hook, sc, hdc, dc 2, hdc, then 3 sc in the last ch. Next, working along the other side of the chain: hdc, dc 2, hdc, sc, sl st, and sl st into the first ch to join. Finally, fasten off and leave a tail.
How to Assemble the Crochet Sunflower Pot
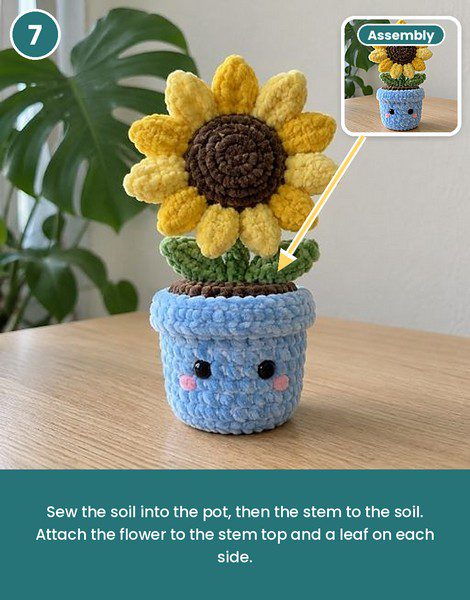
Step 7: Putting It Together
- First, glue or stitch a pink felt cheek about 2 stitches outside each eye, one round lower.
- Next, pin the soil disc inside the pot at R12, then whipstitch all the way around.
- Then sew the 12 petals to the back edge of the base disc, alternating shades, about 2 stitches apart.
- After that, sew the flower center to the middle of the base disc front.
- Sew the open end of the stem to the back of the base disc, slightly below the center so the flower tips forward.
- Afterward, sew the closed end of the stem to the middle of the soil disc with a few firm stitches.
- Attach the leaves to the soil on each side of the stem base, with the tips pointing outward.
- Finally, weave in all remaining ends.
Personalization Ideas
Pot Colors
Soft pink, mint, or cream pots all pair well with yellow petals.
Flower Swaps
Instead of yellow, switch to pink or white petals and a smaller center for a daisy or cosmos version.
Face Details
Add a tiny stitched smile, or try closed eyes for a sleepy mood.
Size Changes
For a smaller version, use a 3.5 mm hook with worsted cotton. As a result, you get a mini sunflower pot of about 4 inches for a desk.
Stability Tricks for a Top-Heavy Flower (Bonus Section)
A flower this big can tip a light pot. First, stitch a small cloth pocket of poly pellets and slip it into the base before stuffing. Sew the pocket shut so no pellets escape. Next, push a pipe cleaner through the stem and bend the ends to hook into the stuffing. Finally, tilt the flower slightly forward so its weight rests over the middle of the pot. However, skip the pellets for toys meant for small children.
Crochet Sunflower Pot Pattern FAQs
What yarn works best for a crochet sunflower pot pattern?
Super bulky velvet chenille gives the plush look and holds its shape. However, soft worsted cotton also works if the hook drops to 3.5 mm.
Do I need to know how to crochet petals first?
No. Petals use a short chain and basic stitches. Besides, a practice petal on scrap yarn takes only a few minutes.
Can I skip the safety eyes?
Yes. Embroider two black circles with yarn instead. As a result, the pot also suits children under 3.
How should I clean the sunflower pot?
Spot clean with a damp cloth and mild soap, then air dry. Avoid soaking, because chenille mats easily.
Plant a Smile That Never Needs Water
Few gifts stay cheerful for years, but a chenille sunflower can. Stitch the pot first, then let the petals grow one by one. Soon a sunny bloom will sit on a desk, a shelf, or a friend’s windowsill.
So pick a pot color, grab a hook, and start this crochet sunflower pot pattern today.