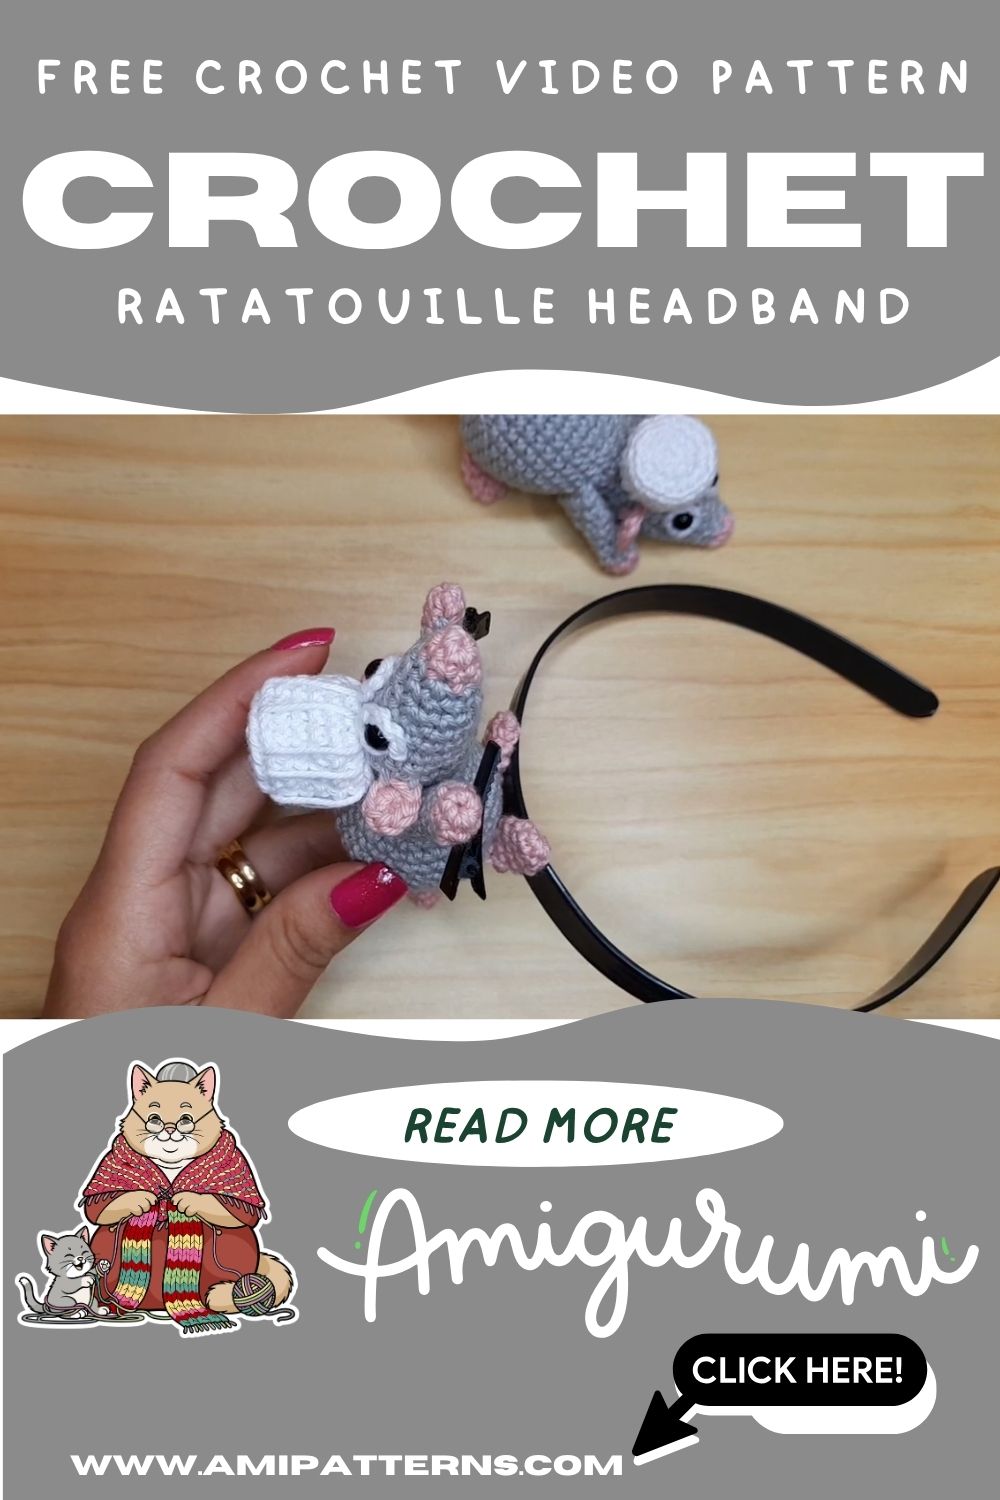
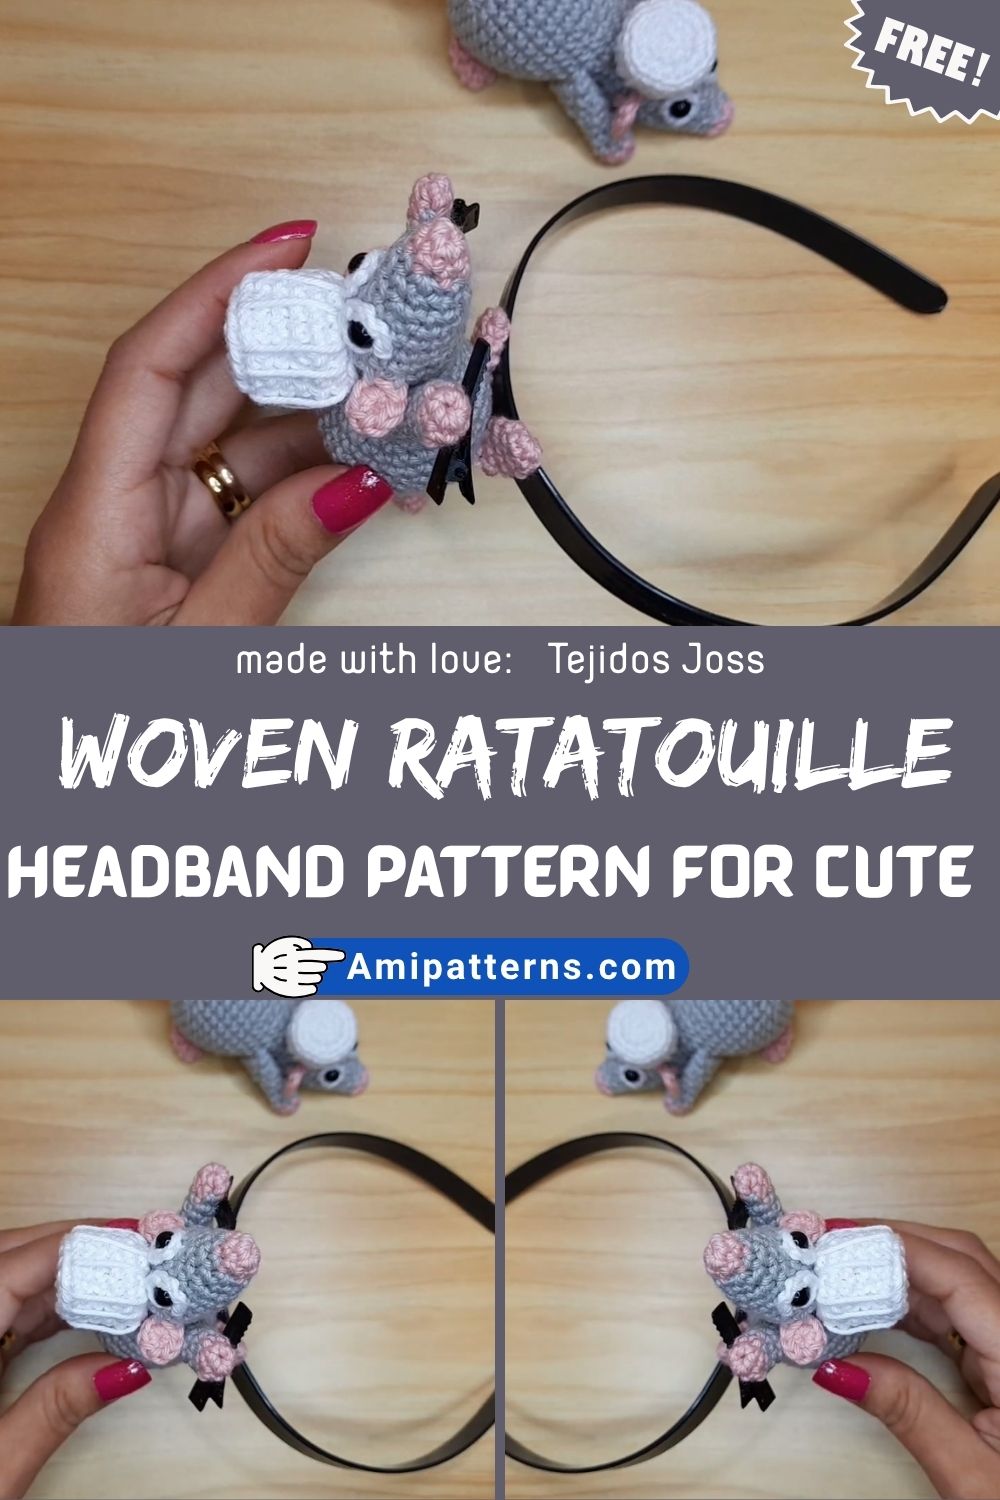
Sparkling Crochet Woven Ratatouille Headband Pattern for Cute Looks
Something is oddly charming about turning food-inspired creativity into a wearable art. Honestly, it may sound a little unusual, but once it comes out together you can feel the difference. It is not just a project, but a tiny accessory that stays with you.
The soft yarn, playful colors and a woven texture that sits comfortably on your head. It blends into something fun, cozy and very stylish. The Sparkling Crochet Woven Ratatouille Headband Pattern has the charm like no other. It is perfect for everyone who enjoys handmade items.
What is so special about this headband?
Unlike a typical crochet headband that’s attached to plain stitches or textures, this one is a bit more creative. Incorporating some weaving, color layering, and a nice warm and rustic theme inspired by ‘ratatouille’. Consider earthy vegetables, inviting kitchen elements, and a dash of sparkle for an extra fun twist. It is not something that fails to stand out of the crowd.
Materials You’ll Need
Before beginning, it’s best to collect all the items.
- Cotton/Soft Acrylic yarns in green, red, yellow and beige colors
- A bit of glitter or sparkly yarn
- Crochet hook (suggested size is 3.0mm-4.0mm).
- Yarn needle and weave
- Scissors
- In addition, elastic band for a better fit (optional)
- Stitch markers
Starting the Crochet Woven Ratatouille Headband Pattern
Here you don’t need anything too fancy. In fact, one of the joys of it is to combine simple yarns in an inventive way.
Understanding the Design
This is a headband constructed on a weave base structure. You won’t crochet a flat band, but rather interlaced strips that will give it a braided appearance.
The “ratatouille-inspired” theme can be seen in the color scheme and the ornamentation: the soft vegetable colors, the earthy greens, warm reds and the hint of golden sparkle.
It isn’t intended to be realistic. A more lighthearted take, such as a warm kitchen feeling being translated into to fashion, really.
It’s here that the concept of a woven crochet headband pattern truly comes into its own. It provides structure, but there’s still space for creativity.
Starting the Base Band
First, make a base chain the same circumference as your head. Make it snug but not tight, comfort is key and so is not pressure.
Crochet alternately in rows with basic stitches like half double crochet or single crochet. This is the foundation strip that all other will be attached to. It may seem very basic at this point. Almost too simple. But that’s normal.
The trick lies in the layers and in weaving. Keep the edges even and straight. A clean base will make woven design a breeze.
Creating the Woven Strips
This is where the part that makes the project, the character. You will be crocheting several thin pieces in various colors. They are strips that will be woven through the base band later. Experiment with different tones such as:
- The bright green color signifies the freshness of the leaves and stems.
- Soft green (for leafy vegetable vibes)
- Warm red (tomato-inspired warmth)
- These foundation colors are best suited for the ones listed above.
- Highlight strips of touch of sparkly yarn
All strips should have the same width, to give a balanced look to the weaving.
After all the strips are finished, arrange them before adding anything. This makes it easier to see the pattern you need to create and to make changes to the pattern if necessary. Here comes the idea for the sparkling crochet hair accessory to life!
Weaving the Pattern Together
Using your base band, start to pass strips over and under the stitches. Repeat the pattern to form a braid. Each strip is alternating over and under. Continue this rhythm all the way down the headband.
Take your time on this section. Once it gets going it’s surprisingly calming. The colors begin to interlace and the pattern gradually moves from individual elements to a cohesive, textured design.
This is typically the time when people get hooked on the project. So all of a sudden, it looks like something designed, planned, and wear-able, not just yarn.
Adding Sparkle Details
Next it’s time to add the “sparkling” part. Don’t overstuff it. Just a few touches are enough. You can:
- Attach a thin glitter yarn strip
- Stitch small, shiny beads in intersections
- Add delicate sequin decorations
- Or even add some sections of metallic thread
The idea isn’t to shine everywhere, it’s with soft highlights that shine naturally.
Imagine it’s like adding spices to a dish. Just enough to add to the taste, not too much to overpower it.
Creating the Headband Shape
When weaving is finished, tie both ends together. You can either:
- Slip stitch them together neatly
- Or put an elastic band for greater flexibility.
- To get a cleaner finish, crochet a small joining panel that covers up the seam.
Ensure that the band fits properly. Should retain shape, but be slightly flexible when worn.
Decorative Ratatouille-Inspired Touches
Next, it’s time to get creative with the story telling. The theme is based on a cozy food like theme so you can add small items of decoration such as:
- Miniscule crochet vegetable designs
- Mini leaf patterns
- Small flower accents
- The rounded, contours of the vines are done in soft detail.
- Little stitched “garden” patches
Keep them minimal. You don’t want to re-create a garden; you’re just laying the groundwork for it. This is where the accessory transforms from a headband to something more. Soon it’s like you’re carrying a mini, wearable theme.
A clever crochet woven headband pattern such as this one really pops with a gentle detail and thoughtful design.
Styling the Headband
This piece is one of the most useful! You can wear it:
- For a soft look, you can choose loose hair which will not create bulk.
- For a classic, old-fashioned vibe, add on a bun!
- Or, even as a decorative statement piece in simple outfits.
Common Mistakes to Avoid
Although this project is a lot of fun, there are a few factors that can cause the final product to go wrong:
- Uneven strip widths
- Over tight weaving which causes warping of shape
- Too much glitter (can be unappealing/disorderly)
- Stitching is loose at the bottom.
- Failing to consider head size measurements.
Final Thoughts
The Crochet Woven Ratatouille Headband Pattern is one of those projects that makes you think, “Crochet doesn’t have to be taken seriously or traditional. It can be humorous, jolly, and somewhat surprising. You’re beginning with basic strips of yarn and by the end you’ll have something that looks stylish, comfy and all your own.
Pro Tip
Put the headband around your head with a few pins before pinning the ends together. This allows you to adjust both the tension and positioning of sparkly parts in order to ensure that the final garment is comfortable, balanced and always in style.