Crochet Your Own Cuddly Mouse Duo
Velvety chenille bellies, tiny pink paws and tails that curl like question marks: this crochet mouse duo gives you two squishy amigurumi mice to display together. Sit them on a bed, a shelf or inside a nursery corner, and watch the room get softer.
Most crochet mice end up skinny and sharp-nosed. These two, however, are round and cuddly. An egg-shaped body built from one simple spiral suits thick chenille yarn, and the same body works for both mice. As a result, a white one with blush ears and a lavender one with cream ears come from a single pattern. There are no seams on the body and no tricky stitches, so the whole crochet mouse duo suits confident beginners too.
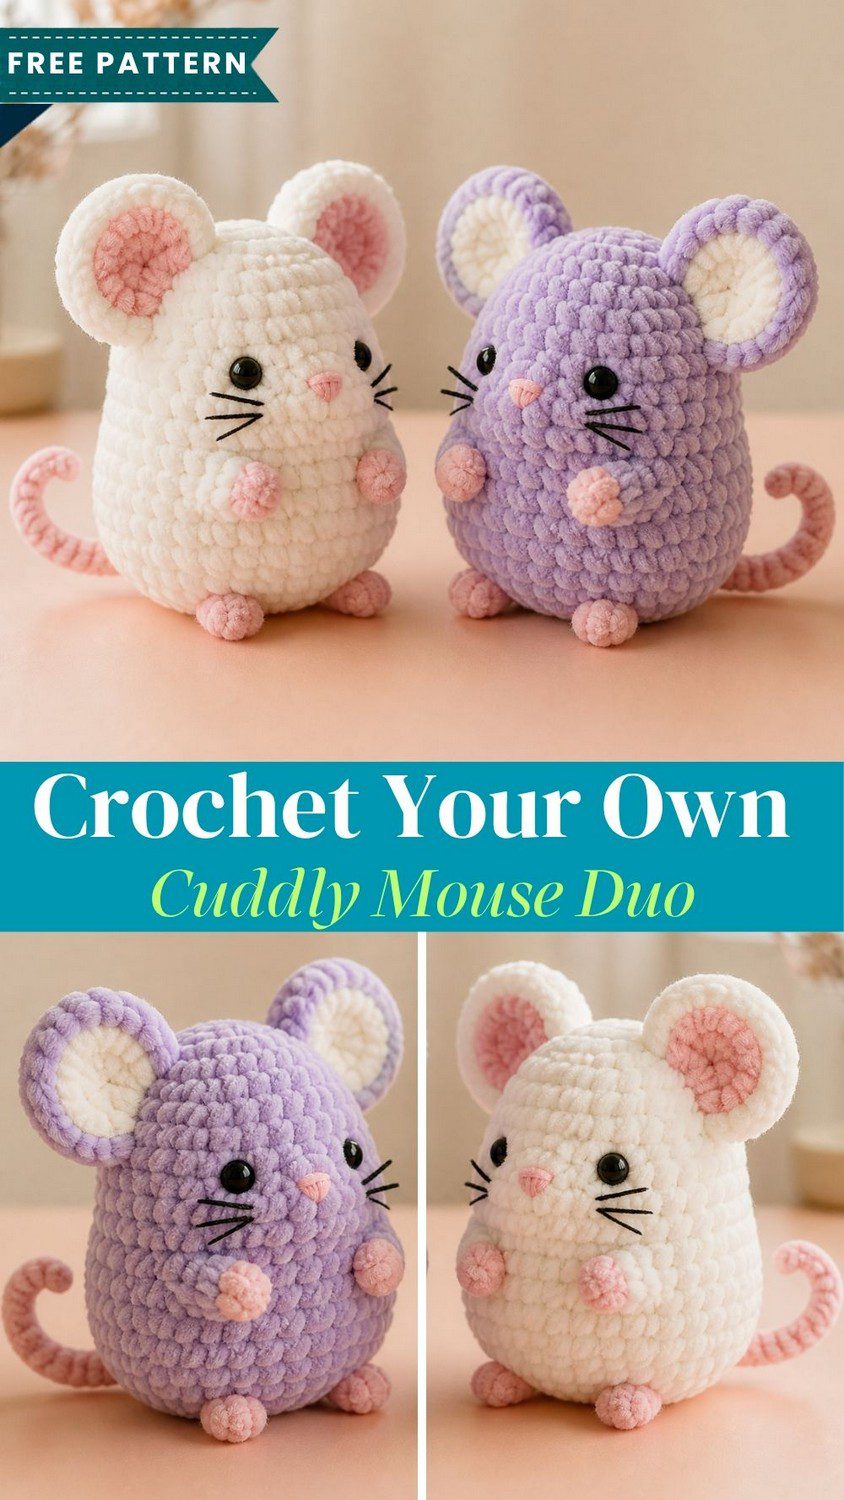
Crochet Mouse Duo Overview
Both mice begin at the base of the body and grow upward in one continuous spiral, so the crochet mouse duo needs no joining and no body seam. Ears, paws, feet and a curly tail are small separate pieces, which get sewn on at the end. Worked with a 4.5 mm hook and chenille yarn, each mouse stands about 5 inches (13 cm) tall.
Make every step twice: once in white and once in lavender. Paws, feet, tail and nose stay pink on both. Meanwhile, the inner ears are pink on the white mouse and cream on the lavender one.
The pattern uses US terms:
- MR: magic ring
- sc: single crochet
- inc: two sc in one stitch
- dec: single crochet two stitches together
- ch: chain
- R: round
Also, numbers in brackets show the stitch count at the end of each round.
Materials for the Crochet Mouse Duo
- Chenille yarn: white (about 50 g), lavender (about 50 g), blush pink (about 25 g) and cream (about 10 g)
- 4.5 mm crochet hook
- Four 8 mm black safety eyes
- Black embroidery floss for whiskers
- Polyfill stuffing
- Tapestry needle, stitch marker and scissors
Time Needed for the Mouse Duo
- Prep: about 15 minutes to gather supplies
- Stitching: about 1 hour 30 minutes per mouse
- Finishing: about 30 minutes per mouse for the face and sewing
In total, plan on roughly 4 hours 15 minutes for the full pair.
Special Stitches for the Mouse Duo
Magic Ring
Every piece begins with a magic ring. Tug the tail firmly after the first round, because chenille hides small gaps until the stuffing goes in.
Front-Loop Decrease
Insert the hook through the front loops of two stitches, pull up a loop and finish like a regular sc. Since front-loop decreases blend into the fuzzy surface, the egg shape stays smooth.
Curly Tail Stitch
Working two sc into every chain forces the row to twist. The extra stitches have nowhere to go, so the tail spirals into a curl without wire or starch.
Common Crochet Mouse Duo Mistakes
Loose tension is the first trap. Chenille is slippery, so wide stitches let white stuffing peek through the lavender body. In that case, drop to a 4.0 mm hook.
Next, fuzzy stitches are hard to count. Mark the first stitch of every round and recount at the end of each one, because a single missed increase turns the egg shape lopsided.
Overstuffing is another common slip, since it stretches the stitches and makes the body hard. Add small handfuls and stop once a gentle squeeze feels squishy, not rock solid.
Finally, eyes set too wide apart give the mouse a startled stare. Six stitches apart creates the sweet, sleepy expression.
Uses and Benefits of the Mouse Duo
Set the crochet mouse duo on a nursery shelf, tuck the pair beside a pillow or wrap them together as a sweet baby shower gift. Because chenille feels velvety against small hands, the plush mice suit gentle cuddles and bedtime stories. Besides that, you can give one to each sibling, or keep the white mouse and pass on the lavender. Matching colors also make a tidy little display for market tables, and leftover pink yarn gets used up on the paws, feet, tails and noses.
Beginner Tips for the Crochet Mouse Duo
First, practice a magic ring with scrap chenille before starting the body. The yarn grips itself, so slow, gentle pulls beat quick tugs.
Second, use a stitch marker in every piece, even the tiny ones. Paws and feet hold only 6 to 12 stitches, and a lost start of round creates a lumpy shape.
Lastly, leave tails at least 8 inches long on every part. Chenille frays when pulled through the same spot again and again, so extra length makes sewing far easier.
Crochet Mouse Duo Instructions
Step 1: Mouse Body (white or lavender)

- R1: MR, 6 sc (6)
- R2: inc x6 (12)
- R3: (sc, inc) x6 (18)
- R4: (2 sc, inc) x6 (24)
- R5: (3 sc, inc) x6 (30)
- R6-11: sc around (30)
- R12: (3 sc, dec) x6 (24)
- R13-14: sc around (24)
- R15: (2 sc, dec) x6 (18)
- R16: sc around (18)
Leave the work open and move straight to Step 2.
Pro Tip: Keep the stitch marker in the last stitch of R5. The wide base is where most miscounts happen, so a correct 30 here gives the body its round belly.
Step 2: Face and Top Closing

First, insert the safety eyes between R14 and R15, about 6 stitches apart. Then stuff the body firmly and evenly, and continue:
- R17: (sc, dec) x6 (12)
- R18: dec x6 (6)
Fasten off and close the top. After that, use pink yarn to embroider the nose between R12 and R13, centered under the eyes: three short stitches stacked into a small triangle. Finally, add three black floss whiskers on each side of the nose, then trim the ends.
Step 3: Mouse Ears (make 2 per mouse)

Outer ear in body color:
- R1: MR, 6 sc (6)
- R2: inc x6 (12)
- R3: (sc, inc) x6 (18)
Fasten off and leave a long tail.
Inner ear in pink (white mouse) or cream (lavender mouse):
- R1: MR, 6 sc (6)
- R2: inc x6 (12)
Fasten off. Then sew the inner ear onto the center of the outer ear, leaving a slim rim of body color around the edge.
Step 4: Paws (pink, make 2 per mouse)
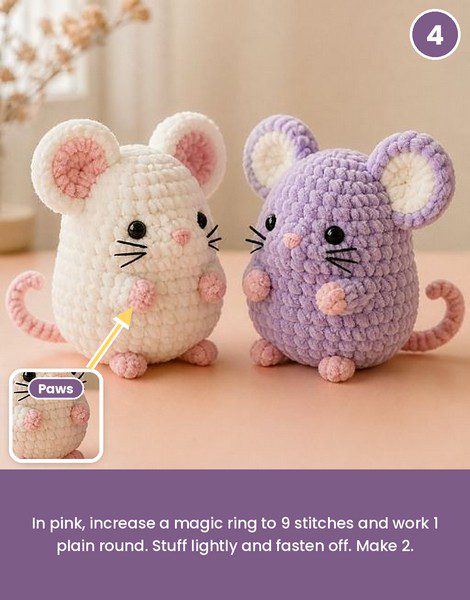
- R1: MR, 6 sc (6)
- R2: (sc, inc) x3 (9)
- R3: sc around (9)
Add a pinch of stuffing, fasten off and leave a tail.
Step 5: Feet (pink, make 2 per mouse)

- R1: MR, 6 sc (6)
- R2: inc x6 (12)
- R3-4: sc around (12)
- R5: dec x6 (6)
Stuff the foot before the last decrease round closes. Afterward, fasten off and leave a tail.
Step 6: Curly Tail (pink, make 1 per mouse)
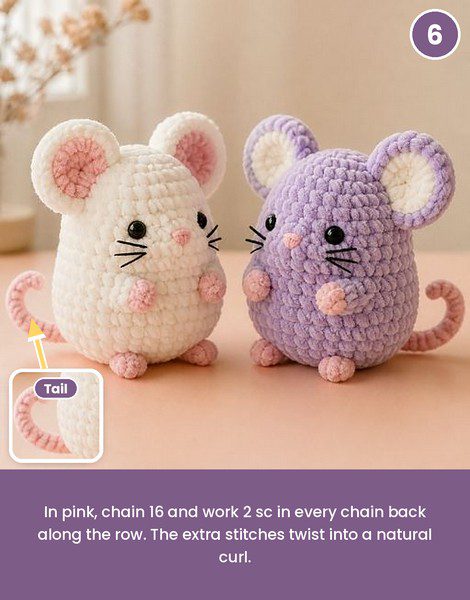
- Foundation: ch 16
- Row 1: 2 sc in the 2nd ch from the hook and in each chain across (30)
Fasten off and leave a tail. Best of all, the row twists into a spiral on its own.
Pro Tip: Wrap the finished tail around a pencil for a few minutes so the curl settles. However, skip steam, because heat flattens chenille.
Assembling the Crochet Mouse Duo
Step 7: Putting It Together

- First, pin the ears to the top of the head at R16-R17, about 6 stitches apart across the front and tilted slightly outward, then sew them down.
- Next, sew the paws to the front of the body at R9-R10, about 4 stitches apart.
- Then attach the feet to the front of the base at R3-R4, about 4 stitches apart, angled forward so they peek out.
- After that, sew the tail to the back of the base at R3.
- Weave in all remaining ends and smooth the chenille with your fingertips.
- Finally, repeat every step in the second color to complete the pair.
Personalization Ideas for Your Mouse Duo
Color Pairs
Grey with peach, mint with cream, or pale blue with white all work well. Meanwhile, keep the paws and tail pink for a soft contrast.
Tiny Accessories
For example, a small bow, a mini scarf or a felt heart sewn near the paws gives each mouse its own personality.
Size Changes
Alternatively, a 3.5 mm hook with DK cotton makes a 3-inch mouse that clips onto a bag as a charm.
Name Initials
Embroider a letter on the belly with contrasting floss, so a sibling pair never mixes up their mice.
Working With Chenille Yarn
Chenille has a soft pile that sheds a little and splits easily. Therefore, hold the yarn loosely, keep the hook tip sliding under both loops, and avoid pulling out many rows at once, since the pile thins and mats after repeated ripping. Metal hooks also glide through chenille more smoothly than wooden ones. When weaving in ends, pass the needle through the stitches twice, because the slippery fibers loosen easily. Instead of an iron or a steamer, fluff the finished mouse with your fingertips.
FAQs
What hook size works best for the crochet mouse duo?
A 4.5 mm hook makes tight stitches that hold stuffing in. For a firmer, denser fabric, go down to 4.0 mm.
Can I make just one mouse from the duo?
Yes. Pick either color and skip the repeat. In addition, a single mouse works as a smaller gift.
Is the crochet mouse duo safe for babies?
Safety eyes are not suitable for children under 3. So embroider the eyes with black yarn, leave out the whiskers and sew every piece on extra securely.
Can the mice be washed?
Spot clean with a damp cloth and mild soap, then air dry. However, machine washing can mat the pile.
A Pair Worth Cuddling
Chunky bodies, curled tails and sleepy eyes make a pair that is hard to put down. Stitch the white one first to find the rhythm, then repeat in lavender for the second. Once you set them nose to nose on a shelf, the whole corner feels softer. In the end, one weekend with this crochet mouse duo turns into a gift that gets hugged instead of dusted.