
Trendy Crochet Cat Keychain Pattern for Bags
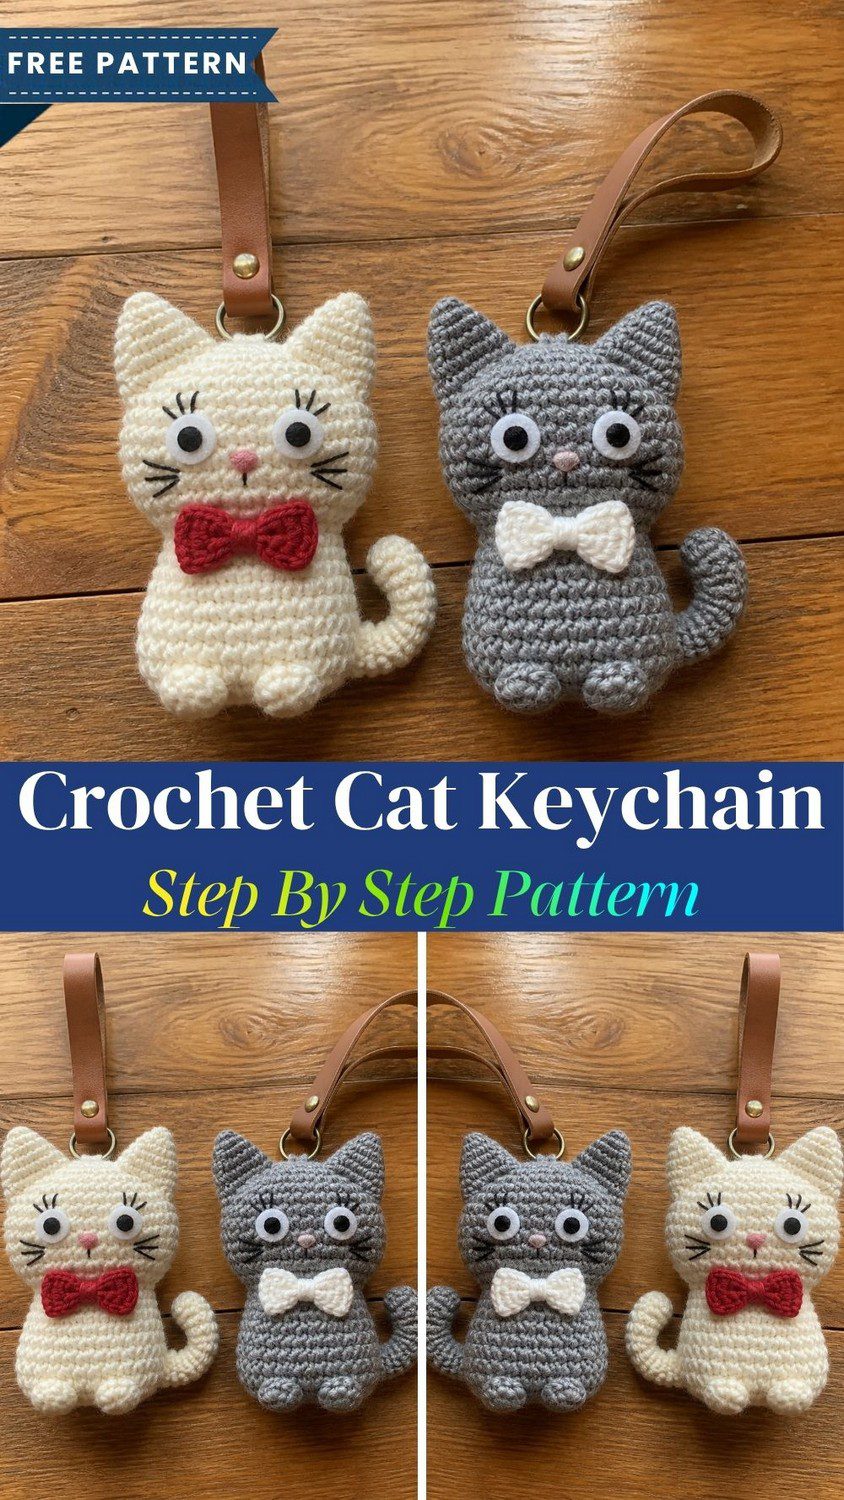
Wide white eyes, curled lashes and a tiny bow at the neck make this crochet cat keychain pattern a charmer from the very first stitch. Loop the finished amigurumi cat onto a tote, backpack or purse strap, and it becomes a playful, cheerful finishing touch.
Cat keychains usually come out small and plain. Here, however, two things change the game: oversized white eyes with lashes, and a bow tie that sets each cat apart. This simple crochet cat keychain pattern uses only basic stitches and amigurumi shaping, so beginners can finish one in an afternoon. Better still, one pattern makes both a cream cat and a grey cat.
Crochet Cat Keychain Pattern Overview
Every piece of this crochet cat keychain pattern starts from a magic ring and grows in a spiral, so no seams show on the head or body. First, the round head gets worked and stuffed. Next, a smaller body joins it, followed by pointed ears, big eye patches, a curled tail and a tiny bow tie. Finally, a leather strap turns the cat into a bag charm. With a 2.5 mm hook and DK cotton, each cat stands about 3.5 inches (9 cm) tall without the strap.
Make one cat in cream with a red bow tie, or switch to grey with a white bow tie. A pair looks great too, because the pattern stays exactly the same.
The pattern uses US terms:
- MR: magic ring
- sc: single crochet
- inc: two sc in one stitch
- dec: single crochet two stitches together
- ch: chain
- R: round
Also, numbers in brackets show the stitch count at the end of each round.
Materials for the Crochet Cat Keychain Pattern
- DK cotton yarn in cream or grey, about 20 g
- White DK cotton, about 5 g, for the eye patches
- Red or white DK cotton, about 3 g, for the bow tie
- Pink yarn scrap for the nose
- 2.5 mm crochet hook
- Two 6 mm black beads and matching sewing thread
- Black embroidery floss for lashes and whiskers
- Polyfill stuffing
- Tan leather keychain strap with a snap or rivet, about 1 cm wide
- 12 mm metal ring
- Tapestry needle, stitch marker and scissors
Time Needed for the Crochet Cat Keychain Pattern
- Prep: about 10 minutes to gather supplies
- Stitching: about 1 hour 20 minutes for all pieces
- Finishing: about 40 minutes for the face, sewing and strap
In total, plan on roughly 2 hours 10 minutes for each cat.
Special Stitches in the Crochet Cat Keychain Pattern
Magic Ring
Start each piece with a magic ring. Then pull the tail tight after the first round, because cotton leaves visible gaps otherwise.
Invisible Decrease
Insert the hook through the front loops of the next two stitches. After that, pull up a loop and finish like a normal sc. As a result, the decreases blend into the fabric.
Wrapping the Bow
Wrap the yarn tightly around the center of a flat rectangle. Pull firmly, and the ends puff out into two neat loops.
Common Crochet Cat Keychain Pattern Mistakes
Loose tension causes the biggest problem. Since cotton has no stretch, wide stitches let the white stuffing show through. Therefore, go down a hook size if gaps appear.
Uneven eye placement also spoils the face. So pin both patches first, then check the spacing from arm’s length before sewing. For example, count the stitches between the patches on both sides.
Lastly, overstuffing makes the head round and stiff. Instead, add small bits at a time until the head feels firm but still slightly squishy.
Uses and Benefits of the Crochet Cat Keychain Pattern
Clip the cat to a tote, backpack or purse strap, and it adds a playful accent to any outfit. Because the leather loop is sturdy, the charm also hangs well from a zipper pull or a car mirror. Moreover, a pair stitched from this crochet cat keychain pattern makes a thoughtful gift for cat lovers, friends or classmates. Small amounts of leftover cotton work perfectly well, so the project costs very little money. Finally, matching bow ties in different colors let each cat show its own personality.
Beginner Tips for the Crochet Cat Keychain Pattern
First, practice the magic ring on scrap cotton. Once it feels natural, the small pieces go quickly.
Also, use a stitch marker in every piece. Tiny rounds make it easy to lose the start, and a marker prevents that problem.
Meanwhile, leave tails about 8 inches long. Longer tails make sewing easier, so there is no awkward re-threading later.
Crochet Cat Keychain Pattern Instructions
Work every piece in continuous rounds unless a step says otherwise.
Step 1: Cat Head (cream or grey)
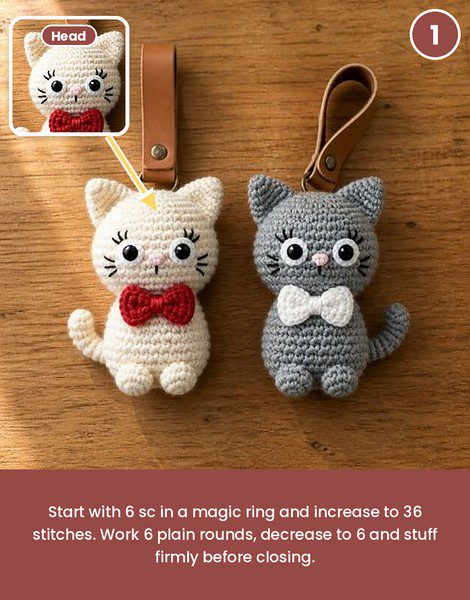
- R1: MR, 6 sc (6)
- R2: inc x6 (12)
- R3: (sc, inc) x6 (18)
- R4: (2 sc, inc) x6 (24)
- R5: (3 sc, inc) x6 (30)
- R6: (4 sc, inc) x6 (36)
- R7-12: sc around (36)
- R13: (4 sc, dec) x6 (30)
- R14: (3 sc, dec) x6 (24)
- R15: (2 sc, dec) x6 (18)
Stuff the head firmly. Then continue:
- R16: (sc, dec) x6 (12)
- R17: dec x6 (6)
Fasten off and close the bottom. Round 1 forms the top of the head.
Pro Tip: Keep the stitch marker in the first stitch of R6. The widest rounds are where miscounts happen, so R6 sets the head width.
Step 2: Cat Body (same color)
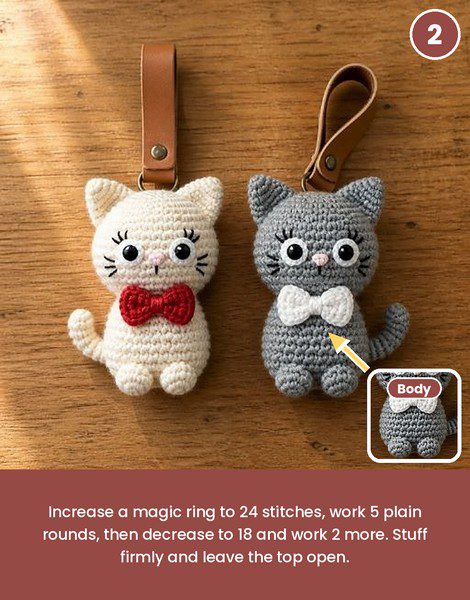
- R1: MR, 6 sc (6)
- R2: inc x6 (12)
- R3: (sc, inc) x6 (18)
- R4: (2 sc, inc) x6 (24)
- R5-9: sc around (24)
- R10: (2 sc, dec) x6 (18)
- R11-12: sc around (18)
Stuff firmly. Then fasten off, leave a long tail and keep the top open for sewing.
Step 3: Pointed Ears (make 2)

- Foundation: ch 7
- Row 1: sc in the 2nd ch from the hook and across (6)
- Row 2: ch 1, turn, sc across (6)
- Row 3: ch 1, turn, dec, sc 2, dec (4)
- Row 4: ch 1, turn, sc across (4)
- Row 5: ch 1, turn, dec x2 (2)
Fasten off and leave a tail. Then sew the ears to the top of the head at R4-R6, about 8 stitches apart, with the tips tilting slightly outward.
Step 4: Eye Patches and Face
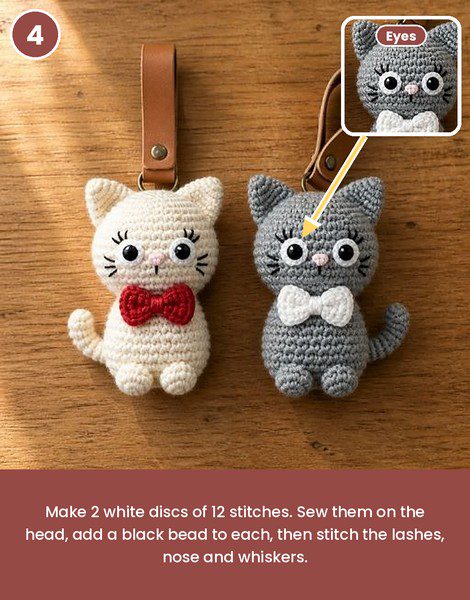
Make 2 patches in white:
- R1: MR, 6 sc (6)
- R2: inc x6 (12)
- R3: sc around (12)
Fasten off and leave a tail. Next, sew the patches onto the head at R8-R11, leaving a gap of about 3 stitches between them. Then sew a 6 mm black bead onto the center of each patch. After that, stitch three short black floss lashes at the outer top corner of each eye. Finally, embroider a small pink triangle nose between the eyes at R12 and add three short whiskers on each side.
Pro Tip: Pin the patches and the nose before sewing. Then check the spacing from arm’s length, because small shifts change the whole expression.
Step 5: Feet and Curled Tail
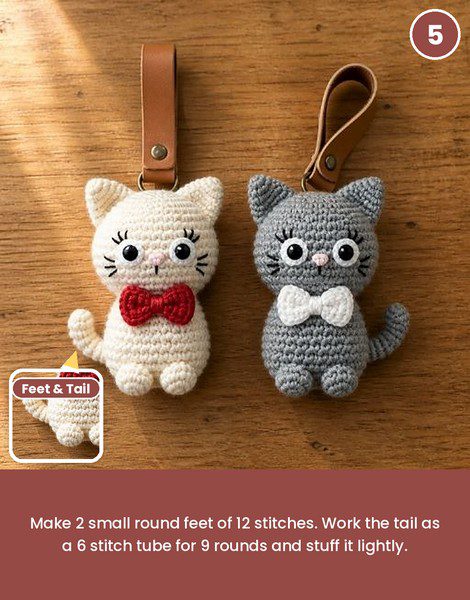
Make 2 feet:
- R1: MR, 6 sc (6)
- R2: inc x6 (12)
- R3: sc around (12)
Stuff lightly, fasten off and leave a tail. Now make the tail:
- R1: MR, 6 sc (6)
- R2-10: sc around (6)
Afterward, stuff the tail with tiny bits, fasten off and leave a tail.
Step 6: Bow Tie (red for cream, white for grey)

- Foundation: ch 9
- Row 1: sc in the 2nd ch from the hook and across (8)
- Rows 2-6: ch 1, turn, sc across (8)
Fasten off and leave a 10 inch tail. Then wrap the tail around the center of the rectangle 4 times, pull tight and tie off at the back.
Finishing the Crochet Cat Keychain Pattern
Step 7: Putting It Together
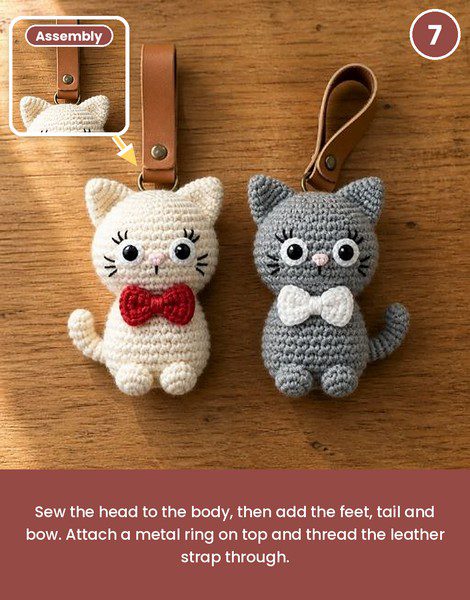
- First, pin the open end of the body under the head at R14-R16, so the head tilts slightly forward. Then whipstitch all the way around.
- Next, sew the feet to the front of the body base at R2-R4, about 3 stitches apart.
- Then attach the tail to one side of the body at R4-R5 and curve it upward.
- After that, sew the bow tie over the neck join, centered under the chin.
- Stitch the metal ring to the top of the head between the ears with matching yarn.
- Afterward, thread the leather strap through the ring, fold it over and fasten the snap or rivet.
- Finally, weave in all remaining ends.
Personalization Ideas for the Crochet Cat Keychain Pattern
Color Pairs
Black with a pink bow, brown with a cream bow, or lilac with a white bow all work well.
Bow Variations
Alternatively, try a polka-dot ribbon, a tiny heart button or a small bell for a different personality.
Size Changes
Likewise, switch to a 3.5 mm hook and worsted yarn for a larger bag charm of about 5 inches.
Whisker Colors
Pink floss suits dark cats, while black floss suits light ones.
Gift and Display Ideas
Pair two cats in contrasting colors and tie them together with a ribbon for a matching friends gift. Then add a handwritten tag with the name of the lucky owner. Meanwhile, hang the cats from a plant hook, a desk lamp or a bedroom doorknob for a cozy accent. For market tables, a small card with the cat colors makes the display feel tidy. Finally, wrap each keychain in tissue paper and tuck in a short note.
FAQs
What yarn works best for a crochet cat keychain pattern?
DK cotton gives crisp stitches and a firm shape. However, soft acrylic also works if you drop to a 2.25 mm hook.
Where can I find the leather strap for the cat keychain?
Most online shops that sell bag hardware carry keychain straps with snaps. Alternatively, cut a strip of faux leather and sew on a snap button.
Can I make the crochet cat keychain pattern without a strap?
Yes. Sew the metal ring to the head and attach a standard keychain clasp instead. As a result, the cat works as a classic keychain.
Is the keychain washable?
Spot clean with a damp cloth and mild soap, then air dry. Because of the beads and leather, avoid soaking.
Small Cat, Big Personality
Big eyes, a little bow and a leather loop turn leftover cotton into a bag charm people notice. Start with the cream cat, then try grey for the second one. Besides, the same crochet cat keychain pattern works for gifts and small market batches. So pick a bow color, grab a hook and stitch one tonight.
