Crochet Bow Pillow Perfect Pattern for Handmade Decor
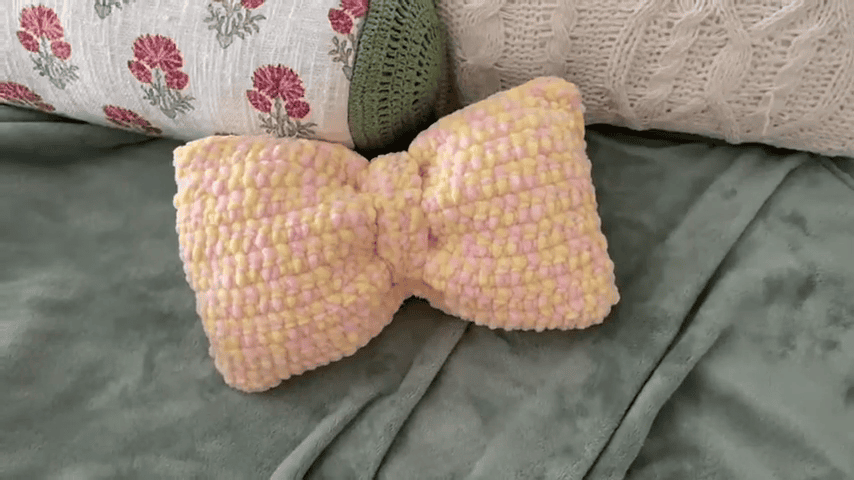
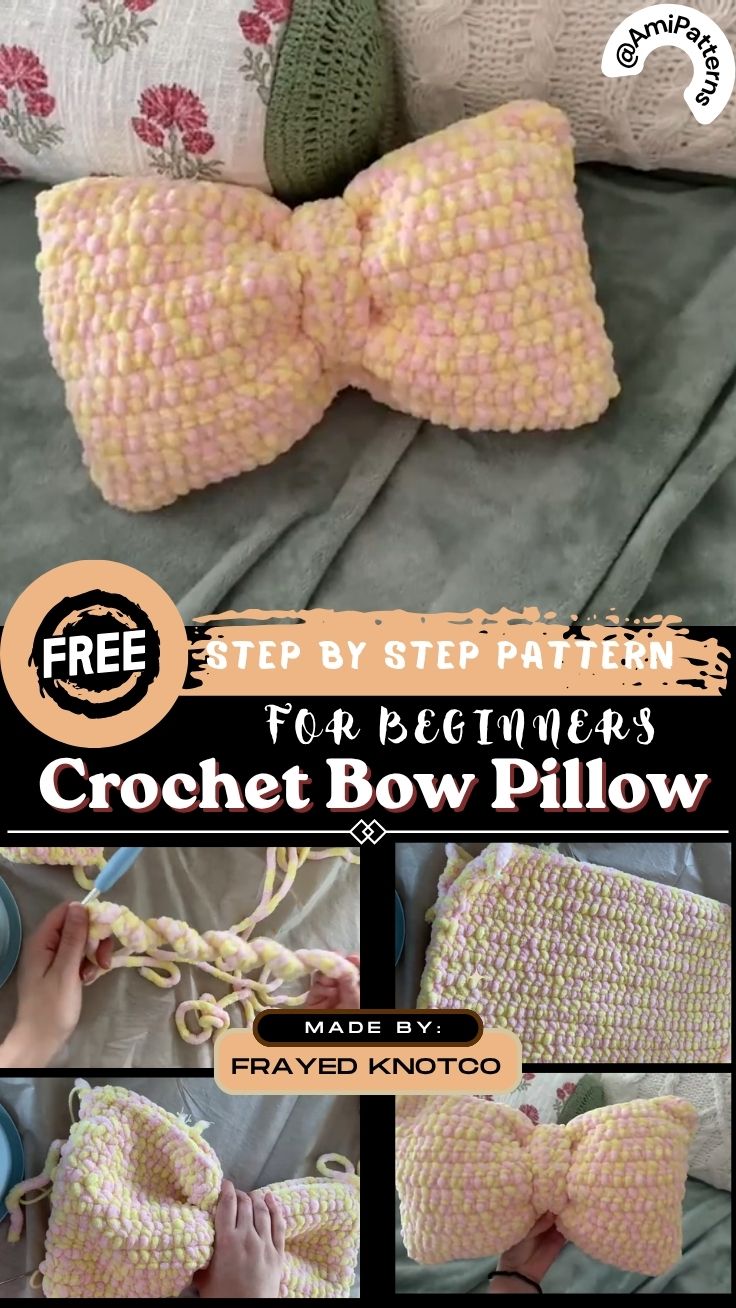
A bow can make any item a bit more adorable, and a crochet bow pillow does just that. It is a handmade soft pillow with a fun shape of a decorative ribbon. The finished product is a comfortable and intimate item that will bring a smile to the face of a bedroom, nursery, reading corner, craft room or even a gift set.
Crochet Bow Pillow Perfect Pattern for Handmade Décor is a fun crochet project for crocheters who wish to make something decorative without having to crochet something too complicated. The basic pillow shape will be easy and the centre bow would add a feature to make the final product stand out.
The pillow can be created in soft pastels for a calming ambiance, vibrant hues for a cheerful home or neutral tones for modern décor. Size may also be adjusted to make a small accent cushion or big statement pillow.
Skill Level
Duration: 15 minutes
It is important to know how to:
- Make a chain
- Work single crochet
- Make half double crochet stitches.
- Increase and decrease
- Work into rows
- Join crochet pieces
- Sew with a yarn needle
- Fill the pillow, evenly, with stuffing.
- There’s nothing too complex about the bow itself.
Much of the work is in keeping the panels of the pillows even and forming the central panel into a comfortable shape.
Materials You’ll Need
Make the following preparations:
- Yarn comes in a wide selection of colors.
- A crochet hook appropriate for the yarn.
- Pillow insert made of polyester fiberfill
- Yarn needle
- Stitch marker
- Sharp scissors
- Measuring tape
- A yarn that is used for decoration in different colors and is optional.
For a more structured yarn and a sturdier surface, you can use a cotton yarn.
Compared to acrylic, the softer and cozier feel is obtained with acrylic yarn, which also comes in a wide variety of colors.
Chunky yarn will help you make a larger pillow in a shorter amount of time, and medium-weight yarn will offer you greater control over its shape.
Choosing the Right Size
Before you start, determine the pillow’s placement.
A mini bow pillow is a beautiful addition to a nursery shelf or child’s chair.
If you have a bed or sofa, a medium version will be a good fit.
The larger pillow can be the focal point of a reading chair or lounge area.
A fixed size is not necessary.
Just maintain the correct ratio. The size of the bow should be large enough to be seen but not make handling of the pillow difficult.
How to Crochet the Bow Pillow
Test a small swatch with your yarn and hook to get a feel for the size of the gauge you’re working with.
This will help you to observe the closeness of your stitches.
Fabric with large holes can be too large for a stuffed pillow. Loose stitches can allow the filling to show through.
If you find your stitches opening, use a smaller hook size.
If the fabric is extremely stiff, then a slightly larger hook may be suitable.
Step 1: Crochet the First Pillow Panel
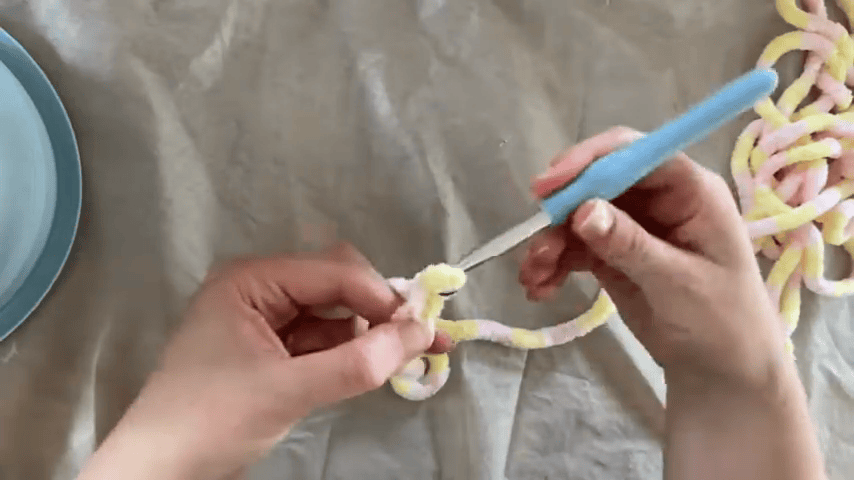
The first step is to make a foundation chain to be the width you want your pillow to be.
Stitch a single crochet across the chain.
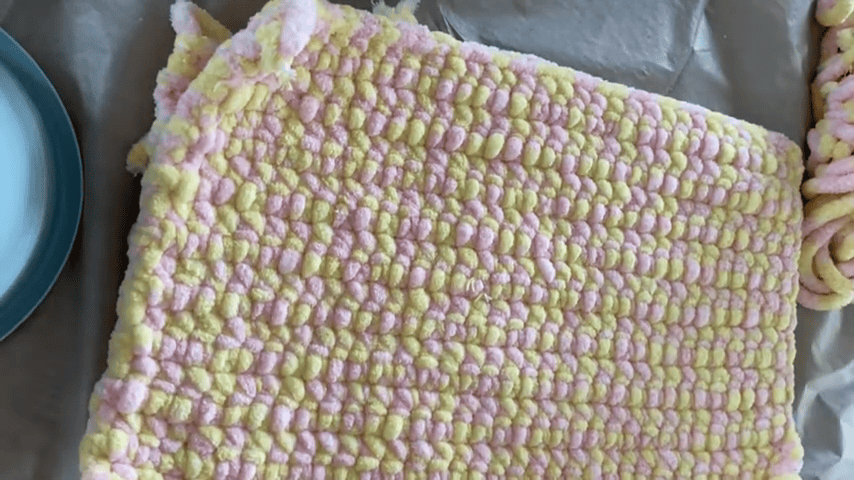
Repeat rows until the panel is desired height.
Count the number of stitches at the end of each row.
Having straight edges will make assembly later on much easier.
For a more textured surface, try half double crochet stitch or a simple ribbed stitch.
A simple single crochet fabric works well for a first time, however.
Step 2: Crochet the Second Panel
Repeat the same process to make the back panel.
When trying to make the second piece, make an effort to keep the same tension you used for the first piece.
When complete, stack both panels on top of each other.
The edges will align fairly well.
Don’t worry right away if one panel is a little bigger. Small differences can often be rectified, by blocking or adjusting the joining stitches.
If the difference is big, make sure to check stitch count before proceeding.
Step 3: Form the Pillow
You may leave the pillow rectangular or shape it to be softer and round.
Round corners with gentle decreases at edges.
Straight sides are quite acceptable for a classic cushion.
The base doesn’t have to be complex, as the bow will provide most of the interest.
An easy shape can really elevate a bow.
Step 4: Crochet the Bow
Now take the feature which makes the pillow look like a person.
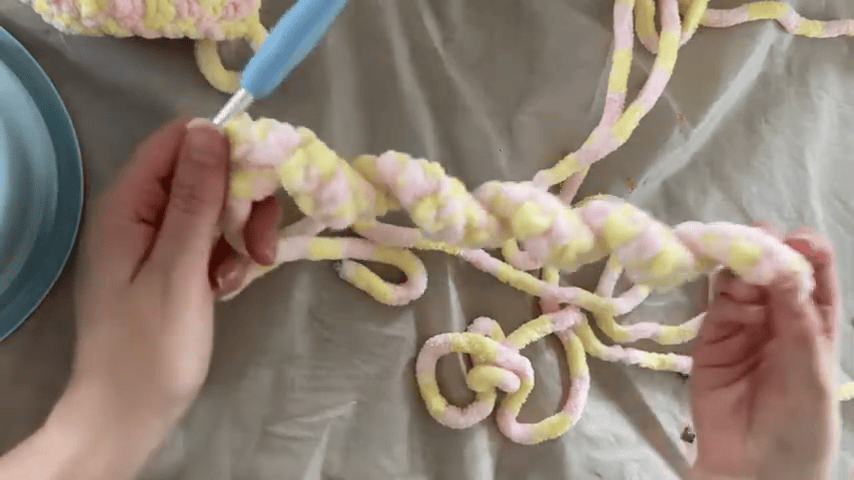
Using the same yarn or a different color, make a rectangle crochet strip.
Continue to work single crochet rows until strip is the desired length and width.
The strip must be long enough to be folded in two to make two loops.
Step 5: Make the Bow Center
A bow is constructed from a piece of thread, and this is how to make it.
Make another small rectangle to crochet in the middle.
It should be much narrower than the main bow.
Tie it around the waist.
Tie it tight enough to form the classic gathered look.
Stitch the middle together from the back.
If desired, the bow loops can be lightly stuffed to achieve a fuller look.
Don’t overfill them.
Overstuffing results in a stiff, not soft bow.
Step 6: Join the Pillow Panels
Put the two panes of pillow together.
Use matching yarn to crochet or sew around the edges.
Leave one section open for stuffing.
A neat whip stitch is recommended, but can be done in another way if desired for another finish.
Inspect corners throughout the process.
Make sure the stitches are all of the same length to keep the pillow from collapsing.
Step 7: Add the Filling
Add the polyester fiberfill a little at a time.
Begin with filling in corners.
Now move towards the center.
Spread stuffing with your fingers.
Do not pack the fiberfill all in a single location.
The pillow should feel full, but still soft enough to be squeezed.
If you use a pre-made insert, use that instead of the crochet cover.
This can come in handy if you wish to get rid of the cover for washing.
Step 8: Close the Pillow
When the filling is even, sew the other opening.
Small and secure stitches should be used.
Seam both ways.
When you see the stuffing between the stitches, you need to make an extra pass.
Take the yarn tail and weave it into the pillow and cut off the tail.
Gently shake and squeeze the finished cushion to distribute the cushion filling.
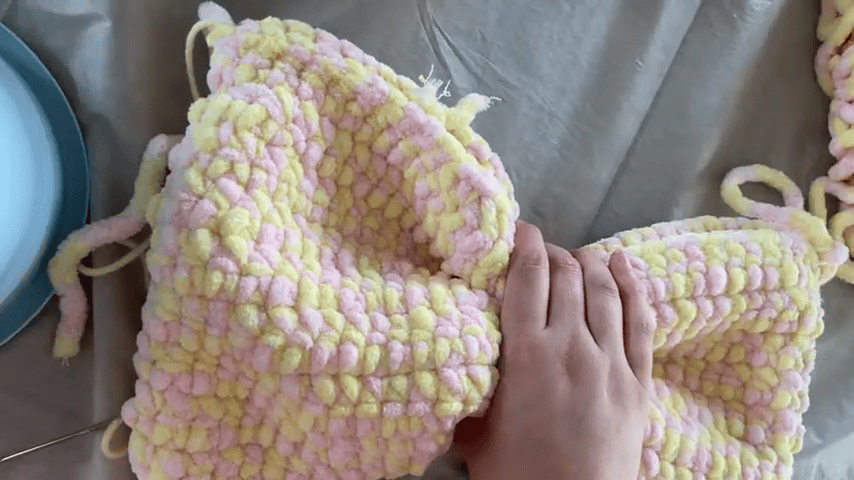
Step 9: Attach the Bow
Put the bow on the middle of the pillow.
It can be worn sideways as a “gift ribbon.
Turn it to the side for a different look.
Pin the bow before stitching it down.
Step back to see the pillow at a distance.
If you make a slight change, the design can look a lot more balanced.
When you’re satisfied, sew the middle of the bow securely to the pillow.
If you wish to have them secure, attach both loops as well.
Step 10: Add Finishing Details
The pillow is now almost complete.
Leave it simple or add a few details.
Consider:
- A contrasting border
- Tiny embroidered dots
- Decorative stitching
- A rainbow around the bow!
- Small crochet flowers
- A scalloped edge
- A textured center band
- Don’t add too much.
- The bow is already the star of show, so a few good details can go a long way.

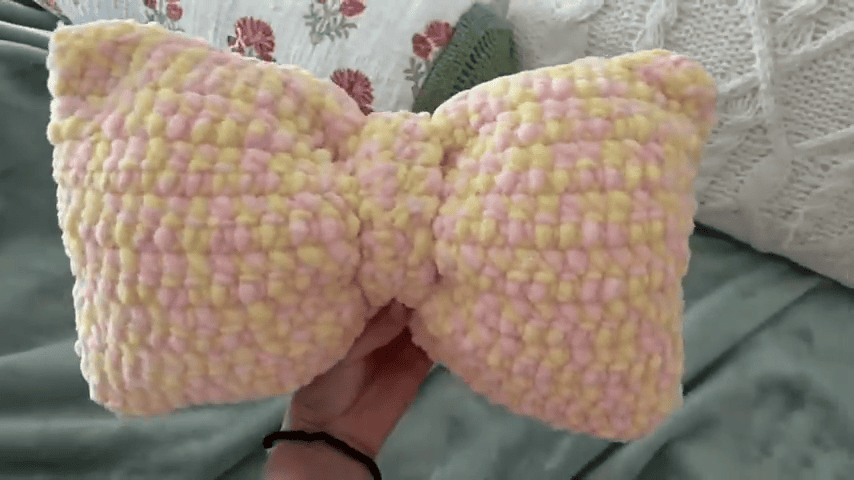
Creative Color Ideas
The color will make a huge difference on the personality of your pillow.
If it’s a soft nursery, there’s a solution that’s perfect for you:
- Blush pink and cream
- Pale blue and white
- Lavender and ivory
- Light peach and light yellow
If you are looking to create a bold statement pillow, consider using:
- Red and white
- Purple and pink
- Emerald and cream
- Yellow and orange
- Use for neutral lovers:
- Beige
- Taupe
- Gray
- Ivory
- Brown
A neutral bow on a colorful pillow can look particularly stylish.
Ways to Use Your Crochet Bow Pillow
The completed pillow can be utilized in numerous parts of the house.
Bedroom
Use it in front of a bed with bigger cushions.
Nursery
Why not opt for light hues and a washable strand for a subtle design detail.
Living Room
Make a sofa or armchair look interesting with a bow pillow.
Craft Room
A colorful creative space can be complemented by a bright bow cushion.
Reading Corner
Combine with a small blanket and cozy chair.
Seasonal Décor
Red, green, gold or white versions can be really great for the holidays.
Gift Presentation
A small bow pillow can even be a component of a handmade gift package.
While you’re gathering handmade bow pillow ideas, you can create more than one size and color that you can all coordinate and utilize together.
Make It More Personal
Another great thing about crochet is that you don’t have to be on a single version for good.
Make a heart-shaped pillow with a bow!
Make a solid-colour bow-striped pillow.
For a soft touch, use velvet-type yarn.
Create a little bow pillow for a child’s doll or teddy bear.
The bows can be made to match hair pieces, bags or blankets also.
This provides a unified handmade theme without a fresh technique.
Common Problems and Easy Fixes
The pillow appears to be flat.
Increase the filling or use a thicker piece of filling.
The bow will not retain the form
Bow loops might be very loose. Secure middle band, or stuff in the loops just enough.
The panels are not the same size
Check your stitch count and tension. It is easier to correct small differences when they are not connected when assembled.
The bow appears too big
Reduce the length of the center strip or make smaller loops.
The pillow is too hard to lie on.
Take out some of the filling and re-form.
The corners don’t appear perfect
Avoid filling the corners and use fiberfill towards the middle.
Pro Tip
Tie the bow securely before stitching it to the neck, and then stitch it. This will help you to see how big and inclined the pillow is when done, and not need to take apart the stitches later.
How to take care of your crochet pillow bow?
Washing should only be done after checking the label of the yarn.
When washable, wash the pillow in cool or lukewarm water with a gentle soap.
Do not twist or wring aggressively.
Instead, use a clean towel to squeeze out excess water and dry the pillow flat.
When using a removable insert, remove it before washing the crochet cover.
Avoid direct sunlight to prevent fading of the finished pillow.
Turn the pillow over with your hands regularly to keep it in shape.
Final Thoughts
The crochet bow pillow is a happy project to give handmade flavor to your house. The basic cushion is simple, with an oversized bow for added playfulness and easy to notice. Create a soft pastel design for a nursery, a vibrant one for a child’s room, or a neutral one for a modern living room.
The basic construction can be used in various dimensions, shapes and seasonal hues as well. For those who like to make crochet home décor, this project is a must-have. It offers lots of opportunities to practice without overwhelming you on shaping, sewing, stuffing and decorative finishing.