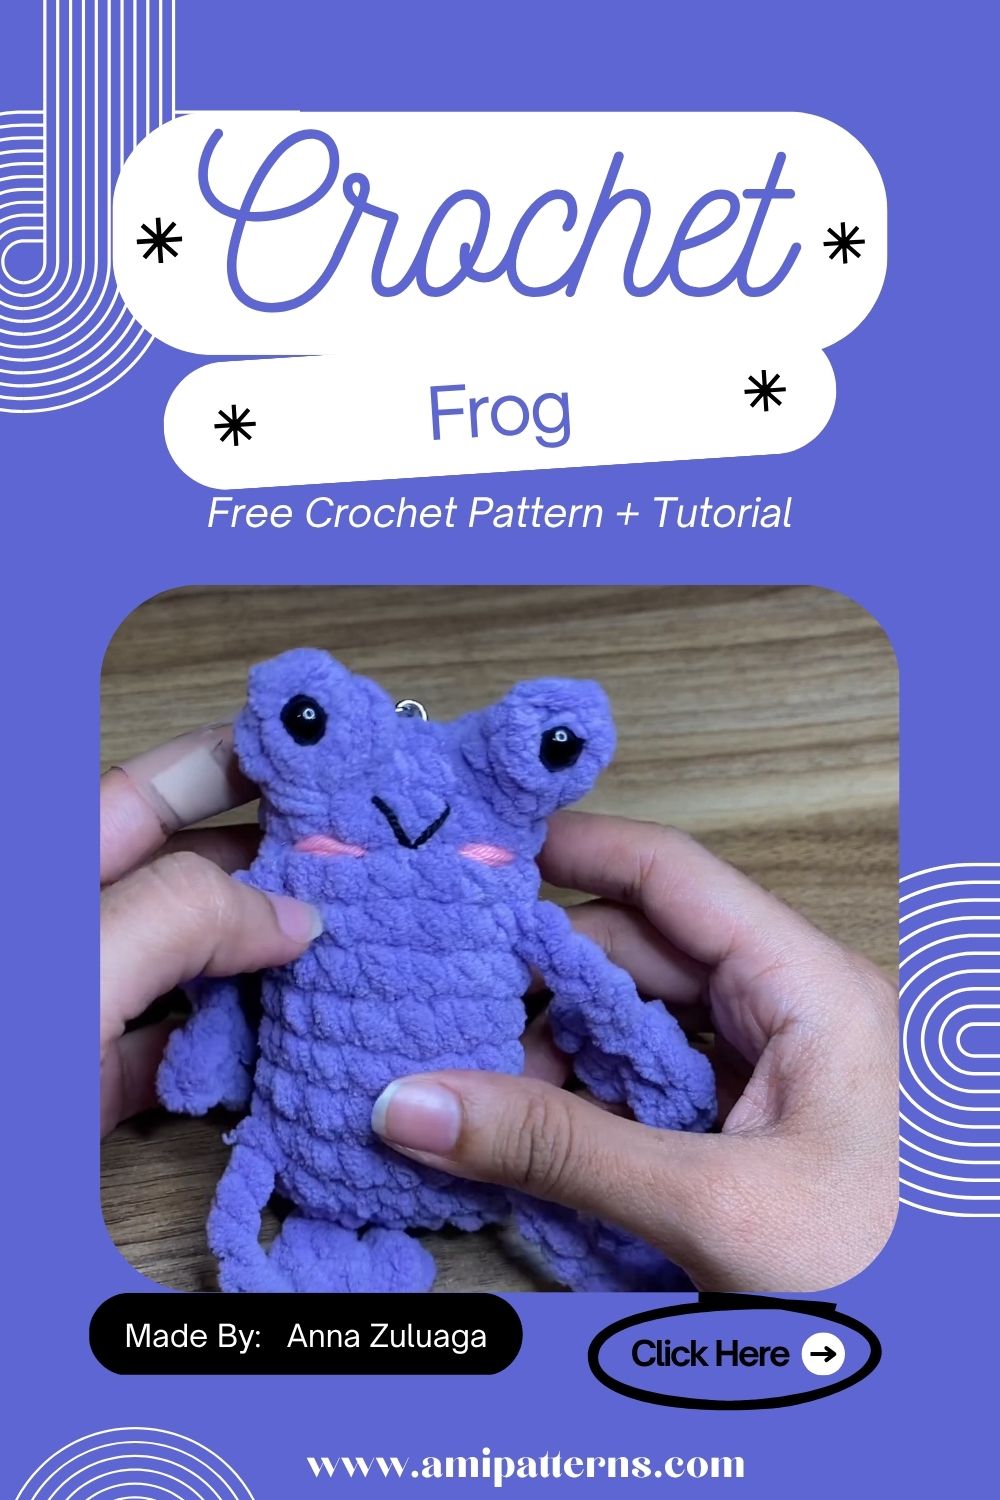
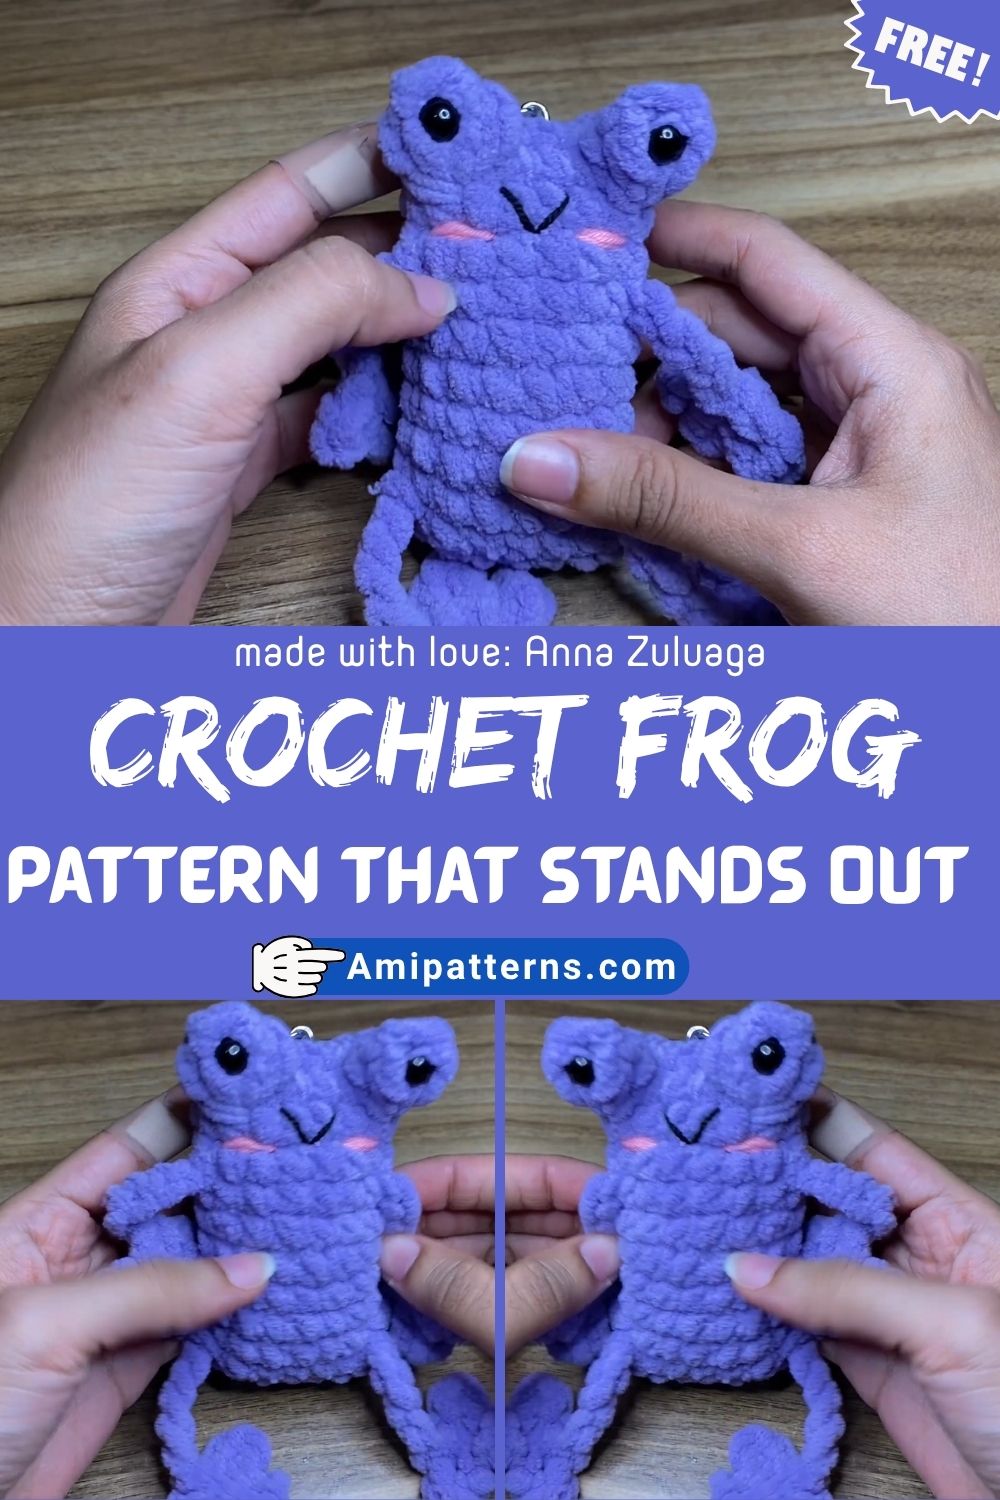
Fabulous Crochet Frog Amigurumi Pattern That Stands Out
A small crochet frog sitting right in your palm sees oddly comforting. It is simple but not in a boring way at all. It is more like a simple project that slows you down so you can relax a little. You will breathe a little easier without even noticing. Maybe it is the round eyes, or the soft little belly. Or maybe it is just the fact that something looks so cheerful.
That too, coming from a few strands of yarn. You can have some quality time with yourself and invest fully in this project. Whatever it is, this Crochet Frog Amigurumi Pattern stands out like no other. It is the kind of charm that people don’t usually expect, and in the end start loving it.
How Crochet Frog Amigurumi Pattern Stands Out?
This frog does not try to be complicated or excessive in detail. Of course that’s its power. It’s comfy yet friendly, with an almost playfully cute appearance. That’s what makes it a really rewarding project to work on, anyway.
Materials You’ll Need
Again, not a lot of frills. Most of it is likely going to be in your crochet kit.
- Yarn Green (body)
- Black thread (for veins and joints)
- Small piece of black yarn (Face details)
- 5mm–3.5mm crochet hook
- Polyfill stuffing
- Safety eyes or embroidery thread
- Tapestry needle
- Stitch markers
- Scissors
Starting the Frog Body
All frogs begin life small, tight and a bit unassuming. You’ll begin with a magic ring, working in continuous rounds. The first few rows seem like too easy and there is still not much happening. That’s the subtle side of crochet that we fall for.
The shape gradually develops into a rounded body as the stitches increase in size. This is when things start getting real. No longer do you make stitches, you are creating something that is alive in a soft, handmade manner.
This is also where the rhythm of the project will come into place. In an easy crochet frog pattern for beginners, this is the beginning of things getting very natural. No pressure, more repetition and flow.
Forming the Frog Head
The personality of the frog lies in the head.
Rotate in the same manner, gradually expanding to create a round finish. Do not have sharp edges here. Frogs are not hard, they are soft.
Once you’ve reached the widest point, start decreasing slowly. This makes that characteristic rounded frog head which fits well on the body.
Position the safety eyes before totally closing it. Here is the thing: Placement of the eyes is more important than people realize. Just a little wiggle can make your frog look curious, sleepy, or even a bit mischievous.
Eyes, Face, and Expression
Frog faces are somewhat low-maintenance, but they are certainly low maintenance with intent. Typically, two round eyes will suffice. Secure safety eyes to the head before closing up if using safety eyes. If you are embroidering, make sure that you are spending enough time on shaping the pupils to make them balanced.
A little smile or curve of a mouth can make all the difference in the personality. A straight line is tranquil. A slight curve upwards looks happy. It’s a small thing, but it counts.
It’s also where many makers get hooked on the process. In the crochet frog plush tutorial, this is where the novice crocheters usually discover that they can actually put a lot of personality in their creation with just a few stitches. And that realization? It sticks.
Frog Legs and Arms
Now for the part that makes the frog playfully look.
Arms are small and simple, short tubes or slightly tapered shapes. Nothing too heavy. They should feel light and comfortable, as if they are sleeping.
The fun goes a little bit deeper, in the legs. Legs are slightly fuller and more expressive, as frogs have that signature squat look. They can be curved if you wish, to make them look like they are sitting or hopping.
Take your time on this section. Small details can seem insignificant, but in this case, they’re not.
After attaching, the frog begins to feel at home, as if it were in its own little world.
Adding the Belly Detail
The belly isn’t mandatory, but it will give a nice soft contrast, making everything look more complete.
With white or cream yarn, make a small oval and sew to front. Stitches should be even, but not tight. It should be smooth, not stiff.
It may be a minor detail, but it makes a huge difference when you’re looking for a change in style. The frog seems to be smooth, shiny and slightly more expressive.
If you’re looking for a more professional outcome, this is a step you can’t miss out on.
Assemble and Final Shape
It’s time for all the pieces to fall into place. First attach the head to the body firmly. Attach the arms and legs – move them a bit so that the frog doesn’t fall over.
Step back when putting together. Seriously, it helps. A slight change in the leg or head can make all the difference.
After pieces are all put on, form and press the frog with your hands. This will help to balance the stuffing and help to get a more natural finish.
Then there are no longer just pieces. It’s a frog.
Special Features
Here is a short explanation why this Frog Pattern is special.
- Soft, gentle, and easy to use shape
- Simple to add colors and expressions to it.
- Repetitive stitching flow that is relaxing.
- Ideal as an exhibition or toy
- Ideal for giving or for personal use.
Frog patterns have a point of coming back. They are easy and not dull.
This makes more than just a project, particularly if you are on a cute frog Amigurumi gift idea. It turns into something personal. A gift that you want to give, not just complete and set aside.
Tutor’s Suggestion
Take your time while shaping. Frogs are not as forgiving as you think, but they still need balance. Maintain uniformity in the amount of stuffing. The filling may cause the posture to change more than you think due to uneven filling.
If something seems slightly off, stop for a little while. Adjust.
Level of Difficulty
This pattern is at an intermediate level, but not too advanced for the initial player. The stitches are easy to execute. The shaping and assembly are a bit more advanced. But once you grasp the flow, even that is no problem. If you already have some small Amigurumi projects to your credit, you should be fine here.
Step-by-Step Flow
You start from the body. Then the head. Then, arms and legs. After the structure is complete, it is time to add the details of the face and other finishing touches. There’s a rhythm to it, nothing speedy and nothing too much. Naturally one part leading into the other.
Final Thoughts
Crochet frogs can be a bit of a satisfying project. Not loud or showy. It is not all about attention. Immediately, it’s soft, just a bit round, almost smiling, and that’s enough.
The Crochet Frog Amigurumi Pattern That Stands Out is not so much about complexity. It is a feeling of creating something with hands that comes alive in its gentle way. Then when you make one… It’s really difficult to stop making them.
Pro Tip
Gently form the frog with your hands after stuffing but prior to final assembly. Smooths out rough spots and creates a more natural and refined appearance on the piece while retaining the soft appeal.