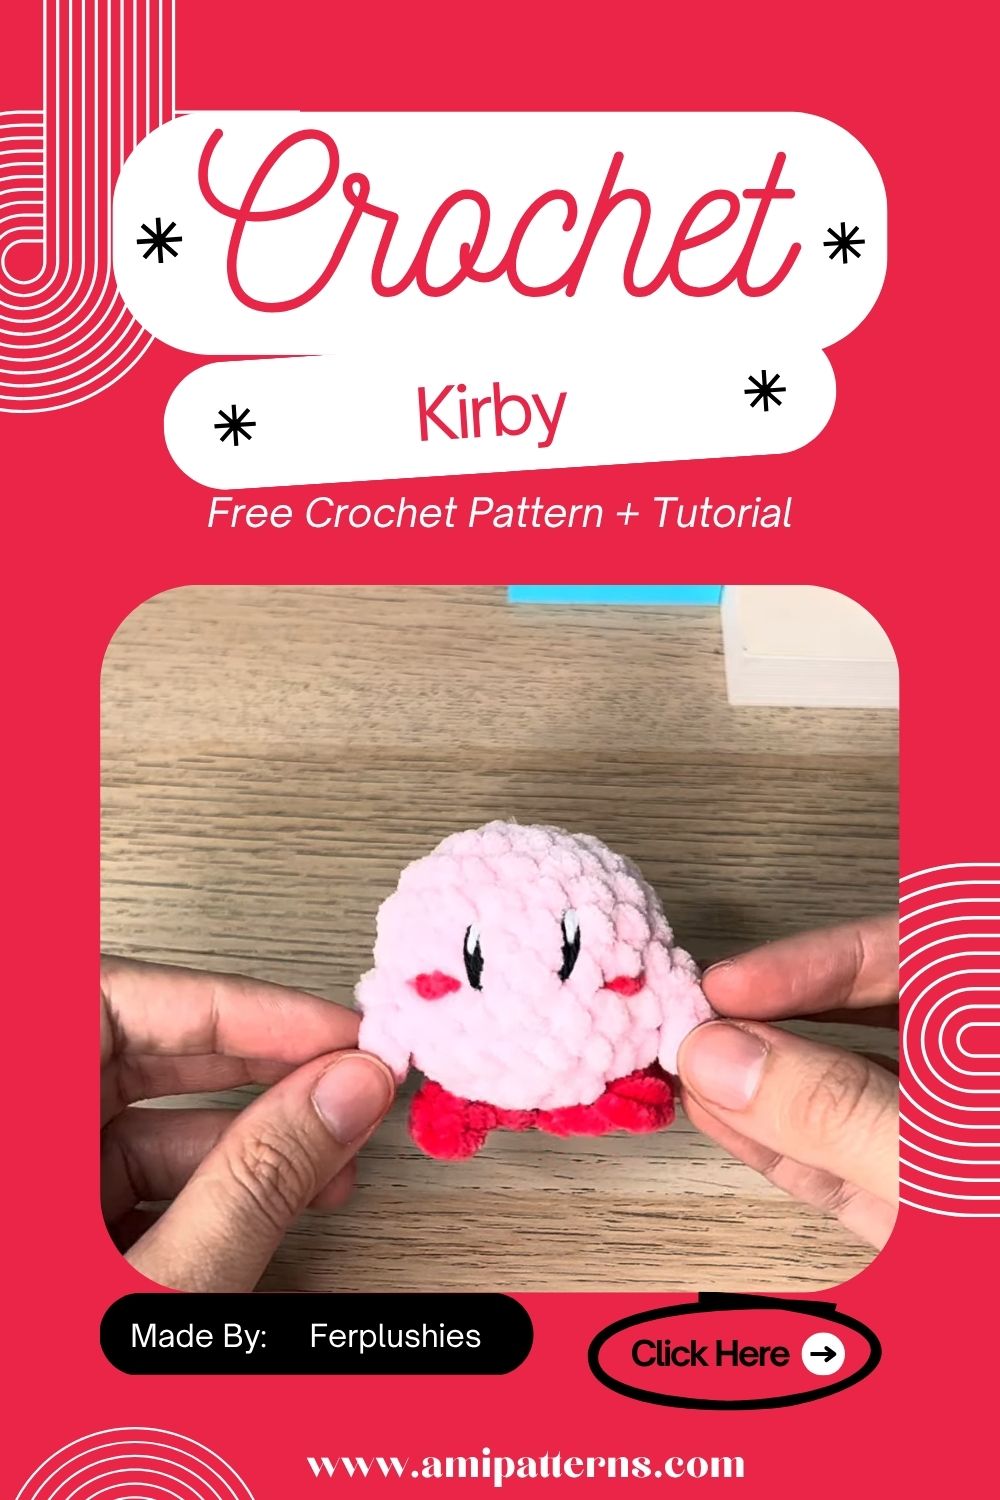
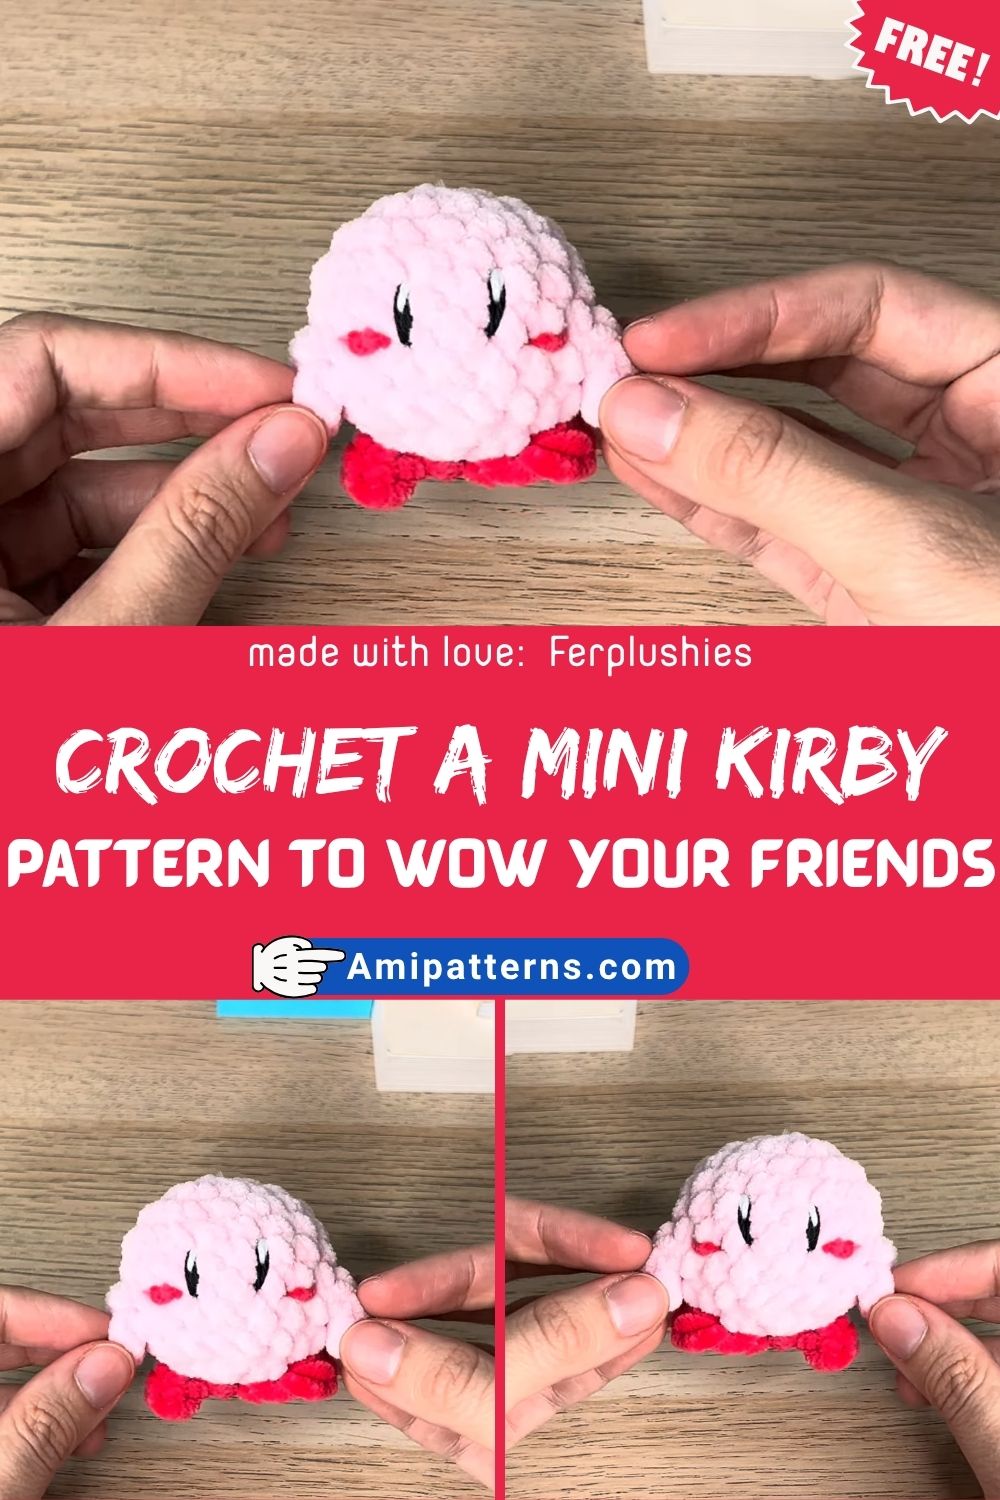
How to Crochet a Mini Kirby Amigurumi Pattern to Wow Your Friends
You know what? There’s something charming and satisfying about making a characters that already feels familiar. Much before you even pick up your hook. Kirby is definitely one of those rare, artistic, mesmerizing and instantly recognizable. Somehow it is full of personality, without even trying hard.
When you have a mini version, it is better than ever. It is small enough to finish it off quickly. However, cute enough that people assume you are spending a lot of time on making it. But actually you didn’t!
This mini Kirby Amigurumi pattern is perfect when you want something relaxing and low pressure. The fun part? It is will a little addictive when you get started.
Materials You’ll Need
There’s nothing too complicated to do here, which is one reason why this project is so easy.
- Soft pink yarn for body.
- Black yarn for facial details.
- Green or yellow yarn for legs and arms
- 5mm–3.5mm crochet hook
- Fiberfill stuffing
- Stitch markers
- Tapestry needle
- Scissors
- Keychain ring (optional). If you want a crochet Kirby plush keychain
How to Crochet a Mini Kirby Amigurumi Pattern to Wow Your Friends?
Are you excited enough to know how it will work? Let’s check out.
Starting the Body Shape
The body of Kirby is where everything starts and ends. Start with a magic ring and work in continuous rounds. The first few rows are tight, and slightly small; that’s why it’s okay. This is how you create the structure.
As you add more stitches you’ll notice the shape will slowly expand into a round shape. There’s not a lot of drama in one fell swoop, it’s more like watching something breed in your palms.
The Kirby Amigurumi for beginners comes to its rescue here, as there’s no tricky shaping. Simple repetitions that eventually become recognizable, just steady.
Stuffing and Closing the Body
In the process of getting ready to close it, take a minute with the stuffing. Take time on this part.
Pack it out evenly, without hard lumps or spaces. It should be soft, but firm enough to keep its shape when squeezed. The more Kirby is stuffed, the more alive he looks, it’s just a bit smoother. When it is in the right position, seal the opening neatly and make sure it is secure.
Adding the Face and Personality
That’s when things suddenly begin to change. Small black stitches or safety eyes, slightly spaced apart. It’s not just about spacing, it’s about how important spacing is in the eyes of people, it’s what gives Kirby his calm innocent face.
Attach a small curved mouth below. Nothing dramatic. Simply a light line that seems to be a gentle smile. After that, there is the blush. A pair of little pink circles on both cheeks make all the difference. A small feature but so warming.
When you’re doing an easy Kirby crochet tutorial, this is typically when people stop and remark “Okay… now that looks like Kirby.”
Making the Arms and Feet.
Arms are basic little round shapes, almost as if soft buds were sticking out on the sides. They don’t require a lot of details, just enough to give them the idea of movement.
There is a little more definition to the feet. Pick a deeper pink or red yarn and make them into small ovals. Attach them to the base so that Kirby can sit comfortably without tipping.
This is an important step as little movement in position can make all the difference – take your time. It is often more comfortable to wear if it is tilted slightly.
Assembling and Final Touches
Everything is now falling into place. Carefully attach arms in front a bit. Place the feet at the bottom and tighten the feet to make sure Kirby sits well.
If you’re making a crochet Kirby plush keychain, hang the ring from the top in the middle. Carefully weave all loose ends in. This is an easy-to-overlook part that will provide a clean finished look to the final piece. Then you take a step back for a minute and you say, ‘Yeah, it looks like Kirby.
Special Features
- Soft, round and easy to grip for quick recognition and comfort
- Easy to make with minimal shaping and stitches for the beginner
- Project that can be completed in a short time or evening
- Can be colored, expression and also has very small add-ons which can be put on.
- Great for decor, gifts or as a collectible mini plush!
Tutor’s Suggestions
After you’ve created one, you cannot help but try out new variations. Use sleepy eyes for a relaxed look, or surprise eyes for a fun look. Seasonal hats, scarves or color variations can even be created, with a complete makeover to the personality.
It’s even not uncommon to create an entire set of mini Kirby in various moods, and, in fact, it looks quite cute when you gather them all together.
Uses
- A simple handmade gift that is personalized
- Furniture decoration with a soft feeling that can be placed on the desk or shelf.
- A charming key chain or bag charm
- A relaxing crochet idea for relaxing evenings!
- An amusing piece of collectible for anime and Nintendo fans
Difficulty Level
This is a beginner’s-friendly project that is both easy and fun to build. If you can knit basic stitches and simple increases or decreases, you’re in the ballpark. The rest is repetition and some patience for shaping. It is not so much about skills, but about having fun as it slowly matures.
Step-by-Step Flow
- Begin with the body, and create the round shape.
- Stuff and close it carefully
- Add facial features to make it come to life.
- Glue arms and feet on
- Complete assembly and minor adjustments
- The entire thing comes easily without being overwhelming.
Conclusion
It’s weirdly satisfying to complete a little Kirby! It isn’t a crochet project, it’s something soft and familiar that you’ve created with your own hands!
Because this mini Amigurumi Kirby pattern is not a pattern based on perfection. It’s the little moment when it all falls into place and it all makes sense.
Finally, when you have it in your hand, you aren’t really thinking about stitches or steps any more. You only realize how simple it can be to make you feel quietly happy.
Pro Tip
Stuff it and roll Kirby between your palms like you would roll out dough. It helps to eliminate irregular areas and gives the shape a rounded form without over-stitching the stitches.