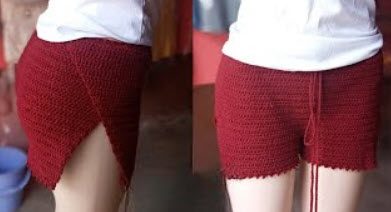
How to Crochet Booty Shorts Pattern With Drawstring
Turning a few skeins of yarn into summer shorts is easier than it sounds, and this crochet booty shorts pattern proves it. Because the project relies on simple half double crochet rows, no complicated stitches get in your way. Even better, the fit comes from your own hip and thigh measurements, so the finished pair suits your body instead of a standard size chart.
This guide covers every stage, from the stretchy waistband to the picot leg edging, and it ends with a drawstring that keeps everything snug.
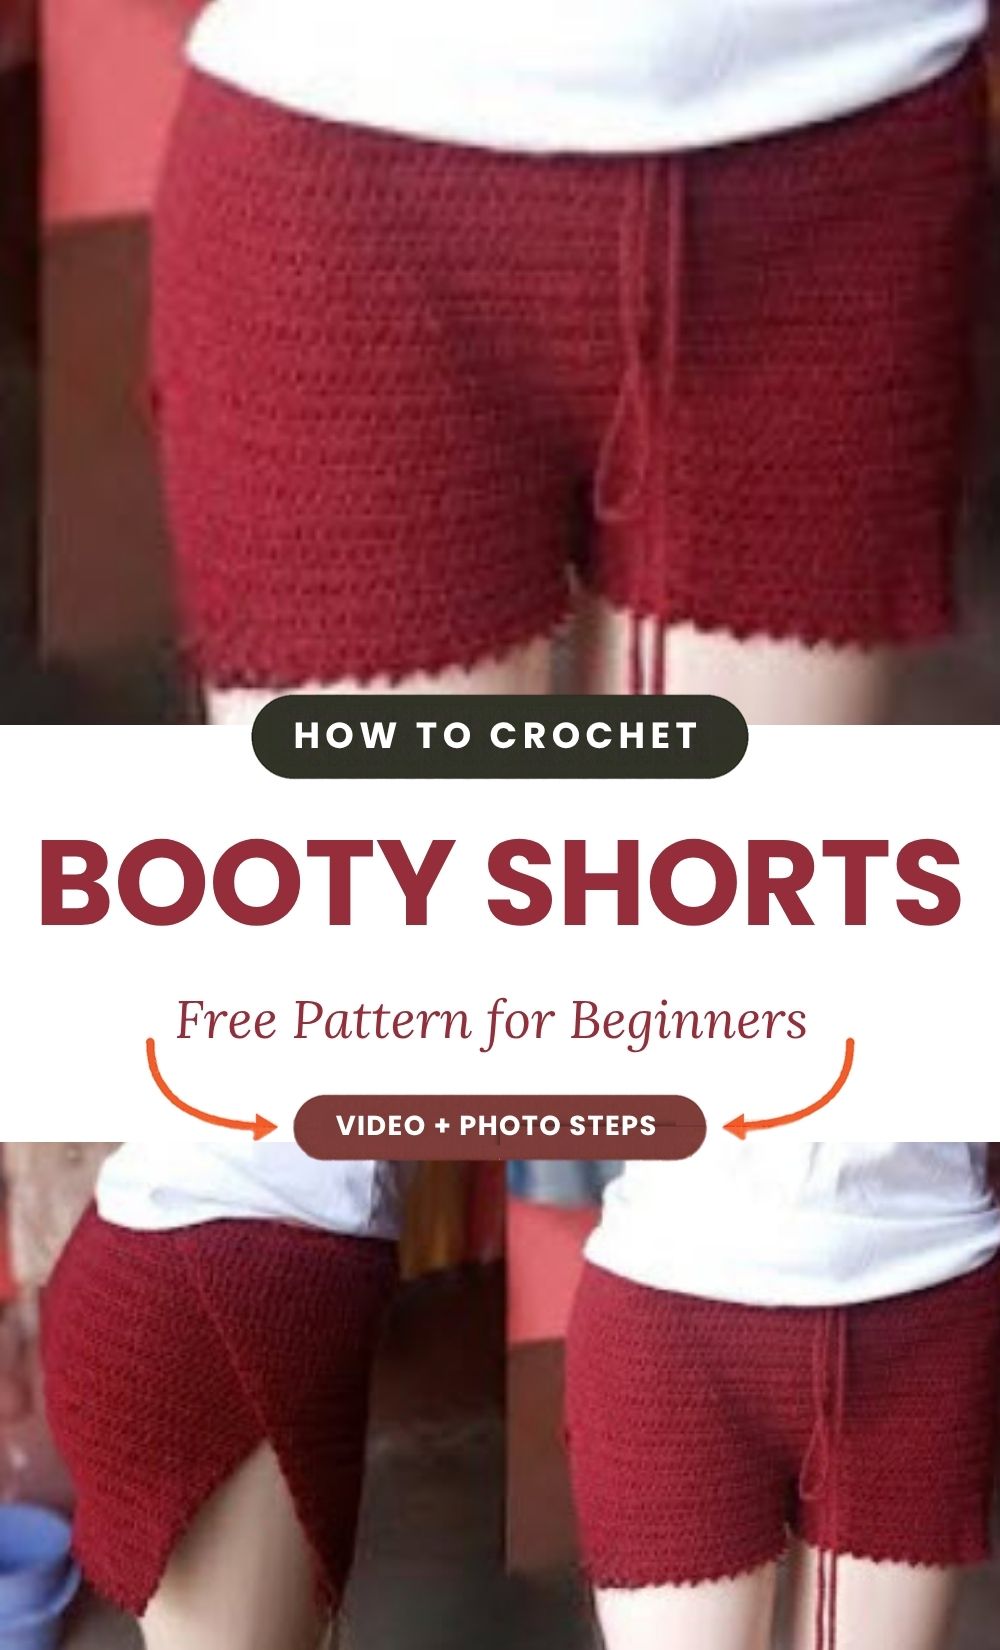
Crochet Booty Shorts Pattern Overview and Key Features
The design begins with a waistband that you work flat and then join into a circle. Next, you shape the front and back panels with invisible decreases and link them with a crotch bridge. Finally, you work each leg in the round and finish it with a picot edge.
Here are the key features:
- Mostly half double crochet
- Custom fit based on your hip and thigh measurements
- A stretchy waistband with negative ease
- Invisible decreases for smooth curves
- A decorative picot edge on each leg
Skill Level and Materials for This Crochet Booty Shorts Pattern
Skill Level
This crochet booty shorts pattern is beginner-friendly, since it needs only half double crochet and basic row work. However, you will pick up a few new skills along the way: reading a gauge, placing stitch markers, and doing simple math for the crotch bridge. If you already know chains and slip stitches, you can finish the project.
Materials and Yarn
- Yarn: Pick any yarn you like. The pattern does not call for a specific weight or brand.
- Hook: Choose a size that suits your yarn and gives you a fabric you enjoy.
- Stitch markers: You need them to separate the front and back panels.
- Tape measure: Use it for your hip and thigh measurements.
- Yarn needle: It helps you weave in the ends.
- Drawstring cord: Buy one or make your own (see the finishing section).
Because the pattern leaves the yarn choice open, swatch before you start. A soft, drapey yarn gives comfortable shorts, whereas a firmer yarn holds more structure.
Sizing, Gauge, and Abbreviations for Crochet Booty Shorts
Finished Size and Sizing Options
This pattern has no fixed size chart. Instead, you need two measurements:
- Hip measurement
- Thigh measurement
You make the waistband with negative ease, so it hugs your waist rather than hanging loose. Meanwhile, the panels run down to the crotch area, about 8 inches in the original pattern. If your torso is shorter or longer, adjust that length.
Stitches and Abbreviations
- ch: chain
- sl st: slip stitch
- sc: single crochet
- hdc: half double crochet
- dec: decrease (this pattern uses the invisible decrease)
- picot: a decorative edging made from chains, slip stitches, and single crochets
Gauge Information
Gauge matters more than usual here, because the hip and crotch shaping depends on it. Work a swatch in half double crochet and count how many stitches fit into one inch. That number tells you how many stitches the hip section needs, as well as how many extra stitches the crotch bridge requires.
If you skip this step, the shorts may turn out too tight or too loose. In contrast, a few extra minutes on a swatch can save hours of ripping back.
Tips Before You Start Your Crochet Shorts
- First, take your hip and thigh measurements while you wear the underwear or base layer you plan to wear under the shorts.
- Use stitch markers freely, because they stop the front and back panels from drifting.
- Keep the waistband slightly snug, since yarn relaxes with wear.
- Count your stitches at the end of each row, especially around the decreases.
- Try the piece on, or hold it against your body, before you join the crotch bridge.
Step-by-Step Crochet Booty Shorts Pattern Instructions
Step 1: Start the Waistband
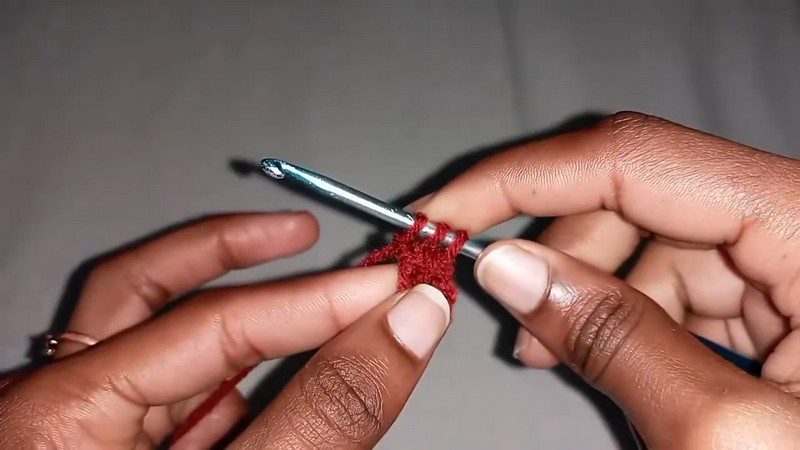
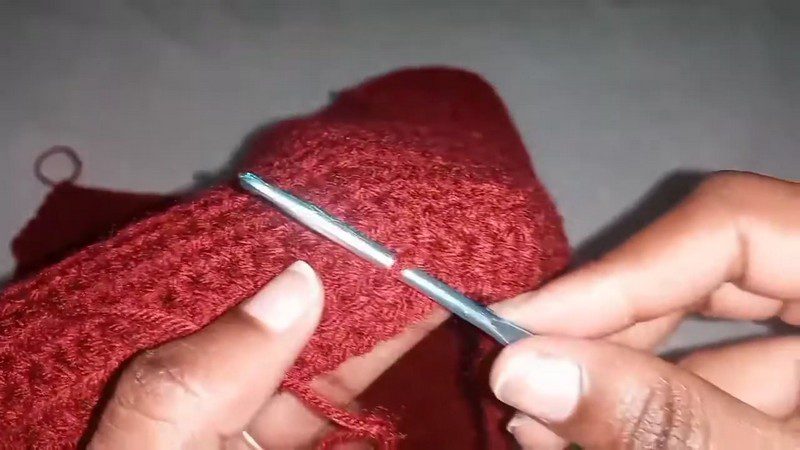
Chain 3 and begin working half double crochets. You make the waistband by working into the side loops of the rows, which creates a stretchy, ribbed-looking band. Keep going until the strip fits around your waist with negative ease.
In the photo, the hook holds the first few stitches of the waistband. Pinch the starting piece between your fingers to keep the stitches even and help the hook enter the side loops cleanly.
Step 2: Join the Waistband and Divide the Panels
Once the strip fits your waist, join the ends to form a circular waistband. Then place stitch markers to divide the work into front and back panels. After that, use your gauge to work out how many extra stitches the hip and crotch shaping needs.
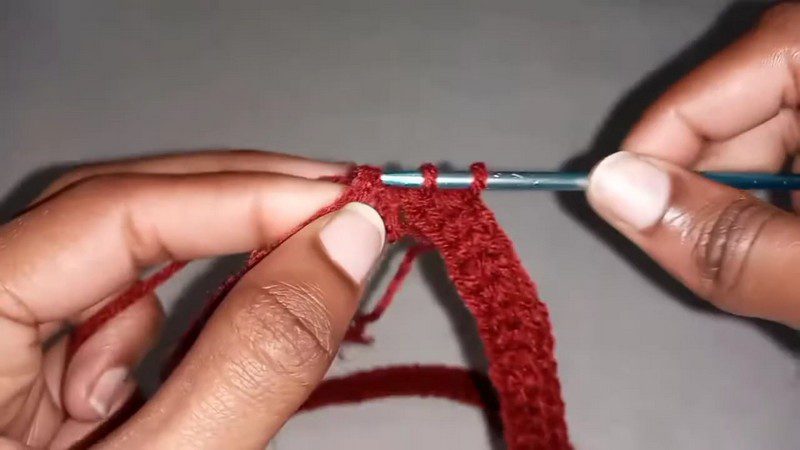
The waistband has grown into a long, narrow strip, and the live loops still sit on the hook. Check that every row has the same width and that the edge stitches line up in a straight column.
Step 3: Work the Front and Back Panels
Work rows of half double crochet. On alternating rows, add invisible decreases to carve the curves of the shorts. Continue until the panels reach the crotch area, about 8 inches in the original pattern.
Here, the hook passes through the fabric while you join and position the work. Make sure the strip is not twisted before you close the circle, and keep the right side facing out.
Step 4: Add the Crotch Bridge and Shape the Legs
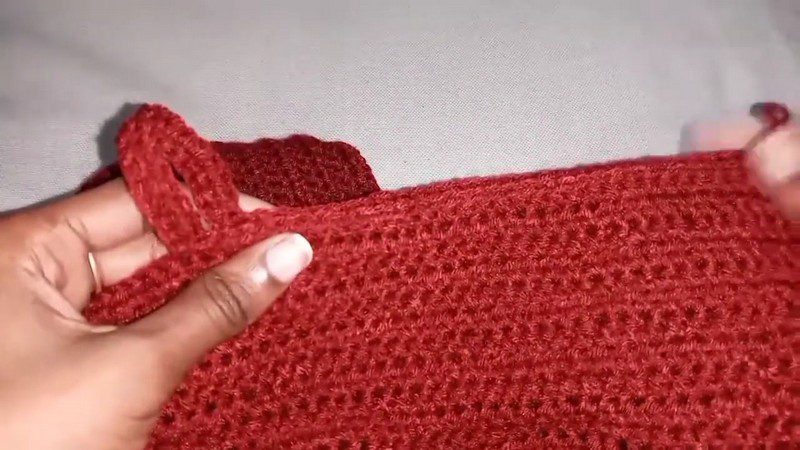
Subtract your thigh measurement from your hip measurement. That difference tells you how many bridge chains you need. Chain that number to connect the front and back panels, and then keep working in the round for each leg.
The panel lies flat and shows even half double crochet rows. A neat grid of stitches with no puckering tells you the decreases sit in the right places. Meanwhile, the waistband loop on the left marks the edge where you joined the circle.
Step 5: Finish the Leg Openings
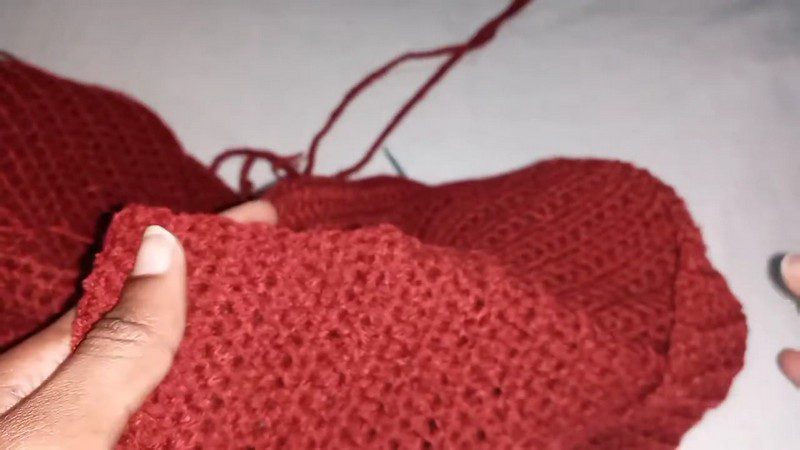
Add a picot edging around the bottom of each leg opening. A picot combines chains, slip stitches, and single crochets, and it gives the hem a clean, decorative finish. When you finish, weave in every loose end.
In the photo, a yarn tail shows at the join where the bridge links the front and back panels. Keep that tail out of the way as you work so it does not tangle in new stitches.
How the Crochet Shorts Come Together
You build the shorts from top to bottom in one piece. First, a flat waistband becomes a circle. Then the panels grow downward, and the bridge connects front to back. After that, the work continues around each leg. Because nothing needs sewing, assembly stays minimal, and the only seam is the waistband join.
Customising Your Crochet Booty Shorts
- Length: Work more or fewer rows before the bridge.
- Fit: Add or remove decreases to change how closely the curves follow your body.
- Edging: Swap the picot for a plain single crochet edge.
- Drawstring style: Choose a flat cord, a round cord, or a handmade chain cord.
- Colour: Try a two-tone waistband or striped panels.
Bonus: Styling Ideas for Your Finished Shorts
These shorts pair well with a simple tank, an oversized shirt, or a lightweight cover-up. They also work as beachwear, loungewear, or part of a festival outfit. In a neutral shade, they match nearly everything. Alternatively, a bold colour like deep red turns them into the star of the outfit.
Common Mistakes with This Crochet Booty Shorts Pattern
The panels look uneven.
Count your stitches at the end of every row, because uneven decreases usually cause this.
The bridge feels too short or too long.
Recheck the difference between your hip and thigh measurements, and confirm your gauge.
The fabric curls or twists.
Make sure the waistband was not twisted before you joined it.
The leg openings feel tight.
Add more bridge chains, or work the leg stitches more loosely.
Finishing and Care for Your Crochet Shorts
Weave in all loose ends with a yarn needle, and block lightly if the fabric needs to relax.
The pattern does not specify a drawstring method. Common options include threading a store-bought cord through gaps in the waistband or crocheting a long chain cord. Whichever you choose, test the length against your waist before you weave it in.
For care, hand wash gently in cool water and lay the shorts flat to dry. This keeps the shape and protects the stitches. In addition, follow the yarn label for any specific instructions.
Crochet Booty Shorts FAQs
Is this crochet booty shorts pattern good for beginners?
Yes. It uses half double crochet and simple row work.
What measurements do I need?
You need your hip and thigh measurements. The difference between them sets the size of the crotch bridge.
Which yarn works best?
The pattern does not require a specific yarn. Still, a soft yarn that suits warm weather works well.
How long should the panels be before the crotch?
The original pattern uses about 8 inches. Adjust that to fit your body.
Can I skip the drawstring?
Yes. A snug waistband with negative ease can hold the shorts alone, but a drawstring adds adjustability.
Shorts That Fit You Exactly
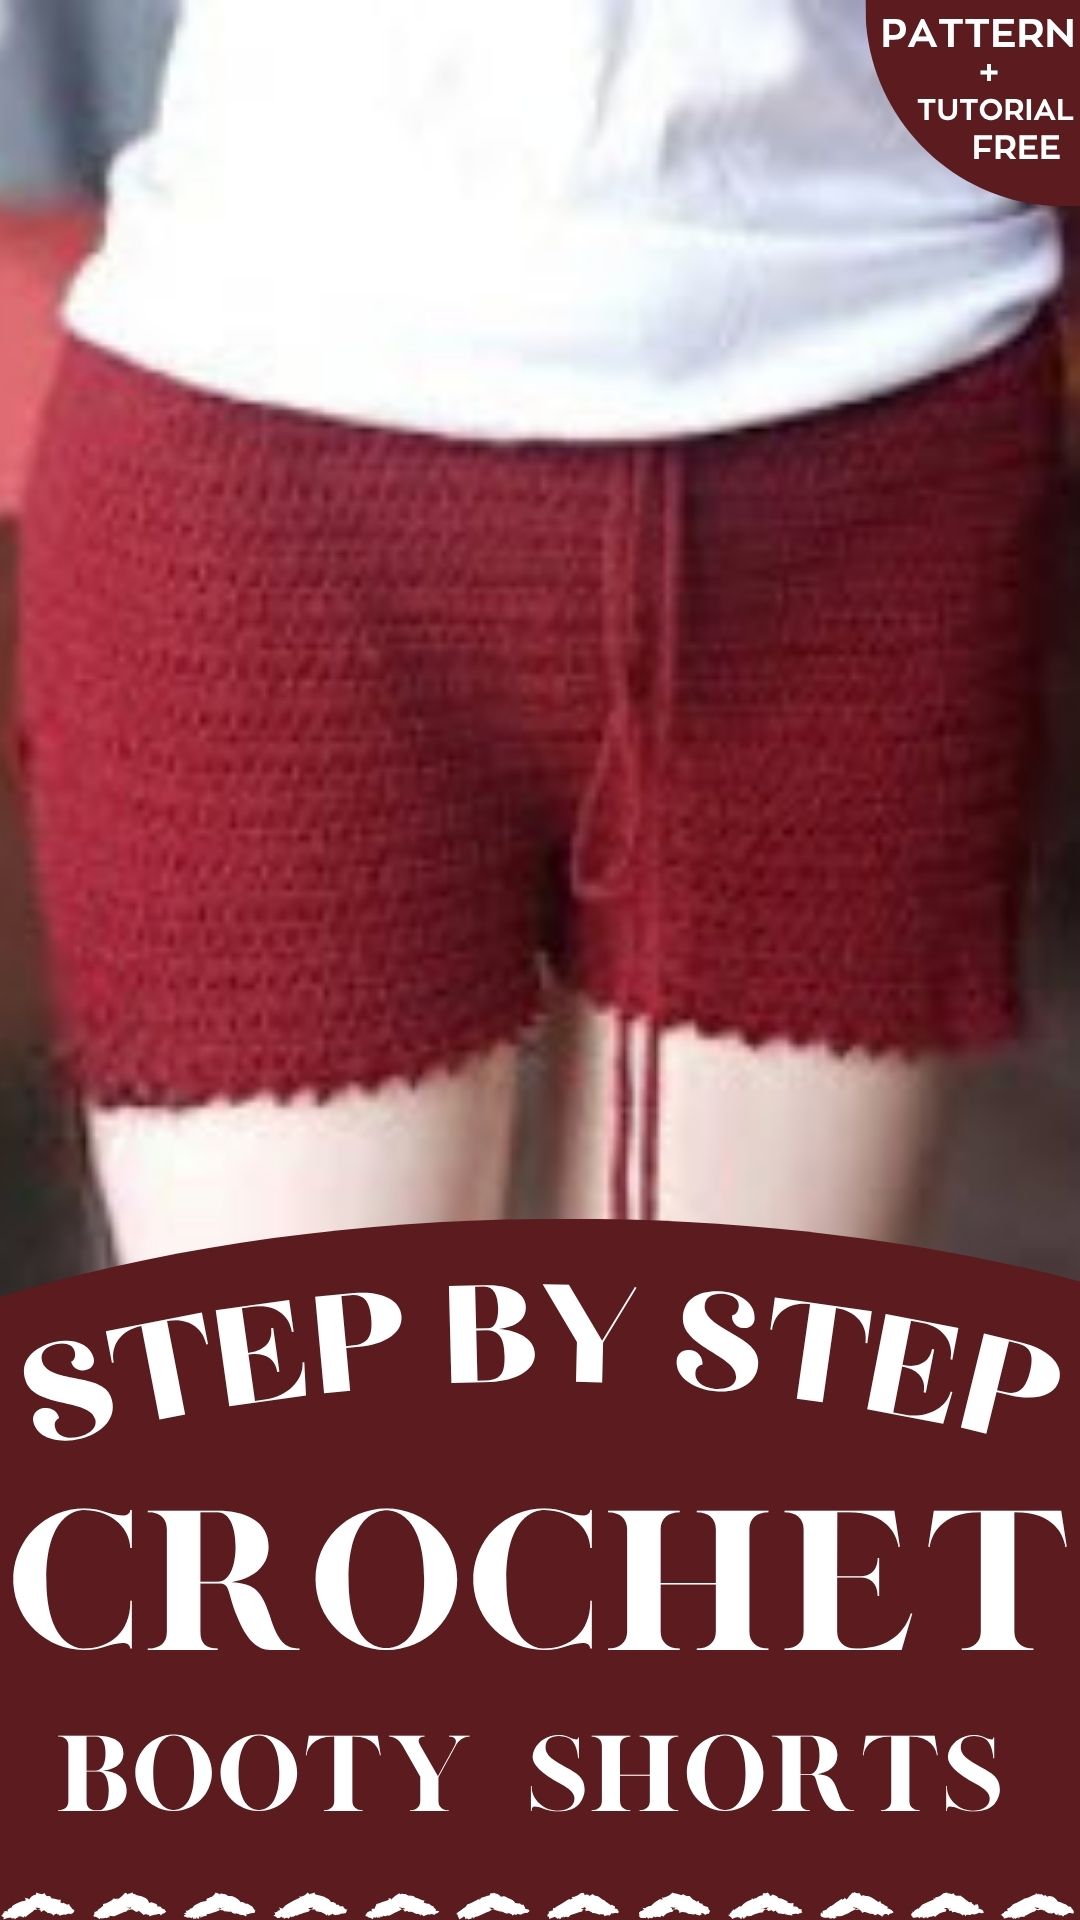
Custom clothing does not need advanced skills, and a crochet booty shorts pattern like this one shows why. With careful measurements, a gauge swatch, and steady half double crochet rows, you can make a comfortable, flattering pair. So pick a yarn colour you love, start the waistband, and enjoy watching the shorts take shape. Then share your finished pair, or save this pattern for your next project.