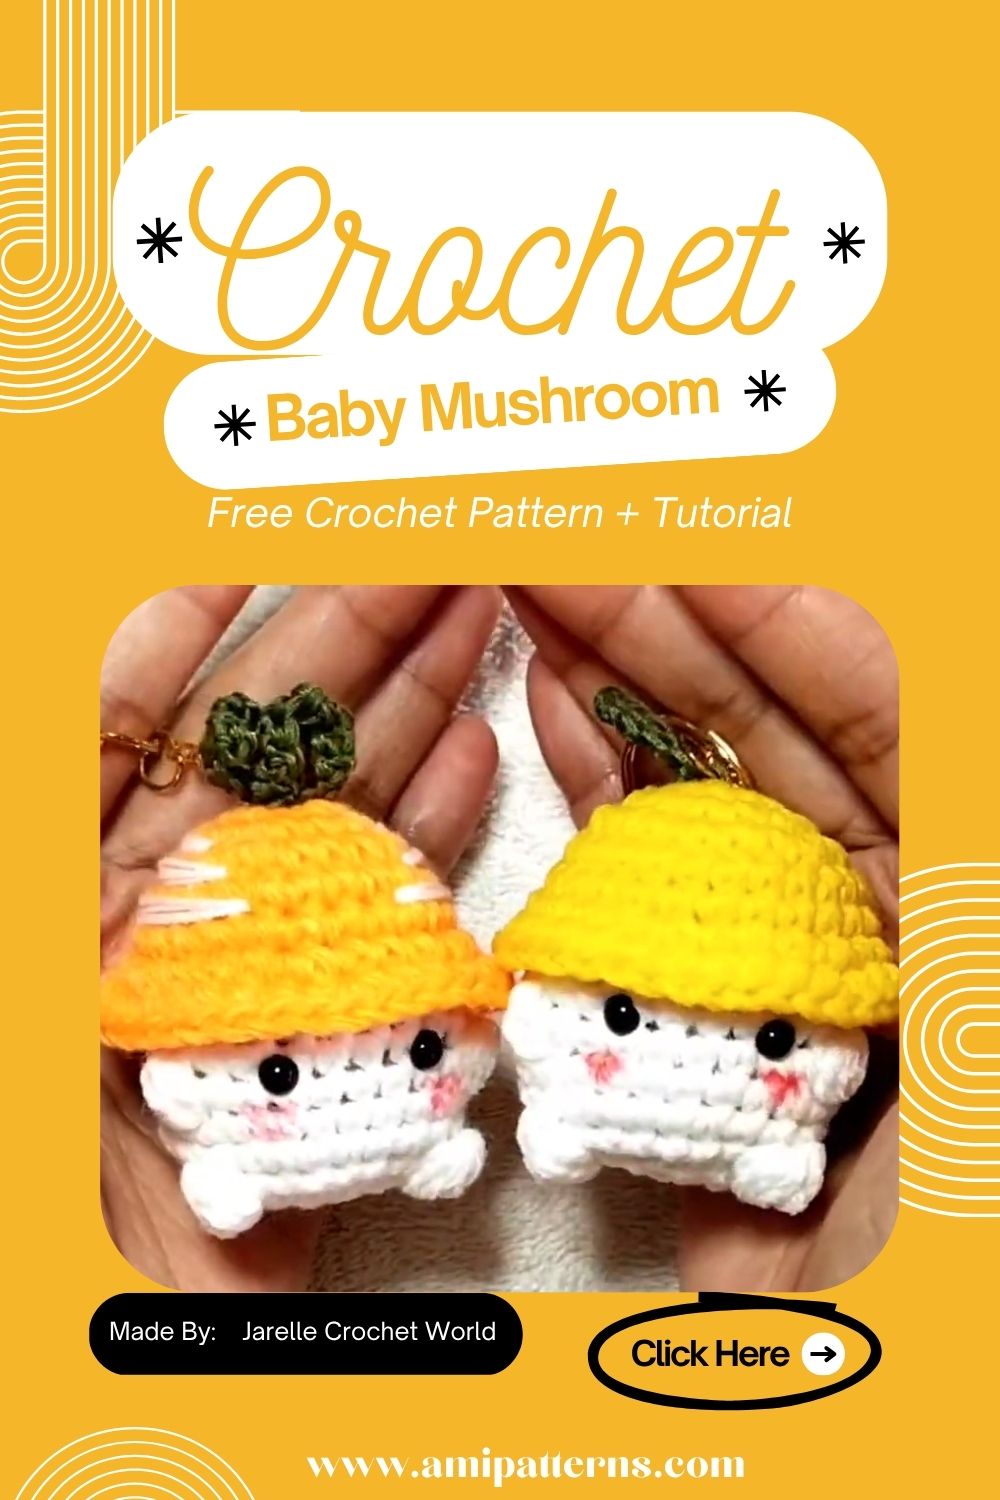
How To Crochet Baby Mushroom Keychain – Easy Amigurumi Pattern
There is something that feels very comforting about tiny mushrooms. When you take a look at them they give out an aura that’s hard to explain. When you decided to make a handmade piece featuring a mushroom it will look extra ordinary.
It isn’t the real kind you will find in the woods though. You will notice that the handmade ones look even more special when they sit in your palm. Honestly, it feels like they have always belonged there. You know what’s surprising?
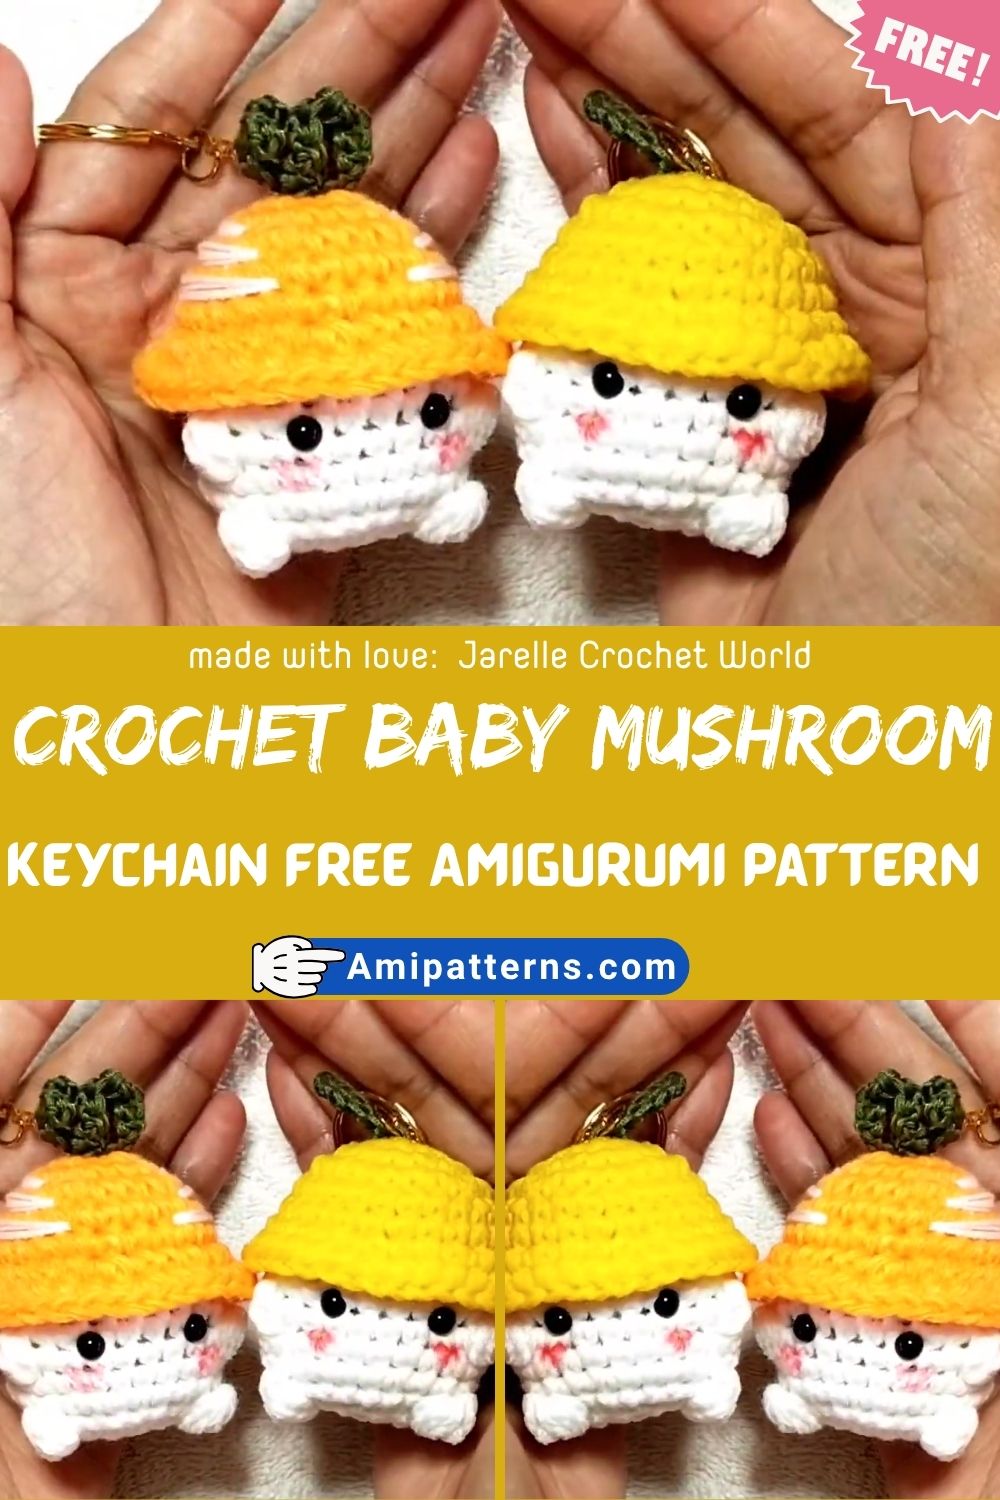
Lately, this little version of Polished Crochet Baby Mushroom Keychain Free Amigurumi Pattern is going viral. It has a charm that is hard to ignore. So will you try making one too? Let’s get all the details here.
Materials That You Need to get Started
- Yarn: Red, beige/cream and some white soft cotton or acrylic yarn
- Crochet Hook: 2.5mm–3.0mm will work for tight stitches
- Tapestry Needle: For stitching and finishing
- Stitch maker: It is an optional choice
- Polyfill Stuffing: You need only a small amount of it
- Safety Eyes or Black Thread: For the face
- Keychain: to turn it into something that you can carry around
- Scissors
Polished Crochet Baby Mushroom Keychain Pattern
Starting with the Mushroom Cap
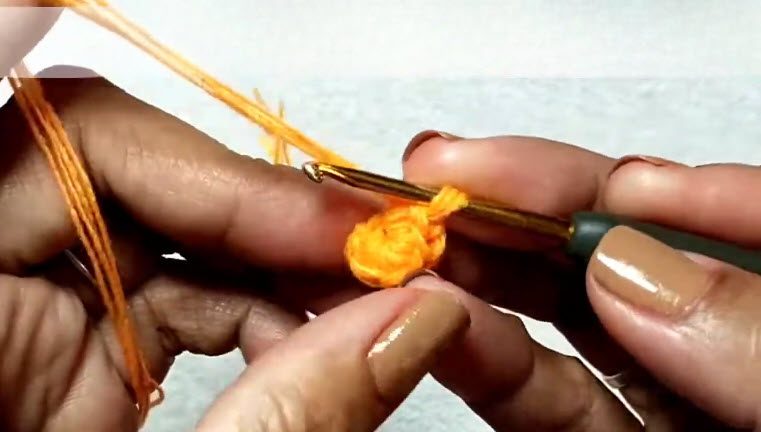
This is where the piece starts to be ‘real’.
You will begin with a magic ring and will work continuously with rounds, gradually increasing the stitches. The first impression is that it is small, almost insignificant. Give it a few rounds, though, and the shape springs open.
It’s really nice to see the curve come together. This one is not so obvious but persistent. This section of the crochet mushroom key chain pattern is all about control. Tight, even and consistent stitches definitely help in the appearance of the end product.
You will start to curve it slightly downward after it reaches the correct size, to give it that mushroom cap look.
Making the mushroom base
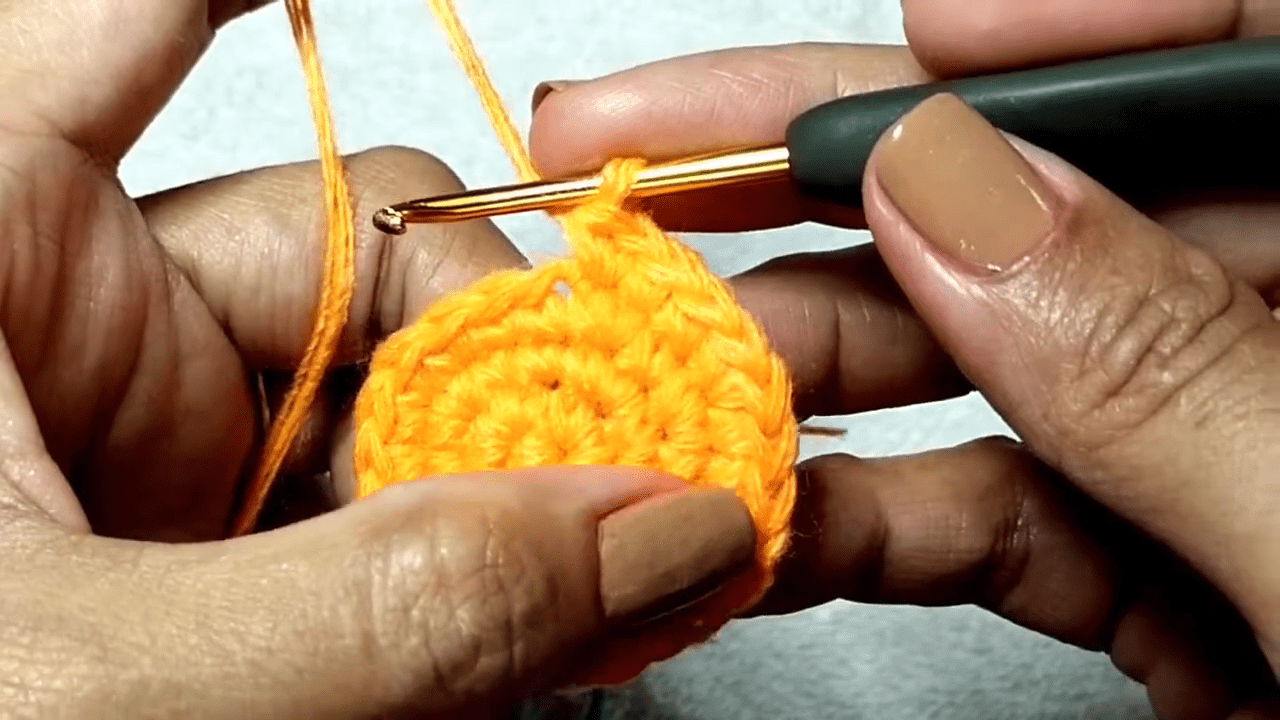
The base is easier but the character starts to emerge from it. Work another magic ring in a neutral color and work up in small rounds. Unlike the cap, this part remains more cylindrical and has soft, slightly rounded, well-balanced shape.
Place some stuffing into it before closing. Not too much. It should be soft and not hard. This step in the baby mushroom amigurumi pattern free is a step that is often forgotten, but it makes a difference. If too much stuffing is added, it will not be soft. If it’s too little, it tastes flat.
Adding the Signature White Spots
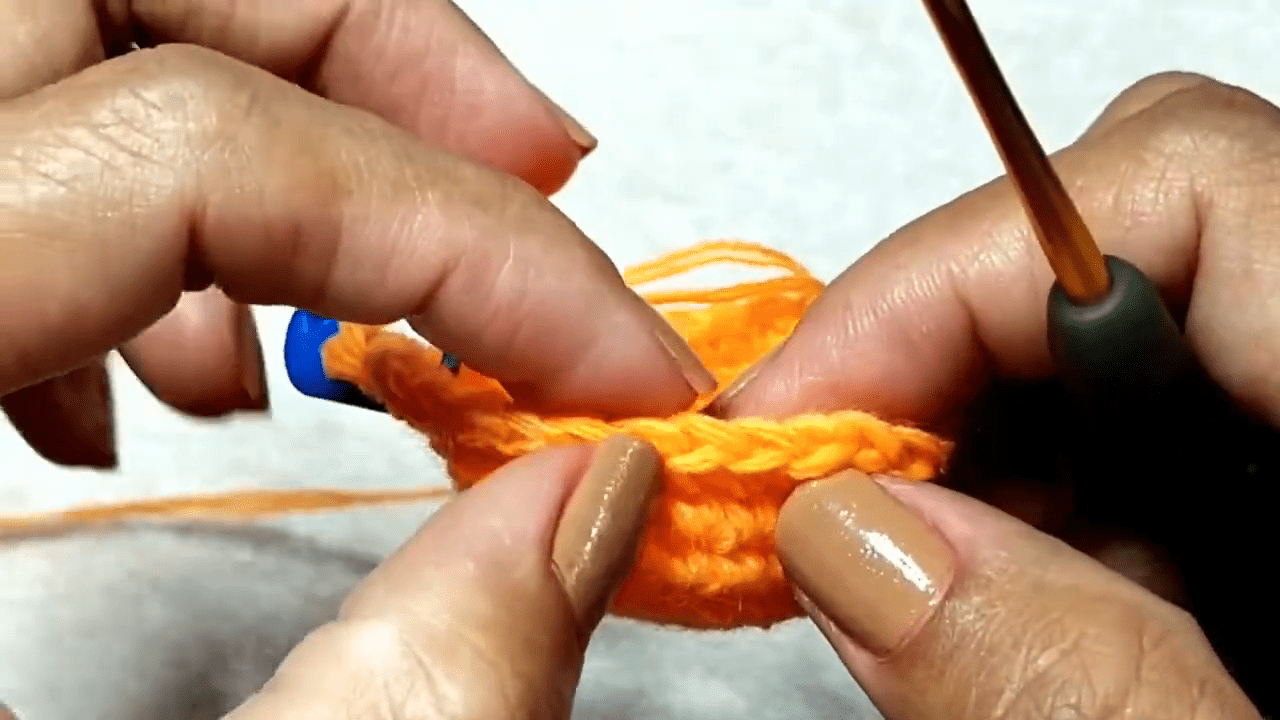
Space them unevenly. That’s the trick. This can make it look stiff, if it has a perfect symmetry. Just a bit of randomness makes it come to life. And, truthfully, this is the time when people often stop and smile. All of a sudden, it’s like a mushroom, not only a crochet piece.
Shaping the Face
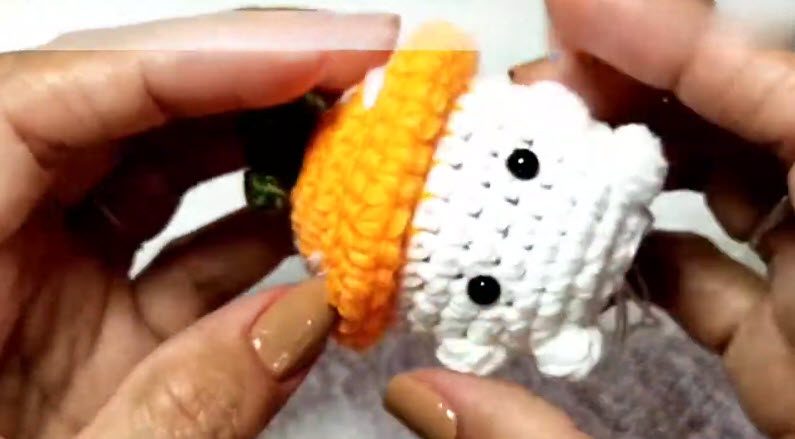
Now is the part that makes everything change. Just two small eyes, set just right, can totally alter the personality. When they are closer, they look adorable and shy. If a little bit wider, it will look more playful.
If safety eyes are being used to fasten, insert them prior to closure of the base. If you are fans of embroidery, then simple stitch is great. A very small smile is allowed…or none at all. Minimal faces are something quiet, and expressive. This is where the small crochet keychain tutorial becomes so personal. No two mushrooms are alike.
Joining the Pieces
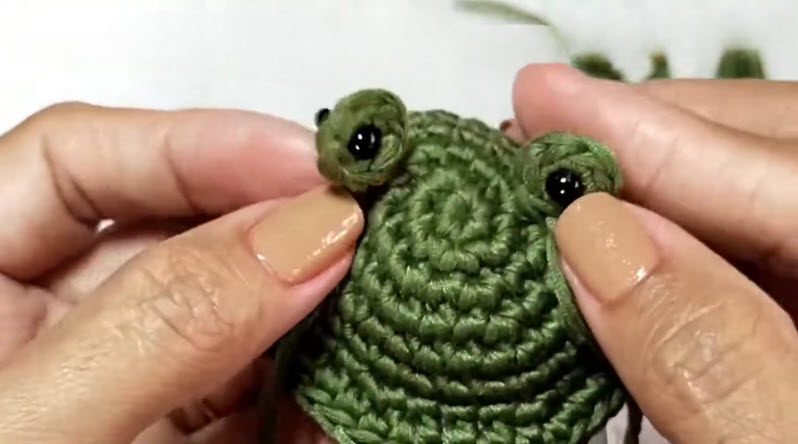
When both components are prepared, it is then time to put them together. Align the cap on top of the base and stitch carefully around the edge. Take the time to enjoy this. This seam is what adds the clean, finished appearance to the mushroom.
When in any doubt, make small tweaks before completely tightening. Very little change can make a big difference. Then, one day, it just feels complete.
Attaching the Keychain
It is a simple step, but it can change everything. Securely attach the keychain ring to the top of the cap with a small loop of yarn. Ensure that it remains secure, you don’t want it to fall off over time. Not only is it something that you created. It’s something that can be carried. On your keys. Your bag. Even as a tiny little charm, somewhere close to you.
Why Everyone’s Making It
It’s not only for the cuteness factor, although it’s definitely one that is hard to deny. The flow of this project is a certain ease. It’s not a hard question to think about. No need to follow intricate shaping or to count forever. You just… make it.
At some point, it turns into a habit. It transforms to a quiet little break of the day. It’s no wonder the crochet mushroom keychain pattern has taken such a hold on the world. It’s not only people completing it, but it’s also people enjoying it.
Special Touches That Make It Stand Out
The following are some of the special touches that make it stand out.
- Smooth, shiny surface and evenly stitched corners
- Comfortable and easy to hold size
- Constructed enjoyably with a small sense of identity
- Colors and facial expressions can be easily added to it
- A perfect balance between simple and meaningful,
It is not too detailed – and that’s the reason it works!
Tutor’s Suggestions
A good time is taken to shape the cap, it is the foundation of the piece. Tight and even stitches should be maintained. If you have some loose stitches, it can show.
If not, move the face to a comfortable position. It can be a minor adjustment that can make all the difference. And don’t hurry the assembly. Here’s where the polish really shines. It’s time to see what you can do with it.
What You Can Do with It
- Attach it to your keys for a soft, personal touch
- Give it as a gift, it’s small but meaningful
- Place it in a bag to wear on your wrist.
- Use it to crochet something!
- Put it on your desk as a little comfort item
One of those things that you have in your day to day without ever noticing.
Difficulty Level
This pattern is at an intermediate level. Shaping is moderate and stitches are simple. This will be familiar for those who have done a few small amigurumi. It’s not difficult if you are new. There’s just some patience and steady hands required.
How the Process Flows?
You begin with the cap and then move on to the base. After that you can add some details. It includes spots, face and shaping. When everything is ready you can assemble the pieces and in the end attach the keychain. It flows naturally and nothing is complicated.
Why it feels so personal
Something about handmade small items seems unique. They don’t demand attention. They don’t try too hard. However, they remain permanently.
This small mushroom, simple as it is, embodies the same simple presence. It takes an hour or two to make, but hangs around afterwards.
Pro Tip
After you stuff the base and before attaching the cap, gently roll the piece between your palm. It is a good tip as it will smooth out uneven stuffing. Moreover, will give the mushroom a more balanced and polished shape.