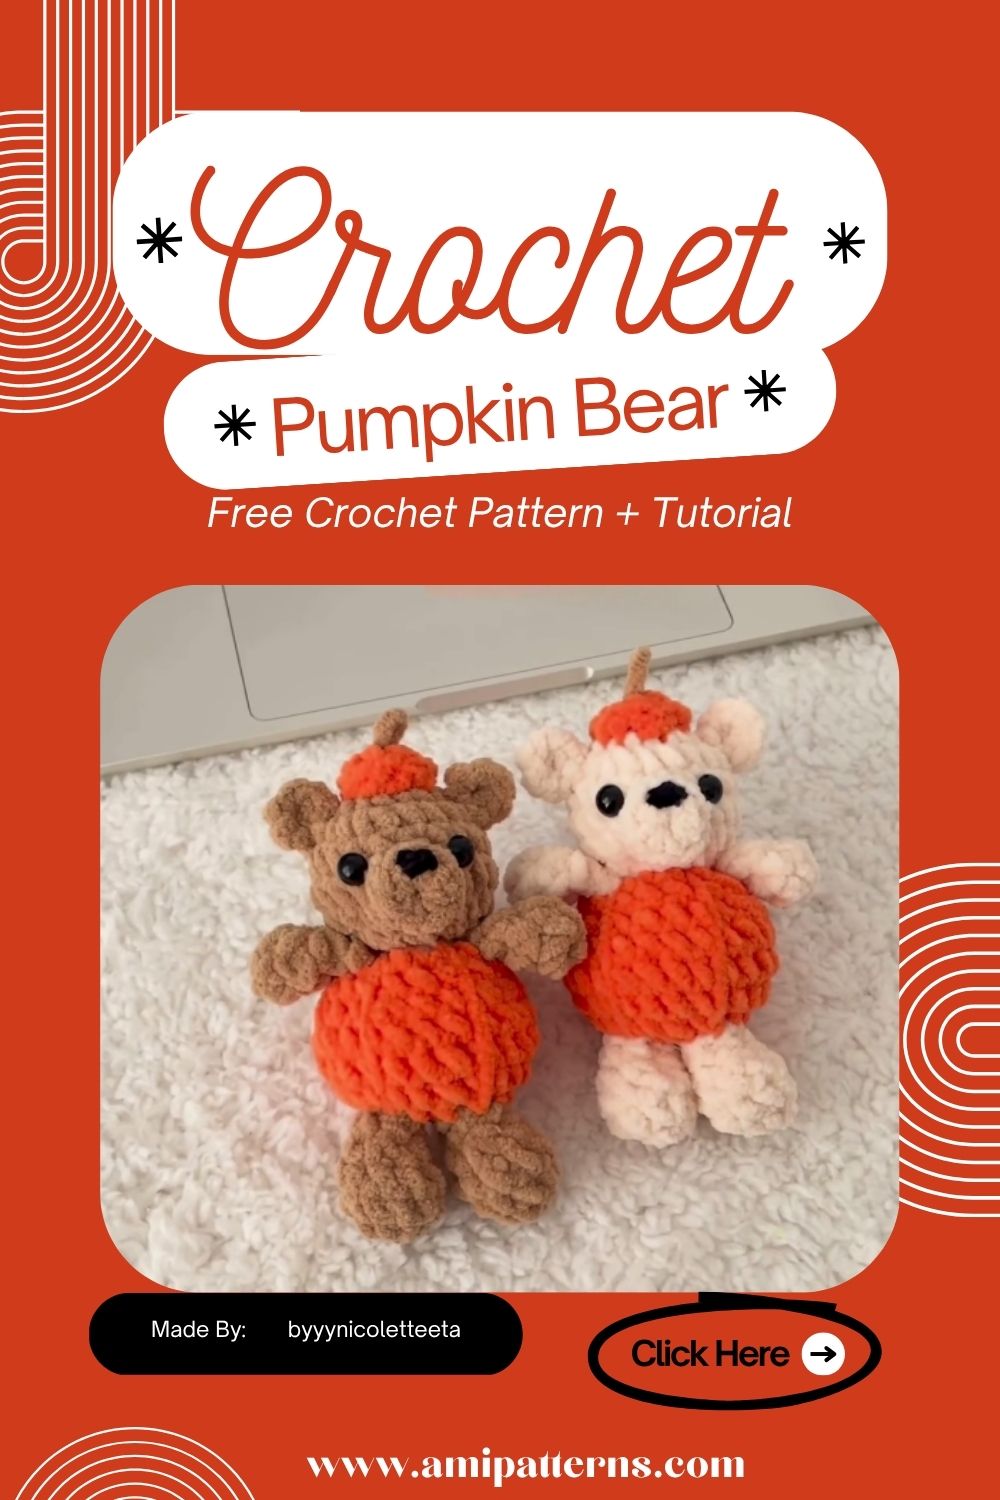
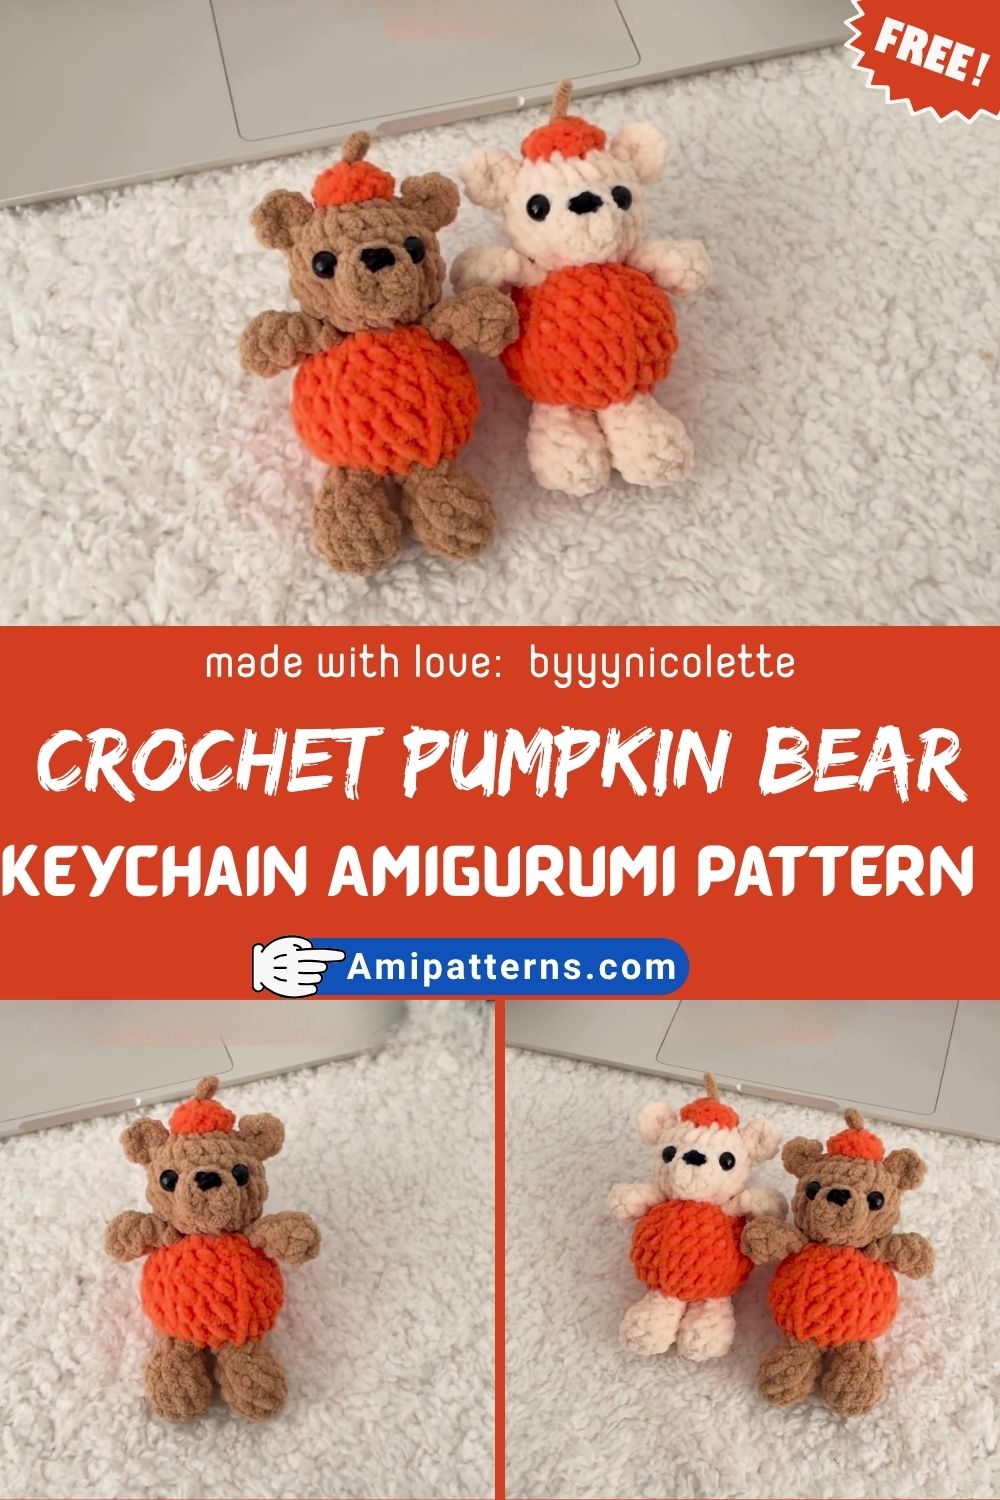
Crochet Pumpkin Bear Keychain Amigurumi Toy Pattern
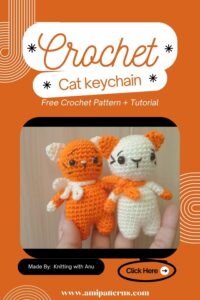
There is something very charming about the Crochet pumpkin bear keychain Amigurumi pattern Toy. It fills your day with laughter and wherever you go it gets a lot of attention. When you combine a teddy bear along with the pumpkin hat, this tiny accessory will become even more charming.
You can attract it with your backpack, attractive purse, keys or anything else. The project is beginner friendly. It’s a wonderful way to use the left over yarn from your previous project and create something new altogether. Lets make a cute pumpkin bear keychain today. Are you ready?
Materials You’ll Need
- Add brown yarn to the bear
- Orange yarn to make the pumpkin.Orange yarn to create the pumpkin.
- Green Yarn for Stem and Leaf
- Black embroidery thread
- Pink embroidery thread
- 6 mm safety eyes
- Polyester fiberfill stuffing
- Crochet hook (2.5–3 mm)
- Yarn needle
- Stitch marker
- Scissors
- Jump ring
- A keychain ring or lobster claw is the popular choice for this applet.
- The use of cotton yarn makes for cleaner stitches and acrylic yarn provides a softer look to the toy.
Why You’ll Love This Pattern
This cute project will have so many good reasons to do it!
- Uses only small amounts of yarn
- Beginner-friendly construction
- Perfect for amigurumi practice!Ideal for amigurumi practice!
- Creates well-thought-out homemade presents
- Ideal for fall and Halloween!
- Simple to change to other colors
- Fast beginners crochet project.
This is a great free pumpkin bear crochet pattern, it’s easy to do, but still looks professional when completed.
Crochet Stitches You’ll Need
- Magic Ring (MR)
- Single Crochet (sc)
- Increase (inc)
- Decrease (dec)
- Chain (ch)
- Slip Stitch (sl st)
Once all these stitches are known, one can finish the entire project.
How to Crochet a Pumpkin Bear Keychain
Step 1: Collect Your Supplies
Have all your yarn, stuffing, hook, safety eyes, embroidery thread, scissors and keychain hardware ready before you start. Having all of the necessary items at hand can make crocheting easier.
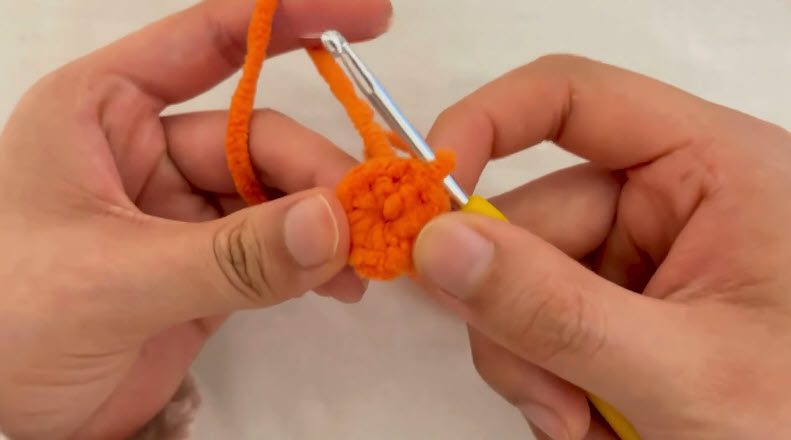
Step 2: Crochet the Bear’s Head
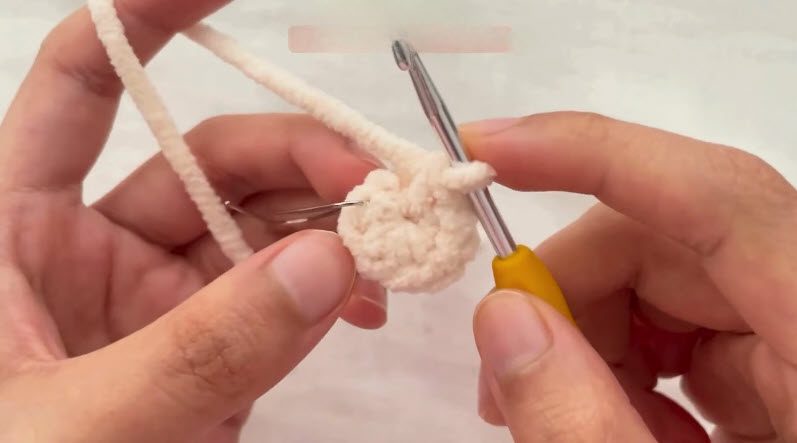
Using brown yarn:
- Round 1: Work 6 sc in magic ring.
- Round 2: Add 1 more stitch to each stitch (12).
- Round 3: 1 sc, inc around (18).
- Round 4: 2 sc, inc around (24).
- Round 5: 3 sc, inc around (30).
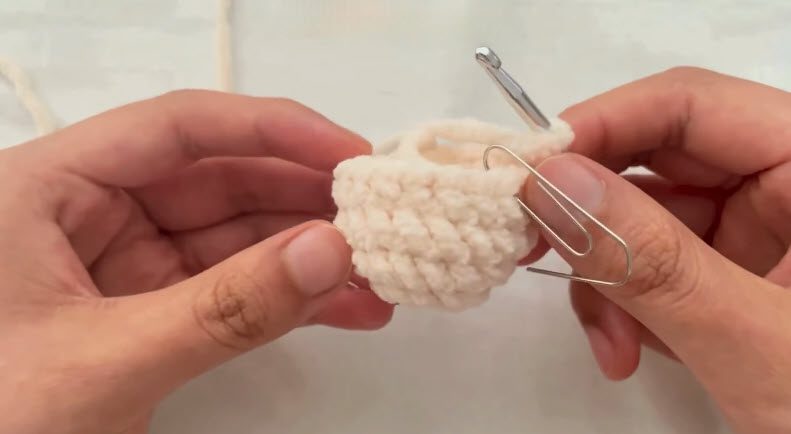
- Rounds 6-10: Crochet evenly (do not increase).
- Round 11–15: Start to decrease slowly.
- Stuff before it gets too tight in the opening.
Continue decreasing until the head is completely closed. Leave a long yarn tail to sew with.
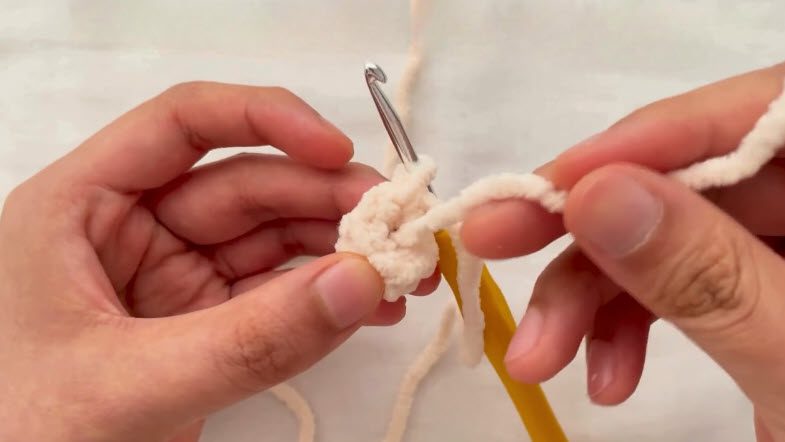
Step 3: Crochet the Body
Using brown yarn:
- Begin another magic ring.
- Count up to about 24 stitches all the way round.
- Increase several rounds of crochet, without increasing.
- Start to taper down at the bottom.
- Stuff with polyester fiberfill.
- Sew on a sewing tail to fasten off.
The size of the body should be slightly smaller than that of the head.
Step 4: Crochet the Ears
Using brown yarn:
- Make 6 stitches into a magic ring.
- Add one stitch to make 12 stitches.
- Fold each ear in half and sew the bottom closed.
- Create 2 identical ears.
- Mount them about equal in size on both sides of the head.
Step 5: Crochet the Arms
Using brown yarn:
- Create 2 little tubes.
- Crochet evenly on several rounds.
- Pack lightly close to the shoulder.
- Flatten the opening.
Stitch both arms fast to the sides of the body.
Step 6: Crochet the legs
- Create two short legs.
- Stuff each of them lightly.
- Put them under the body to allow the bear to sit up properly.
Don’t hurry to make a permanent fitting, but take your time in positioning them.
Step 7: Attach the Safety Eyes
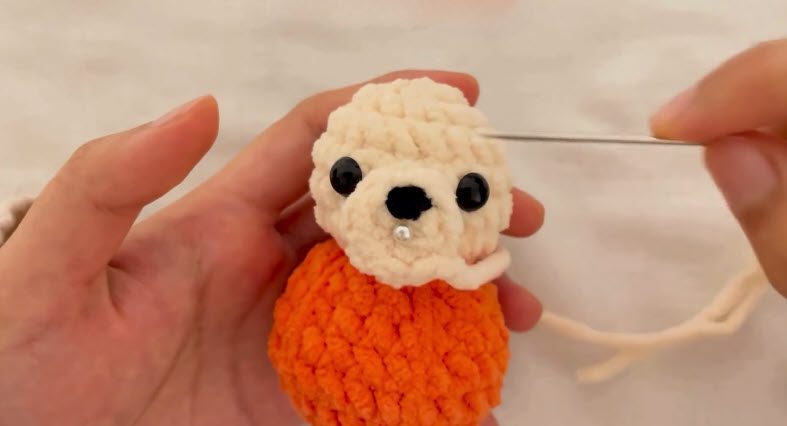
Insert two Safety eyes in-between the two centers of the head.
Leave 6 or so stitches between them.
Before locking the backs, check that both eyes are level.
For those who don’t have safety eyes, embroider two oval eyes with black thread.
Step 8: Embroider the Nose
Stitch a small triangle or oval (with black embroidery thread) between the eyes, forming a nose. Do not allow the nose to be too large, as this can create a more deceptive look.
Step 9: Embroider the Smile
Stitch a short curve smile below the nose.
The bear with a simple smile exudes a cheerful expression without overcrowding the face.
Step 10: Add Blush Cheeks
Stitch little cheeks under each eye with pink embroidery thread. Fabric-safe blush/pastel chalk can also be used for a less dramatic look.
This little thing brings the bear to life!
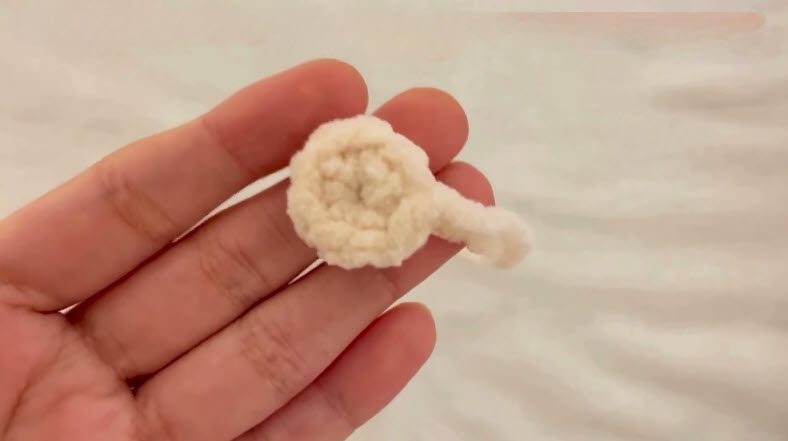
Step 11: Crochet the Pumpkin Hat
Begin with a magic ring. Gradually add water until the pumpkin fits over the bear’s head.
Crochet evenly around several rounds. If you want a more plump pumpkin, stuff it lightly.
Choose green yarn, and crochet a small stem and a small leaf.
Secure both parts on top of the pumpkin.
Lastly, sew the pumpkin on to the bear’s head tightly.
This section will work well for those who are on an easy crochet pumpkin keychain pattern because it adds the signature fall appearance.
Step 12: Put the Bear together
Securely sew the head to the body. Evenly attach ears, arms, and legs to it.
Before knitting ensure that all pieces are symmetrical.
A good toy always looks more neat when properly assembled.
Step 13: Put the Keychain Loop together
Chain 10-15 chains using brown yarn. Tie both ends tightly to the top of the pumpkin.
This loop will be used to provide keychain hardware. Pull gently to ensure it’s tightly attached.
Step 12: Assemble the Bear
Put the key ring or lobster clasp on. Ensure smooth opening and closing of all components.
Now your pumpkin bear will be ready to hang from your keys, backpack or purse.
Step 15: Final Inspection
When you’re done, review all the aspects.
- Eyes are secure.
- The nose is centered.
- Smile is even.
- The pumpkin hat is securely fastened.
- Arms and legs are even in size.
- There is no uneven distribution of stuffing.
- Loose yarn ends are woven in.
- The keychain loop is good.
You now have a cute pumpkin bear to crochet!
Video Pattern Here:
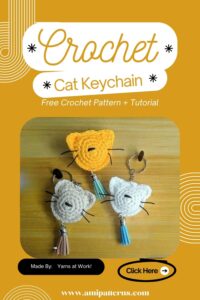
Fun Ways to Customize Your Pumpkin Bear
These are some fun ways to personalize your pumpkin bear!
A great feature of this project is that it is so easy to make it personal.
You can create:
- White pumpkin bear
- Pink pumpkin bear
- Chocolate brown teddy
- Halloween ghost bear
- Witch hat bear
- Christmas pumpkin bear
- Tiny scarf for wintertime use.
- Necklace in the shape of a ribbon round the neck.
The expression of the face also gives the whole new face of the personality.
Helpful Tips for Beginners
In case you don’t know much about amigurumi, here are some basic guidelines.
- Make use of the stitch marker for every round.
- Tightly crochet so that no stuffing is seen.
- Count stitches frequently.
- Stuff gradually instead of all at once.
- Embroider on face prior to sewing on head to body.
- Stitch each piece that is sewn twice.
Common Mistakes to Avoid
Don’t make these newbie errors.
- Uneven increases
- Loose stitches
- Overstuffing the head
- Crooked ears
- Uneven eye placement
- Weak keychain attachment
- Not making sure to weave in yarn ends
You’ll save yourself a lot of time if you review your work at the end of each section.
Special Features Of this Pattern
Realistic body design for pumpkins with a nice shape for a cute fall appearance.Embroidered nose and smile, and safety eyes make for an adorable teddy bear face.
- Easy and simple stitches and assembly for beginners.
- It is compact enough to use as a key chain, bag charm, backpack, or as an accessory.
- Takes small quantities of yarn and is a great stash-busting project.
- Colors of the bear and pumpkin can be customized to suit your style.
- It is a lovely touch to decorate with stems and leaves from pumpkin.
- Well-designed and well-fastened parts, materials and construction that will last through use and provide enjoyment.
Such a mini amigurumi bear keychain is also a popular item for handmade markets as it’s cheap, easy to make and children and adults adore it.
Caring for Your Crochet Pumpkin Bear
To maintain the apparel of your toy:
- Spot clean using mild soap.
- Allow it to air dry.
- Avoid machine washing
- Put it away from sunlight
With proper care, it will maintain its shape and color.
Final Thoughts
Crochet Pumpkin Bear Keychain Amigurumi Pattern Toy is a wonderful project to make that is both cute and cozy to the fall. Easy to do even for novices, fun for old pros, and just as easy to change the color and add accessories.
This cute pumpkin bear is sure to bring a smile to anyone’s face whether you’re making the bear for yourself, your loved ones, or sell handmade crafts at any pumpkin craft fair. So grab your favorite yarn and get out with your crochet hook and make a little friend to brighten up each season.