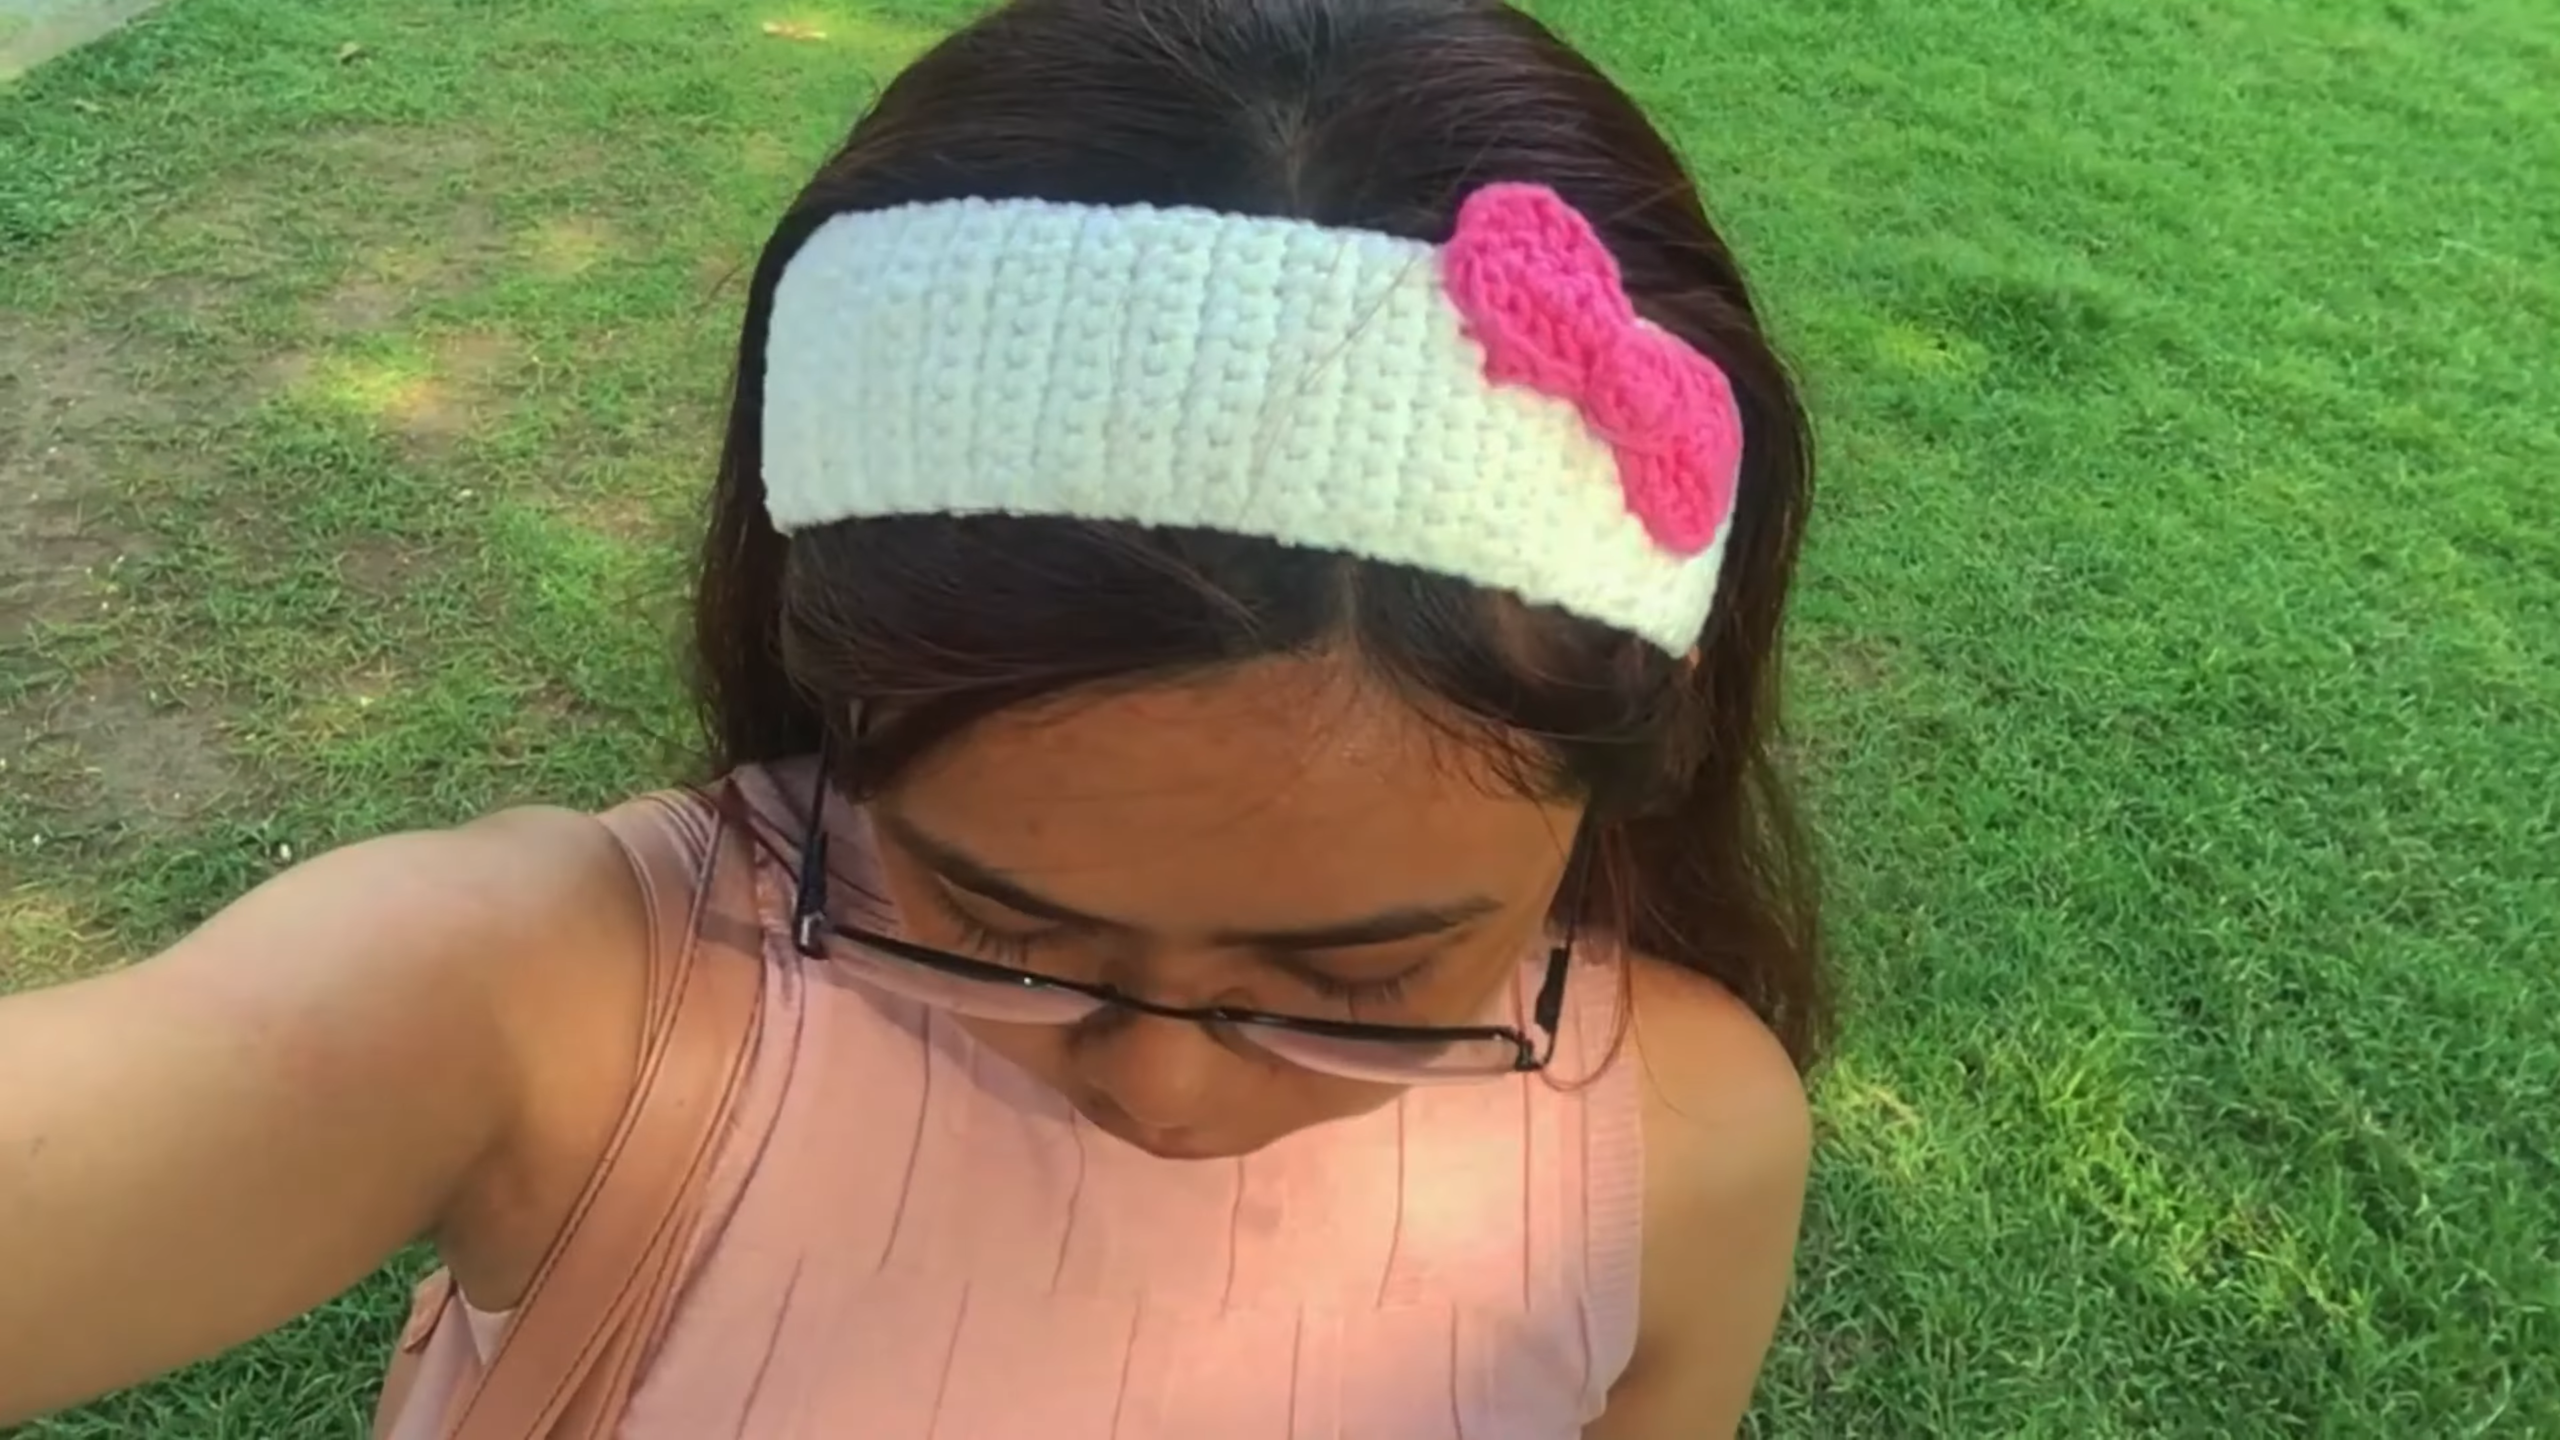
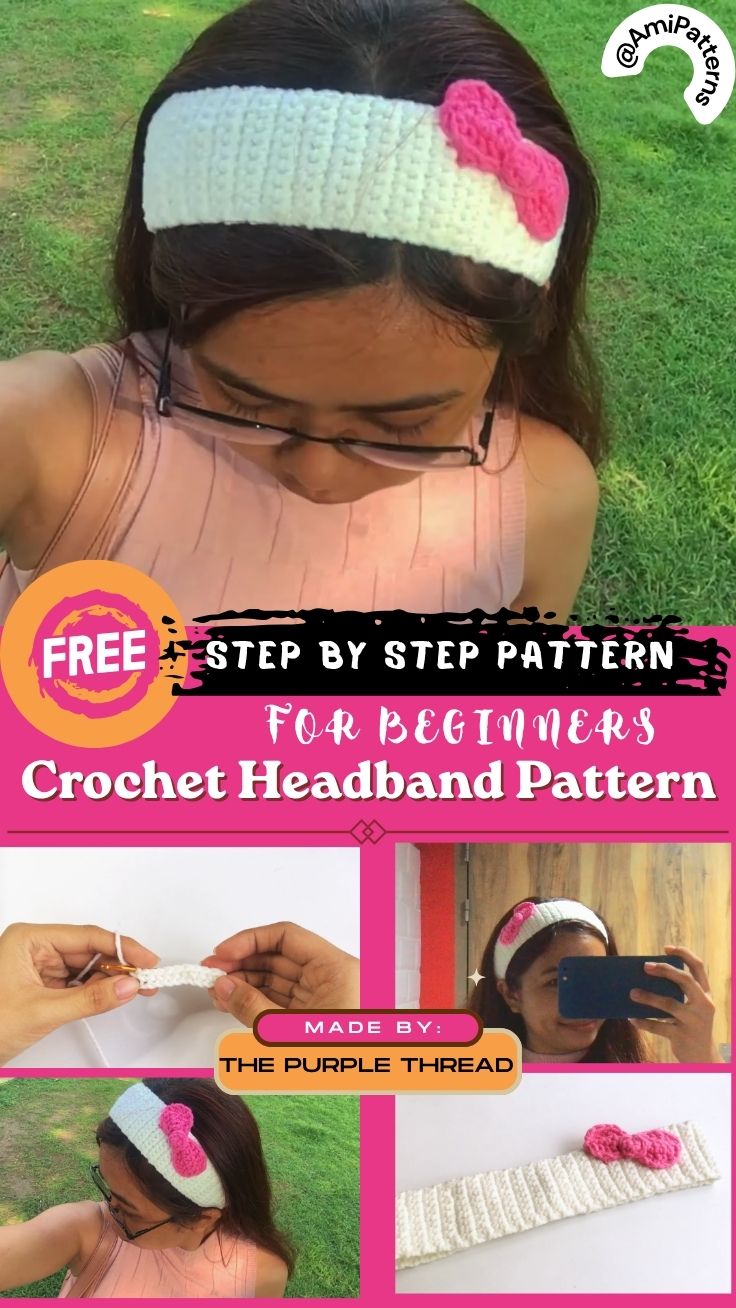
Crochet Headband Pattern with a Woven Crown Texture
The crochet headband pattern is a cozy little hat with a detail that seems very complicated but is actually very simple. The texture of the crown is woven with basic crochet stitches and makes for a nice soft band without needing any complicated colorwork or shaping. It fits snugly around the head and can be styled with an unruly bun, loose hair or a winter coat.
The best thing about it is the simplicity with which it’s possible to change the appearance. For everyday wear, a neutral would be fine, for fall and winter, a deep shade of the season would be great, and for spring and summer, you can make a bright-colored headband. This can be done to form an elongated row once you have learned the basic row and this will provide a custom fit.
Pattern Highlights
- Finished Size: approximately 20–21 in around, with a 3.5–4 in wide crown
- Difficulty: Easy to Intermediate
- Hook Size: H/8 (5 mm)
- Yarn Palette: soft worsted-weight yarn in one main shade
- Key Detail: raised woven stitches running across the crown
- Estimated Time: 1.5–2.5 hours
Abbreviations Used in This Pattern
| Abbreviation | Meaning |
| ch | Chain |
| sc | Single Crochet |
| hdc | Half Double Crochet |
| dc | Double Crochet |
| sl st | Slip Stitch |
| BLO | Back Loop Only |
| st | Stitch |
| rep | Repeat |
Before you begin the first row, measure around the area of the head in which you want the headband to fit. Most crochet headbands will have a little give and therefore the finished headband will be slightly smaller than the actual head size.
The starting chain is approximately 70 chains for the average adult size with worsted yarn and a 5 mm hook. To make it a tighter fit, take off a couple of chains. If you are going for a bigger size, put in chains in small increments.
The key is to maintain your initial chain an even number. This helps the woven crown to be easier to work and maintains the balance of the texture.
Detail Tip: Be careful not to make the first chain too tight! The finished headband is sufficiently flexible to go around your head thanks to a loose foundation chain. If the chain is stiff at the start, use a slightly larger hook for the foundation chain.
The width will also be related to the tension. If rows are considerably wider than normal, try a smaller hook size. If the fabric is too tight and too thin, work up a size.
The Crochet Headband Pattern, Piece by Piece
Main Band (×1)
Begin with the desired yarn and create a foundation chain which is comfortable around the head. Slide the next stitch on with a slip stitch (no twist).
Round 1: Ch 70, join with a sl st, then ch 1. Make 1 sc in every ch around. Join with a sl st. (70)
Round 2: Ch 1. Work 1 hdc around. Join with a sl st. (70)
Round 3: Ch 1. Do 1 hdc around BLO of each stitch. Join with a sl st. (70)
The third round forms a gentle wave in the horizontal direction. Not the primary pattern, but it provides a bit of support and keeps the woven area in place.
Round 4: Ch 1. Knit 1 and knit below. Join with a sl st. (70)
Round 5: Ch 2. Work 1 dc around. Join with a sl st. (70)
The part to make the crown-like woven effect comes next.
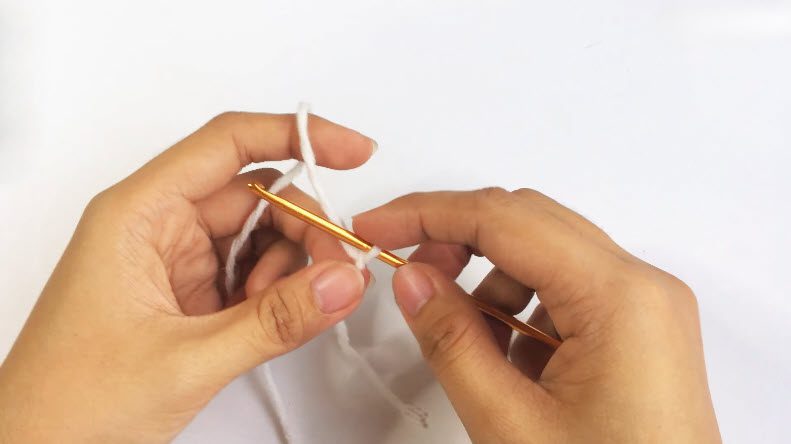
Woven Crown Texture
This texture feature is created by manipulating front-post stitches around the desired double crochets of the prior round. These stitches are set up just above the fabric and give it a crossed, woven effect.
Round 6: Ch 2. Skip 1 stitch, work 1 front-post dc around the next dc, and continue to work 1 front-post dc around the next skipped stitch. Repeat all the way around the headband. Join with a sl st.
While working, you will see that the stitches cross over each other. This is how the woven crown texture is achieved. Relax your tension: tight pulling of the front-post stitches will cause loss of stretch in the band.
- Round 7: Ch 2. Work 1 dc in each stitch around, flattening down the crossed stitches as you work. Join with a sl st. (70)
- Round 8: Repeat Round 6.
- Round 9: Repeat Round 7.
- Round 10: Repeat Round 6.
Now, the crown end is to have 3 raised woven rows, with flatter rows in between. When gently stretched between the fingers the texture is much clearer.
If the stitches in the ends of the woven stitches are slightly uneven in the beginning, it is not anything to worry about. Typically, they will fall in place during the second round.
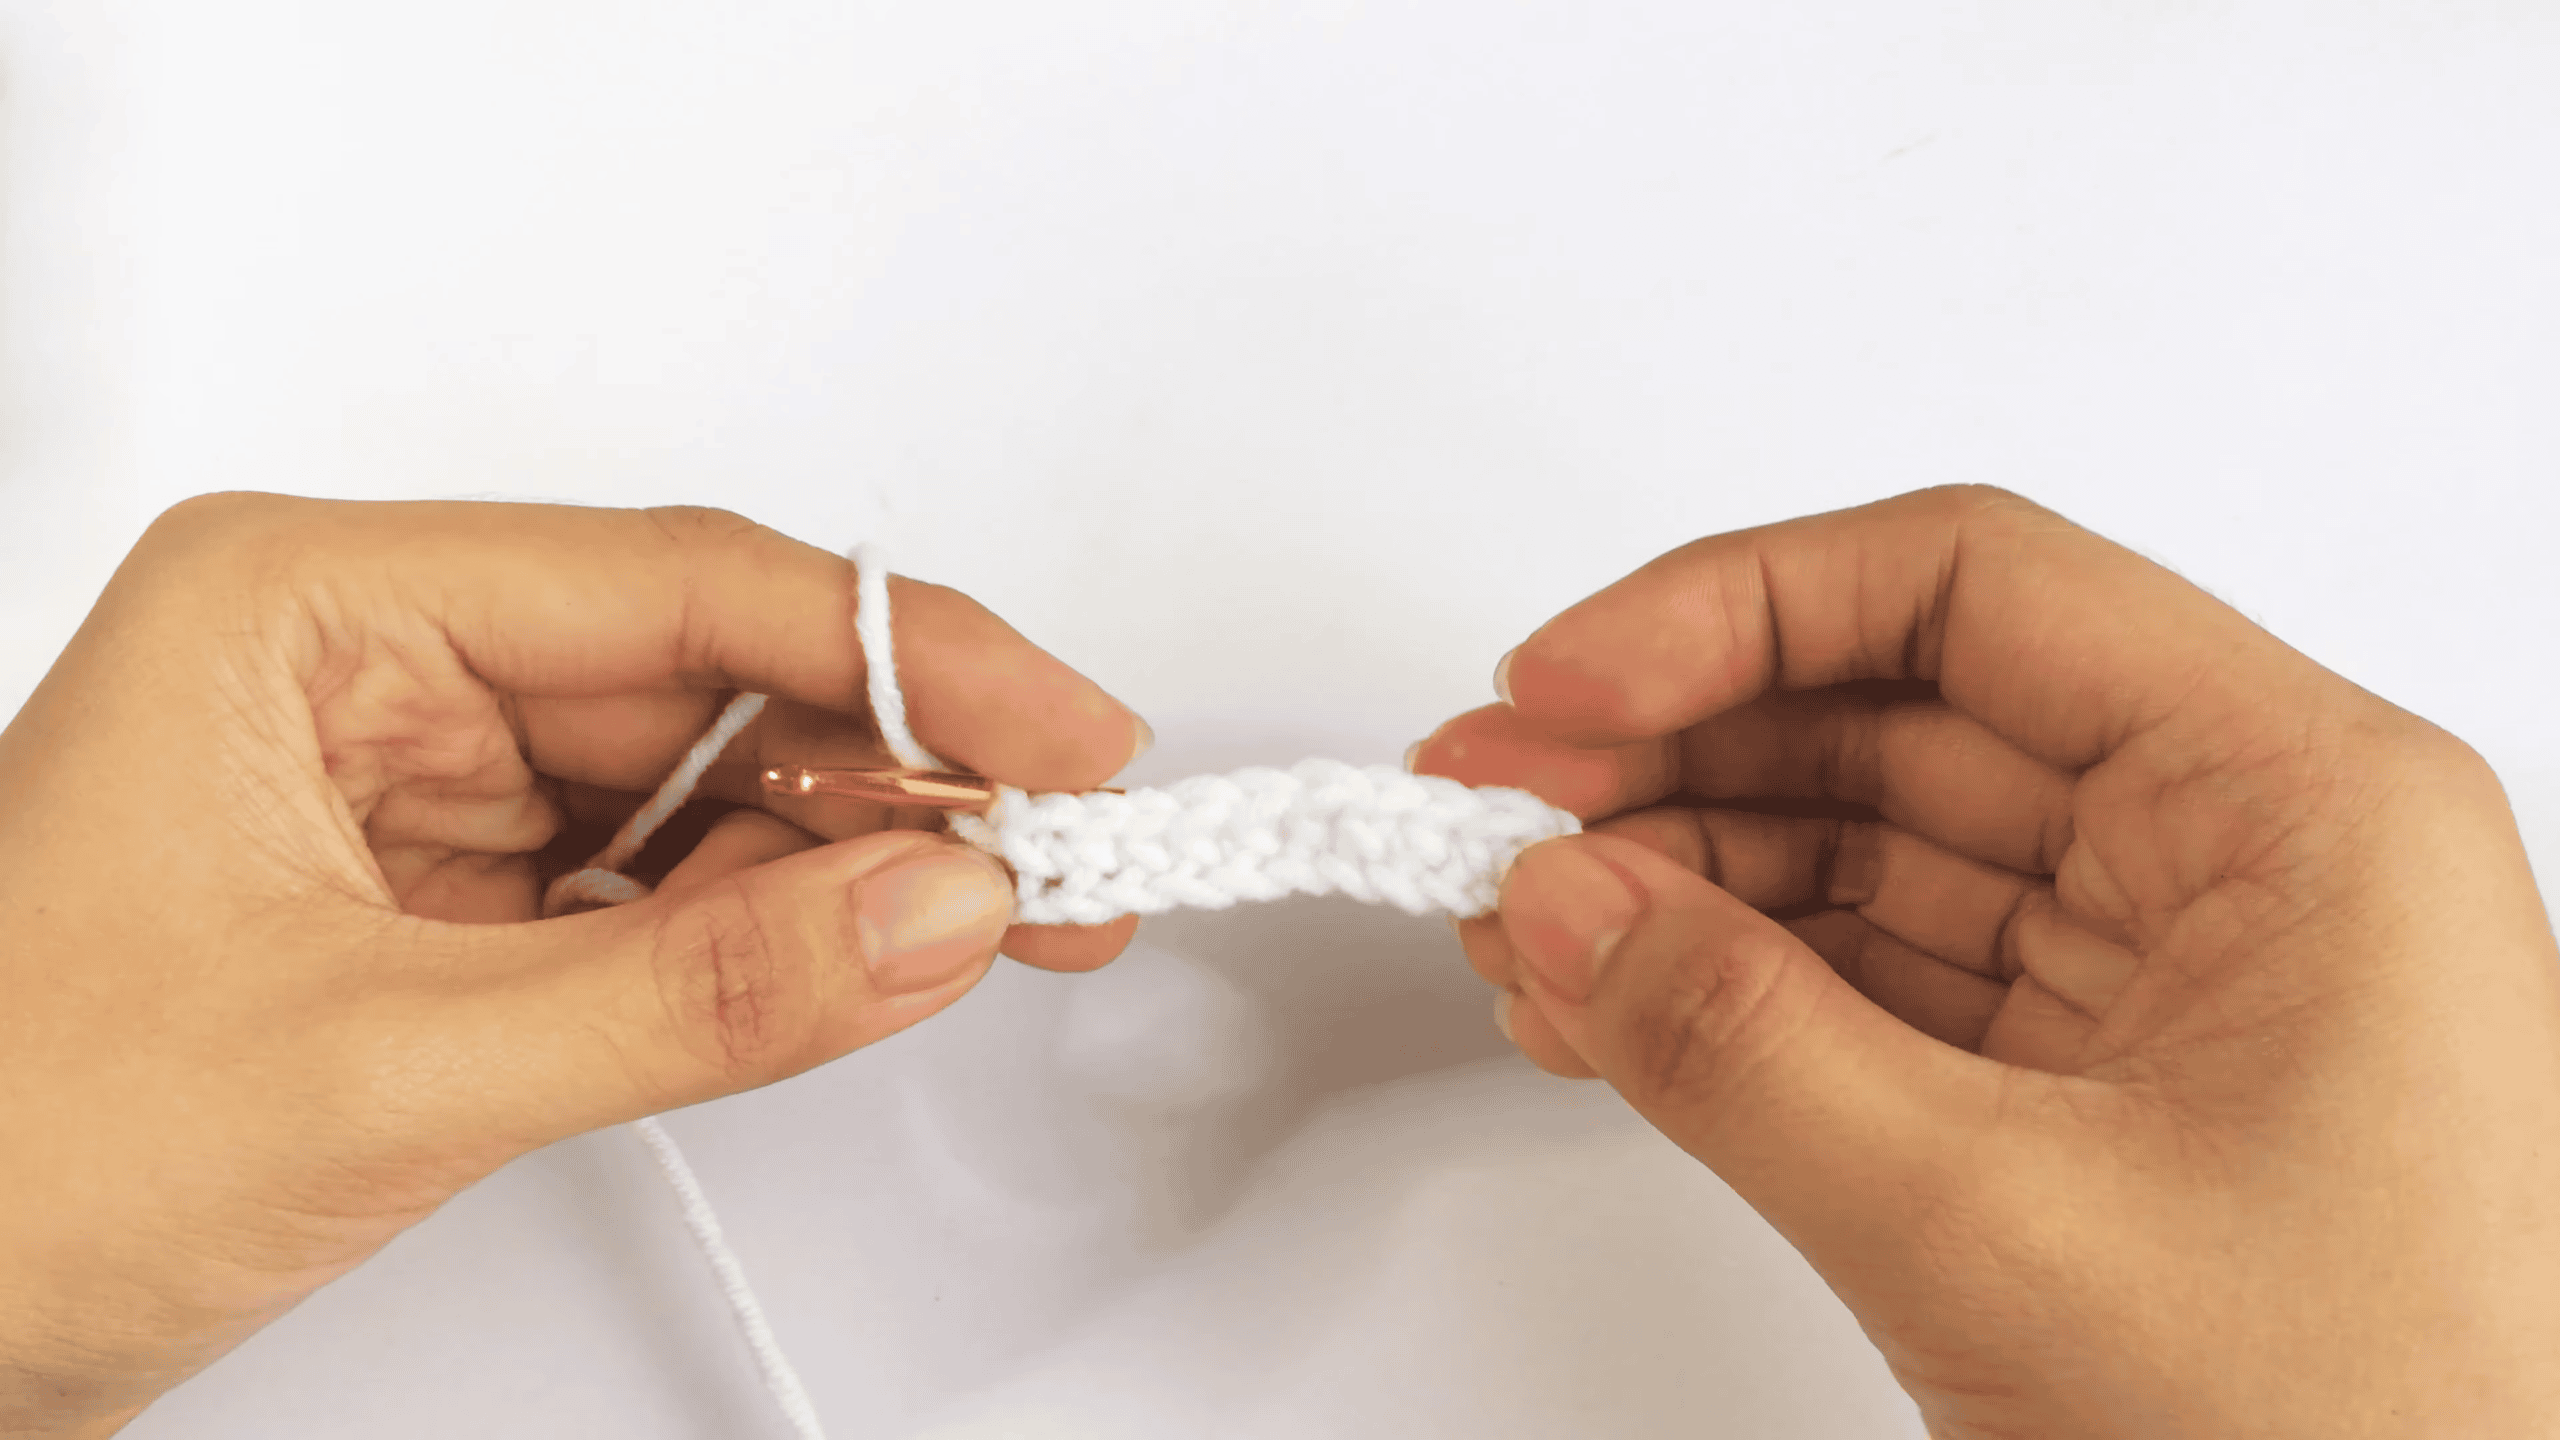
Finishing the Crown
Round 11: Ch 1. Work 1 hdc around. Join with a sl st. (70)
Round 12: Ch 1. Knit 1 sc around the BLO. Join with a sl st. (70)
Round 13: Ch 1. Work 1 stitch in each stitch around. Join with a sl st. (70)
This last section helps the headband have a nice bottom line and balances out the texture in the middle section.
Nip off, leaving a yarn tail. Take the tail through a tapestry needle and secure it in a couple of stitches on the wrong side. Trim out excess yarn.
Neutral knitted blanket with soft crocheted headband with woven crown texture.
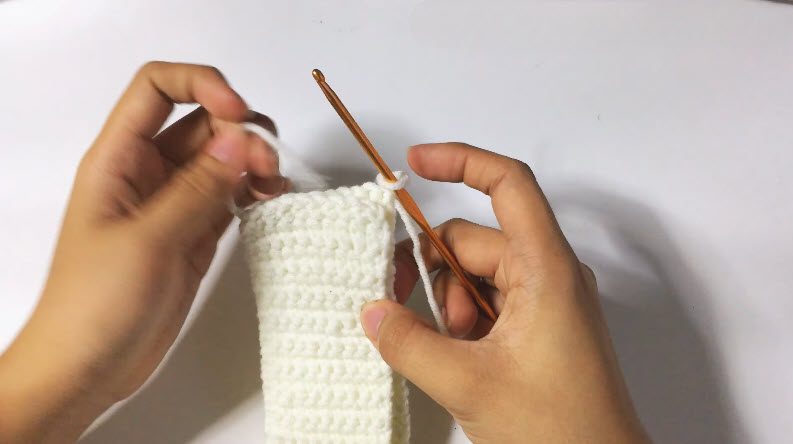
Assembly and Finishing
Not much assembly, as the headband is crocheted together from a single piece. After completing the last lap, slowly pull the band around your hands to see the size.
The head band is somewhat sloppy if it feels like it’s too loose, adjust the end of the chain to make it tighter or reduce the number of starting chains in your next row. If it appears to be too tight, add chains to the foundation as you make it.
Slide fingers through woven crown, and gently part any compressed stitches. The raised sections should be level around the band.
If it is desired for an extra perfected look, the headband can be lightly blocked. Wet it with water and form it around a bowl or folded towel that is similar to the size of your head. Allow to dry thoroughly before taking out.
Avoid stretching it too far. You’d like to maintain the natural spring of the crochet cloth.
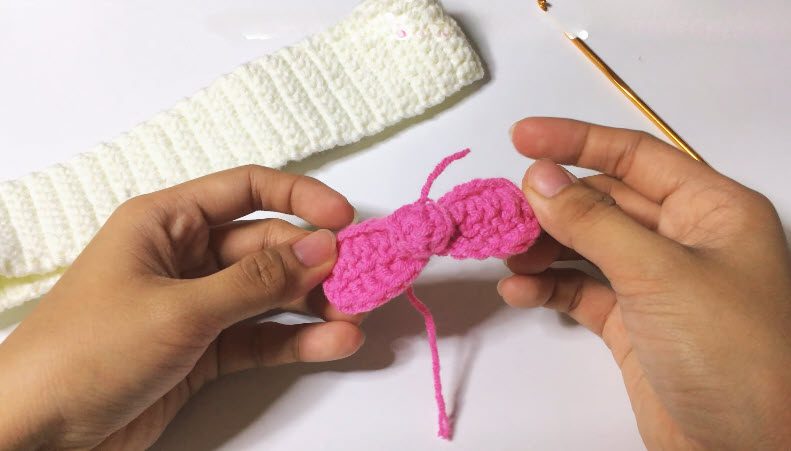
Making It Extra Cute — Finishing Details
This headband is already quite distinctive, but with little tweaking, it can feel totally different.
If you are at ease changing colors, then make the crown a bit darker than the rest of the band. The deep brown crown over a cream base provides a warm and earthy tone. A soft pink/white look is much lighter.
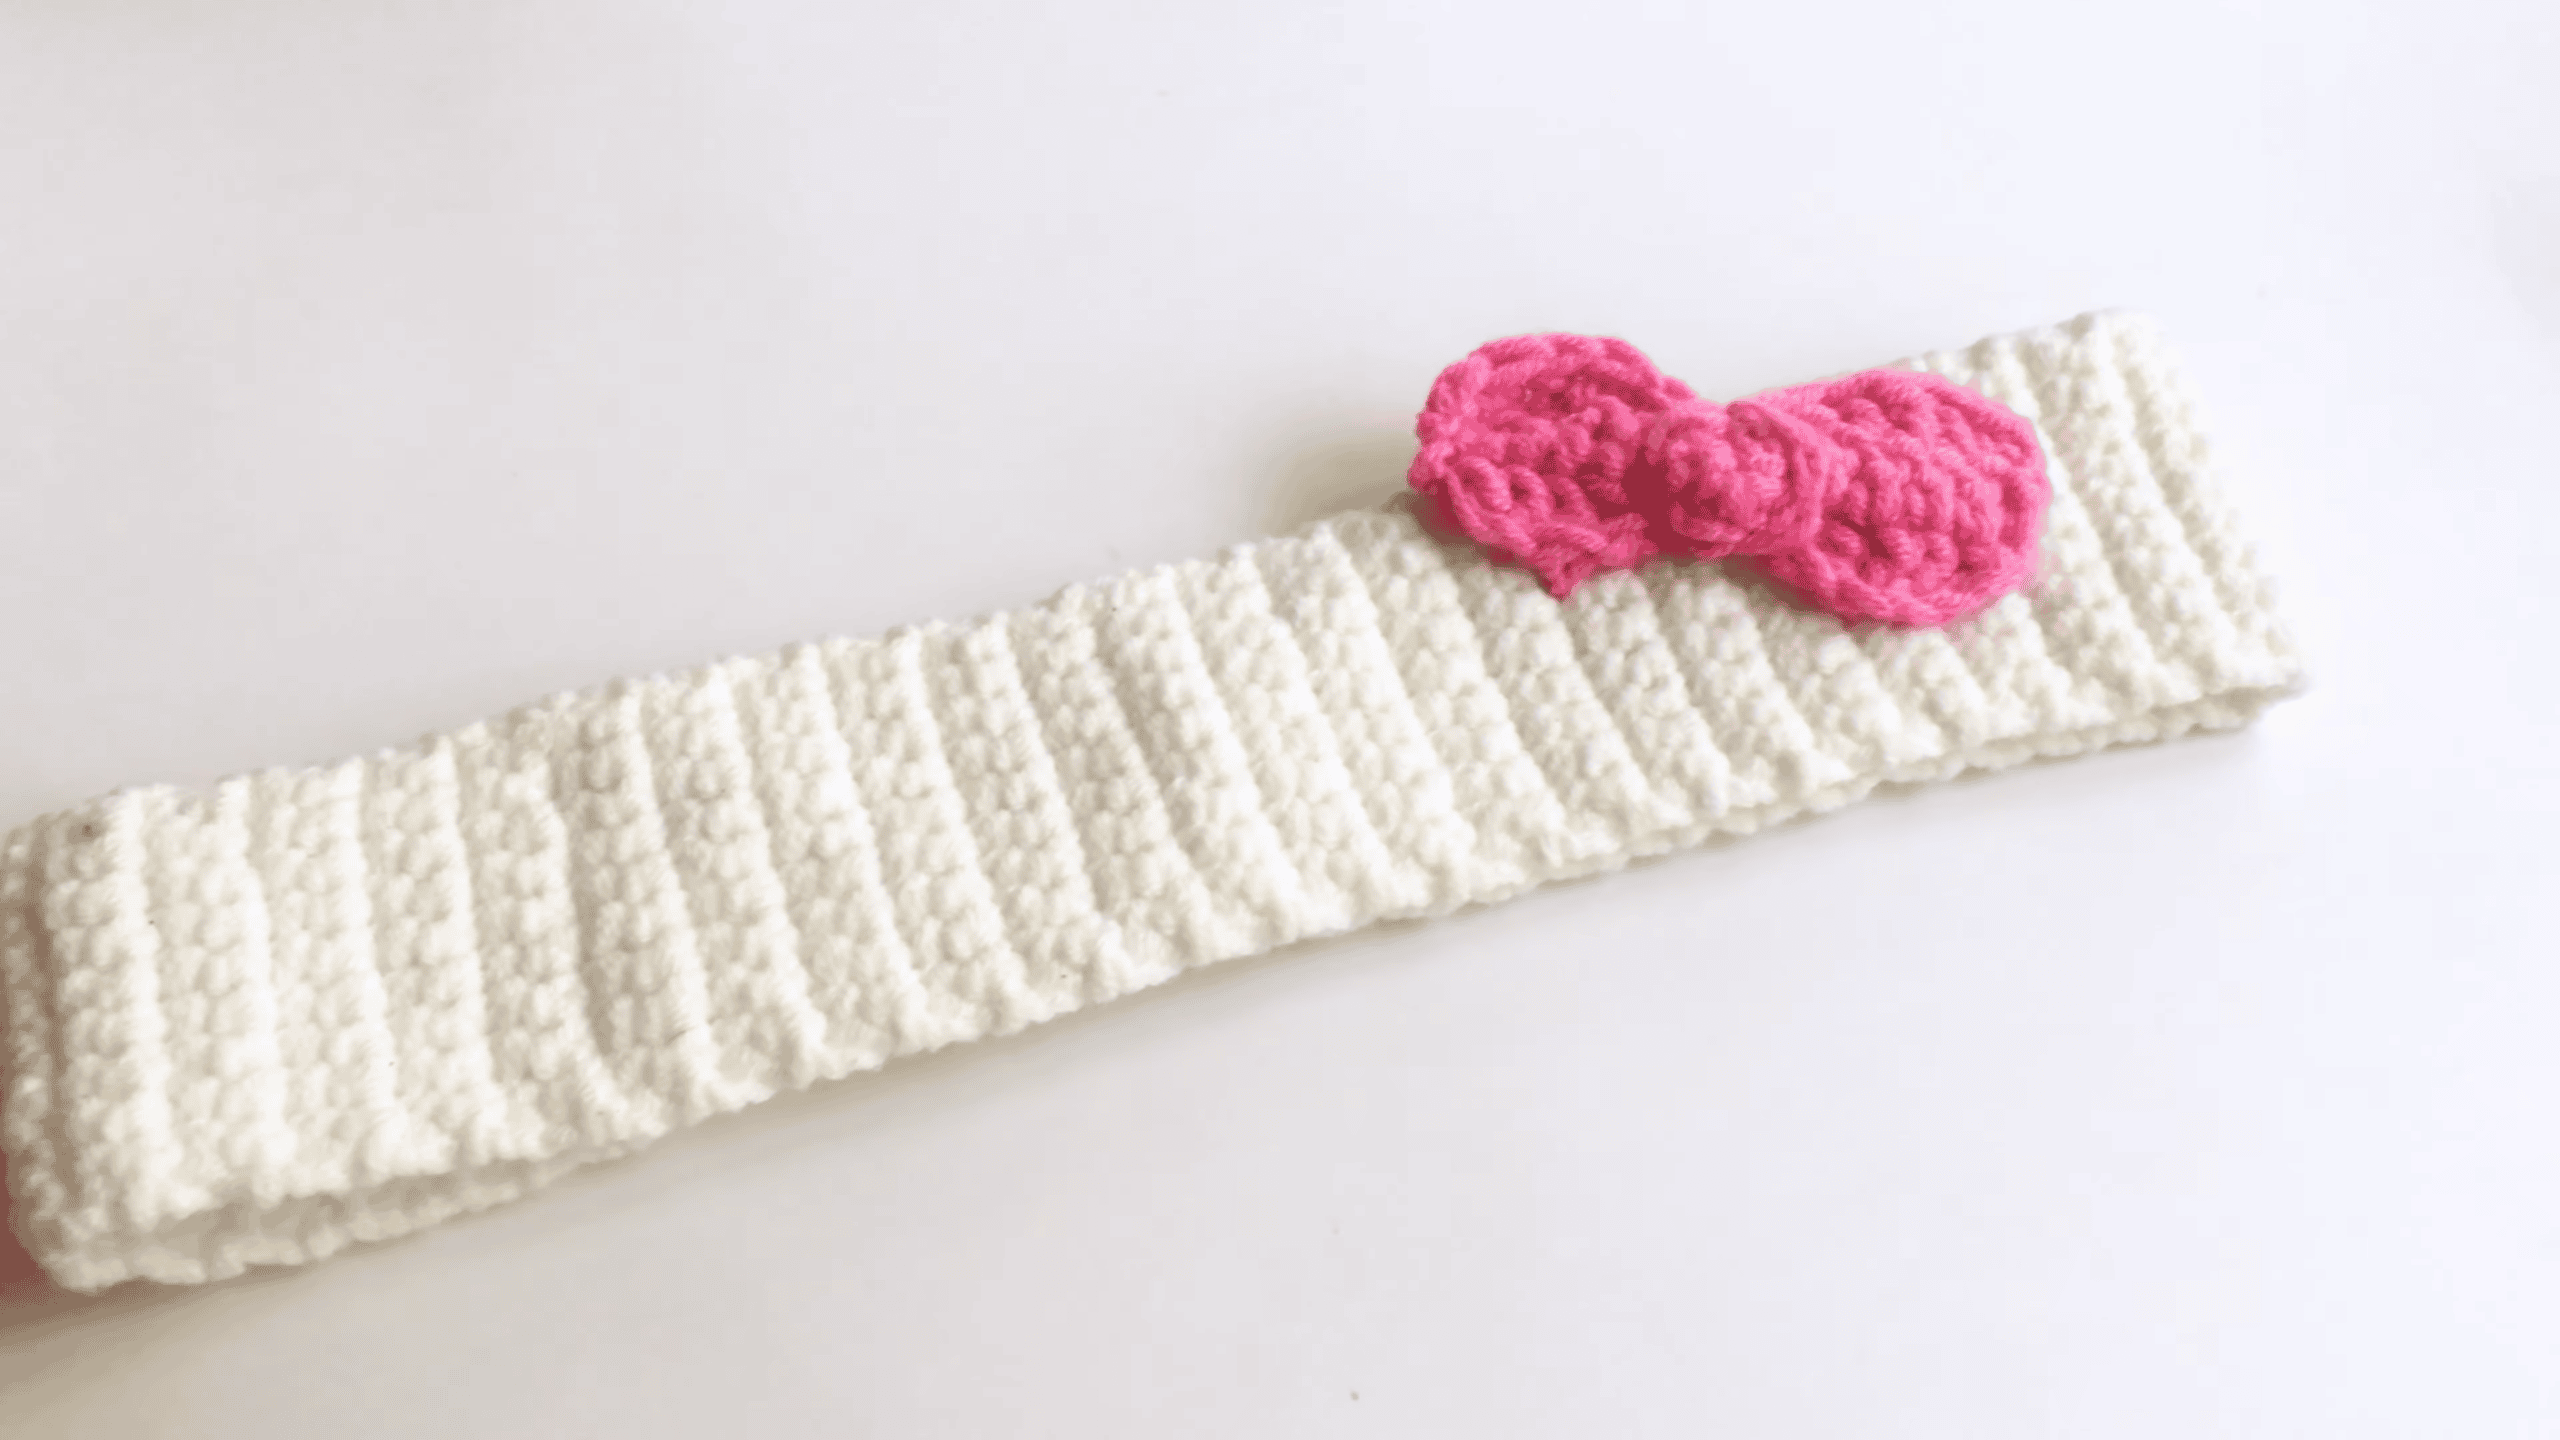
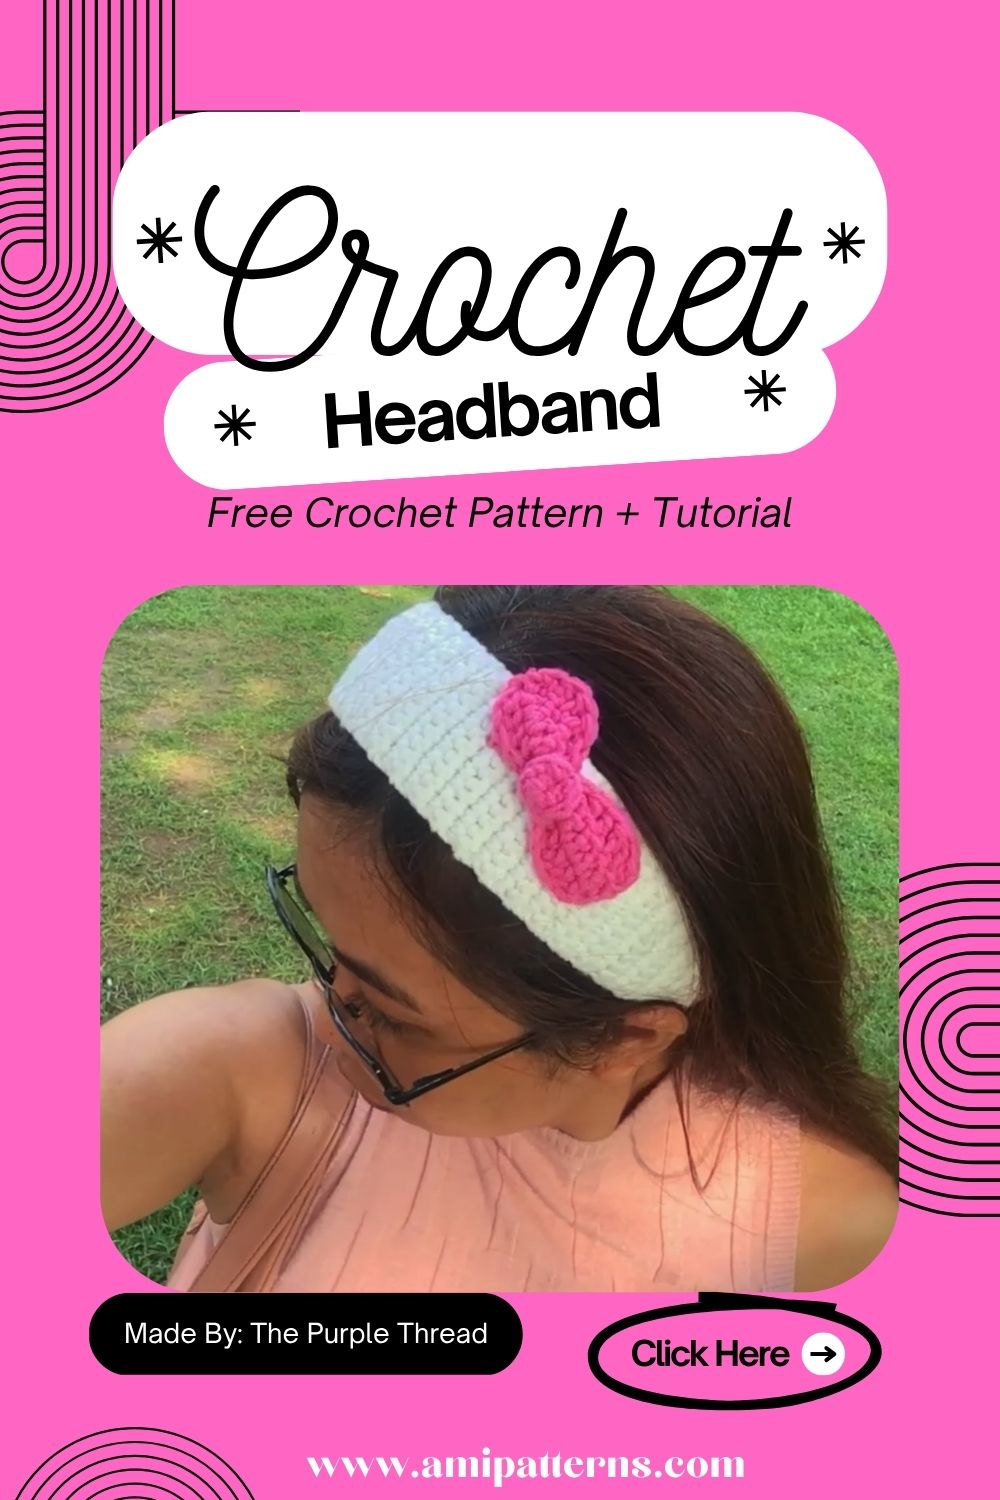
A small crochet flower or simple bow could be added to one side as well. Limit the decoration to a small size so it doesn’t overpower the woven texture.
If you want to keep it simple, then leave it entirely plain. The crown is raised and will provide an interesting headband.
A yarn with some heather or marling is a favorite choice of mine. The slight gradations of colors accentuate the crosses without clutter.
It is also a great handmade gift, as it has a lot of texture to it, and doesn’t need a complicated size chart to make, because it can be crocheted up quickly.
Easy Ways to Adjust the Pattern
Just change out the starting chain to create an adult-sized crochet headband. Take measurements of the recipient’s head, then chain it down a bit less than that measurement.
To reduce the chain length for children, and ensure the correct fit before finishing the textured section. The fabric is slightly stretchy, and should not crowd the head.
The width can be adjusted as well. To get a thinner band, choose one or two of the textured parts and remove them. Worn over and around a plain round to make a wider winter headband:
The other easy suggestion is to employ a larger sized hook and a somewhat thicker yarn. This makes it a more muted and plush piece and looks more casual.
For a woven crochet headband, you may want to try this combination of stitches as the crown texture will do most of the work in the visual aspect. No complicated colour changes or individual pieces are required to create an eye-catching finish.
Crochet Headband Pattern Tips
Allow front-post stitches to move freely. Knots that are pulled too tight can cause the woven area to curl or just be uncomfortable to wear.
Count stitches in the first few rounds. When the pattern is repetitive, it is easy to miss a stitch when crossing the front-post stitches.
When a flat crown texture is not desired, make sure you are working counterclockwise around the post and not through the top loops of the stitch.
Above all, don’t judge the texture whilst the headband is flat. Put it around your hand and gently stretch it. The weave pattern will become much more apparent.
Final Look at This Crochet Headband Pattern
It’s one of those headbands that looks pretty when done, and seems very easy to make while it’s being done. The woven crown adds just a bit to a simple band, and is a very pretty feature when woven with soft solid color yarn.
Another thing I really enjoy about it is the fact that it’s functional. No complex sewing, no mound of separate pieces, and no massive ball of yarn is needed. It can be done in an afternoon, and an additional one can be easily created in a completely different color.
Consider cream, rust, sage green, dusty rose or charcoal for everyday accessorizing. For more playfulness, choose lavender, sky blue or a soft rainbow yarn.
After making one, it is simple to increase or decrease the size or width. This is something that I think would be a great pattern to add to your crochet project list, especially if you’re looking for a little handmade gift with a special touch.
FAQs
Which yarn to use for this crochet headband?
Worsted-weight yarn is used to create the headband, as it has enough structure that it doesn’t fall flat, but it’s soft enough that it doesn’t irritate the skin. Acrylic, wool blends, and cotton blends are all possibilities.
Does the woven crown require a lot of crochet?
The texture is somewhat more intricate than a simple single crochet and utilizes familiar stitches. This is easily followed by beginners who are familiar with front-post stitch and double crochet.
Is it possible to make the head-band smaller?
Yes. To adjust the starting chain to the head size, add or subtract a chain link. The foundation chain should be even to maintain the spacing of the rows in the woven design.
What can I do to make the headband wider?
Use additional unadorned rounds before and after the woven crown. If you would like to have the crown cover more of the band, you can repeat another textured section.
Will chunky yarn work?
Yes, but you will have to change the hook size and starting chain. Chunky yarn will make a thicker, warmer headband and it can make the woven texture stand out more.