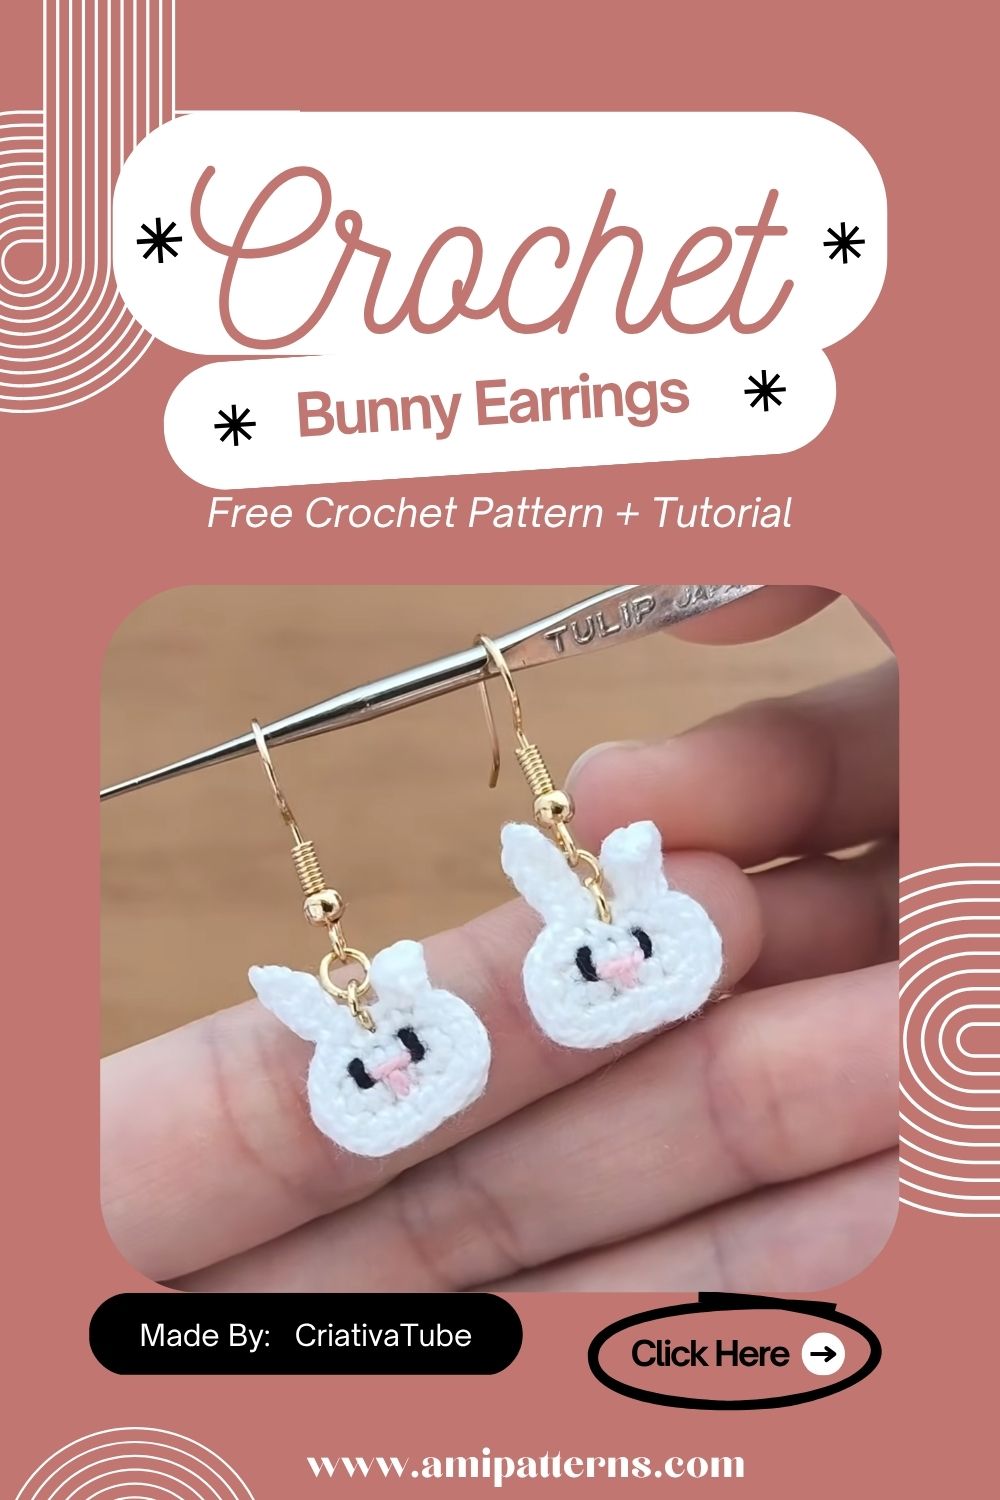
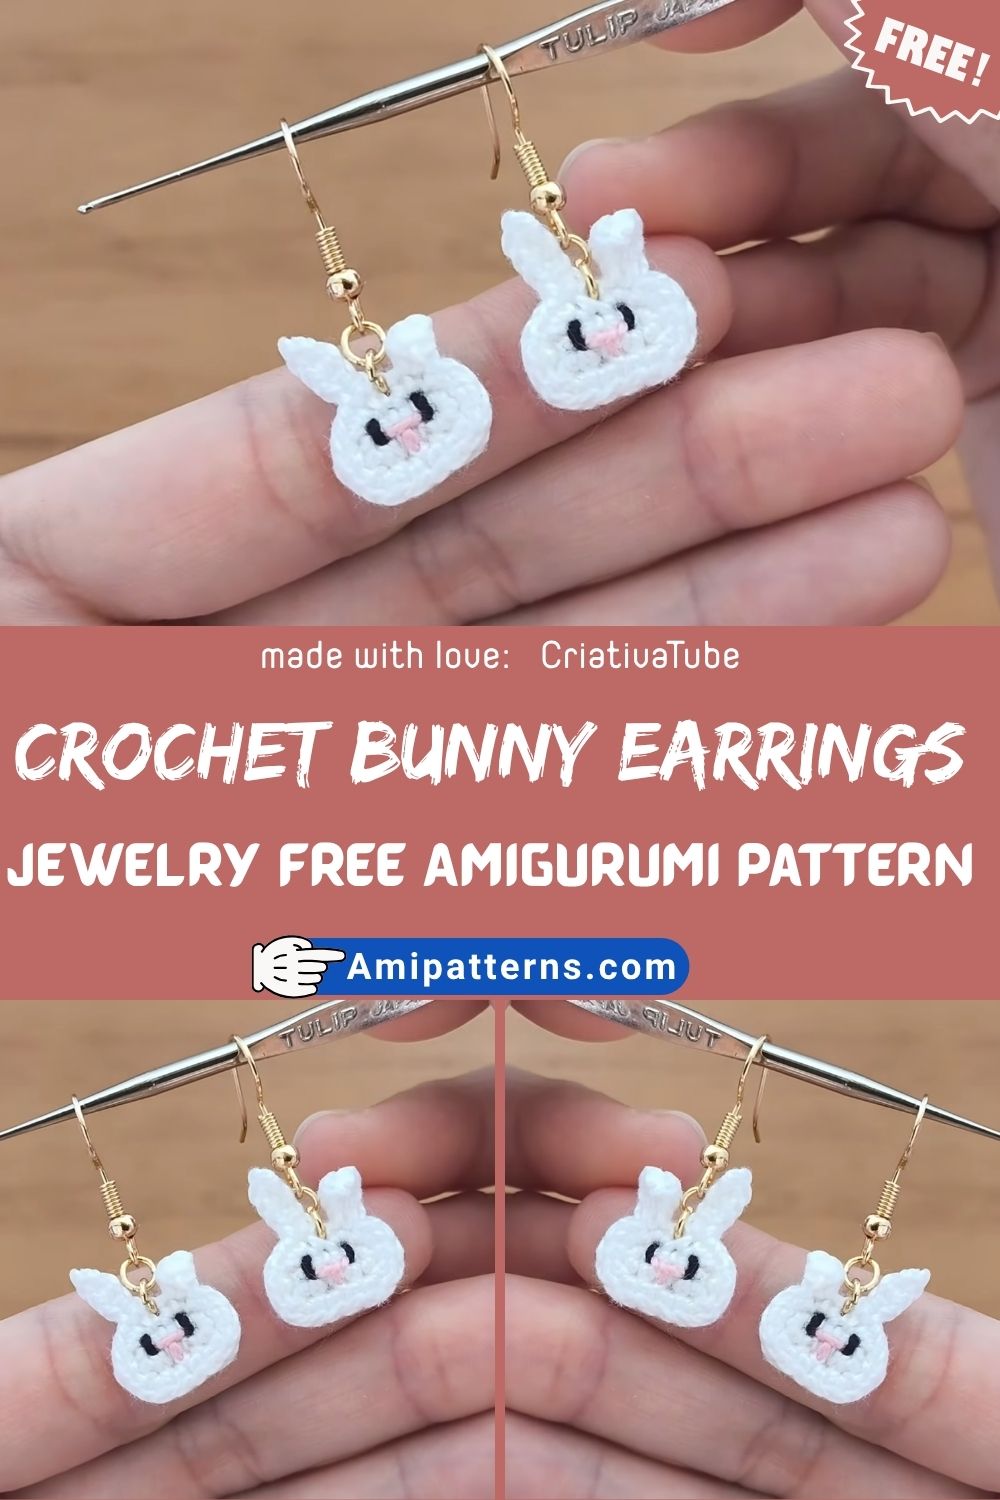
Free Crochet Bunny Earrings Jewelry Amigurumi Pattern for Beginner
Do you love all those tiny handmade accessories that look a lot different from the store bought products? You will agree with me that they are both stylish and adorable. The Crochet Bunny Earrings Jewelry Free Amigurumi Pattern is going to be perfect for all the amigurumi lovers!
These miniature bunny earrings are light in weight and will help you add something fun in your accessory collection. You will love to make these charming bunny earrings and they will sure will get attention from everywhere. In this article you can have all the information you need to have about this crochet project. So let’s get started.
Materials You’ll Need
Before starting the project it is important to have these materials:
- Fine cotton yarn in white, cream, pink, or any bunny color that you prefer
- 2.0–2.5 mm crochet hook
- Polyester fiberfill
- Stitch marker
- Yarn needle
- Small scissors
- Pink embroidery floss
- Black embroidery thread or 4 mm safety eyes
- Two jump rings
- Two fishhook earring hooks
- Jewelry pliers
Skill Level
The skill level of this project is beginner to easy intermediate. You will be happy to know that in this pattern you can use simple stitches and work in continuous rounds. And let me tell you, if you already know how to make a magic ring and a single crochet, it will be even better. If you are searching for crochet bunny ideas, then let’s try this project which will feel rewarding for sure.
Finished Size
Each bunny measures approximately 2–2.5 inches (5–6 cm) tall without the earring hook.
Crochet Abbreviations
- MR = Magic Ring
- ch = Chain
- SC = Single Crochet
- inc = Increase (2 SC in one stitch)
- Dec = Invisible Decrease
- sl st = Slip Stitch
- st = Stitch
- rnd = Round
- rep = Repeat
- FO = Fasten Off
- BLO = Back Loop Only
- FLO = Front Loop Only
Before You Start
Run through the pattern before you start your hooking. You will need to put a stitch marker while starting each round. Make sure you count the stitches properly as the same of both the earring has to be the same.
Step 1: Crochet the bunny head
Use white yarn.
- Round 1:Make a Magic Ring and crochet 6 sc into the ring. Pull to close tightly. (6)
- Round 2: Work 2 sc around. (12)
- Round 3 (1 sc, inc) repeat 6 times. (18)
- Round 4: (2 sc, inc) repeat 6 times. (24)
- Rounds 5-8: Crochet 1 sc in each stitch. (24)
The head should be rounded now, and it should almost appear like a ball of little size. Now is the time to stitch the safety eyes, you must do it between 6 and 7th round. Keep it 5 stitches apart as it is a key to best results.
Step 2: Shape the Bunny Face
Continue crocheting.
- Round 9: (2 SC, Dec) repeat 6 times. (18)
- A little more stuffing before this is too tight.
- Round 10: (1 SC, Dec) repeat 6 times. (12)
- Completely fill the head, but not so full that it becomes hard but doesn’t hold its shape.
- Round 11: Dec around until closed.
Quickly off-kilter and neatly weave yarn tail through the remaining stitches. Stitch in a small triangle using pink embroidery floss for the nose. Then embroider a short vertical line under it, to make the classic bunny smile.
Step 3: Crochet the bunny ears
Make two identical ears.
- Round 1: MR, 6 sc.
- Round 2: Inc around. (12)
- Rounds 3–8: SC around. (12)
- Sew on and then zip it off, leaving a long tail of sewing.
Fold and sew down each ear slightly. This provides a more realistic curved look to ears rather than flat. Securely sew the ears onto the top of the bunny head in an even spacing.
Step 4: Mini Arms (Optional)
It is completely your choice if you want this little handmade piece to have mini arms.
Make two.
- Chain 5.
- Begin the second chain from the hook, and crochet 4 sc.
- Sew fasten off leaving a sewing tail.
Place one arm on either side of the bunny’s head.
Step 5: Crochet a Tiny Bow
Such a small bow instantly makes the earrings look more fashionable and decorative.
Using pink yarn:
- Chain 8.
- Loop in a chain.
- Tie several times around the middle with yarn.
- Tie securely.
Stitch bow under either or between both ears. You can exchange the bows for a small flower as it will enhance the beauty even more.
Step 6: Assemble the Earrings
Using jewelry pliers, carefully open one jump ring. Feed it up through the opening in the bunny’s head but not through the stitches. Close the fishhook earring finding with the jump ring. Proceed with the same steps to make the second bunny. To avoid both earrings from hanging in different directions and unevenly placed, lay them side by side before closing the second ring.
Step 7: Add Final Details
Lightly color in the bunny’s cheeks with pink blush or soft pastel chalk. Embroider small eyebrows (trusted to do this).
- Cut off all the loose yarn ends.
- Use hands to gently form ears to stand naturally.
Your little bunnies are now ready for the earrings!
Helpful Tips for Beginners
Use a smaller hook than the recommended size given on the yarn label to avoid stuffing showing.
- Measure stitches after each round.
- Stuff the bunny heads so that they are both the same size.
- Make invisible decreases for a smoother finish.
- Tie each piece of sewn work securely as earrings are handled a lot.
Do one bunny before crocheting the second bunny.
Creative Customization Ideas
These little earrings are extremely flexible.
- Make pastel color insets for Easter.
- Use brown yarn for woodland rabbits.
- Use glitter thread to create holiday jewelry items.
- Use miniature flowers to sew on ears to make spring accessories.
- Matching bunny necklaces, brooches, zipper pulls and keychains can be made with the same bunny pattern.
Many bunny rabbit crochet lovers like to make matching accessories as it enhances the beauty and creativity a little more than usual.
Why This Pattern is Ideal for Beginners
The bunny earrings can generally be made in a few hours, as compared to larger amigurumi projects. They use a limited amount of yarn and are perfect for utilizing scraps of yarn that you have leftover from other projects.
This crochet bunny rabbit is a fun miniature to practice precision and to experiment with wearable crochet art if you’ve ever crocheted a bunny rabbit before. Similarly, if you are interested in creating a cute bunny rabbit crochet pattern that is functional, these earrings are a great combination of amigurumi and handmade jewelry.
Frequently Asked Questions
Can beginners make these earrings?
Yes. This project will need only basic crochet skills, including Magic Ring, single crochet, increases and decreases.
Which yarn is the best?
The lighter the cotton yarn the crisper the stitch and the lighter the acrylic yarn the more weightless the earrings.
Can I wash them?
Only wash hands when necessary; mold into a shape while wet and air dry.
Final Thoughts
The Crochet Bunny Earrings Jewelry Free Amigurumi Pattern is a creative, simple and elegant project. Every step is simple and gratifying, from crocheting the little rabbit head to adding the finished jewelry findings.