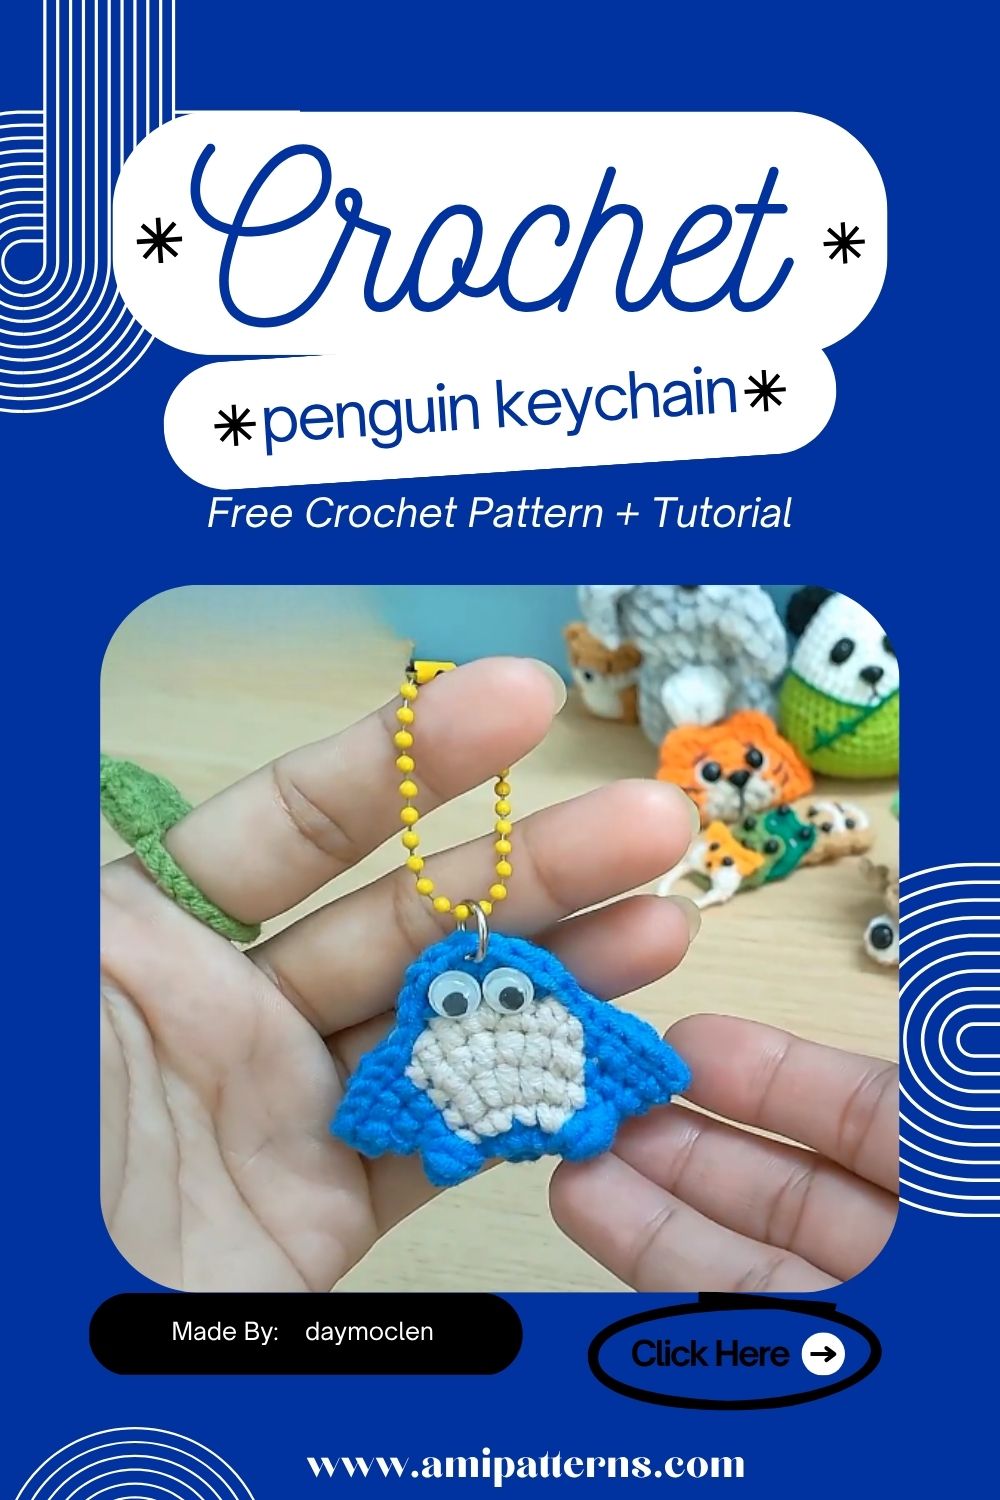
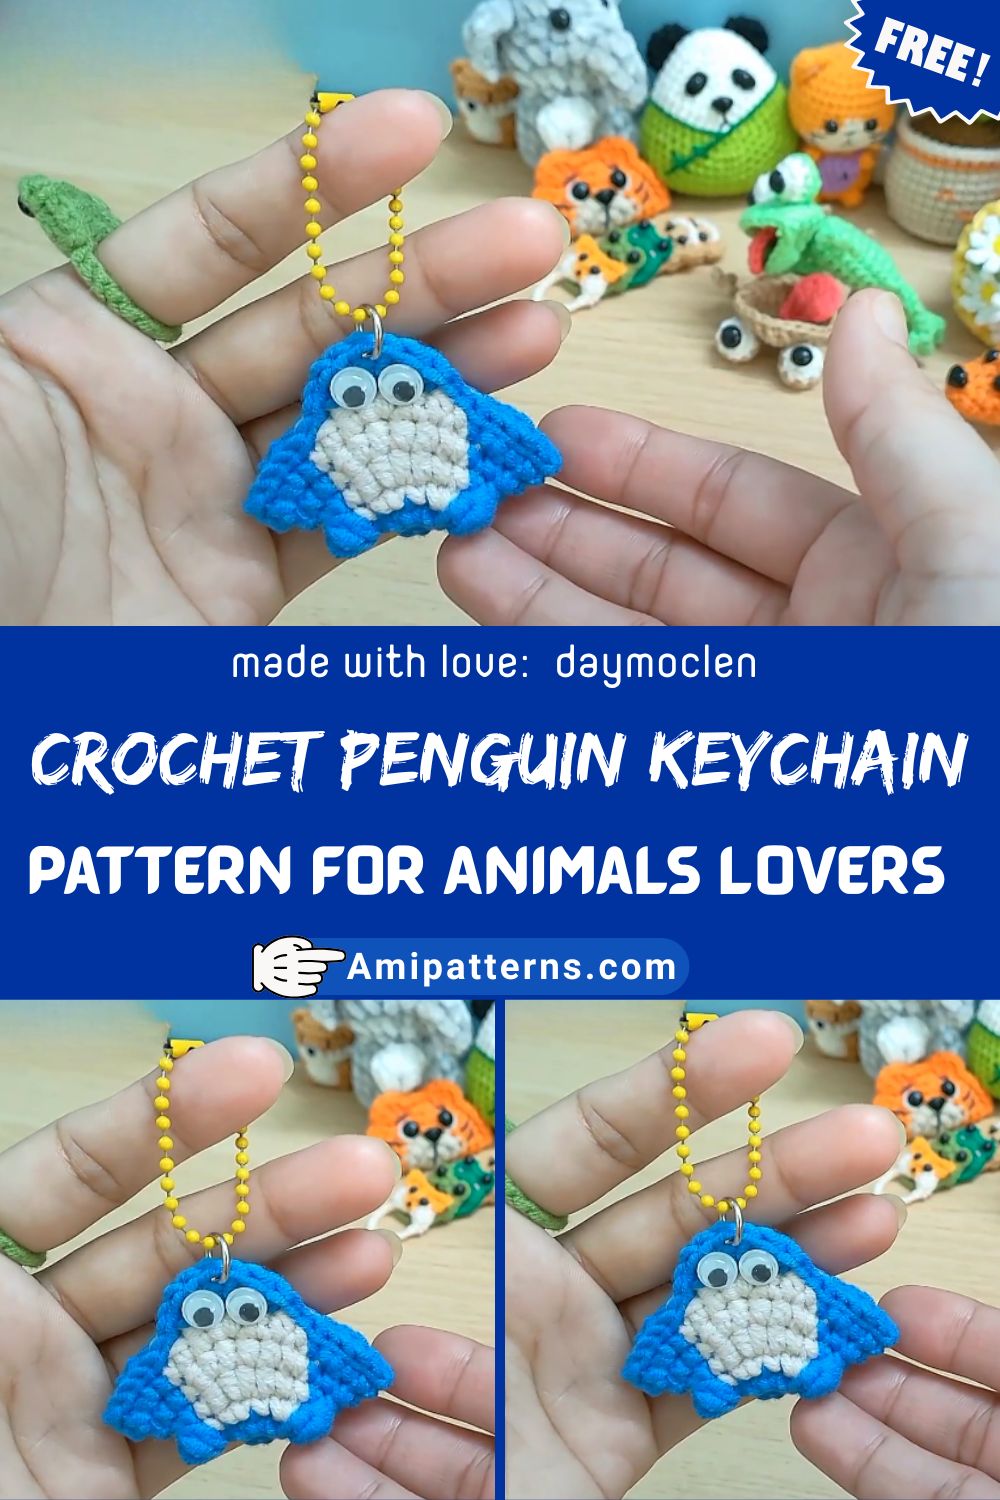
Crochet Penguin keychain Pattern for Animals Lovers
There’s something oddly satisfying about the small handmade projects. The more you make them , the more you will fall in love with them. It all begins with a small yarn, a crochet hook and your imagination turning into reality. Small in size and can easily fit in your hands, while it will get attention wherever you take it with you. It can turn out to be the perfect handmade gift for your loved ones.
Whether you’re seeking your next fun project, this Crochet Penguin keychain Pattern is a great place to start. You can easily attach it to your keys, backpack and purse, and everyone is just going to fall in love with it. Now you must be curious how to create this pattern. So let’s start with us and make one for yourself. This crochet penguin keychain is so adorable and easy to use that you’ll love it.
Why You’ll Love This Penguin Keychain
There’s a misconception that all amigurumi projects are time consuming. However, this is not true. Making a mini penguin crochet pattern is quite easy. You can just use some leftover yarn and crochet a penguin patter that will bring an instant smile on your face.
Skill Level & Finished Size
This project is for those who already have some basic knowledge of crochet stitches and want to give amigurumi shaping a try.
The rounded body will be done primarily with a single crochet, increases, and decreases. The other pieces are smaller and simpler to sew.
The size of the penguin will vary according to the type of yarn and the size of the hook used, but when the keychain hardware is added the finished penguin is about 3-4 inches tall.
Materials You’ll Need
- Black yarn
- White yarn
- A “Yarn” that is orange or yellow.
- 2.5mm–3.5mm crochet hook
- Polyester fiberfill
- 8mm safety eyes
- Stitch marker
- Yarn needle
- Scissors
- Use a key ring or lobster clip to divide the key chain.
- Black embroidery thread
The keychain uses cotton yarn, which is light and yet strong enough to maintain the shape of the item.
Step 1. Crochet the Body
First make a magic ring and crochet in the middle. Tie a good, tight knot to form a tidy start. Continue working, adding stitches to create a rounded base for the body.
After making the desired width, work evenly without additional increases. The body will assume a soft oval ball naturally. This penguin is going to be the key chain so keep it to be compact, and not too cumbersome.
Step 2. Stuff and Shape the Body
Stuff the body with small portions of polyester while leaving the opening open before closing completely.
Don’t fill the stuffing into the turkey all at once; fill it in slowly and press it gently into the turkey, toward the bottom and sides. This results in a nice smooth rounded surface without any lumps.
Avoid overstuffing. This is a small animal crochet keychain so if you fill it too much, the stitches will get stretched and the small animal may feel stiff. After use the body should be soft but still firm. When the shape is satisfactory, tie the body off tightly and weave-in the yarn end.
Step 3. Crochet the White Belly
A bright white belly is one of the distinctive characteristics that allows a penguin to be easily identified. Use white yarn to crochet a small oval. Don’t make it too big for the front of the body; there should be a black border showing after it is attached. This basic contrast will make the classic looking penguin.
Pin the belly down and make sure it fits perfectly in the center of the fabric before sewing it on. Allows a little extra time in this step for a more balanced and symmetrical finished penguin.
Step 4. Make the Wings
Use black yarn to make 2 small wings.
The wings shouldn’t be flat, but slightly curved. This will create a more natural and flattering look for the penguin. They do not require a lot of stuffing, if any, as they are primarily for decorative use.
Put both wings on the sides and pin them down so they are not permanent; check the position of both wings from all directions. A little bit of height can make all the difference in the world to the penguin’s expression when finished.
Step 5. Crochet the Beak and Feet
It’s small, but the beak is the one big thing!
Crochet a small triangle beak in orange/yellow yarn fitting between the eyes. Don’t make it larger than the face to overwhelm the other facial features.
Then make 2 little feet. They can be plain ovals, or slightly flattened circles, depending on the style you choose. Place the same amount of them under the body while the penguin will stand on it if it is displayed on a shelf.
The colorful details add a lovely contrast to the black and white body and bring a smile to this cute penguin amigurumi.
Step 6. Attach the Eyes and Embroider the Face
Your little penguin will really come to life in the face, so don’t rush through this step. Add the safety eyes above the white stomach, making sure there is space between them to insert the beak. If they are close together, it will give your penguin a sweeter and more playful look.
Embroidered eyes are safer for making the key chain for a little one. Alternatively, you can sew some small white highlights around the eyes to give the eyes a little sparkle. Your Crochet Penguin keychain Pattern will look amazing.
Step 7. Assemble the Penguin
Before sewing everything in detail, complete the wings, beak and body first. When it is all done, then you can make some changes according to your choice. Keep the beak within the middle of the face to give it a more realistic look.
Step 8. Attach the Keychain Hardware
After completing this project you will probably be using this handmade piece every day. Attach a keychain with the finished penguin and take it wherever you go. Secure it with a few stitches and put a lobster clip at the end so it doesn’t fall down.
Step 9. Add Optional Accessories
Amigurumi projects won’t be complete until you add some accessories to it. Use a scarf around the penguin’s neck as it will reflect the perfect look of winter. You can add a mini hat or ear muffs to make this little penguin even more adorable and stunning.
Another fun way to customize your project is to change the colors! Traditional black and white penguins are classic but pastel colors, bright blues or holiday themed ones are also very cute!
Every penguin keychain you do is a one-of-a-kind, and each has its own character with these little additions.
Step 10. Add the Final Details
In the end, spare some extra minutes in which you check all the stitches. If there are some loose yarn ends, just cut them properly. After that, add all the final touches and your penguin is ready to use.
Video Pattern Here:
Special Features of This Pattern
The cutest penguin around is not only easy to make, but also is quite amusing to use.
- Beginner-friendly
- Quick project which might be accomplished in a couple of hours.
- Takes up a small quantity of yarn
- Ideal for the leftover bits of yarn!
- Easy to carry and suitable for daily wear.
- Very easy to attach scarves, hats or other color variations
- Makes thoughtful handmade gift
- Perfect for use at craft fairs and small businesses.
Tutor Tips (From Experience)
Always use a stitch marker. Unfortunately, small amigurumi projects really fly by the seat of their pants and it’s easy to forget which round you’re on.
When sewing on wings, beak and feet, always pin the pieces first and then sew them in place. Using your penguin’s front and sides view allows you to identify if the penguin is not placed even before it is too late.
Take your time with the stuffing. This may be a small project, but a uniform distribution of stuffing will produce a much more smooth and professional finish.
Always place safety eyes before fully closing the body (if you are using them). This is a lot easier than putting them in afterward.
Common Mistakes To Avoid
Body stuffing is a common error. If there is too much filling, then the stitches will get extended, and the stuffing will show through the fabric. Gently add to the body, little by little, until it is soft but still retains shape.
Another error is having the eyes set too high or too far apart. The face is the first part that people will notice so it takes a little longer to get the eyes just right before fixing them in place.
Creative Uses for Your Penguin Keychain
This little penguin is a much more versatile species than it appears.
- Hang it on your car or house key and you’re done!
- Make a school bag or backpack pretty.
- As a zipper pull for jackets or backpacks.
- As a homemade birthday or holiday gift.
- Put into Christmas shoes.
- Price it at craft and art markets or sell on the internet.
- Make identical keychains for family and friends.
- Create a lovely gift set with them and make it a cute penguin themed gift.
This small animal crochet keychain is a fast pattern to finish and is perfect for finishing up old yarns to make thoughtful gifts.
Final Thoughts
We are sure by the end of this article you will be enticed to make one of these Crochet Penguin keychain patterns yourself. It will become your favorite and you will end up making a lot more in future. Whether you are new to Amigurumi or an old pro, this pattern will surely win your heart. Let’s get creative.