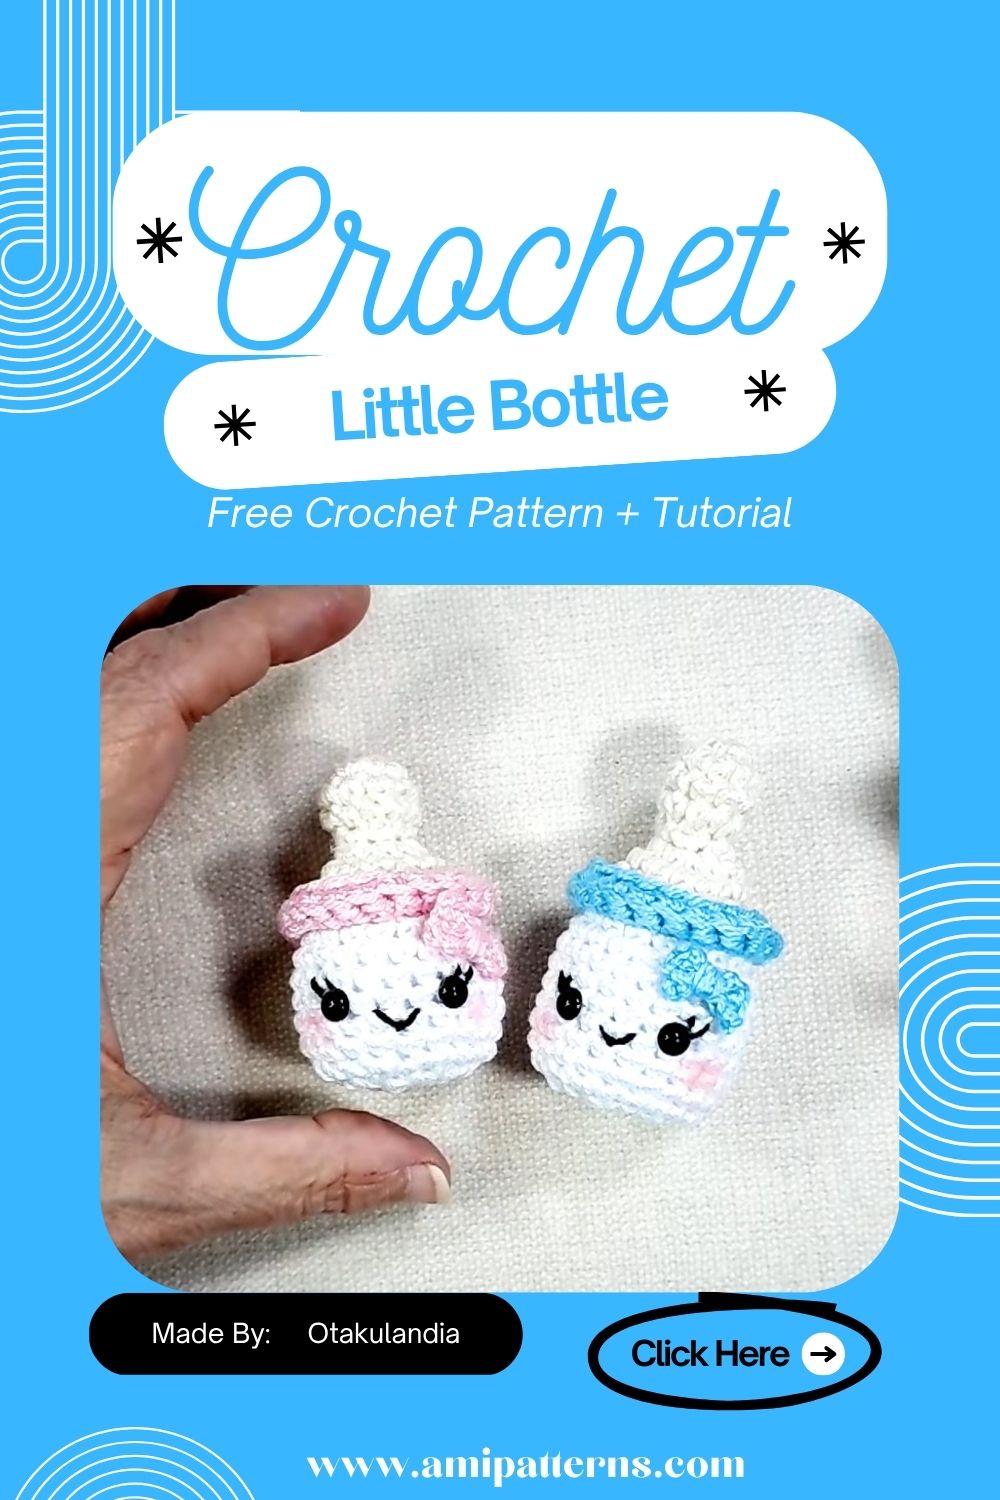
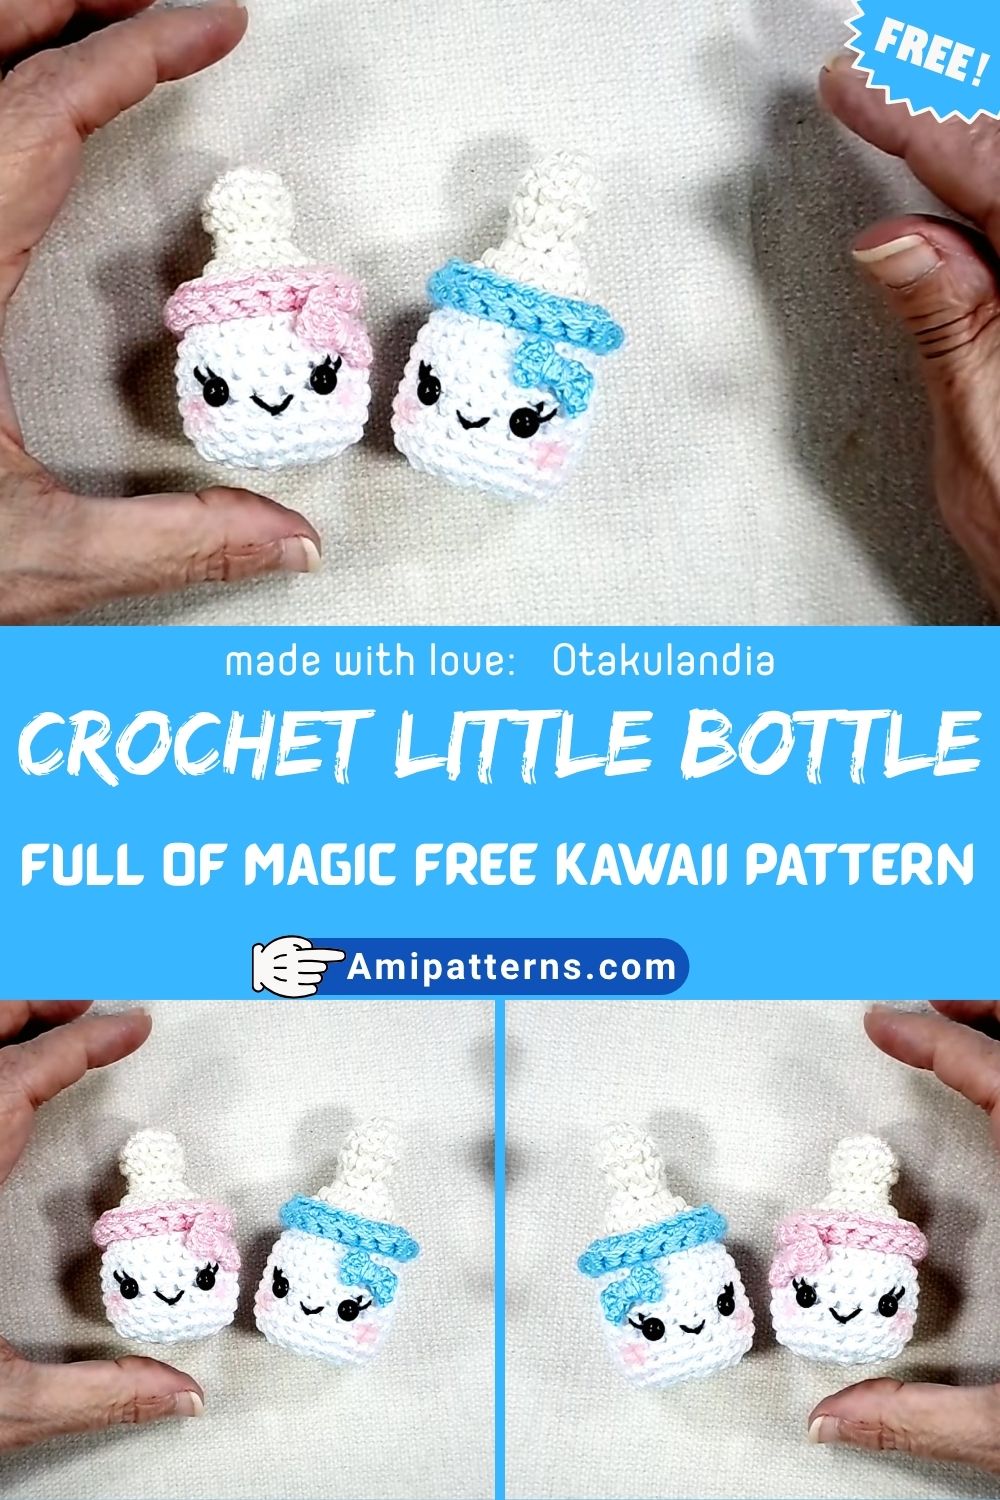
Polished Crochet A Little Bottle Full of Magic Free Kawaii Pattern
There is something extremely charming about the tiny handmade creations and this is why they are getting so popular. The best part is that they don’t take up much space. However, they work quickly. They are the type that bring a smile to your face no matter what. You can Crochet A Little Bottle Full of Magic Free Kawaii Pattern. It instantly gets all the attention as it is small, whimsical and packed with a lot of personality.
Your kawaii crochet bottle pattern will feel like a tiny treasure that has come straight out of the storybook. What makes this project so special is that it combines creativity and charm all at once. You can use it as decor or for various other purposes. So let’s discuss how you can create this masterpiece!
Abbreviations
MR: Magic Ring
ch: Chain
sc: Single crochet
inc: Increase
dec: Decrease
sl st: Slip stitch
st(s): Stitch(es)
FO: Fasten off
Why Everyone Loves This Tiny Project
Sometimes a thing is best created simply to make people happy. This mini bottle can do just that. It’s compact, allowing you to complete it in a relatively brief time, which is ideal for anyone who enjoys a calming weekend project or busy crafters. The mini magic bottle amigurumi is a favorite for many makers owing to its perfect blend of creativity and simplicity.
Meanwhile, there are loads of possibilities for customization in terms of color, adornment, and facial expressions. The final product is magical and easy to create. It is both cute and creative and will be easy to enjoy for both the novice and the advanced crochet.
Skill Level & Overall Experience
The pattern is easy and built-up with basic stitches. The majority of the construction takes place in rounds, simple shapes are made and decorative details are added towards the end. If you are still learning the amigurumi techniques, this project is easy and fun!
The best thing about this is that the bottle slowly comes to life. It begins as a simple shape and then the details are added that bring the character to life. It’s a project that will give you a smile while you make it.
Materials You’ll Need
- Yarn that is light cotton and of the desired bottle color.
- Highlights in white yarn.
- Decorative pastel yarn colors
- Crochet hook (2.0mm – 3.0mm is recommended)
- Safety eyes or black embroidery thread.
- Fiberfill stuffing
- Stitch marker
- Yarn needle
- Scissors
- Wristbands, neckties, or charms (optional)
While soft pastel colors fit in wonderfully with kawaii creations, don’t be afraid to try out other colors or seasonal shades.
Step-by-Step Pattern Guide
Step 1: Creating the Bottle Base
- Make a magic ring. Work 6 sc in the ring.
- Round 2: Work around, increase each stitch.
- Round 3: Make one single crochet, one increase. Repeat around.
Then slowly add each successive filling up until you get the bottle to the width you want. This part is the foundation and provides overall stability to the bottle. Tighten the stitches so that there are no signs of stuffing later.
Step 2: Building the Bottle Body
After the base has been finished, do not increase anymore. Work even single crochet rounds. Along the way, the sides start to spring up on their own.
The main body of the bottle is formed during this stage. The shape should be a smooth rounded curve. Just add more rounds if you want it to be a taller bottle.
Step 3: Shaping the Neck
The bottle neck is made by starting to decrease slowly. Work a “round” with even spacing decrease. Play a few times until the front of the opening is clearly not as wide as the body.
This is an easy shaping method to get that iconic bottle shape. Before it gets small enough, stuff the bottle tightly.
Step 4: Creating the Cork Top
Make a little cylinder using brown or beige yarn. Use a magic ring to start and work a few rounds without increasing. This piece should fit into the top opening.
When finished, put it firmly into the bottle neck. The design is instantly recognizable and will provide an added character with the addition of the cork.
Step 5: Positioning the Eyes
Attach safety eyes to the center front of the bottle. Many don’t realize that spacing is very important. If the eyes are set a little wider apart, the expression will be sweeter and more playful.
Step 6: Creating the Smile
Simple curved stitches are great when working without safety eyes (if desired). In this step, we will create the smile. In this step, we will make the smile. Stitch a little curved smiley face with black embroidery thread below the eyes. Keep it subtle. A small smile is usually sweeter than a big smile.
Pink yarn or blush made of fabric can be used to add rosy cheeks. This is generally when the bottle becomes a character.
Decorative Magic Details
Some of the funniest aspects of this project is the choice of what magical elements to bring in. You might add:
- Tiny embroidered stars
- Crescent moons
- Sparkle motifs
- Mini hearts
- Small flower details
- Decorative beads
These decorations can assist in creating a lovely crochet fantasy decor for displays, shelves, desks and more, creating a lovely and adorable finish. Some crafters envision fairy dust on the inside. Some visualize desires, dreams, or flecks of happiness. This is the great thing about it, room for creativity.
Special Features of This Pattern
The simplicity and the personality of this project is what makes it stand out. Features include:
- Beginner-friendly construction
- Quick completion time
- Adorable character design
- Easy customization options
- Ideal as a gift or collectible.
- Small enough to be manageable and yet has a great deal of creative freedom.
Tutor Suggestions (From Experience)
Always use a stitch marker while working on the project. When working in continuous rounds it can be easy to become disoriented as to where each round starts.
Fill in bits and pieces rather than all at once. This will keep the shape of the product even and avoid strange lumps.
Before fixing facial features, take time to arrange it where it will look best. The subtle changes can make all the difference when it comes to the final product.
Fun Ways to Personalize It
Each small bottle has the ability to be different. Use multiple themes like:
- Fairy magic
- Ocean treasure
- Rainbow sparkles
- Seasonal holiday charm
- Witchy potion bottle
- Dream jar design
- Colors and decorative elements can make all the difference.
A lot of crocheters like to create more than one and show them all in a collection.
Uses for Your Finished Creation
This diminutive project is quite versatile. Popular uses include:
- Keychain charms
- Backpack accessories
- Desk decorations
- Shelf décor
- Handmade gifts
- Craft fair items
- Party favors
- Nursery decorations
A lot of makers make a cut potion bottle and crochet sets with various colors, expressions and magical themes. When grouped, they make stunning décor pieces that will instantly enliven any area.
It’s small enough to place in nearly any space. It feels like it’s fun, so it encourages discussion.
Pattern Tip You Should Remember
There are some pattern tips you should remember:
- Always check the quantity of stuffing before corking.
- Not enough stuffing will cause the bottle to collapse somewhat, and too much will cause it to take a different shape.
- Strive for a hard, but even surface.
- Also, carefully weave in all yarn ends. Loose ends are more likely to be uncovered in small projects than in large ones.
Why Kawaii Projects Remain So Popular
There’s something comforting about creating cheerful little characters. They’re not there for a great deal more than to make them happy – and that’s okay.
There are plenty of deadlines, schedules, and responsibilities in this world, so little and small handmade projects like this can be a chance to do some real fun work. That’s one of the reasons why they’re appealing.
Not only are people creating decorations. They’re making little bits of creativity, imagination and playfulness. This sweet little magic bottle amigurumi is a great way to add some magic to a workspace, to decorate a shelf, or to give as a handmade present that will bring a smile to faces.
Final Thoughts
This compact bottle may not be large, but it’s quite a charmer. Whether it’s the roundness or the sweet face, or the magical details that make each version special, it’s a project that feels rewarding at every turn.
Simple enough for the novice, fun for advanced crocheters, and suitable for so many styles and special occasions.
Most of all, it serves as a reminder that little things can make a big difference.
A little yarn and a few stitches and a bit of imagination – and you have something very magical! This kawaii crochet bottle pattern is going to be a favorite in any crochet collection, whether it’s displayed alone or along with other crochet treasures.