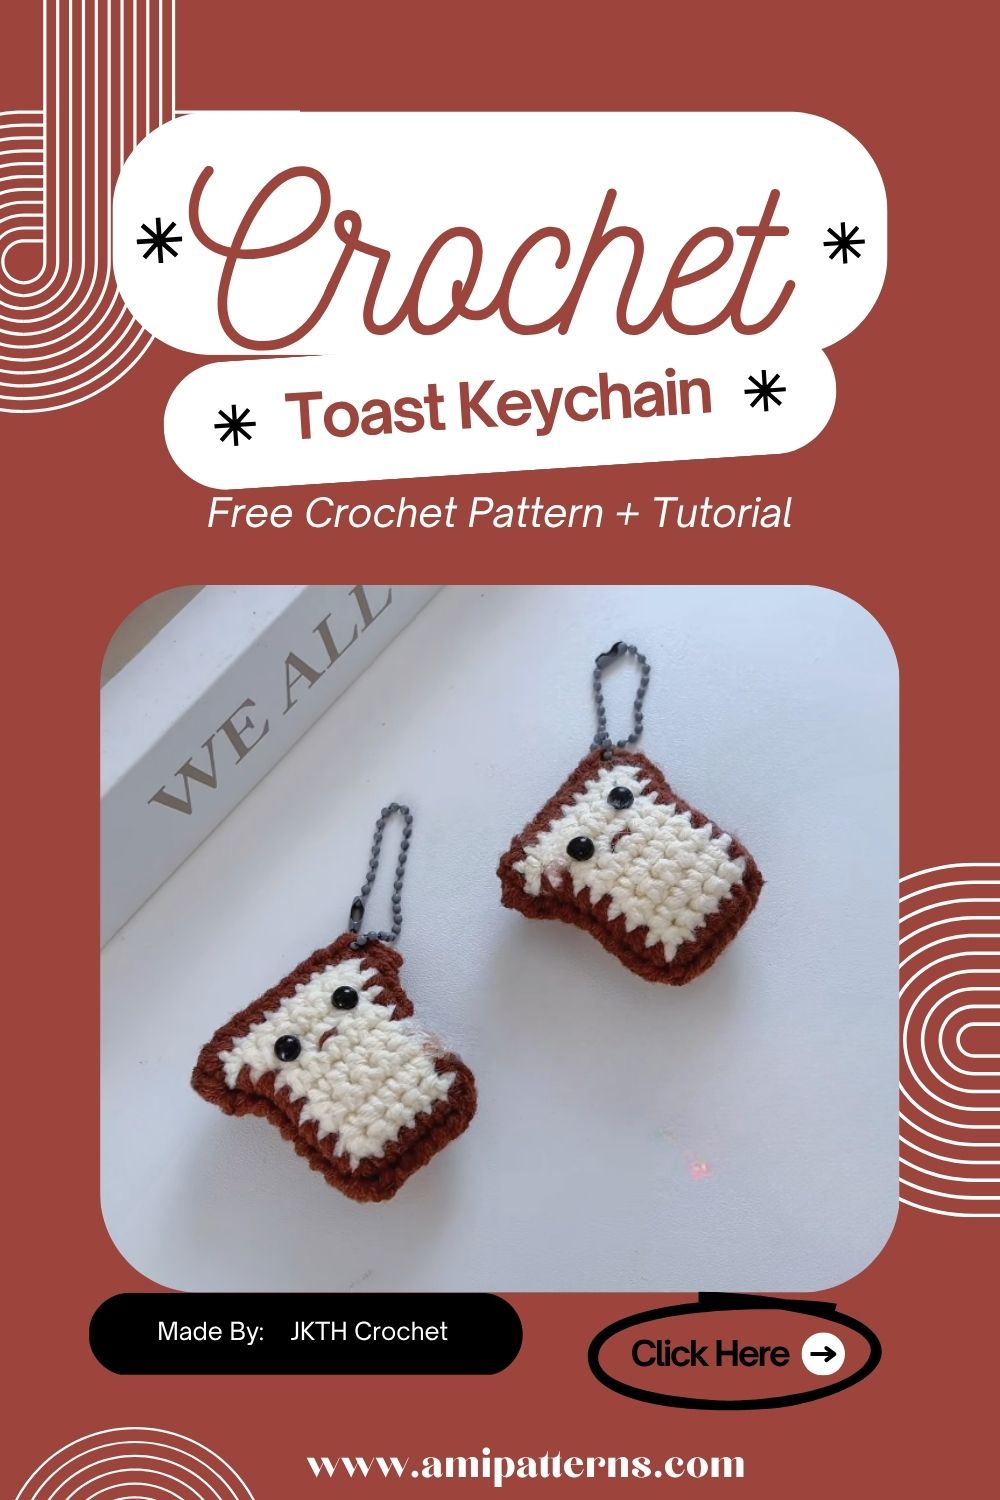
Humble Crochet Toast Keychain Free Amigurumi Pattern
There’s something extraordinarily charming about transforming your everyday projects into a tiny crochet character. Many people believe that animals and flowers are the ones that take centre stage. However, food inspired amigurami has become one of the most loved options in the crochet world.
Among all the other adorable options, Crochet Toast Keychain Free Amigurumi Pattern has captured the hearts of crafters everywhere. At the very first look it may seem surprising that a little slice of toast can turn out to be so amazing.
When you see the cute smile, rosy cheeks and tiny size, it will make all the sense. This creation is beginner friendly and something that will turn out to be very rewarding. You can use it as a keychain, a handmade gift and even a cute accessory for your bag.
Why Everyone Loves Crochet Toast Amigurumi
People love the food-themed crochet projects as it is simple. A slice of toast is one of the biggest reasons why it is instantly recognizable. You don’t need any complicated shapes to achieve good results. The basic rectangular shape is what looks like the perfect canvas for creativity.
Many crafters simply enjoy transforming something as a simple toast design into a character that has a personality. This is why the crochet toast keychain pattern continues to be so popular among beginners and experienced crocheters alike.
Skill Level & Overall Experience
The pattern turns out to be ideal for the beginners. Most of the project covers basic stitches, simple shape and easy assembly. Even if you are making an amigurumi for the very first time, it will be enjoyable. Usually the bigger projects take around weeks to complete, but this little toast will be complete in one single evening. You will feel a sense of satisfaction that you never felt before.
Abbreviations
- MR: Magic Ring
- ch: Chain
- SC: Single crochet
- inc: Increase
- Dec: Decrease
- sl st: Slip stitch
- st(s): Stitch(es)
- FO: Fasten off
Materials You’ll Need
- Light beige yarn for the bread center
- Brown yarn for the crust
- Black embroidery thread
- Safety eyes
- Fiberfill stuffing
- Crochet hook (2.0mm–3.5mm)
- Yarn needle
- Scissors
- Stitch marker
- Keychain ring or lobster clasp
Step-by-Step Crochet Toast Pattern
Step 1: Create the Front Panel
Start with the number of chains needed to form the width of your toast slice. Crochet in rows in reverse direction (back and forth). Repeat until you want the rectangle to be a certain height. Slightly round the top corners with decreasing to form a classic toast shape. This front panel is used for your toast face.
Step 2: Create the Back Panel
Just repeat the process for the back piece. Make sure both panels are as similar in size as possible. Regularly shaped keychains are neat and professional. When done, line up the panels side-by-side to make sure they fit together correctly.
Step 3: Add the Toast Crust
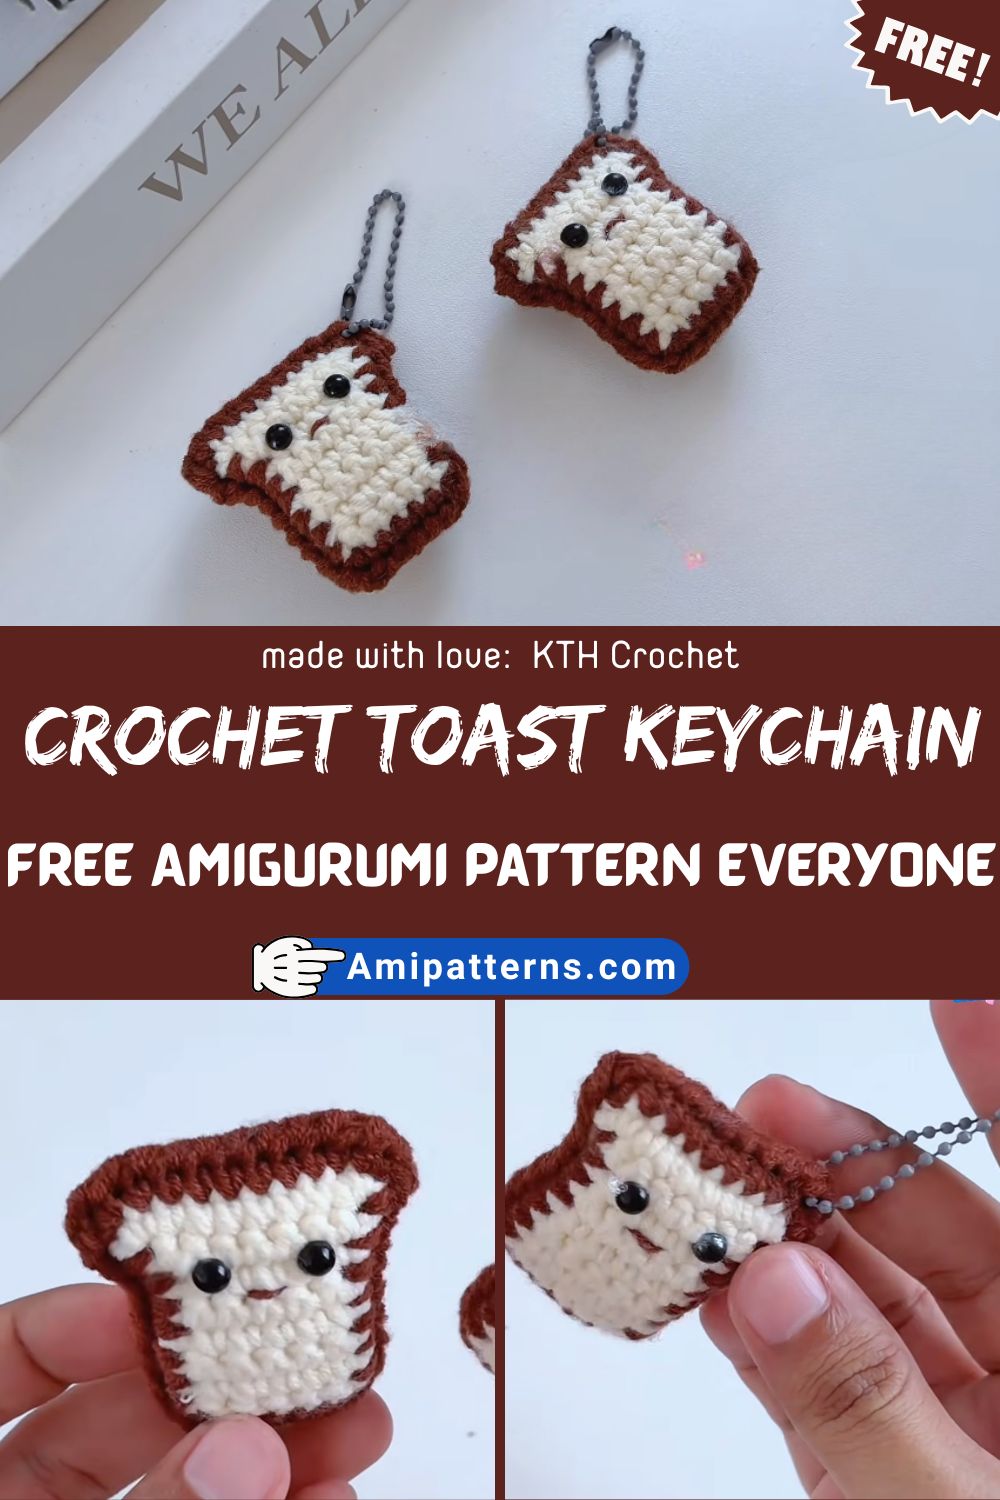
Using the brown yarn, crochet around both panels. This border gives the typical crust-like appearance, making the design easily recognizable. The beige middle contrasts with the darker crust, creating a visually interesting and appealing look. This is where the adorable amigurumi keychain starts to resemble a bread slice.
Step 4: Attach to the Panels
Attach both panels back to back. Make single crochet stitches around the edges to join. Make sure to leave a small gap. Stuff with a little fiberfill. After stuffing, wrap the edge of the bag, continuing to crochet around until it is completely closed. Fasten off securely. The toast should be soft to the bite, but not too full.
Step 5: Position Eyes
Locate safety eyes as close to the center of the front panel as possible.Spacing is important. Eyes which are slightly set apart give a sweeter look. Try out various locations before putting them in place for good. The personality of the character can change drastically with just a single tweak.
Step 6: Pin and sew the Smile
Using black embroidery thread, create a simple curved smile. It should be small and subtle. Miniature amigurumi projects are the best to do with simple expressions. Optional additions include:
- Rosy cheeks
- Winking eyes
- Sleepy eyelids
- Tiny eyebrows
Step 7: Attach the Hardware
Students will install the hardware. Students will connect the hardware in Step 7. Make a little loop of yarn by tying it to the top of the toast. Stitch it in place with multiple stitches. Put your key ring or lobster clip on. Strong attachment is required for use in keychains due to daily use and movement. Be sure to reinforce this area before completion.
Special Features of This Pattern
There are some Special Features of this pattern.
- Beginner-friendly construction
- Quick completion time
- Minimal materials required
- Highly customizable design
- Ideal for gifts, craft fairs etc
- Portable and lightweight
Tutor Suggestions (From Experience)
When making both panels, be sure to count your stitches. Just one stitch off can make all the difference. If stuffing, use small amounts of fiberfill at a time. Excessive filling can cause the stitches to be stretched and shape the toast. If you’re making several keychains, do each step one or two at a time. It may be easier and more consistent to first make all the panels and then all the faces.
Fun Ways to Personalize Your Toast
To personalize your toast, try these fun ideas. Try adding:
- Tiny heart appliqués
- Mini butter details
- Jam embroidery
- Small bows
- Tiny chef hats
- Seasonal decorations
- Some creators even make breakfast themed collections with toast, eggs, pancakes and coffee cups. The kawaii food crochet charm style is great to use when multiple pieces are grouped together.
Uses
The uses of this little crochet piece are endless! Popular ideas include:
- Keychain accessory
- Backpack charm
- Purse decoration
- Handmade gift
- Party favor
- Craft fair product
- Desk decoration
- Zipper pull
Pattern Tip You Should Remember:
Just before connecting the keychain hardware, stretch on all of the seams. Ensure that the eyes, smile and loop are firmly in place. Keychains need to be durable because they are used often in small amigurumi keychains. Just a couple of additional stitches now can save the repair work later.
A Wonderful Handmade Gift Idea
If you’re searching for a quick gift project, this pattern is a fantastic choice. Handmade keychains are loved by all, including teachers, friends, colleagues, students, and family.
It’s small, so it’s also ideal for gift baskets, stocking stuffers and craft swaps. The easy toast plush keychain design is particularly effective at craft fairs as it catches the attention of the many people that are drawn to the cheerful look. It is cute, cheap and convenient to carry.
Final Thoughts
It’s always something special when you take a regular object that can be made into a personality. With just a simple crochet, this is a charming key chain, and crochet isn’t a complicated craft to be charming.
It’s easy to see why so many people fell in love with this project, given its simple design, cute face and endless possibilities of customization.
From self-made to a gift for a special someone, or a collection of food accessories, this little toast is sure to lighten your day. Sometimes the simplest ideas become the most lovable and this perfectly cute toast keychain is a good example.