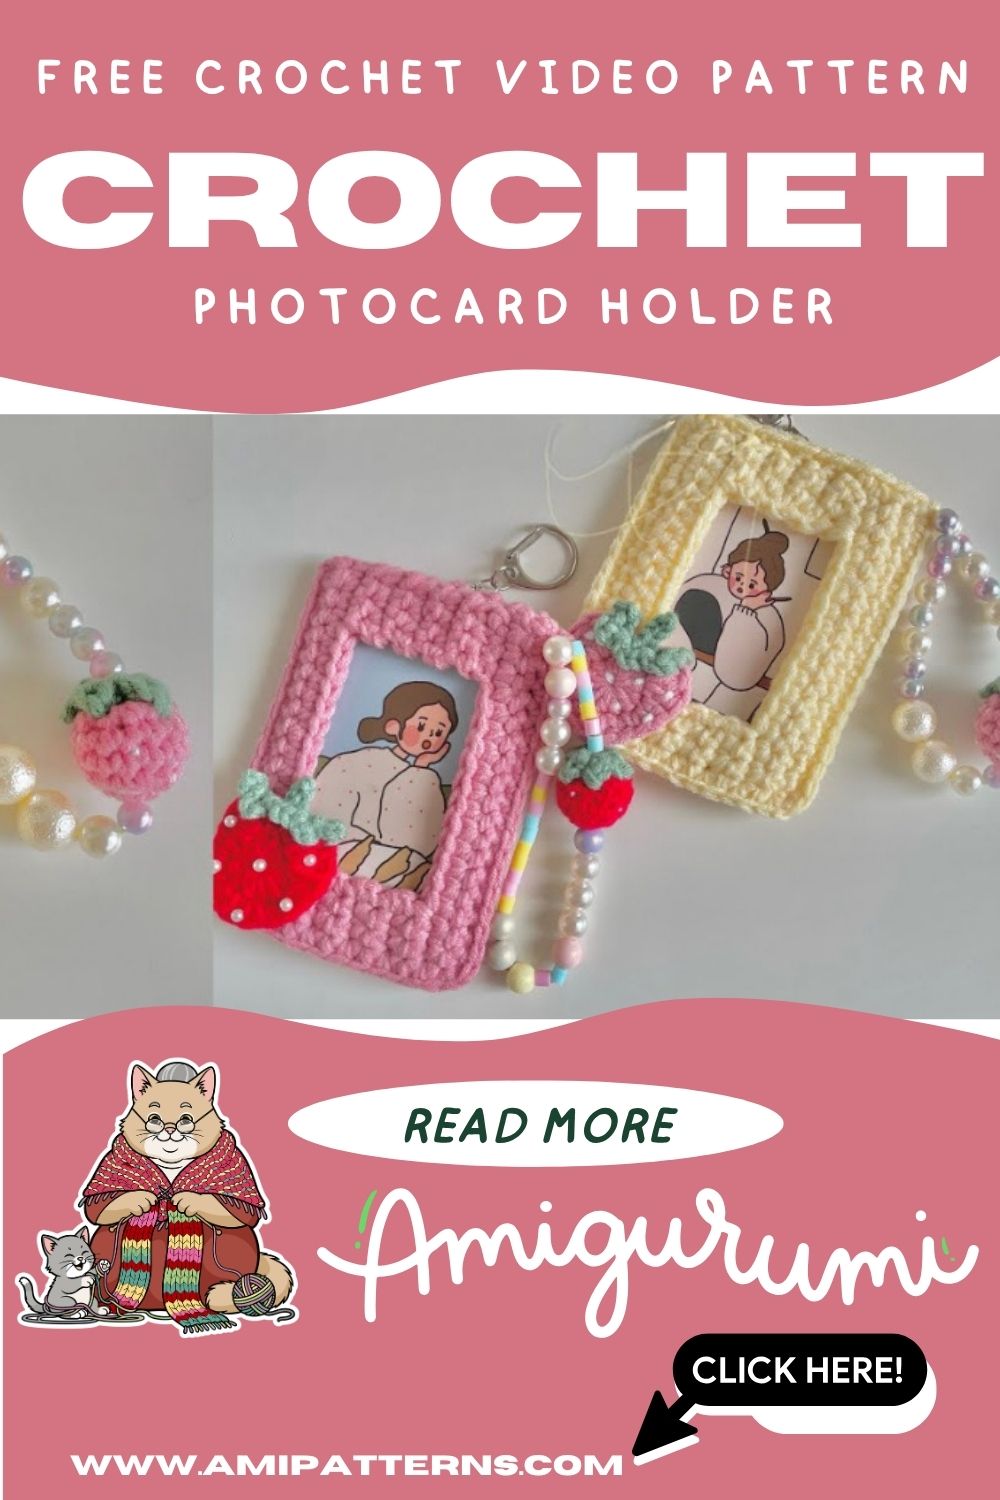
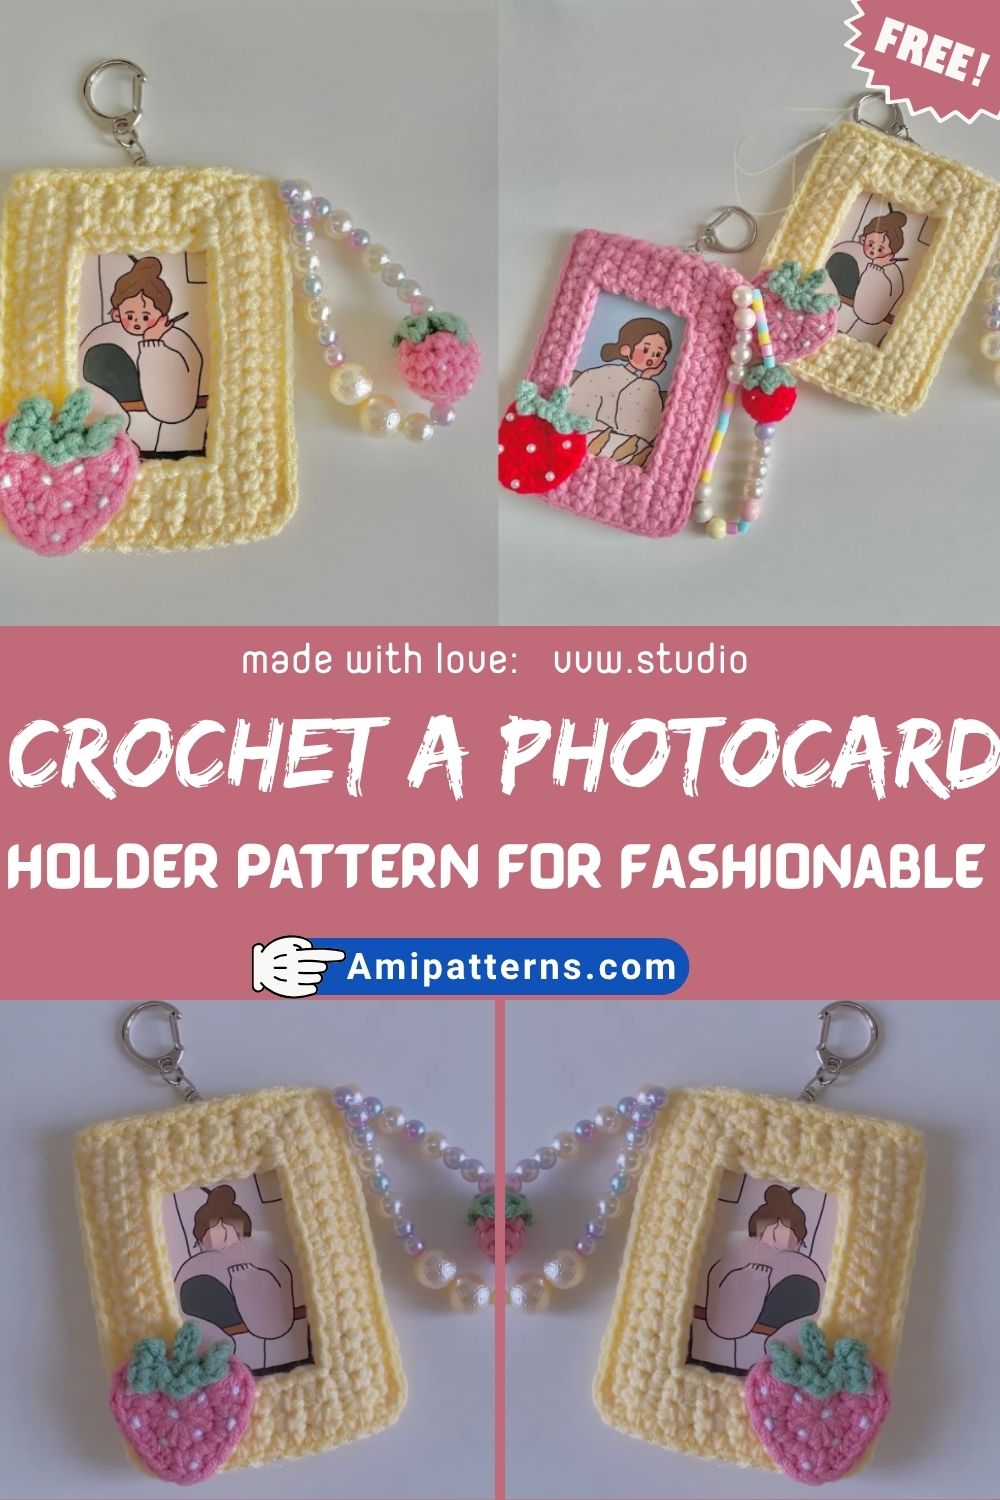
How To Crochet a Photocard Holder Pattern for Fashionable Looks
Photo cards maybe small, but they hold some value. Especially if you are someone who collects them. They carry a lot of meaning and an undeniable charm. Whether it is a favorite idol, a special memory or a rare pull. It is something that you just don’t want in the drawer or stored away. You can Crochet a Photocard Holder Pattern and flaunt it all you want.
Instead of leaving them tucked inside the plain plastic sleeves, you need to flaunt it. A handmade crochet photo card holder feels so personal, so real. It is not only practical it has become a little fashion piece that you can carry around with you. There is no doubt it will get all the attention wherever you go.
This project can be a lot of fun as it is flexible. You can try out a lot of variations and you are not only locked in one style. Try soft and pastel, bold or minimal, or keep it decorated. It surely becomes an expressing style through the use of yarn.
Why This Project Feels So Satisfying
It’s a really oddly comforting experience to create something this small and personal. But you’re not just crocheting a rectangle, you’re creating a mini frame to hold something you love. And, it’s handmade, so it always has a little of you in it, even if the pattern is simple.
Starting with the Idea, Not Just the Stitch
It’s always good to consider the mood you are looking for before you go out on your hook. Need something cuddly and wearable to your regular style? Or something edgy that’s different on a bag? Perhaps even a theme-holder with colors of an era, or a certain group of people?
This aspect is more important than people realize. The colors, size and decorations take care of themselves once you have the mood picked-out. A crochet photo card holder isn’t just a case. It’s a very small thing that expresses your style.
Materials You’ll Need
It’s not too difficult here, also it’s part of the reason this project is beginner friendly.
- Cotton yarn (best for structure)
- Hair color (either natural or artificial)
- Scissors
- Tapestry needle
- Stitch marker (optional but helpful)
- Small button, snap or Velcro (for closure)
- Thin plastic sheet or vinyl (optional for protection)
- The keyring or clip (if you wish to keep it as a charm)
It really is possible to keep it basic or embellish it if you wish to make it look more finished.
How to Begin and Finish your Project Successfully?
Building the Base Frame
The first step is to crochet a basic rectangle. You can imagine this “window frame” of your holder. The middle will be your photo card, the sides will provide structure and style.
Make sure your stitches are neat and even. If the holder is free, it might stretch with time, something that you don’t want.
It could seem at first glance like nothing special is occurring, only rows of yarn! However, after you fold and shape it later, it does make sense.
This is the most basic part of an easy crochet photo card holder DIY and when it snaps, it’s so satisfying.
Adding the Back Panel
Typically, the back is simply a solid rectangle. Avoid cut-outs or framing, just clean stitching to hold the front piece up.
Some like to have it simple and others colors or stripes just for a bit of surprise. It depends on whether you want it to be minimal or expressive from all sides on the holder.
Simply ensure that the back panel is the same size as the front. That positioning is crucial to make everything tidy on assembly.
Creating the Viewing Window
This is the bit that does make it a photo card holder, rather than a crochet square. This will leave a centered opening in the front panel allowing you to see the card. This can be a square or a shape slightly rounded so it blends in with your style.
For additional security, a thin clear vinyl sheet behind the opening can be placed. Does not trap dust or fingerprints, but still allows the photo card to be seen through clearly. This is a simple detail which makes a crochet aesthetic card holder look more complete and professional.
Joining Everything Together
When both pieces are complete, it’s time to assemble. Assemble the front and back panels and begin to join the pieces together across the edges with slip stitches or single crochet.
This is not a race; you can take as long as you need. This is the point where the final shape’s cleanliness will be determined. Leave one side open or make a small flap to easily insert photo cards.
Others even opt for the top opening if they desire handy access. Corners are also a significant aspect, be sure to have nice sharp corners and be consistent in the size.
Making It Fashion-Ready
It’s fine to use a plain holder but if you add small details, it will feel stylish. Here are some ideas to try:
- Mini crochet bows
- The tiny hearts or stars,
- Beaded edges
- Contrast color stitching
- Small tassels on the side
- Cute button closures
When it comes to creating a cute crochet photo card sleeve idea, soft colors with little decorations are preferred.
Adding a Strap or Keychain
If you liked it, it turns into a wearable piece. Attach a small loop at the top corner or side. From there you can link up with:
- A keyring
- A lobster clasp
- A wrist strap
- Or even a bag chain!
This gives you the option to hang onto backpacks or hand purses, or put on display boards. This is what most people enjoy about it, in fact, it’s not only about storing items, it also becomes a part of your outfit.
Color Choices That Always Work
The personality of your holder can totally change according to the color. Here are some combinations that are practically guaranteed to work:
- Cream + blush pink (soft aesthetic)
- Clean, modern and black and white (no gold or silver)
- Raised alongside the lavender + silver (dreamy vibe)
- This is a natural feel, Sage green + beige.
Common Mistakes to Avoid
Here are some common mistakes to avoid:
- Making the holder too tight (it will be hard to hold in place)
- Not taking the photo card measurement first
- There is a variation in tension across rows.
- Weak strap attachment
- Not edging out at the end (that really makes a difference for finish)
There’s nothing here that is complicated, but if you’re a little more careful in each step you’ll get a much cleaner result.
Final Thoughts
Crochet photo card holders fall smack dab in the middle of handy and artistic. It serves to shield away something of worth and also offers you to display your style in a subtle and particular method. The result it gives is always special as it is self-made, either in minimal style or a heavily decorated one. After all, that’s what makes it worthwhile.
Pro Tip
Put the photo card in before assembling and lightly pin all the parts. It will give you a better idea of the behavior of the holder in the natural form, allowing you to tighten, align and decorate before stitching it shut permanently.